Hello guys....
Today I will make a bracelet from colorful beads, I will only make a simple but beautiful and cute bracelet that can be used and is suitable for many outfits.
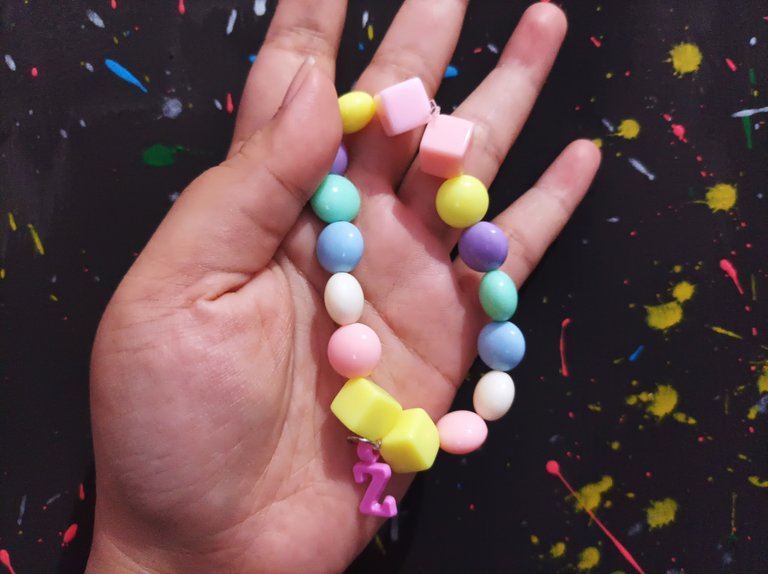
I have quite a selection of beads to make bracelets, necklaces, rings or mask straps and eyeglass straps. The beads I have come in several colors and sizes, I also have rubber strings to hold the beads together, then there are hooks, stoppers and small rings all of which can be used to make DIY jewelry.
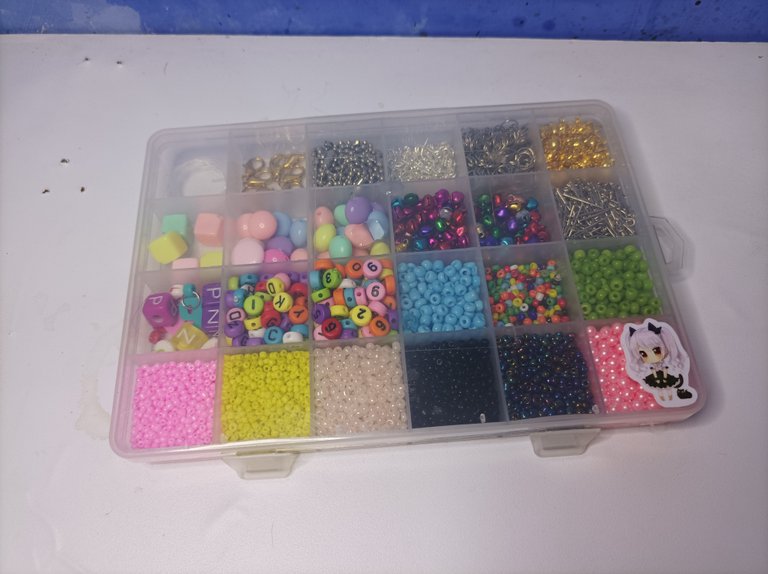
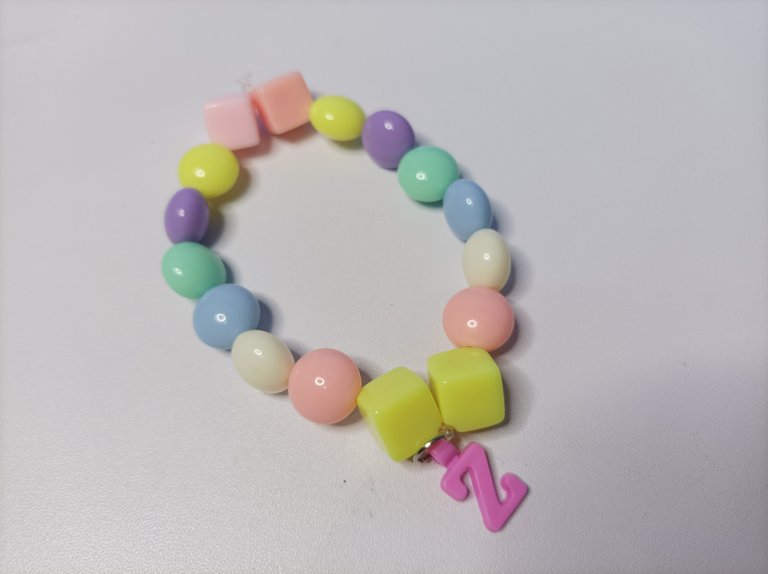
But this time i'm not going to use a lot of equipment, i'm just going to use rubber strings, some large flat round beads that are macaron in color, cube shaped beads in macaron color too and letter beads, i'm going to use the letter Z, This is the initials of my name, namely Zanira.
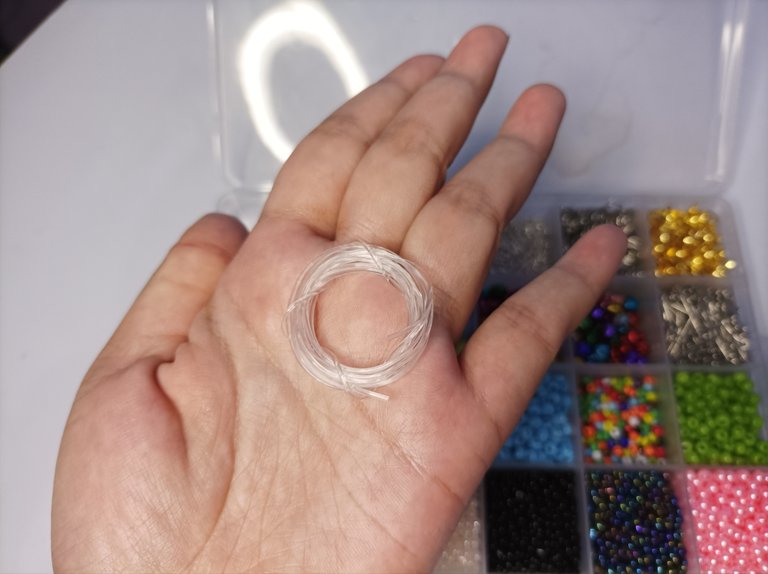
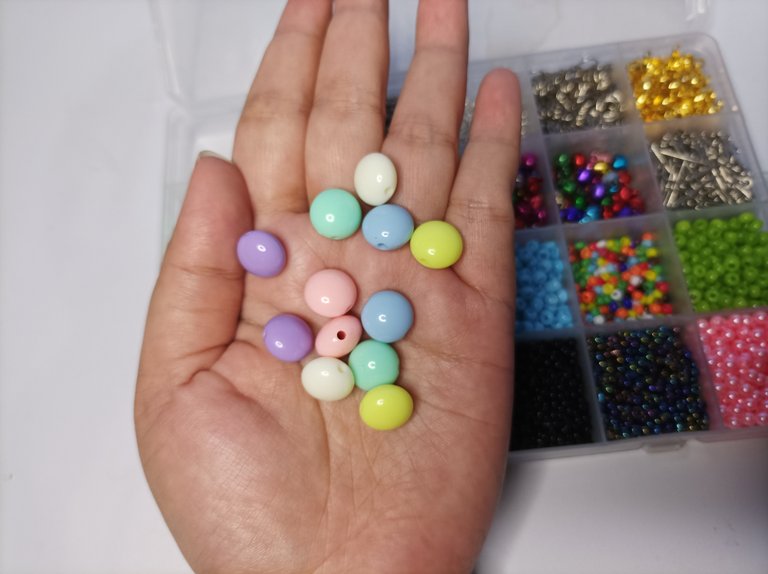
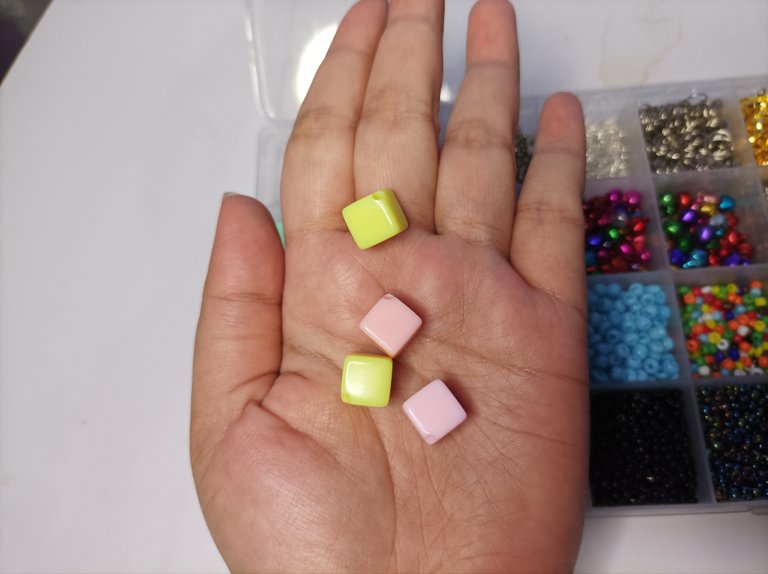
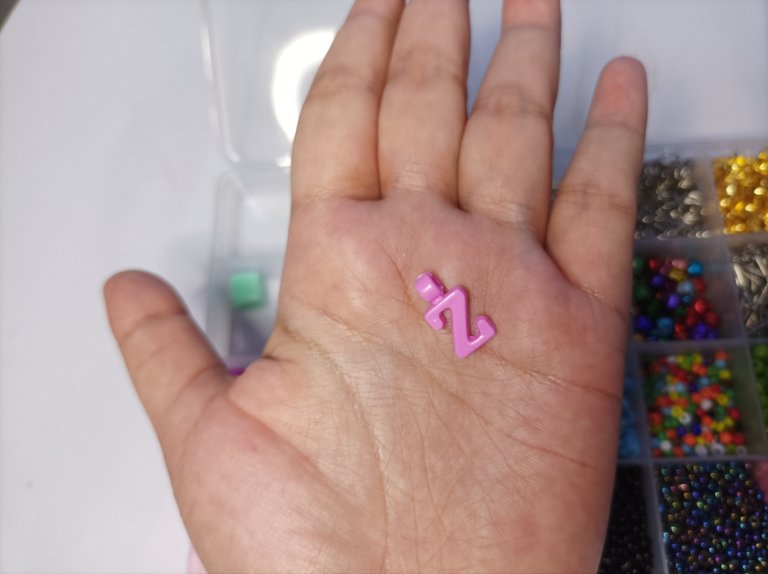
If you have prepared all the necessary equipment then it is time to make the bracelet. First I will insert the letter beads, then tie them to the rubber strings, to make it easier to tie I will use a small ring as a connector. I put the letter beads in the middle of the bracelet, so once I'm done tying the letter beads in the middle, I'll fill the right and left parts with the other beads.
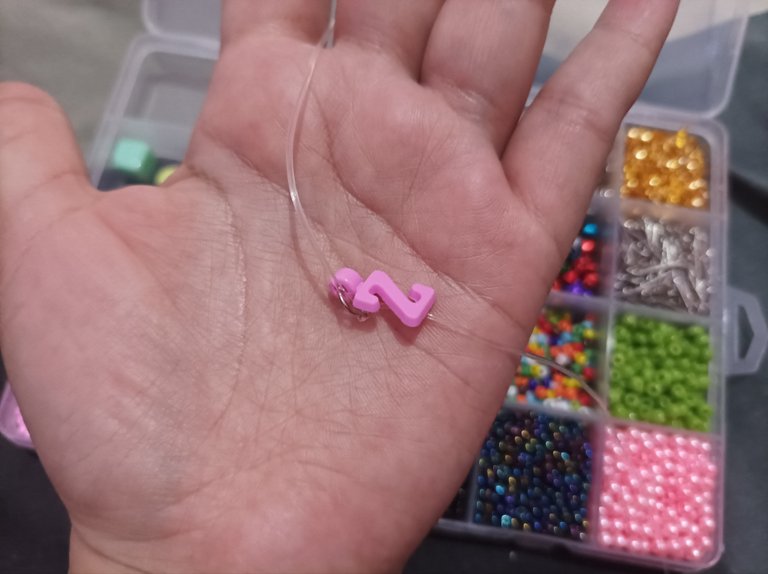
If you have successfully tied the letter beads then it is time to add other beads. First I will add beads for the left side, starting with 1 cube bead, then followed by flat round beads of various colors, I will use 6 beads with different colors, then closed with beads cube at the end. Also make it on the right side of the letter beads, use the same color and order as the one on the left.
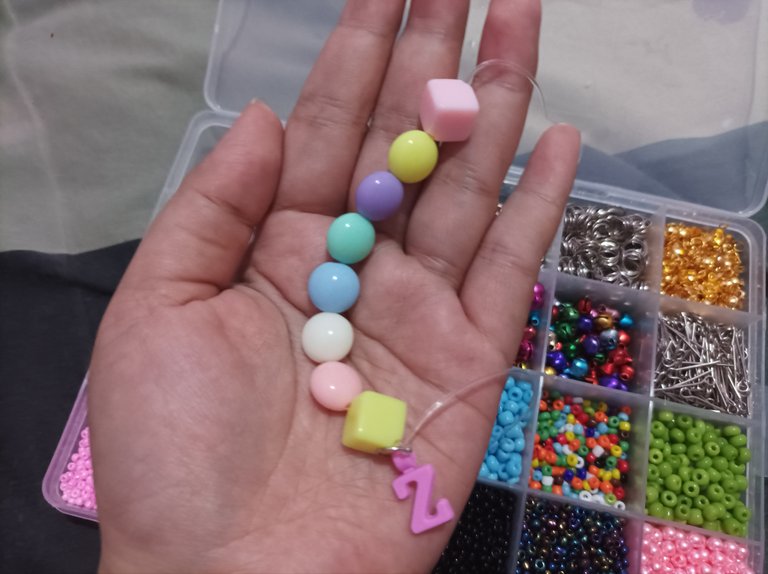
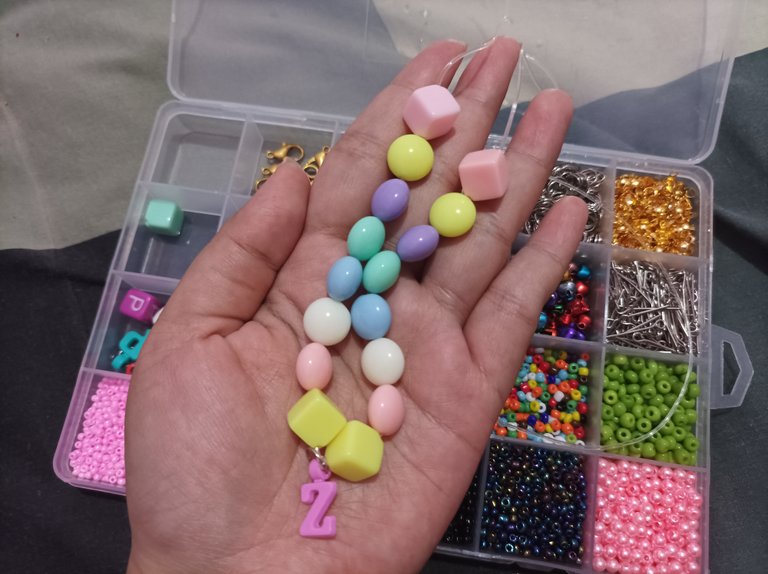
For the number of beads used can be adjusted to the size of your wrist, if your wrist size is smaller than mine then the number of beads can be reduced, and vice versa if it is larger then you can increase the number of beads.
If all the beads have been put on the strings of the bracelet then it's time to tie the strings. I tied it 7 times to make it not easy to come off when used.
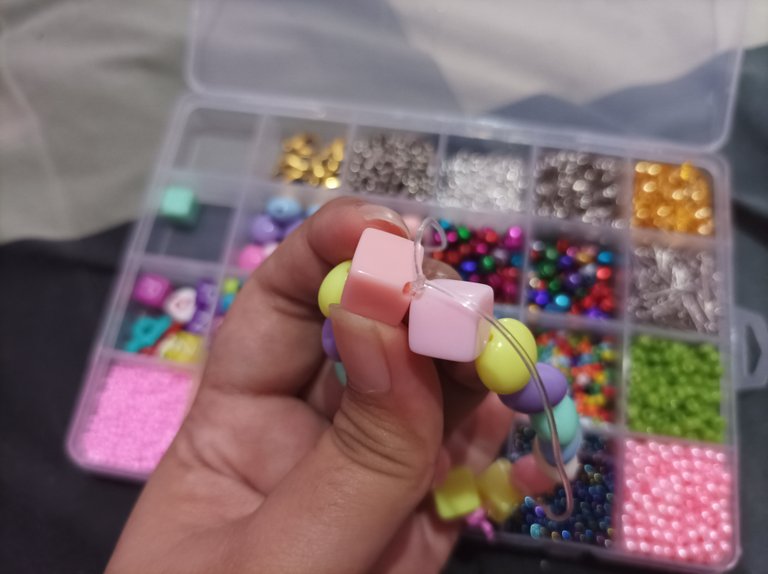
And don't forget to cut the rubber strings that are left on the bracelet, so they don't interfere when the bracelet is used.
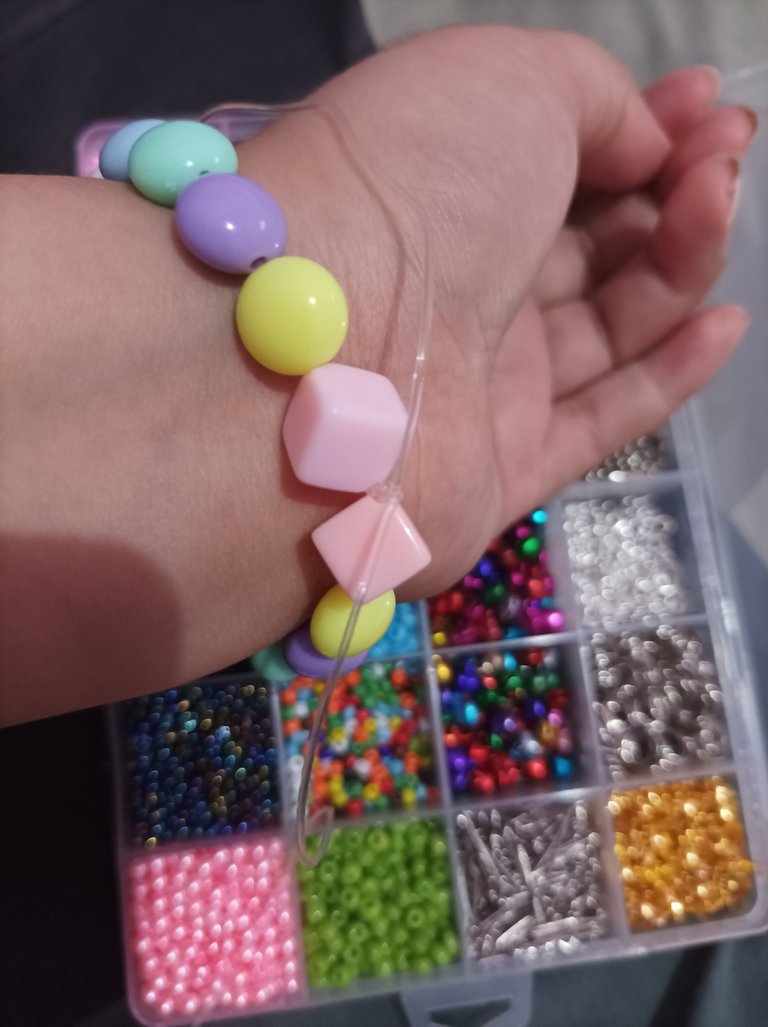
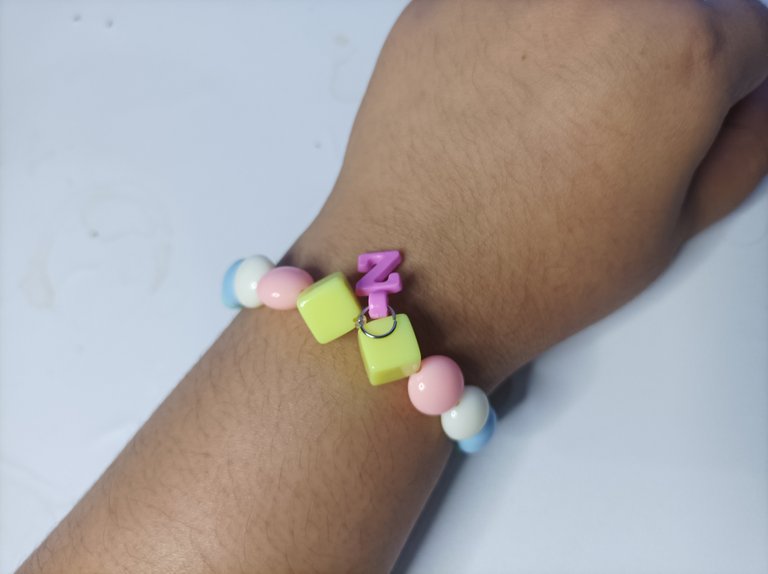
And finally the bracelet that I made was finished, the result is beautiful and cute, also fits perfectly in my hand. I really like the results, it's very easy to make but the results are satisfying.
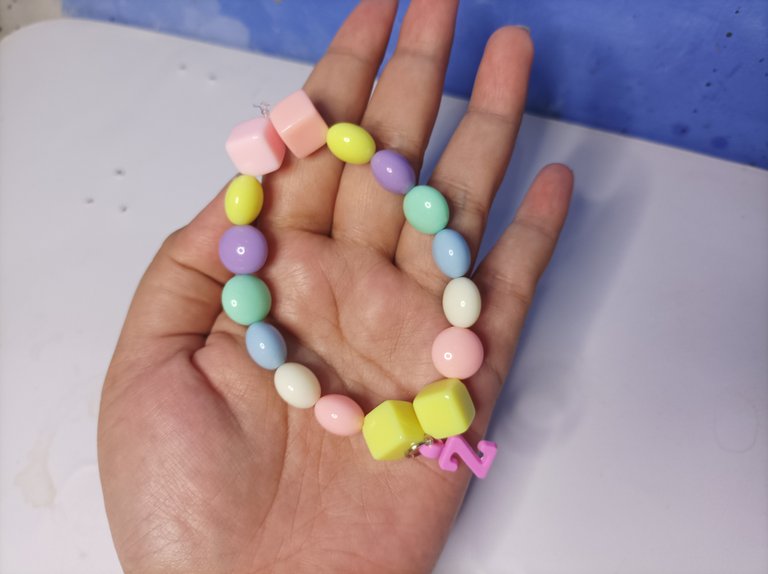
Alright, that's it for this time. I will show again what I did in the next post.
Thank you for reading my post and don't forget to read my other posts.