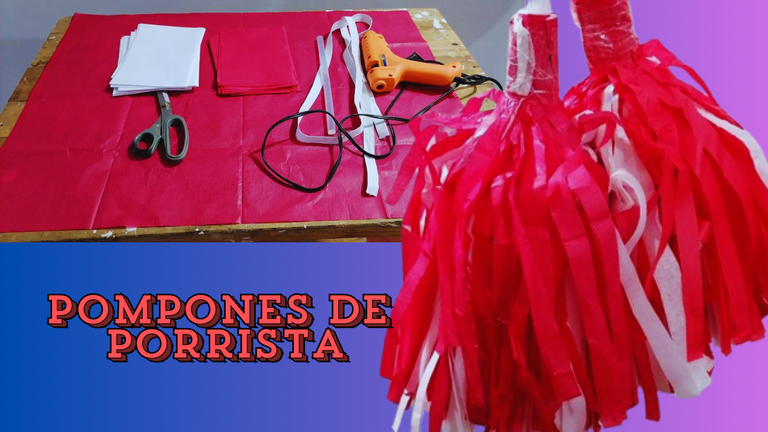

Mi primera Manualidad - My First Craft
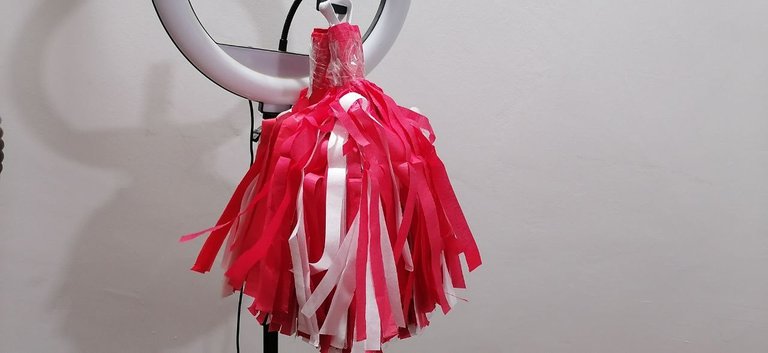
Hola, ¿cómo están? El día de hoy quiero traerles como hice yo un pompón de porrista que me encargaron les debo confesar que no soy una experta en manualidades, pero me divertí mucho haciendo esta y quería compartirla con ustedes, porque siempre he sido muy nerviosa con las cosas delicadas y el papel que use para hacer este trabajo es de mirar y no tocar fue un reto para mí no romperlo todo antes de terminarlo jajaja es bien curioso como aprendiz a manejar la paciencia haciendo este tipo de cosas, se enciende el cuidado por los materiales a la vez que los vas cortando y cuidas, este trabajo fue un favor para el sobrino de mi pareja quien tenía unas Inter clases el día sábado así que nos pusimos manos a la obra comprando materiales en esta ocasión se compraron diez pliegos de papel seda el cual repito es demasiado delicado, cinco rojos y cinco blancos que eran los colores elegidos por la clase, silicona y su respectiva pistola que ya la teníamos en casa, tijeras igualmente, compramos elástico para que el niño pudiera ponérselo en su mano y tomarlo de puño con más seguridad, pues es un niño de cuatro años para que estuviera más seguro
Hello, how are you? Today I want to bring you how I made a cheerleader pompom that I was asked to make, I must confess that I am not an expert in crafts, but I had a lot of fun making this one and I wanted to share it with you, because I have always been very nervous with delicate things and the paper I used to make this work is to look and not touch it was a challenge for me not to break it all before finishing it hahaha it is very curious as I learn to manage patience doing this kind of things, it turns on the care for the materials while you are cutting them and taking care of them, this work was a favor for my partner's nephew who had some Inter classes on Saturday so we got down to work buying materials this time we bought ten sheets of tissue paper which I repeat is too delicate, five red and five white which were the colors chosen by the class, silicone and its respective gun that we already had at home, scissors also, we bought elastic so the child could put it in his hand and take it fist with more security, because he is a four year old child to be more secure.
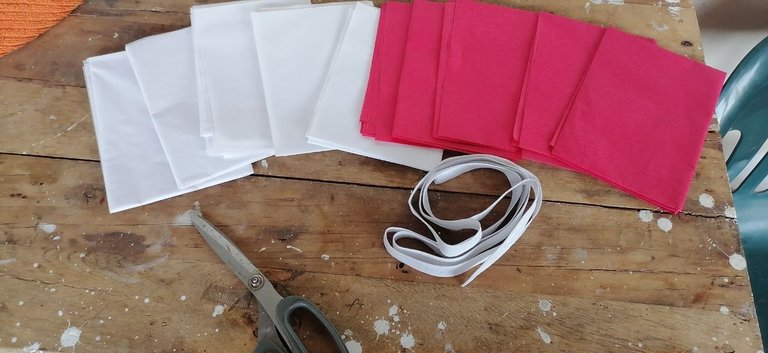
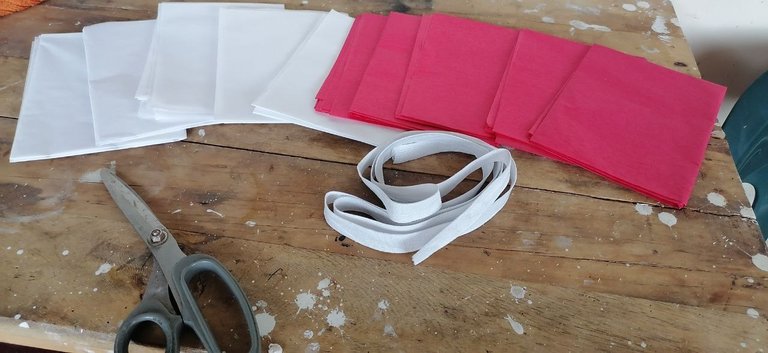
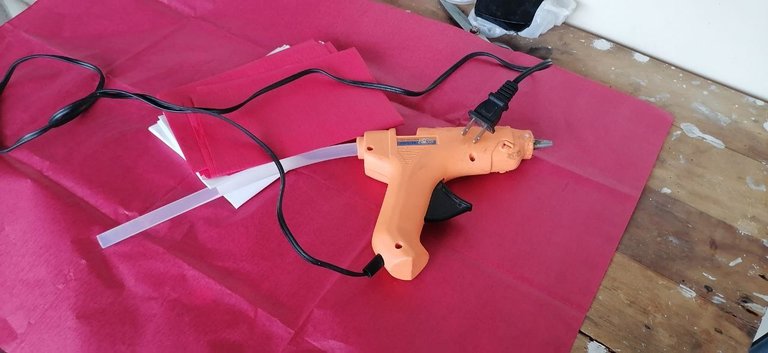
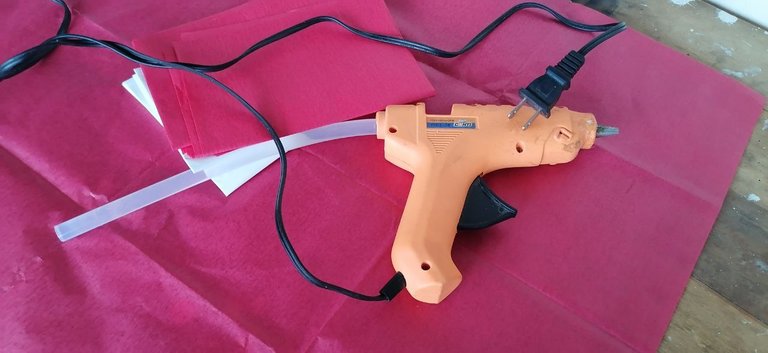
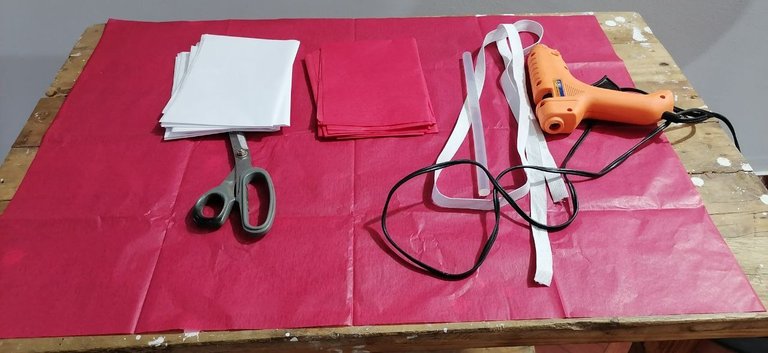
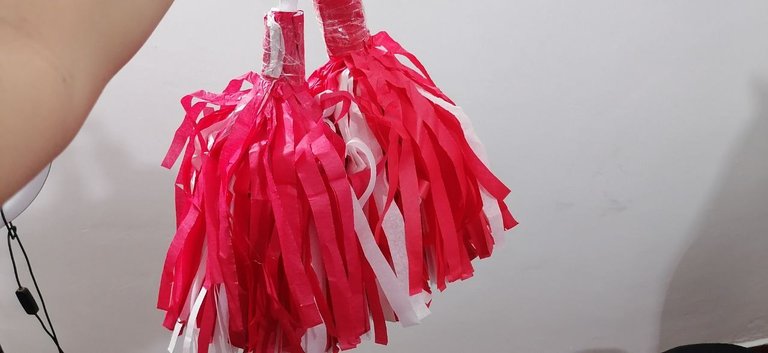
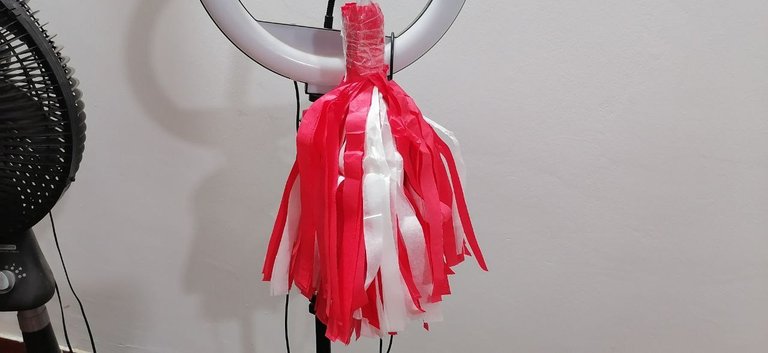
También se usó cinta trasparente ancha, pues mejor estar precavido para que no se vuelva a abrir todos los pompones a mitad del evento jajaja teniendo todos los materiales nos pusimos manos a la obra, pues empezamos a unirlos con silicona para dejar todos los pliegos bien unidos en la parte donde quedaba el puño, también se midió cinco centímetros donde quedaba el agarre para pasar la línea y cuando se empezara a cortar no se pasara de largo dañando la pieza, les cuento que cuando se empezó a cortar me daban nervios que se quedara una tira en la mano jajaja por la delicadeza, pero no todas salieron super perfectas, cuando estaban todas cortadas me puse al trabajo de pegar el elástico para que el niño metiera su mano aquí empezaron una que otra quemada de silicona jajja, pero con mucha paciencia se aplicaba y se iba dando vueltas en cada vuelta se aplicaba más y más silicona porque no queríamos desastres, cuando por fin ya llegamos al final de envolver todo el puño del pompón fue lindo ya se le veía forma clara para reforzarlo le agregamos cinta trasparente dándole un toque de más seguro y aparte proteger las manos del pequeño porque con el sudor tiende a votar tinta y manchar la piel y los niños todo se lo llevan a la cara esto es muy importante tenerlo presente para no ocasionar inconvenientes, volvimos a repetir el paso con el otro pompón el cual no sé por qué, pero fue más fácil y rápido de hacer imagino que porque ya tenía experiencia, considero que para ser mi primera vez haciendo este tipo de manualidad me quedo muy bien de todas formas acepto cualquier corrección o idea de hacerla de diferente forma que yo aquí estoy para aprender hasta la próxima
We also used wide transparent tape, because it was better to be cautious not to open all the pompoms in the middle of the event hahaha having all the materials we got down to work, we started to join them with silicone to leave all the folds tightly together in the part where the fist was, we also measured five centimeters where the grip was to pass the line and when we started to cut it did not go too long damaging the piece, I tell you that when it began to cut I was nervous that a strip was left in the hand hahaha by the delicacy, but not all came out super perfect, when they were all cut I started to work to paste the elastic for the child to put his hand here began one or another burned silicone hahaha, but with a lot of patience we applied and went around and around, each time we applied more and more silicone because we didn't want disasters, when we finally got to the end of wrapping the whole pompom cuff it was nice because it had a clear shape to reinforce it we added transparent tape giving it a touch more secure and besides protecting the child's hands because with the sweat it tends to vote ink and stain the skin and children take everything to the face, this is very important to keep in mind to avoid any inconveniences, we repeated the step with the other pompom which I do not know why, but it was easier and faster to do I guess because I already had experience, I think that for my first time doing this type of craft I did very well anyway I accept any correction or idea to do it differently I'm here to learn until next time.

video grabado con mi celular HUAWEI y9s
fotos tomadas con mi celular huawei y9s
video editado en filmora 9
miniatura editada en canva Enlace
Traductor utilizado Deepl.com versión gratuita
Musica del video Enlace
Separador exclusivo para el post Enlace
video recorded with my HUAWEI y9s
photos taken with my huawei y9s cell phone
video edited in filmora 9
thumbnail edited in canva Enlace
Used translator Deepl.com free
Music of the video Link
Exclusive separator for the post Link
▶️ 3Speak