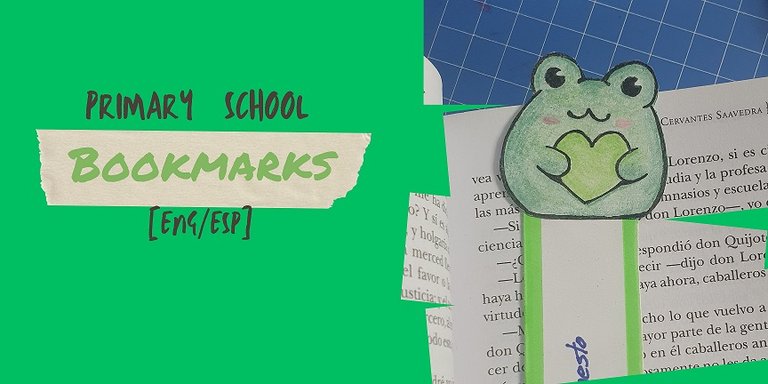
A greeting to all HIVE and my dear DIY community, today I bring you with a bit of memories and nostalgia the step-by-step of these bookmarks that I made when I was in primary school and I was around 8 years old.
Marcadores de Primaria
Un saludo a todo HIVE y a mi querida comunidad DIY, hoy les traigo con un poco de recuerdos y melancolías el paso a paso de estos marcadores que hacía cuando cursaba primaria y tendría alrededor de unos 8 años.
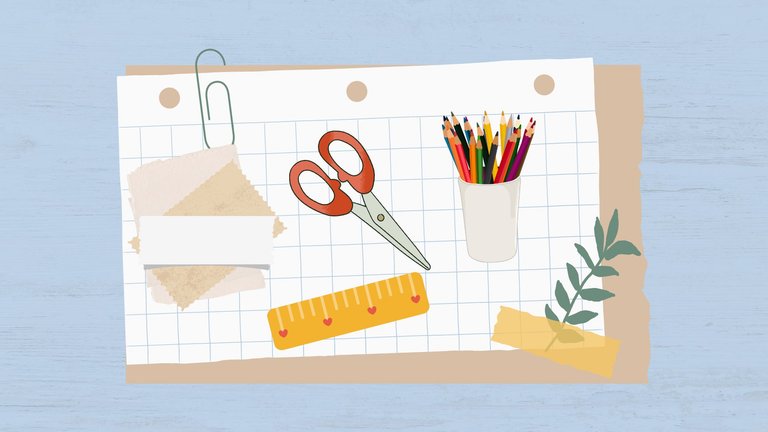
Materials:
- Scissors
- Pencil
- Markers
- Pen
- Colored pencils
Materiales:
- Tijeras
- Lápiz
- Marcadores
- Bolígrafo
- Lápices de colores
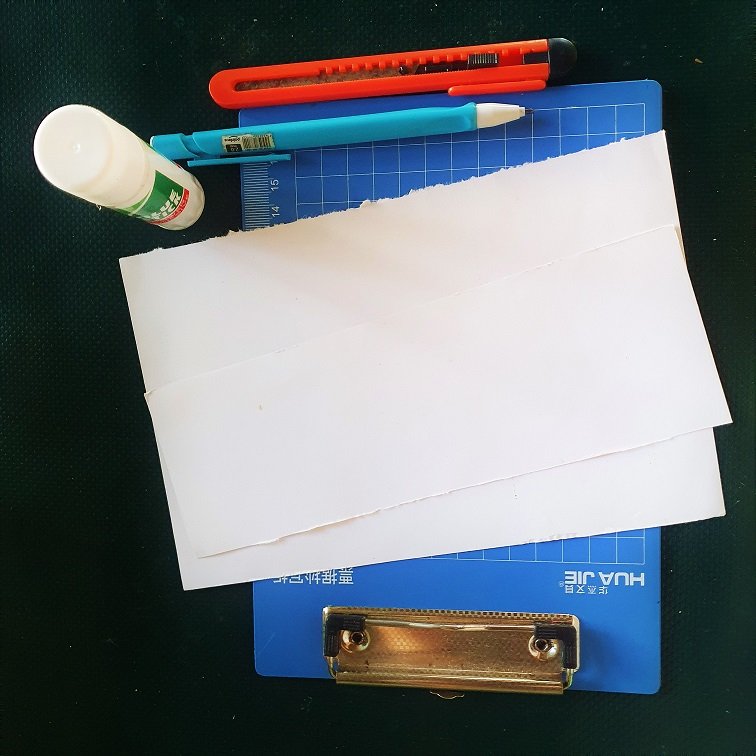
Step by Step:
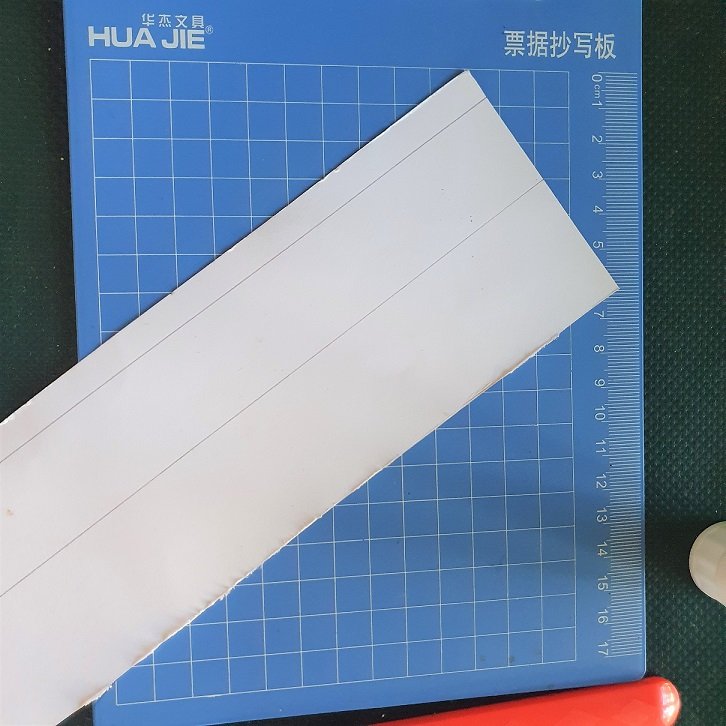
- Draw the Rectangles:
- Using a ruler, draw the outline of several rectangles on a piece of cardboard. These will be the base of your bookmarks.
Paso a Paso:
- Dibuja los Rectángulos:
- Con una regla, dibuja el contorno de varios rectángulos en una cartulina. Estos serán la base de tus marcadores.
- Cut the Rectangles:
- Using scissors, cut out the rectangles you drew on the cardboard.
- Recorta los Rectángulos:
- Con las tijeras, recorta los rectángulos que dibujaste en la cartulina.
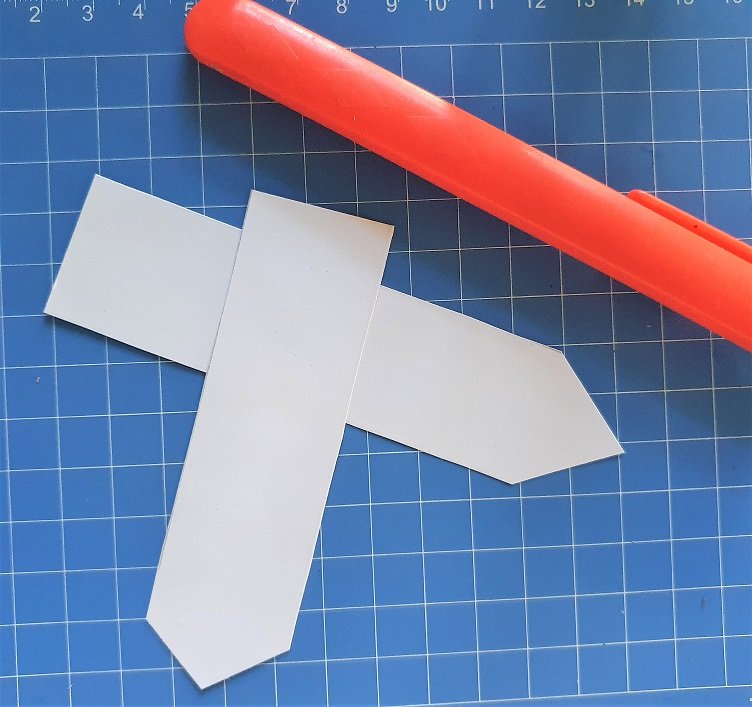
- Create the Bookmark Tip:
- On one of the corners of each rectangle, cut diagonally to simulate the tip of a pencil.
- Crea la Punta del Marcador:
- En una de las esquinas de cada rectángulo, recorta en diagonal para simular la punta de un lápiz.
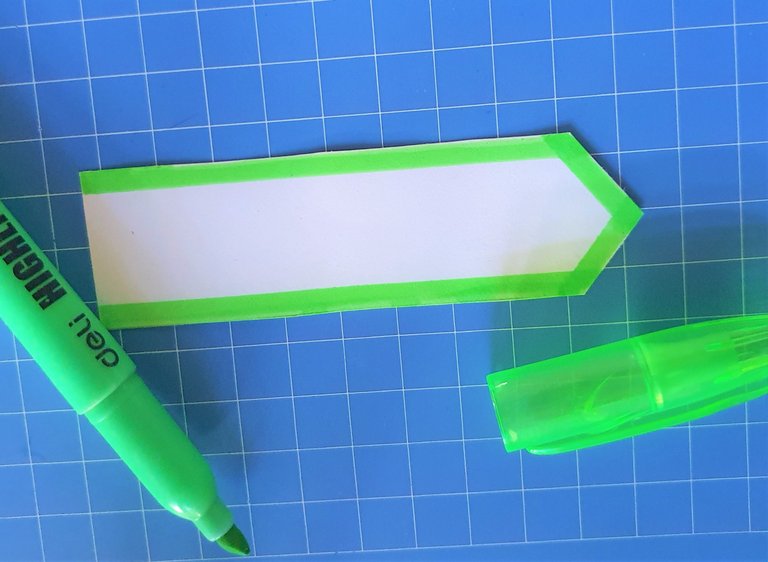
- Decorate Your Bookmark:
- This is where creativity comes into play. You can choose between two options:
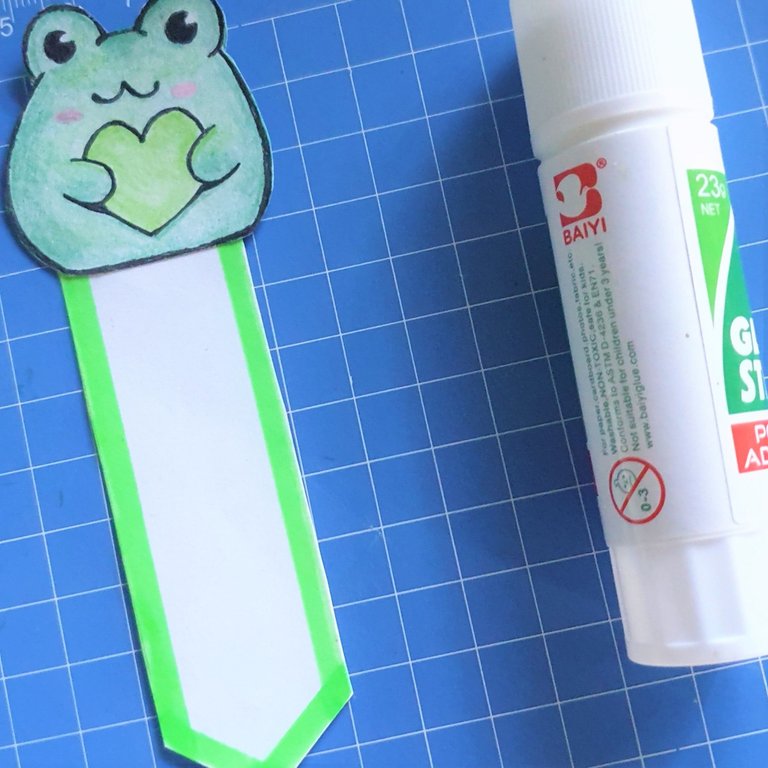
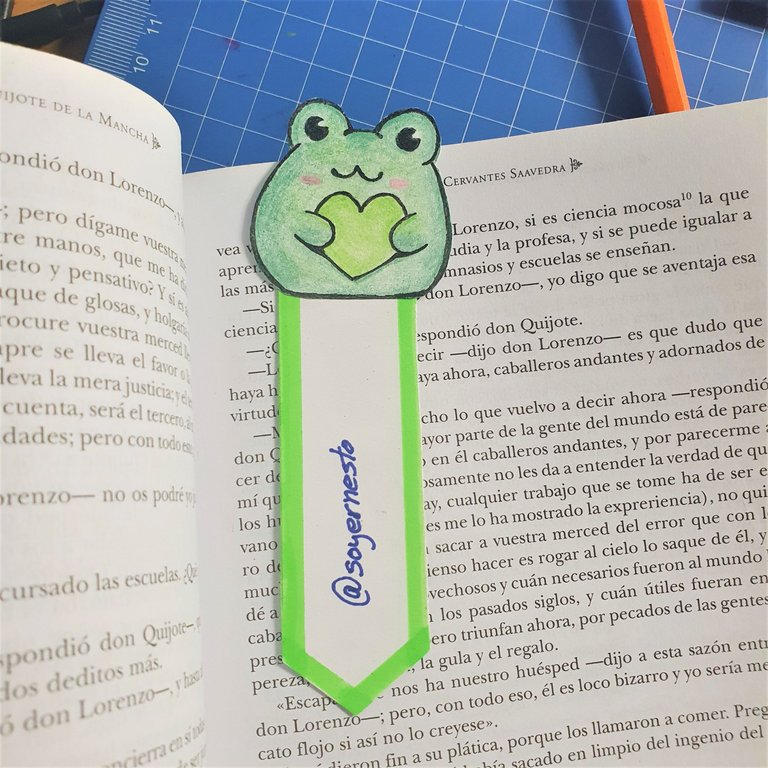
- Option 1: Cut out a figure from a magazine or book and paste it on the end that doesn’t have the tip.
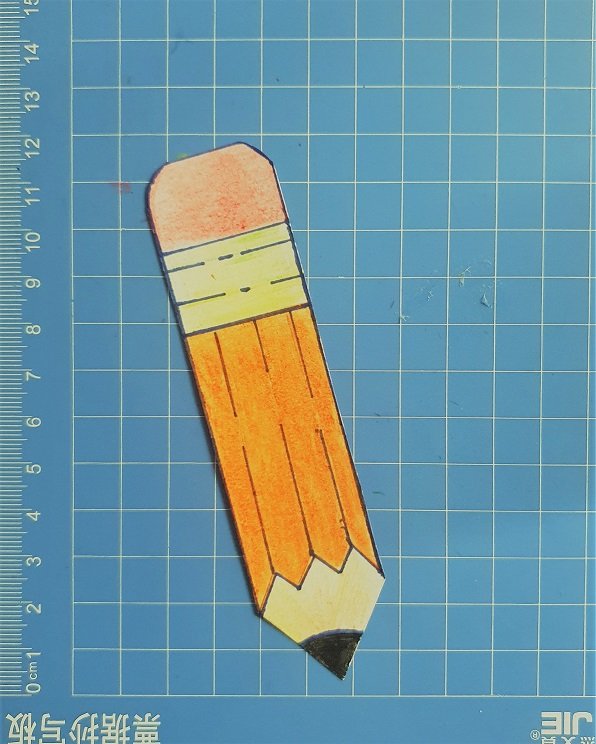
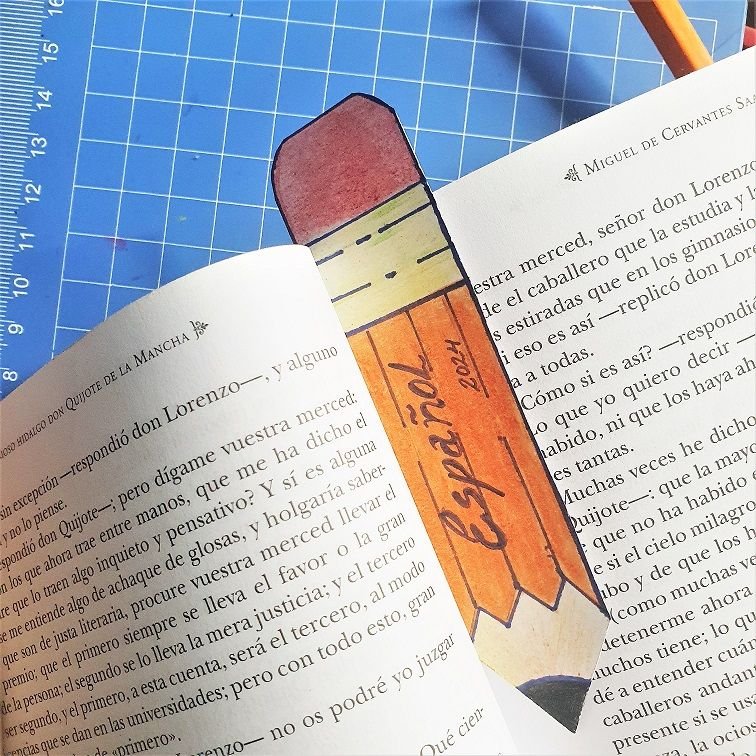
- Option 2: Taking advantage of the shape of the bookmark, round off the end without the tip and draw a complete pencil, with its graphite and eraser.
- This is where creativity comes into play. You can choose between two options:
- Decora tu Marcador:
- Aquí es donde la creatividad entra en juego. Puedes optar por dos variantes:
- Variante 1: Recorta una figura de una revista o libro y pégala en el extremo que no tiene punta.
- Variante 2: Aprovechando la forma del marcador, redondea el extremo sin punta y dibuja un lápiz completo, con su grafito y goma.
 |  |  |
|---|
- Add the Final Details:
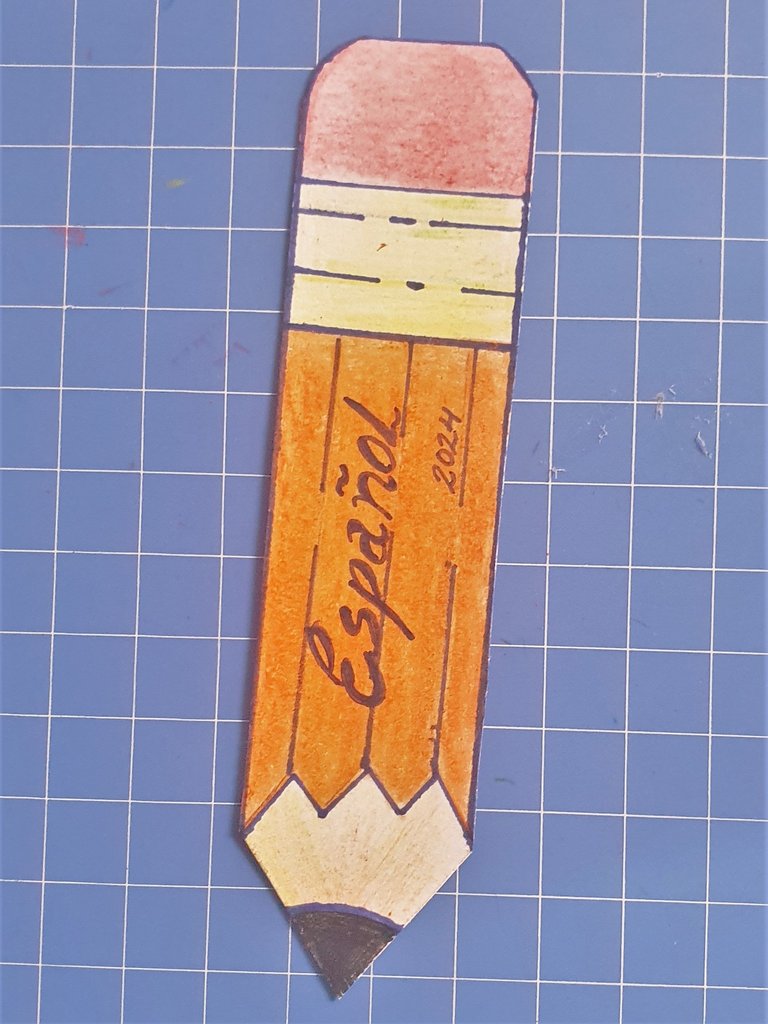
- Write the name, year, and subject of the book where the bookmark will be used.
- Añade los Detalles Finales:
- Escribe el nombre, el año y la materia del libro donde se va a utilizar el marcador.
 |  |  |
|---|
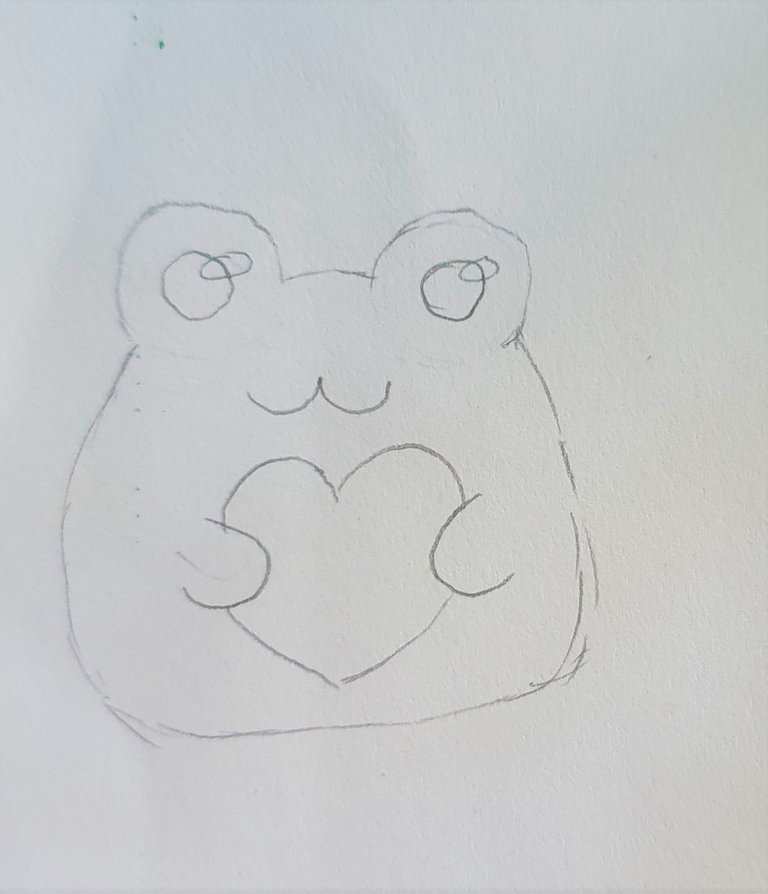
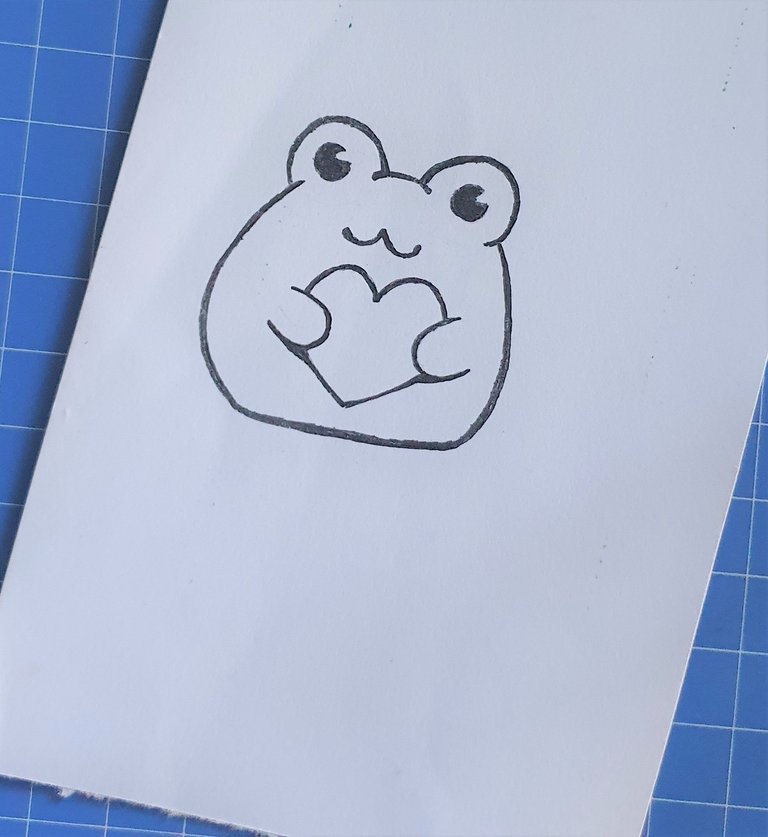
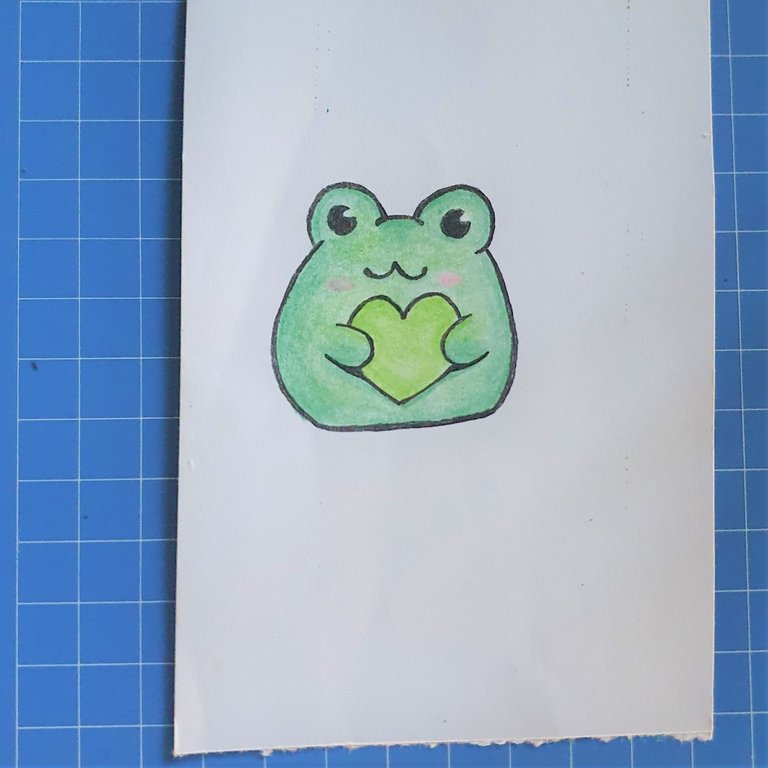
I remember that making these bookmarks was very useful because it encouraged taking care of school materials and avoided folding the pages of books to mark the page, which could end up damaging the book. On this occasion, for my bookmark, since I couldn’t find any nice figure to cut out, I decided to draw a small frog myself. I really enjoyed making it and was very happy with the final result.
Recuerdo que realizar estos marcadores era muy útil porque fomentaba una forma de cuidado de los materiales escolares y evitaba doblar las hojas de los libros para marcar la página, lo cual podía acabar deteriorando el libro. En esta ocasión, para mi marcador, como no encontré ninguna figura bonita para recortar, decidí dibujar yo mismo una pequeña ranita. La verdad, disfruté mucho haciéndola y estuve muy contento con el resultado final.
 |  |
|---|
I hope you enjoy recreating these bookmarks as much as I did in my childhood. Until next time, DIY community!
Espero que disfruten recreando estos marcadores tanto como yo lo hice en mi infancia. ¡Hasta la próxima, comunidad DIY!
I sincerely want to thank you for taking the time to read this article. Your support means a lot to me and motivates me to continue sharing content that can be useful and interesting for you. If you found this article helpful or enjoyed reading it, I would greatly appreciate your feedback. Best wishes.
Quiero agradecerles sinceramente por tomarse el tiempo de leer este artículo. Su apoyo significa mucho para mí y me motiva a seguir compartiendo contenido que pueda ser útil e interesante para ustedes. Si encontraron este artículo útil o disfrutaron leyéndolo, les agradecería enormemente sus comentarios. Éxitos.

| I’m Ernesto, a Cuban passionate about art and writing. Always learning, always growing. Excited to share and learn more every day! I write about art, drawing, video games, nature, and review the things I like. My goal is to inspire and connect with others through my creative journey. |
|---|
Translated with DeepL.com (free version)
I apologize if there are any grammatical errors, English is not my native language, I have tried to be as careful as possible.
I regularly create images on Pixabay, which are free of copyright. Access my gallery by clicking here.
All assets, photos, illustrations and banners have been created by me and are original content, unless otherwise specified.
The cover of this article was created using Canva.


