Butterfly Bookmarks
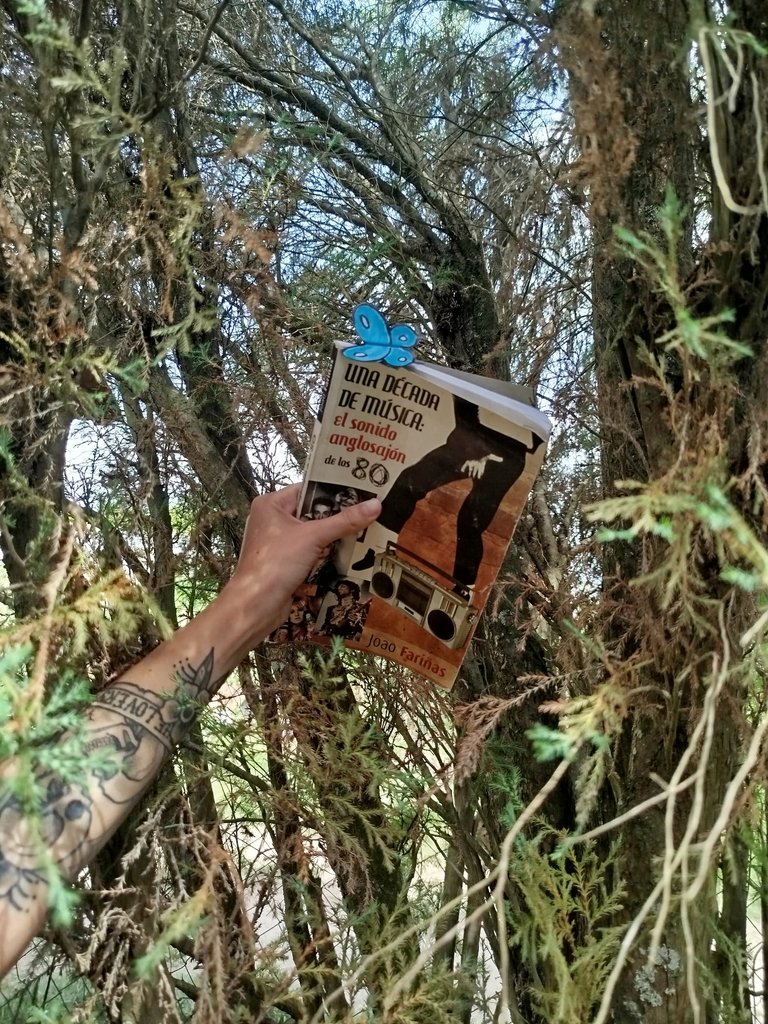
¡Hola, amigos! Hoy me gustaría compartir con ustedes esta sencilla manualidad de marcadores en forma de mariposa que podrán usar para embellecer sus libros y, a la vez, no olvidar por qué página van leyendo. Los materiales son bastante simples y probablemente ya los tengas en casa, lo que hace que esta manualidad sea aún más accesible y divertida para todos.
Hello, friends! Today I would like to share with you this simple craft of butterfly-shaped bookmarks that you can use to beautify your books and, at the same time, not forget which page you are reading. The materials are quite simple and you probably already have them at home, making this craft even more accessible and fun for everyone.

Materiales:
Materials:
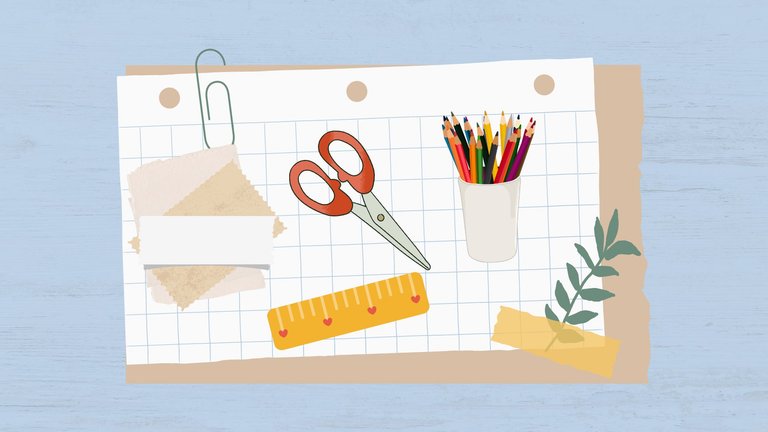
- Papel o cartón: Puedes usar cualquier tipo de papel o cartón que tengas a mano. Si quieres que tus marcadores sean más duraderos, te recomiendo usar cartón.
- Tijeras: Asegúrate de que estén bien afiladas para que los cortes sean precisos.
- Lápices de colores, marcadores, decoración: Aquí es donde puedes dejar volar tu imaginación. Usa lápices de colores, marcadores, pegatinas, purpurina, o cualquier otro material decorativo que te guste.
- Paper or cardboard: You can use any type of paper or cardboard you have on hand. If you want your bookmarks to be more durable, I recommend using cardboard.
- Scissors: Make sure they are sharp so that the cuts are precise.
- Colored pencils, markers, decoration: This is where you can let your imagination run wild. Use colored pencils, markers, stickers, glitter, or any other decorative material you like.
Pasos:
Steps:
- Doblamos nuestro papel a la mitad. Este paso es importante porque nos ayudará a crear una mariposa simétrica. Si estás usando cartón, puede ser un poco más difícil doblarlo, pero con paciencia lo lograrás.

- Trazamos un rectángulo con una regla. Este rectángulo será la parte que quedará dentro del libro. Asegúrate de que tenga un tamaño adecuado en correspondencia con el ancho del libro. Si el rectángulo es demasiado grande, podría dañar las páginas del libro, y si es demasiado pequeño, podría no sostenerse bien.
- Dibujamos las alas de la mariposa. Aquí es donde puedes ser creativo. Puedes dibujar alas grandes y elaboradas o alas pequeñas y simples. Si no te sientes seguro dibujando las alas a mano alzada, puedes buscar plantillas en línea o usar la plantilla que he creado.
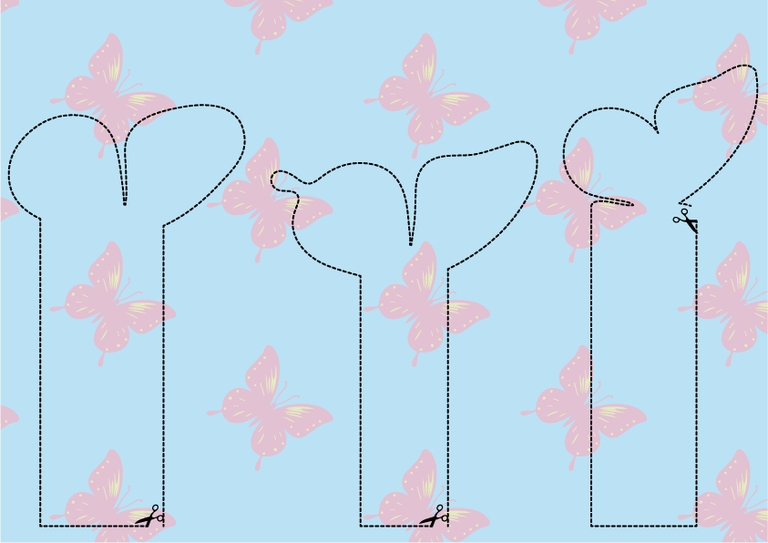
- Recortamos nuestra plantilla. Este paso requiere un poco de precisión, especialmente si tus alas tienen muchos detalles. Tómate tu tiempo y asegúrate de seguir las líneas que has dibujado.
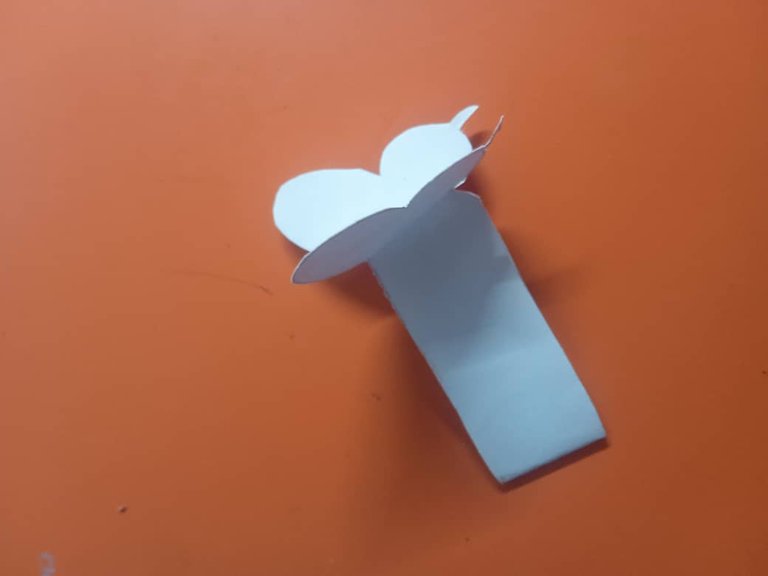
- Ahora solo queda decorar a nuestro gusto y ¡listo! Aquí es donde puedes realmente hacer que tu mariposa sea única. Usa tus lápices de colores, marcadores y otros materiales decorativos para darle vida a tu mariposa. Puedes hacerla tan colorida o tan simple como quieras.

- We fold our paper in half. This step is important because it will help us create a symmetrical butterfly. If you are using cardboard, it may be a bit more difficult to fold, but with patience, you will achieve it.
- We draw a rectangle with a ruler. This rectangle will be the part that stays inside the book. Make sure it has an appropriate size in correspondence with the width of the book. If the rectangle is too large, it could damage the pages of the book, and if it is too small, it might not hold well.
- We draw the butterfly's wings. This is where you can be creative. You can draw large and elaborate wings or small and simple wings. If you don't feel confident drawing the wings freehand, you can look for templates online or use the template I have created.
- We cut out our template. This step requires a bit of precision, especially if your wings have many details. Take your time and make sure to follow the lines you have drawn.
- Now all that remains is to decorate to our liking and ready! This is where you can really make your butterfly unique. Use your colored pencils, markers, and other decorative materials to bring your butterfly to life. You can make it as colorful or as simple as you want.
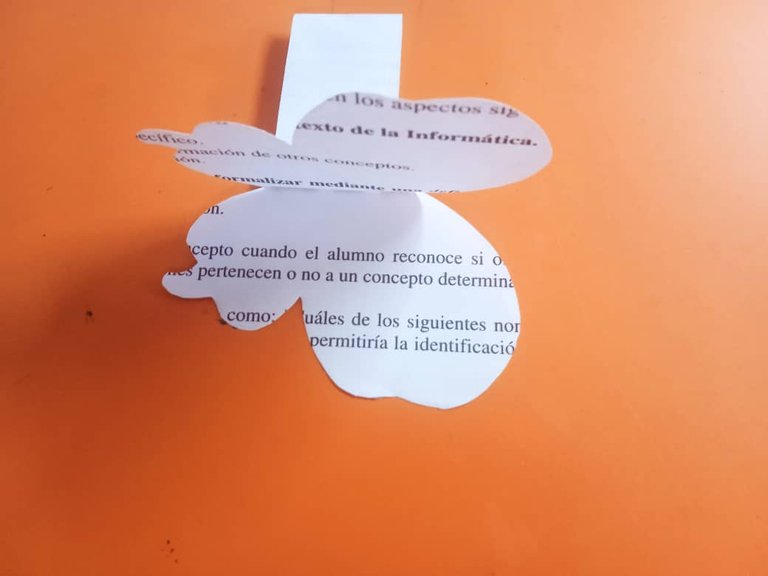
Quise hacer uno con una página ya con letras impresas para simular una hoja del propio libro y me gustó aún más el resultado. Este enfoque le da un toque muy auténtico y puede hacer que tu marcador se mezcle perfectamente con las páginas del libro. Además, es una excelente manera de reciclar papel viejo.
I wanted to make one with a page already with printed letters to simulate a page of the book itself and I liked the result even more. This approach gives it a very authentic touch and can make your bookmark blend perfectly with the pages of the book. Additionally, it is an excellent way to recycle old paper.
 |
|---|
| Plantilla HD - Template HD |
Si se te complica dibujar las alas, he creado esta plantilla con tres modelos distintos de diferente complejidad. Puedes elegir el modelo que más te guste o el que te resulte más fácil de recortar y decorar. Las plantillas están diseñadas para que puedas imprimirlas y usarlas directamente, lo que facilita mucho el proceso.
If you find it complicated to draw the wings, I have created this template with three different models of varying complexity. You can choose the model you like the most or the one that is easiest for you to cut out and decorate. The templates are designed so that you can print them and use them directly, which makes the process much easier.

Sin más, espero que disfruten y hagan esta manualidad y compartan sus resultados, que seguro serán hermosos. Un gran saludo y muchos éxitos. ¡Hasta la próxima! No olviden que la creatividad no tiene límites y que cada mariposa que hagan será única y especial. ¡Diviértanse creando!
Without further ado, I hope you enjoy and make this craft and share your results, which will surely be beautiful. A big greeting and much success. See you next time! Remember that creativity has no limits and that each butterfly you make will be unique and special. Have fun creating!

Translated with DeepL.com (free version)
I apologize if there are any grammatical errors, English is not my native language, I have tried to be as careful as possible.
I regularly create images on Pixabay, which are free of copyright. Access my gallery by clicking here.
All assets, illustrations and banners have been created by me on Canvas.
Photos has been taken by me using my phone.


