Saludo a toda la comunidad que vive creando y haciendo realidades sus proyectos con sus propias manitos.
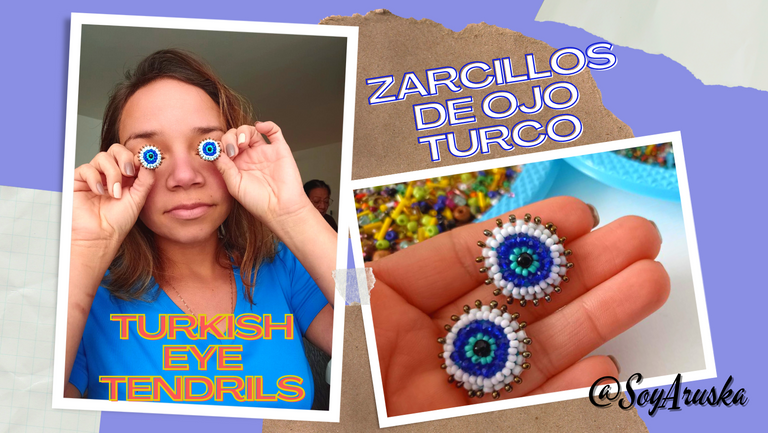
Hoy les traigo un tutorial de como hacer zarcillos pequeños de ojo turco.
Hoy en día el ojo turco lo usan muchas personas, es un amuleto originario de Turquía pero que su uso se ha masificado por todo el mundo, se suele usar para protegerse del mal de ojo.
Aquí les enseño paso a paso como realizarlos, puedes hacerlos para zarcillo o ponerle un alfiler y usarlos como prendedor en tu bolso o ropa, ¡espero les guste!
Greetings to all the community that lives creating and making their projects with their own little hands.
Today I bring you a tutorial on how to make small Turkish eye earrings.
Today the Turkish eye is used by many people, it is an amulet originally from Turkey but its use has spread around the world, it is often used to protect against the evil eye.
Here I show you step by step how to make them, you can make them for tendrils or put a pin and use them as a pin on your bag or clothes, I hope you like it!
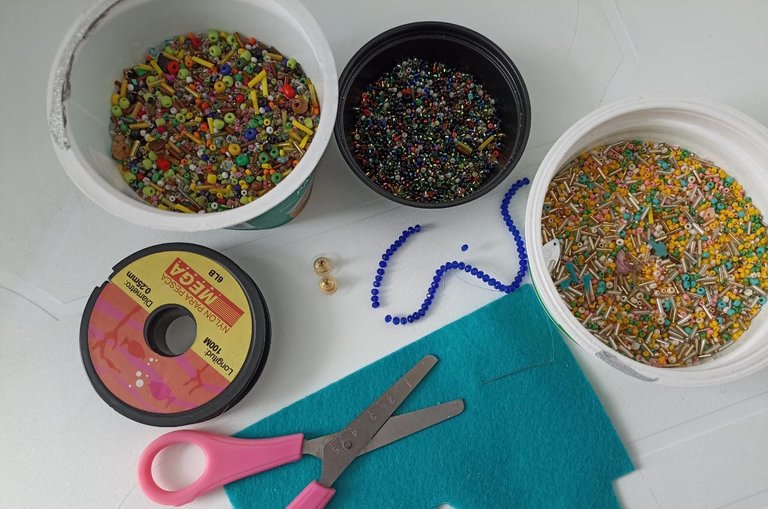
Materiales:
Trozo de fieltro
Pedacito de cuerina
Piedra facetadas
Dos paticas de zarcillos
Mostacillas (de los colores que prefieras)
Aguja e hilo nylón 025 mm
Tijera
Materials:
Piece of felt
Piece of leather
faceted stone
Two tendrils
Beads (in the colors of your choice)
Needle and nylon thread 025 mm
Scissors
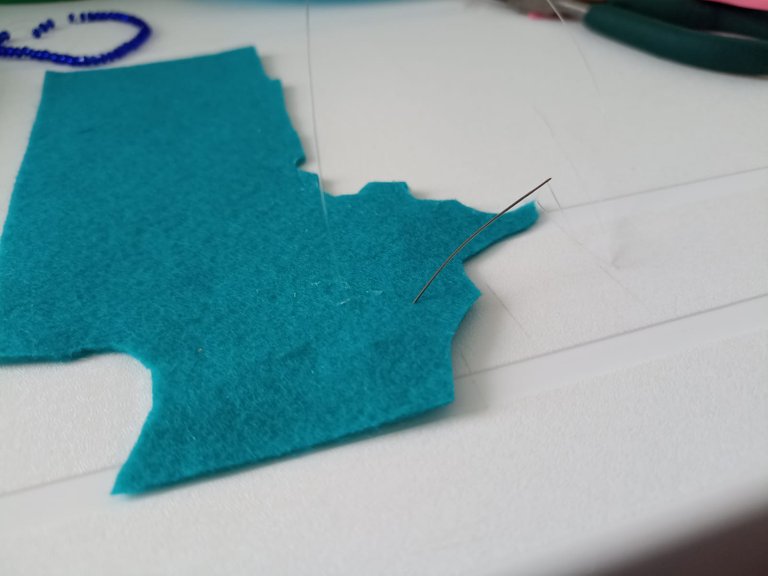
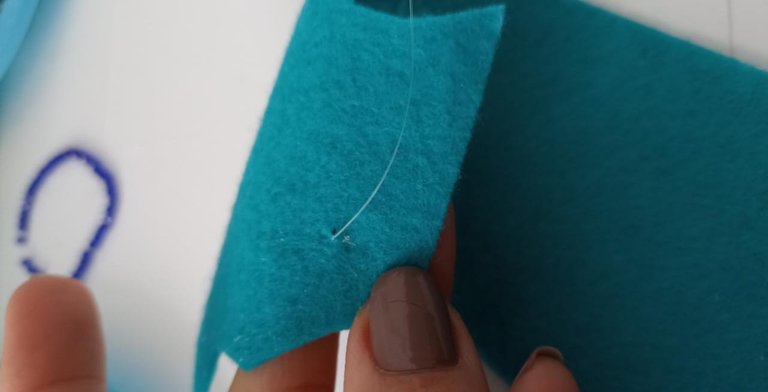
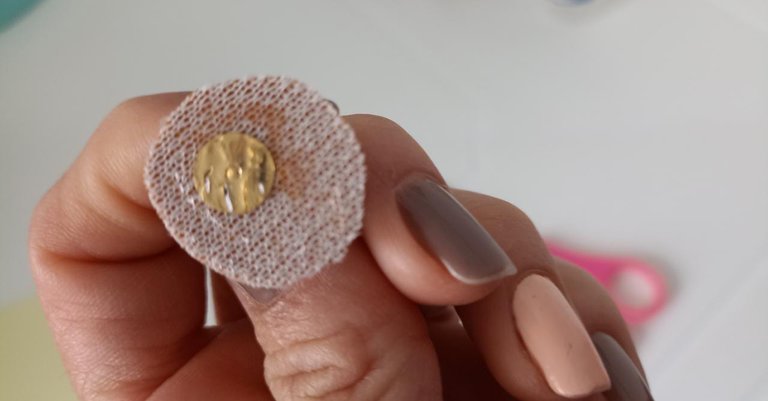
Nuestro primer paso será colocar hilo en la aguja y meter la aguja en el área del fieltro donde queremos trabajar, siempre recomiendo usar las esquinas para que rindamos nuestro material.
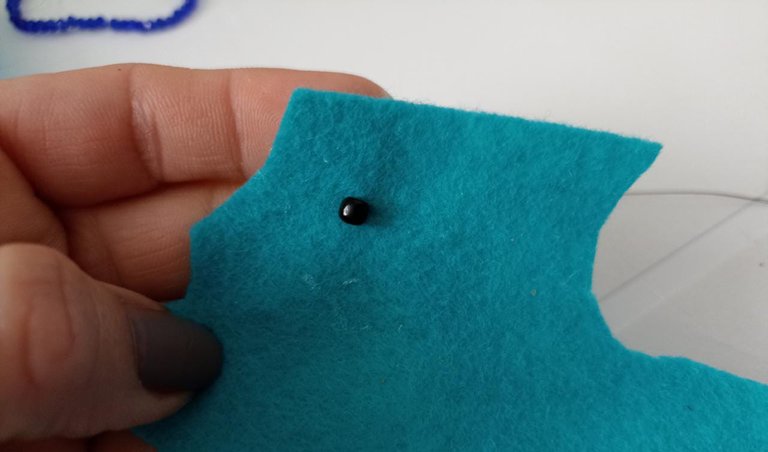
Cuando ya tenemos la aguja insertada vamos a meter un mostacillón negro, y haremos un dudo por la parte de atrás para asegurarlo y que no se nos mueva.
Our first step will be to put thread in the needle and insert the needle in the area of the felt where we want to work, I always recommend using the corners so that we yield our material.
When we have the needle inserted we will insert a black bead, and we will make a dudo in the back to secure it so that it does not move.
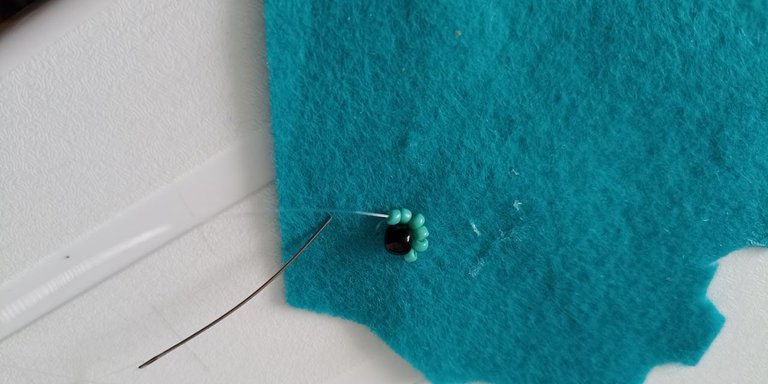
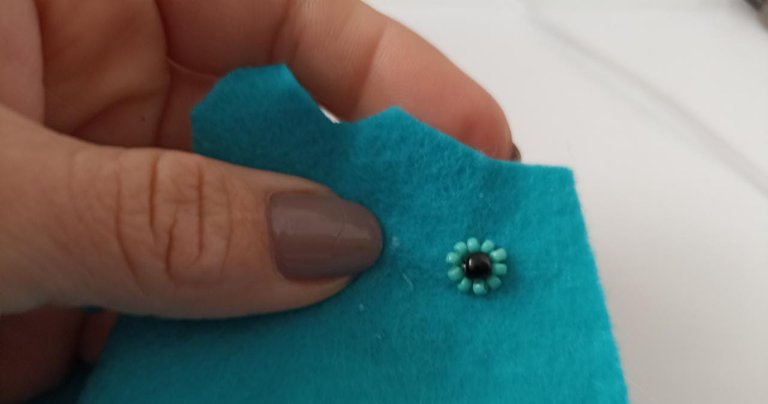
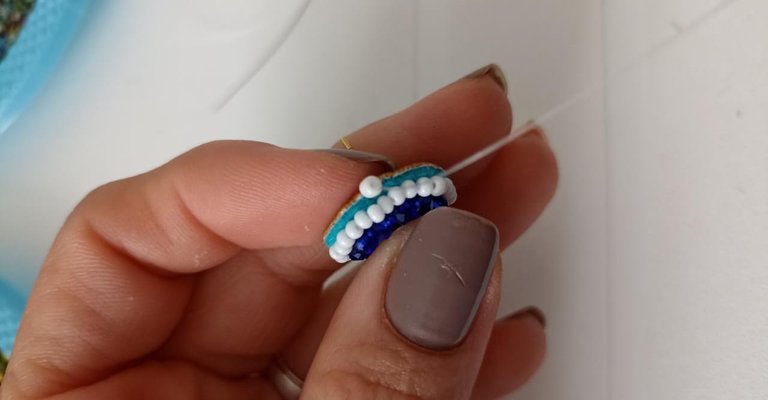
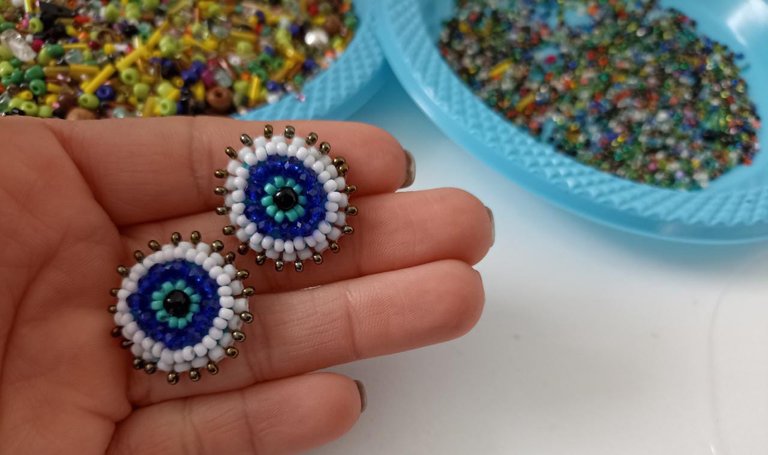
Luego alrededor de este mostacillón vamos a bordar una línea de mostacillas azul turquesa (ese fue el color que yo escogí), tú puedes hacerlo en el color que tu desees.
Recuerda bordar de dos o tres piedritas a la vez, para que te vaya quedando mejor.
Then around this bead we are going to embroider a line of turquoise blue beads (that was the color I chose), you can do it in any color you wish.
Remember to embroider two or three beads at a time, so that it will look better.
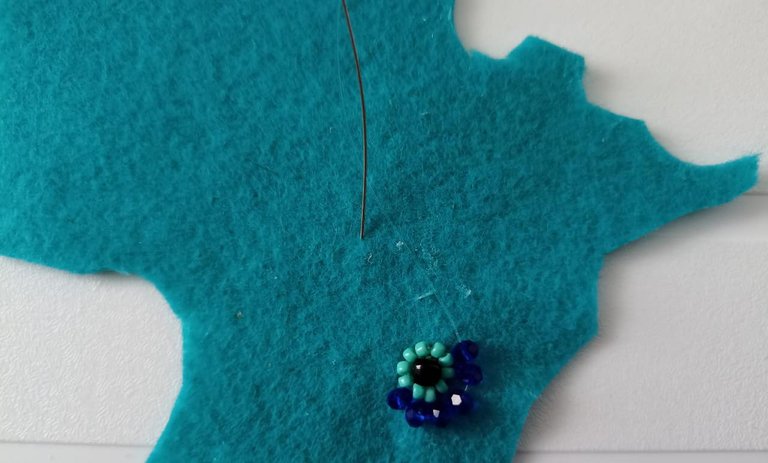
Continuaremos bordando ahora las priedritas facetadas azules, también de tres en tres hasta completar el círculo.
We will continue embroidering now the blue faceted priedrites, also in threes, until the circle is completed.
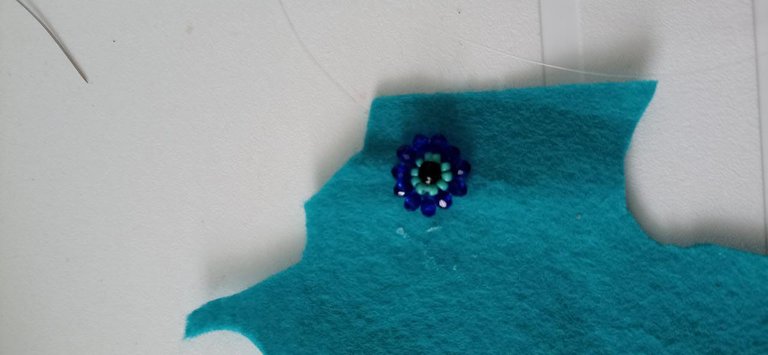
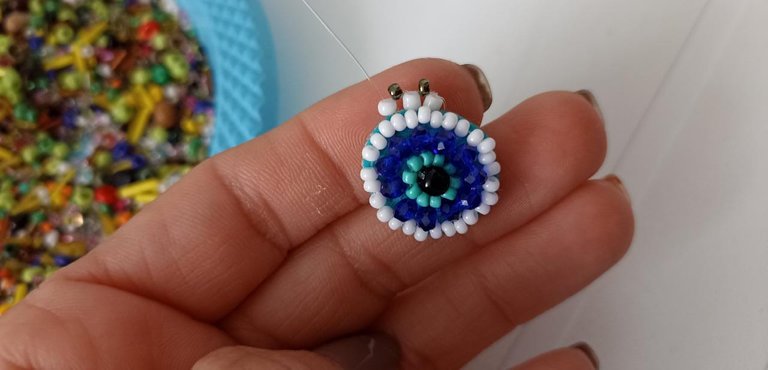
Ahora bordaremos con las mostacillas blancas, también alrededor de toda la pieza que estamos elaborando hasta llegar al final.
Now we will embroider with the white beads, also around the whole piece we are making until we reach the end.
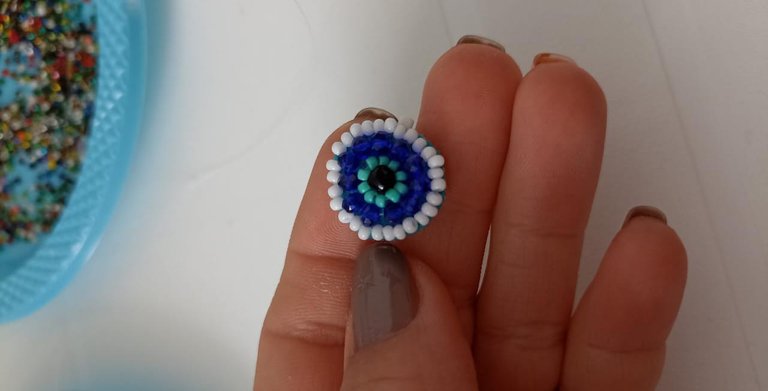
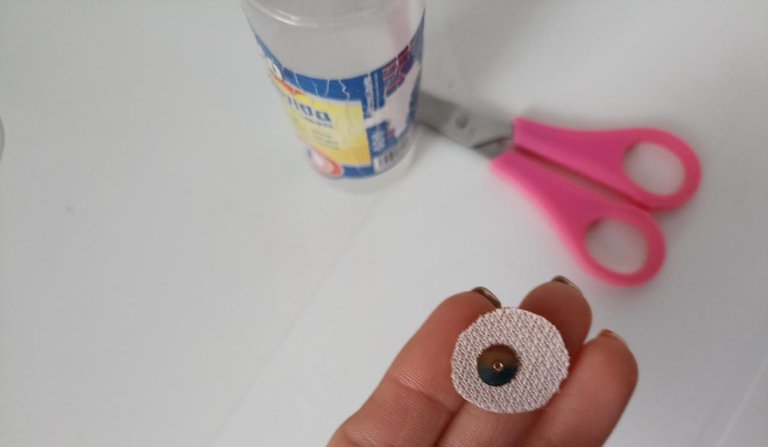
Ahora vamos a bordar el exterior que es nuestro paso final.
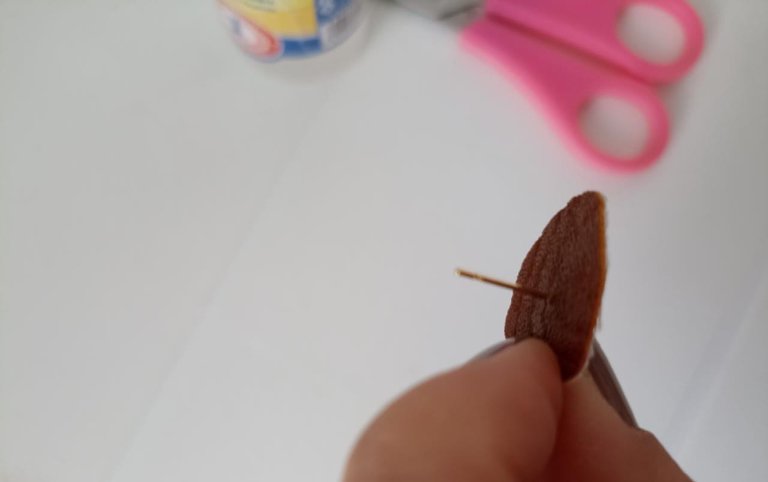
Entonces, haremos un círculo del tamaño de nuestro zarcillo en con la cuerina, y vamos a pegarle la patica del del zarcillo en esta zona, con bastante silicón pegando nuestro bordado de ella.
Now we are going to embroider the outside which is our final step.
Then, we will make a circle the size of our tendril in with the leather, and we are going to glue the tendril's leg in this area, with a lot of silicone gluing our embroidery on it.
Vamos a meter la aguja por el bordo de nuestro arete y luego sacándola entre el fieltro y la cuerina. Ahí meteremos una mostacilla.
Luego metemos de nuevo la aguja hacía arriba y comenzamos a bordar, vamos a ir colocando una mostacilla plateada y otra blanca, metiendo la aguja a cada lado de nuestra anterior mostacilla.
We are going to put the needle through the edge of our earring and then pull it out between the felt and the leather. There we will insert a bead.
Then we put the needle back up and start embroidering, we are going to place a silver bead and a white bead, putting the needle on each side of our previous bead.
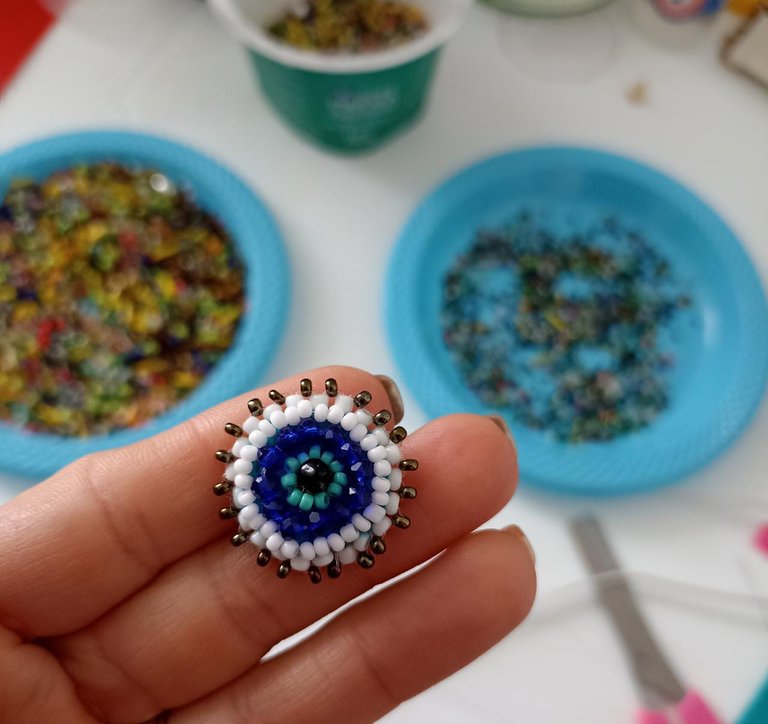
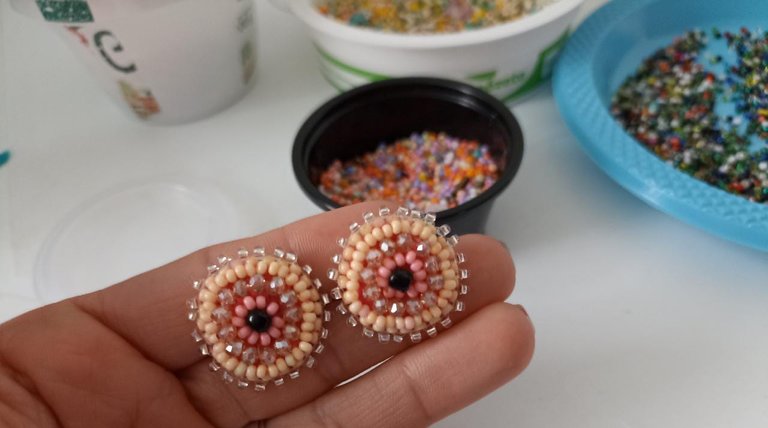
Cerramos con un dudo y procedemos a realizar el segundo zarcillo.
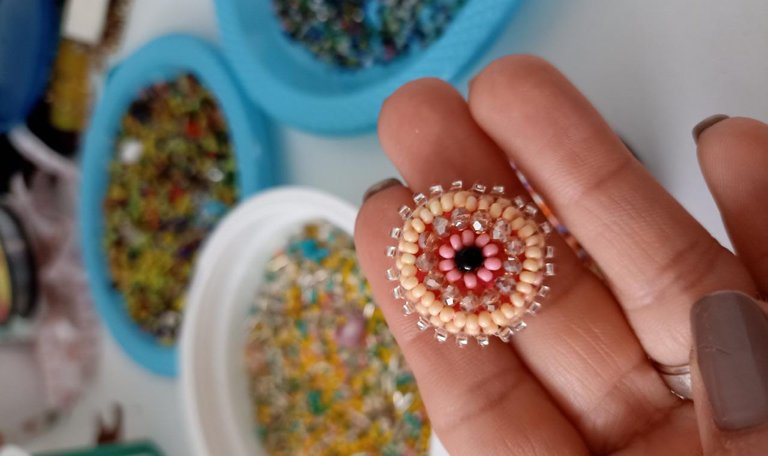
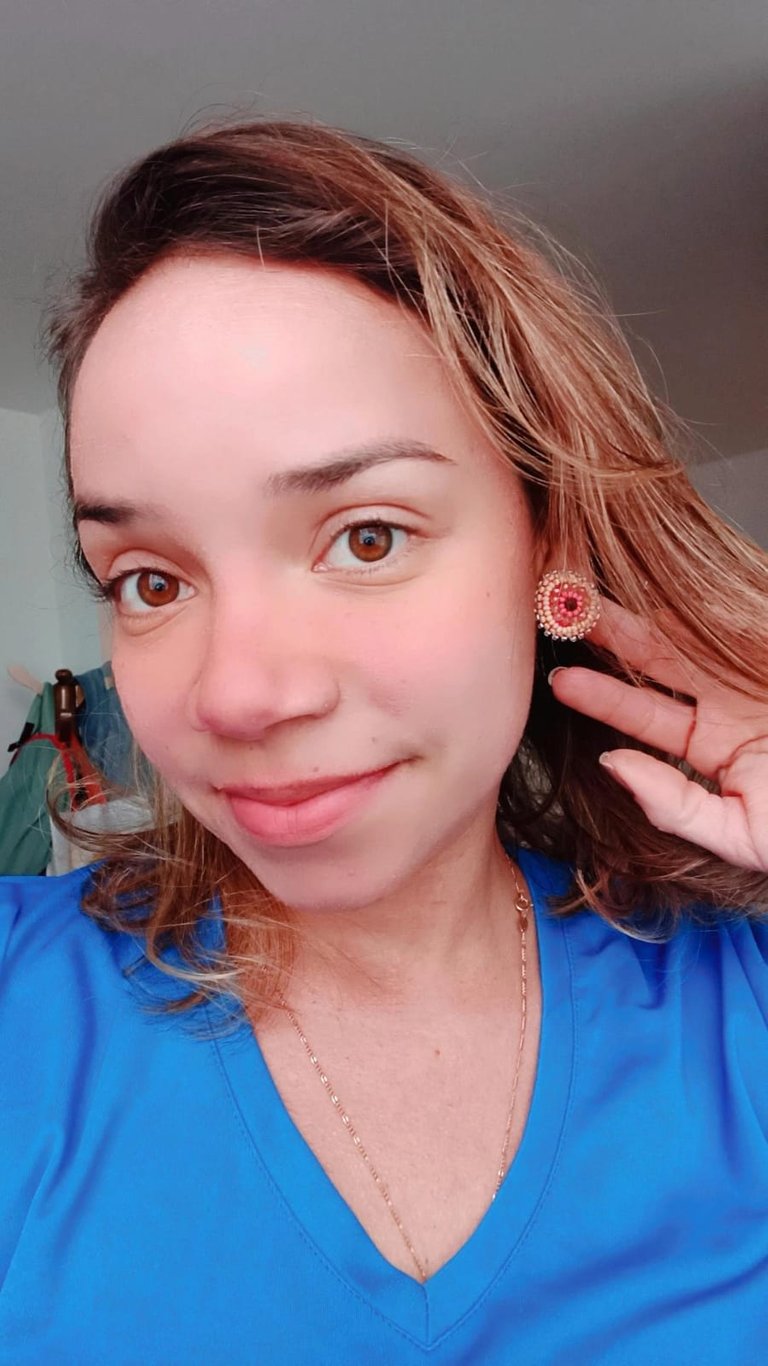
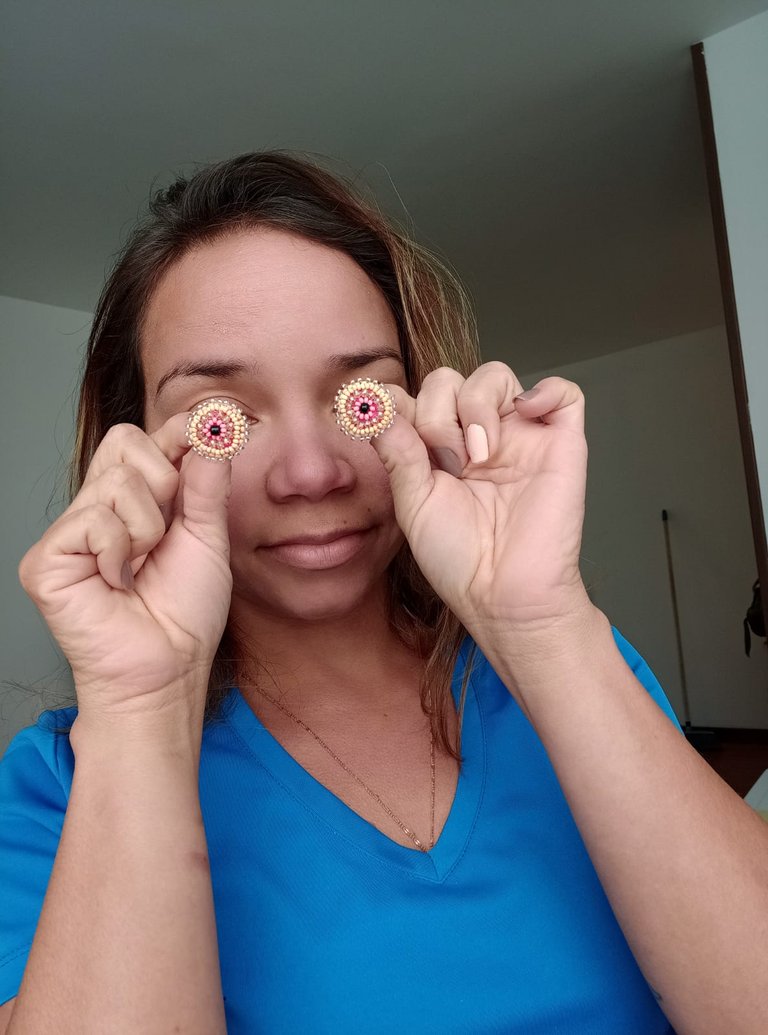
Como me gustó mucho como quedó hice otro par de color rosa claro para mirar como se veía en otro tono y la verdad me encantó también en este color.
We close with a dudo and proceed to make the second tendril.
As I really liked how it turned out, I made another pair in light pink to see how it looked in another color and I really loved it in this color as well.
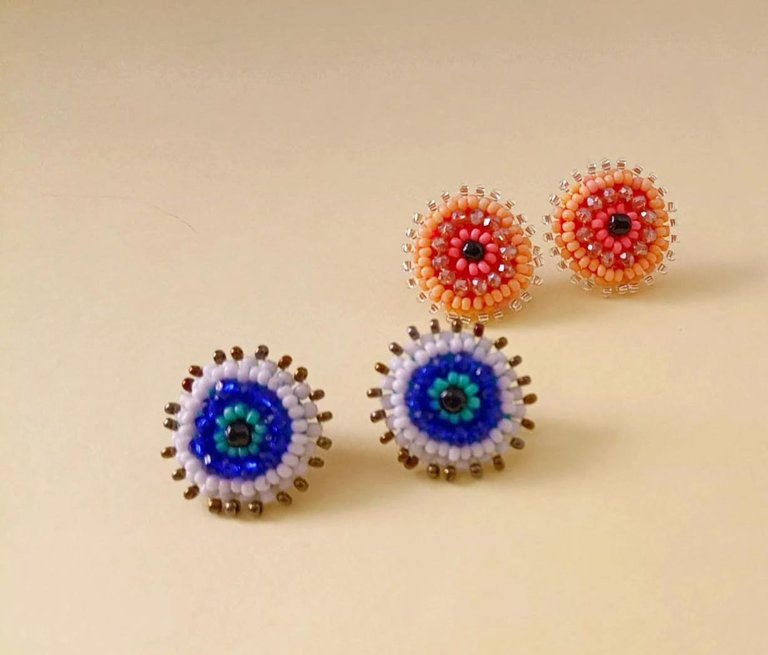
¡Soy fan de estos zarcillos!, la verdad es que me gustaron mucho, además lo veo super prácticos para usarlos diariamente.
I'm a fan of these earrings, I really like them and I think they are very practical for daily use.

Todas las fotografías las tomé con mi celular Xiaomi 7A, los diseños los realizo con la aplicación Canva y la traducción con la pagina web https://www.deepl.com/translator.
¡Espero que esta idea los motive!, nos leemos pronto.
All the pictures were taken with my Xiaomi 7A cell phone, the designs were made with the Canva application and the translation with the website https://www.deepl.com/translator.
I hope this idea motivates you, see you soon.