¡Hola creativas y creativos de HiveDiy!, no estaba de parranda, la verdad no había tenido tiempo de dejarles otro paso a paso por razones de trabajo.
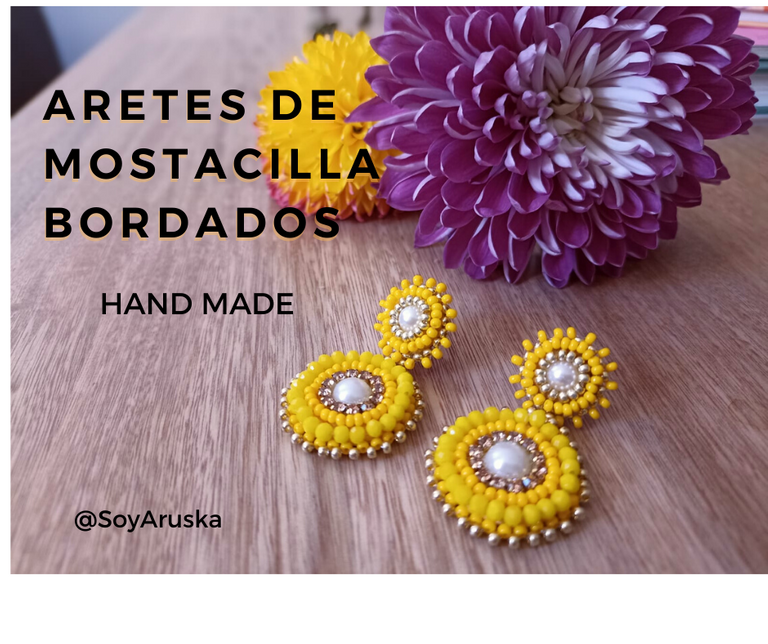
Hoy les voy a enseñar como hice estos lindos zarcillos amarillos (un color que me encanta), los hice con la técnica del bordado pero utilizando mostacillas para que se vieran muy lindos los entrelazados del diseño.
¡Manos a la obra!
Hello creatives of HiveDiy, I wasn't out on holiday, the truth is that I didn't have time to leave you another step by step for work reasons.
Today I'm going to show you how I made these cute yellow tendrils (a color I love), I made them with the embroidery technique but using beads to make the intertwined design look very nice.
Let's get to work!


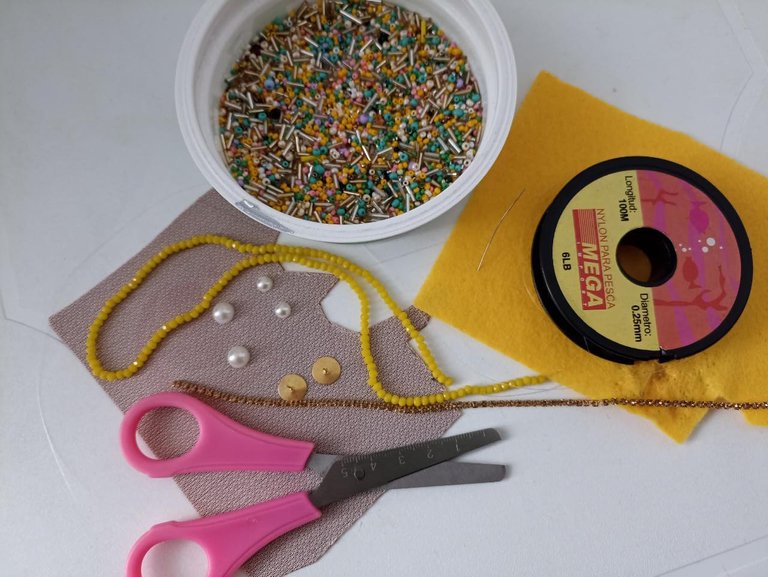
Materiales que vamos a utilizar:
- Mostacillas amarillas y doradas
- Piedras facetadas n° 4
- 4 perlas planas, 2 más pequeñas que las otras.
- Silicón frío
- Strass dorado
- Hilo de nylon y aguja de bordar mostacillas
- Fieltro amarillo
- Cuerina
- 2 topos para aretes
- Tijera
Materials we are going to use:
- Yellow and gold beads
- Faceted stones n° 4
- 4 flat beads, 2 smaller than the others.
- Cold silicone
- Gold rhinestones
- Nylon thread and beads embroidery thread
- Yellow felt
- Leather
- 2 earring studs
- Scissors
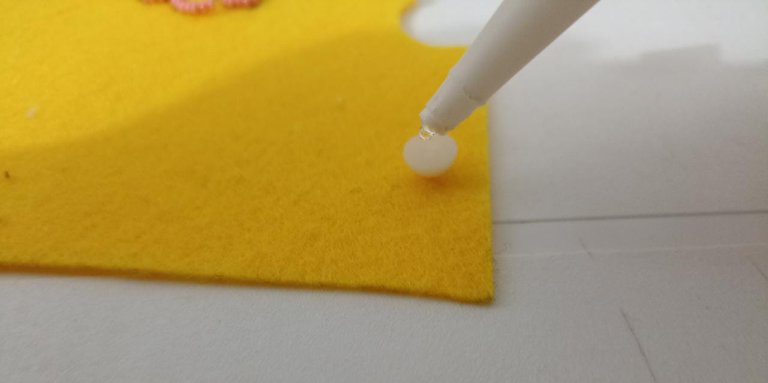
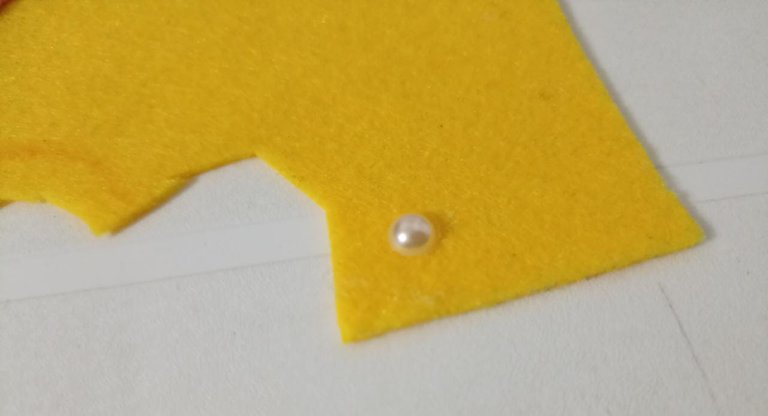
Vamos a tomar la perla plana más grande y la pegaremos de el fieltro.
Una vez pegada colocaremos silicón frío al rededor para pegar el strass.
We will take the largest flat pearl and glue it to the felt.
Once glued we will place cold silicone around it to glue the rhinestone.


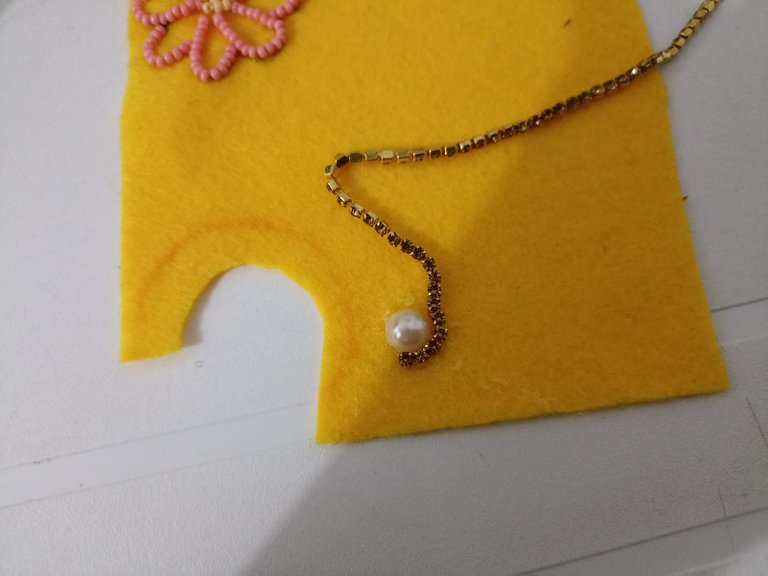

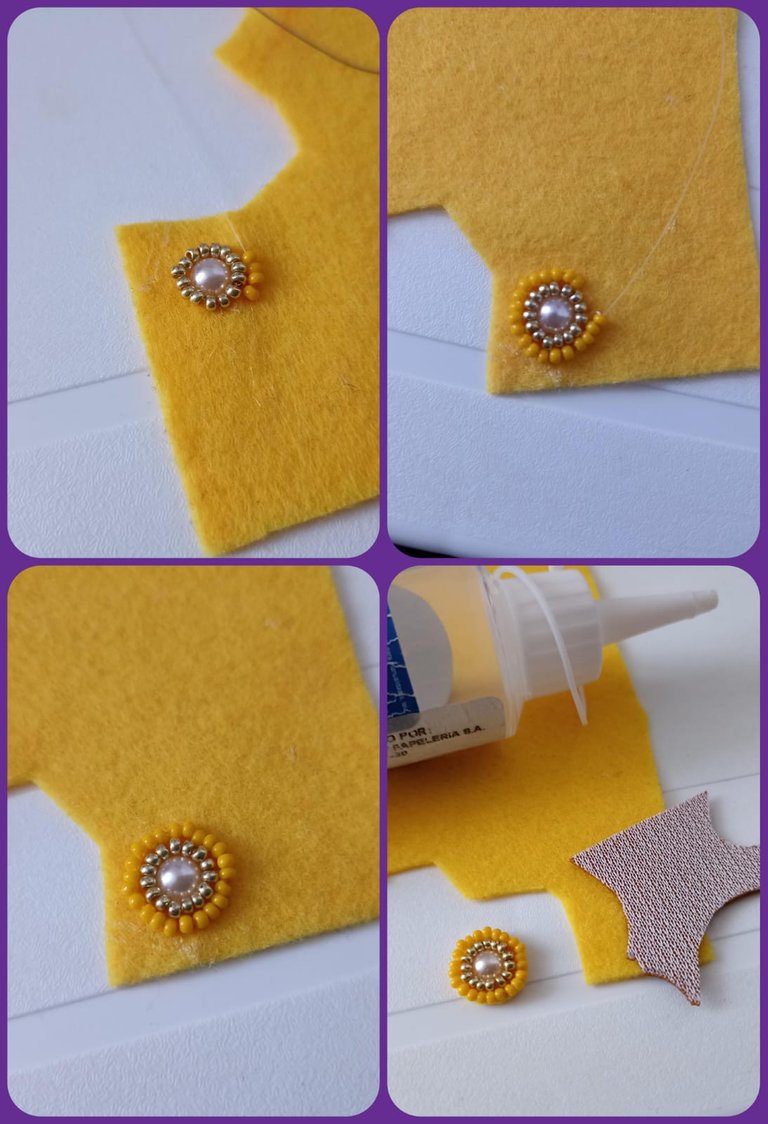
Cogemos hilo y aguja y vamos a comenzar a coser las mostacillas amarillas alrededor del strass. Yo recomiendo coser o bordar de mínimo de 3 en 3 o máximo en 4, para que no tuviesen riesgos de que se levantes y nos den mejor acabado.
We take thread and needle and start sewing the yellow beads around the rhinestone. I recommend sewing or embroidering at least 3 by 3 or 4 at the most, so that they do not run the risk of lifting and give us a better finish.

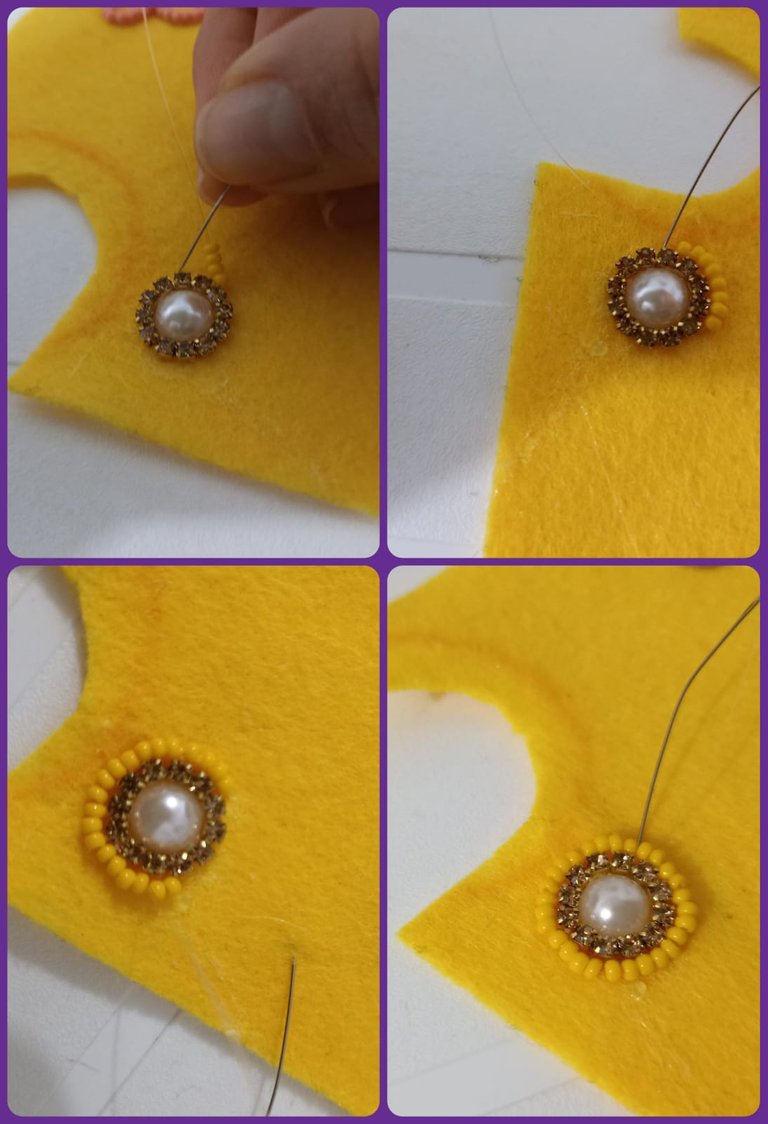
Procedemos a realizar lo mismo con las piedras facetadas amarillas.
We proceed to do the same with the yellow faceted stones.
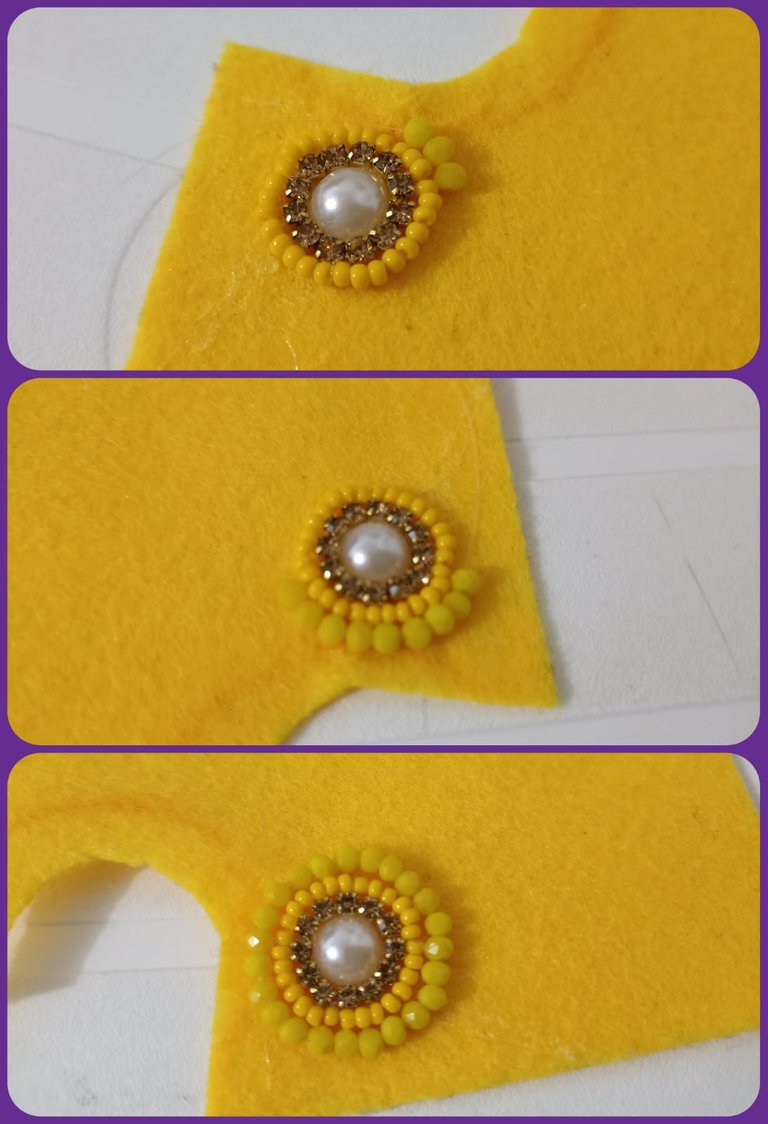
Cuando ya tenemos esto bordado, vamos a recordar delicadamente el borde y tendremos la pieza donde vamos a bordar los alrededores.
When we already have this embroidered, we will delicately remember the border and we will have the piece where we will embroider the surroundings.

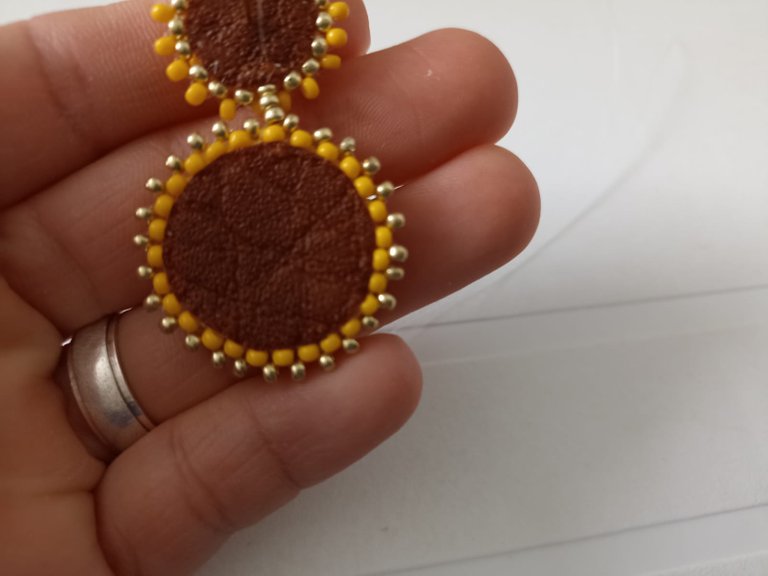
Pegaremos esto de la cuerina con silicón frío.
We will glue this to the leather with cold silicone.
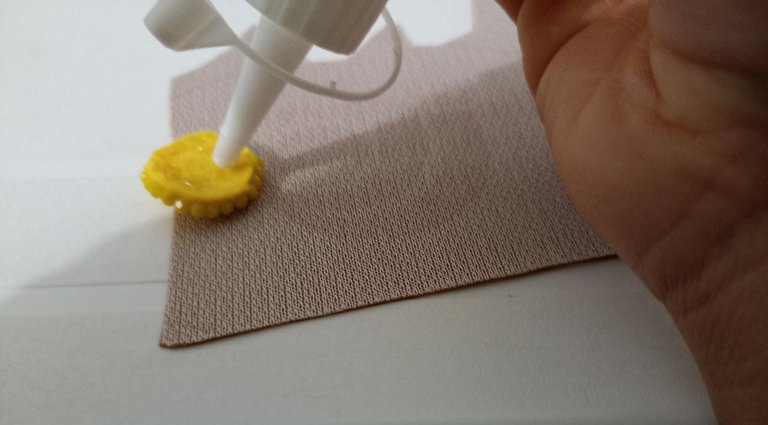

Recortamos los excedentes de cuerina y procederemos a bordar.
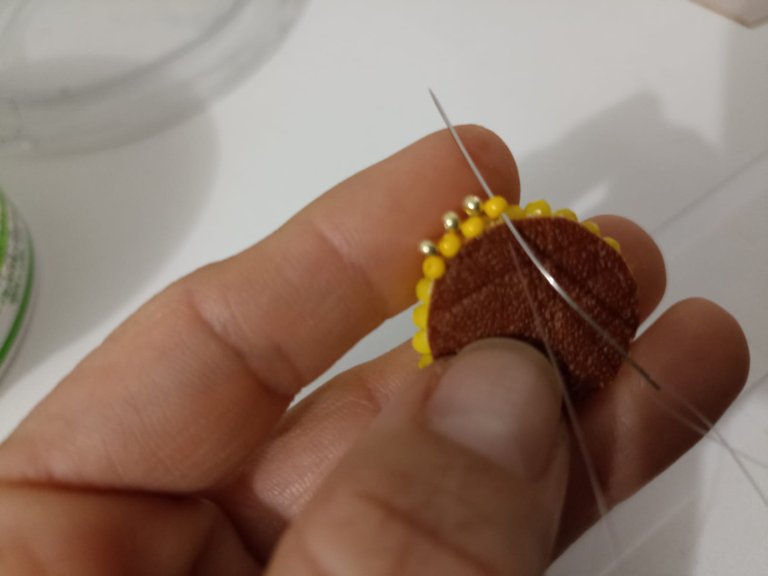
Con la aguja y el hilo vamos a comenzar a coser, meteremos primero una mostacilla y luego de dos en dos vamos a coser, eso nos dará una forma de triangulo y unirá el fieltro con la cuerina.
We cut off the excess leather and proceed to embroider.
With the needle and thread we are going to start sewing, first we will put a mustard and then two by two we are going to sew, this will give us a triangle shape and will join the felt with the leather.
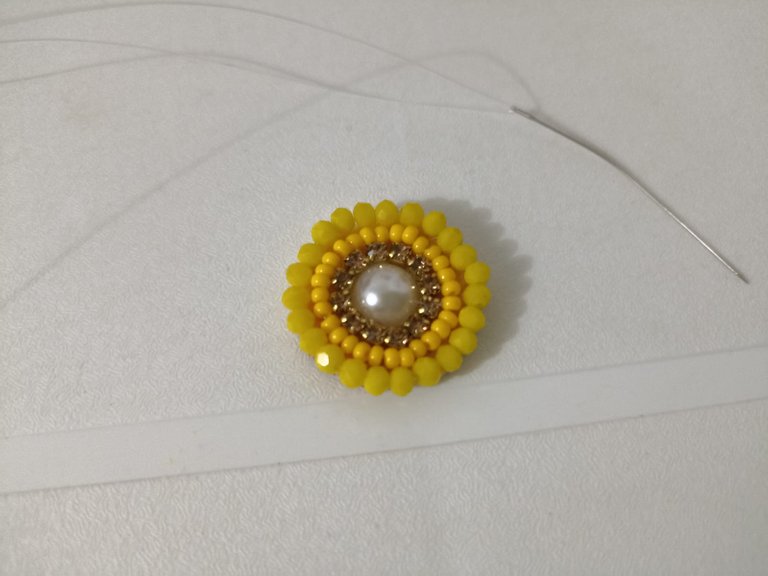


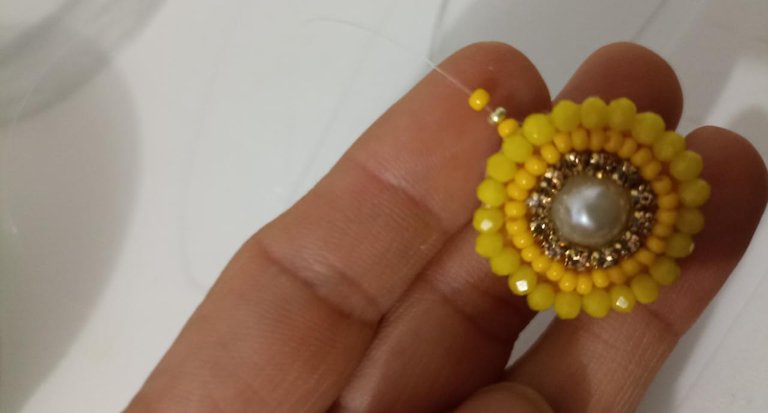

Vamos a seguir bordando sucesivamente hasta que terminemos todo el círculo. Al final haremos un nudito y recortamos el hilo al ras para que quede bien rematado.
We will continue embroidering successively until we finish the whole circle. At the end we will make a little knot and trim the thread flush so that it is well finished.



Comenzaremos ahora con la parte de arriba de nuestros zarcillos.
Pegaremos la piedra plana más pequeña, y repetiremos todo lo anterior.
We will now start with the top of our tendrils.
We will glue the smaller flat stone, and repeat all of the above.
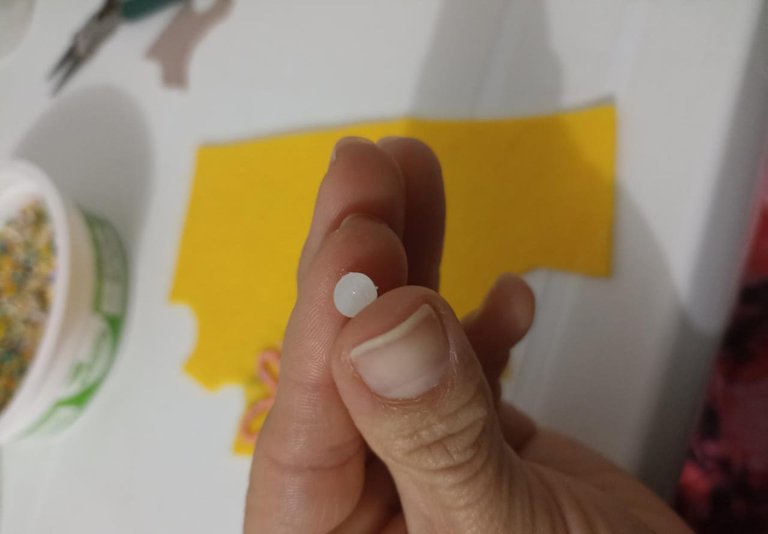

Una vez que tenemos recortada nuestra mini- pieza vamos a pegar de la cuerita el topito de nuetro arete.
Justo ahí pegaremos lo que hemos realizado como la parte de arriba del zarcillos que sostendrá la parte de abajo.
Once we have our mini-piece cut out, we are going to glue the little topito of our earring to the string.
Right there we will glue what we have made as the top part of the tendril that will hold the bottom part.

Recortamos y procedemos a bordar en triangulo el borde de esta pieza. Con mucho cuidado porque es más pequeña y queremos que quede bonita y delicada.
We cut out and proceed to embroider in triangle the edge of this piece. Be very careful because it is smaller and we want it to be beautiful and delicate.


Con el hilo que nos sobra al terminar de bordar, vamos a unir ambas piezas, ¿cómo lo haremos?...
Seleccionamos una mostacilla de la base y pasamos la aguja, agregaremos dos mostacillas y entraremos por otra mostacilla de la pieza más grande.
Cuando estemos del otro lado, vamos a meter nuevamente la aguja hacía la pieza pequeña uniendo con dos motacillas de igual forma.
With the thread that we have left over when we finish embroidering, we are going to join both pieces, how do we do it?
Select a bead from the base and pass the needle, add two beads and enter through another bead of the larger piece.
When we are on the other side, we are going to put the needle back into the small piece joining with two beads in the same way.
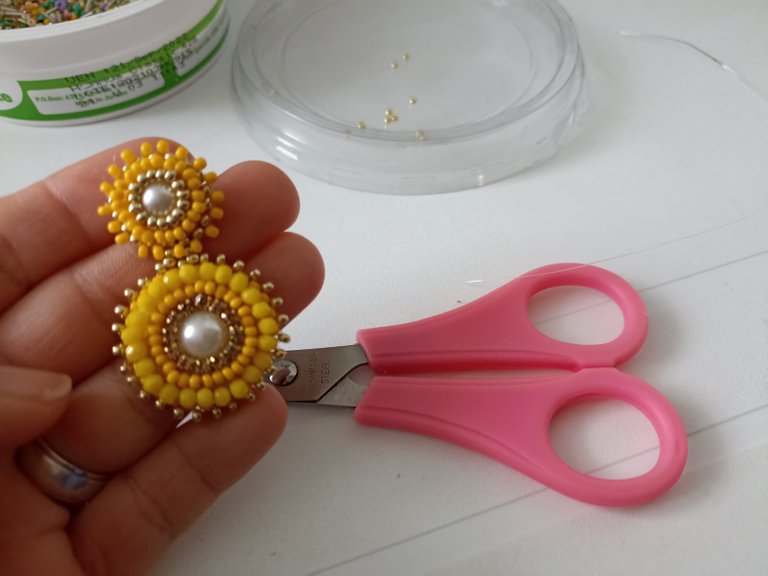
Hacemos nudito y cortamos el hilo... y empezamos con el otro arete.
La verdad es un trabajo largo, y con mucho detalle, pero una vez que están listo vale la pena la concentración.
Este modelo lo aprendí a hacer hace poco para mi línea de accesorios que tengo como emprendimiento y trabajo. Quería compartirlo con ustedes porque es muy bonito.
We knot and cut the thread... and start with the other earring.
The truth is a long work, and with a lot of detail, but once they are ready it is worth the concentration.
I recently learned to make this model for my line of accessories that I have as a business and work. I wanted to share it with you because it is very beautiful.


Me gustaría que me dejaran sus comentarios acerca de este paso a paso, si les gustó, si les parece mucho trabajo, etc, lo que deseen.
Es un gusto tener este espacio para compartir todos el conocimiento.
I would like you to leave me your comments about this step by step, if you liked it, if it seems like a lot of work, etc, whatever you want.
It is a pleasure to have this space to share knowledge.

Todas las fotografías fueron tomadas por mi, con un celular Xiaomi 10 note, los diseños realizados con Canva y la traducción con la versión gratuita de Deepl.com.
All the pictures were taken by me, with a Xiaomi 10 note cell phone, the designs made with Canva and the translation with the free version of Deepl.com.
