English

Image's Source - Fuente de la Imagen
Greetings and best wishes to the people of the Hive DIY community. I hope that life is treating you well and if not, if you are having fun moments: I wish you a lot of encouragement so that you can get ahead of the situation in which you find yourself.
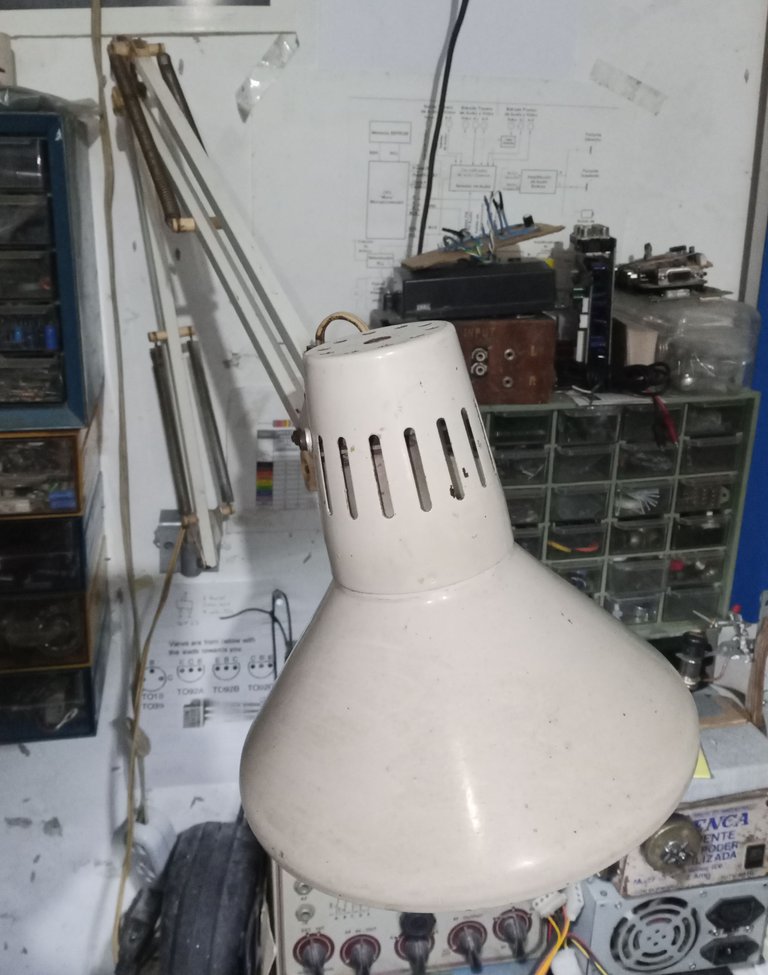
On this occasion I share with you a job that is quite simple, short and somewhat humble. My table lamp fell off its base on the wall.
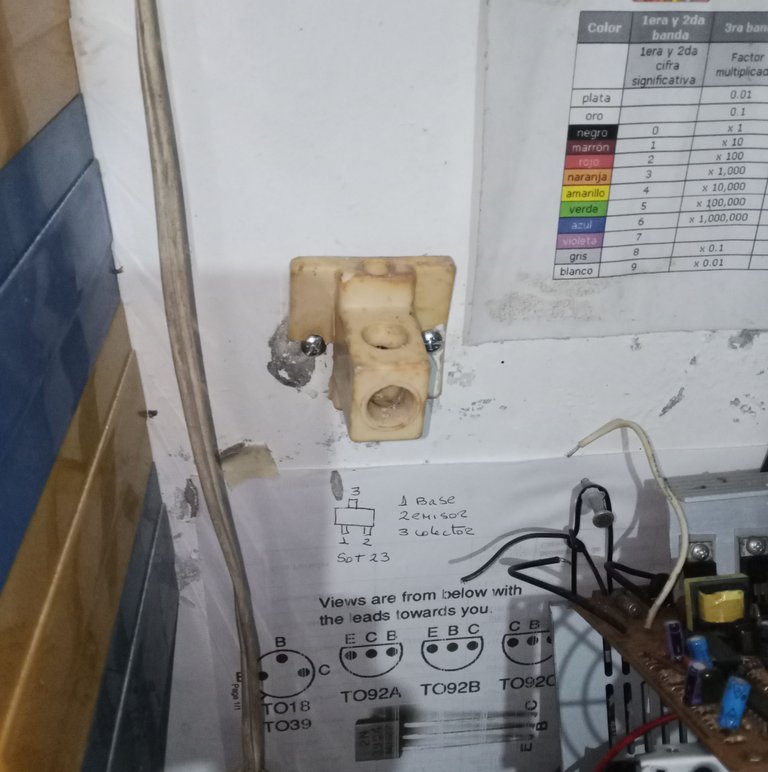
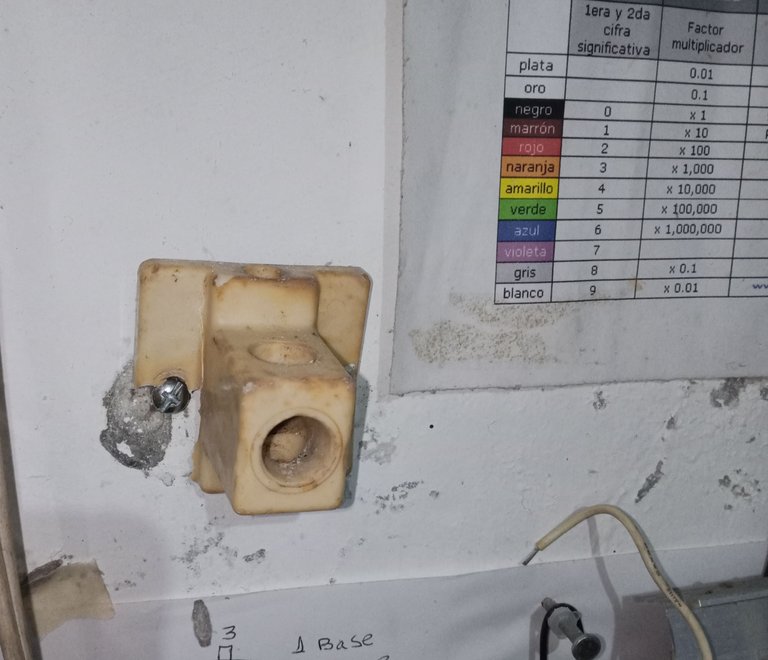
After more than twenty years, it is normal that the plastic of the support has degraded and ends up breaking. I would have liked to have had a 3D printer or a good piece of wood, and shaped it. But I still had to solve it somehow, I need light to be able to work well.
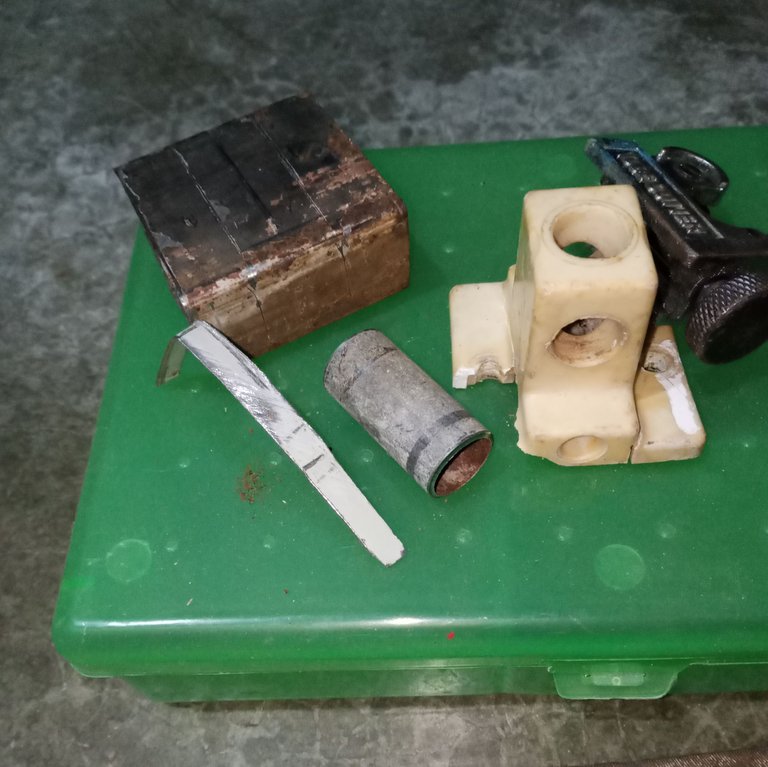
I took advantage of the recycling material I had in the warehouse, I found that I had a piece of 2” x 1” pipe that in its prime was part of a fence.
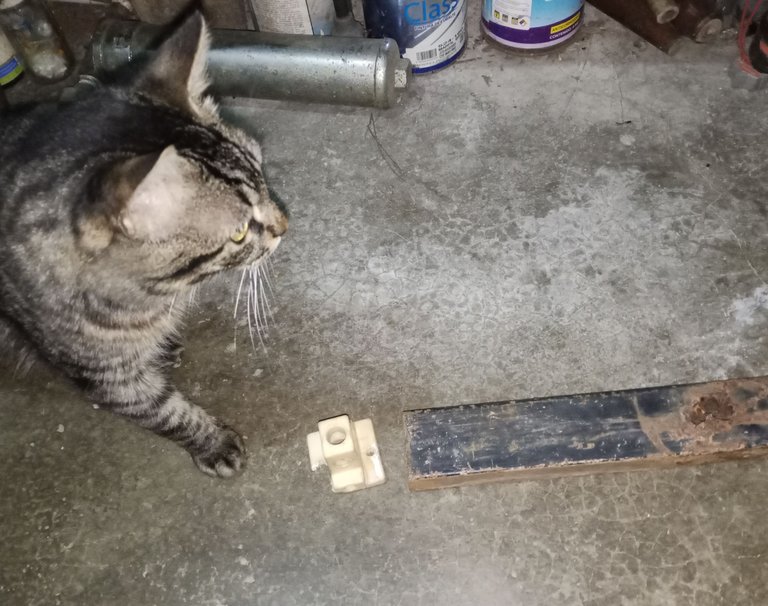
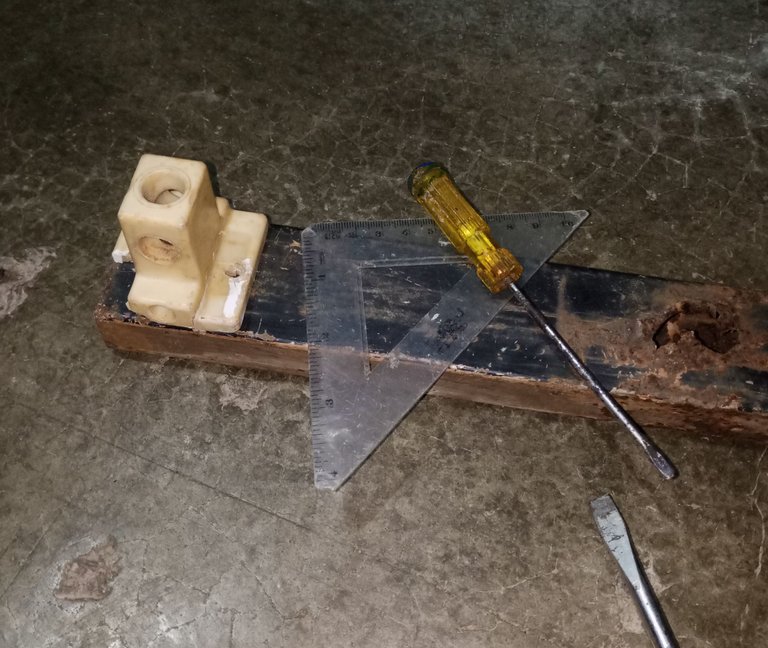
Cut a part, according to the measurement of the base.
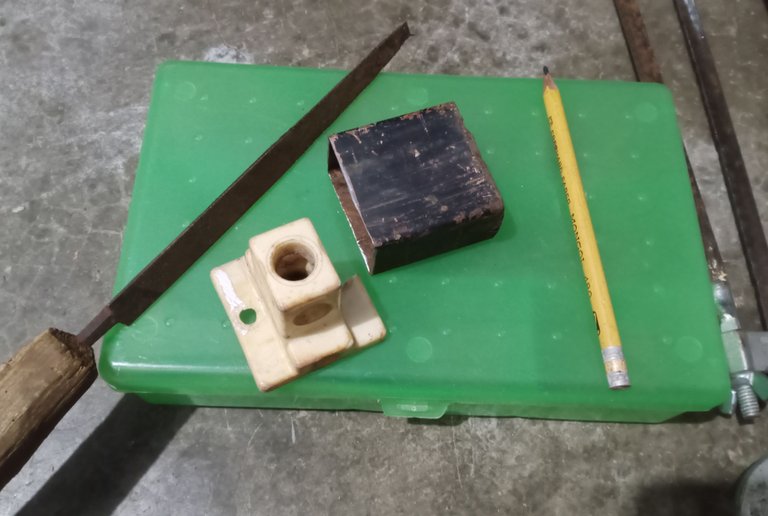
Use a recycled electrical pipe to make the part where the lamp spike will fit.
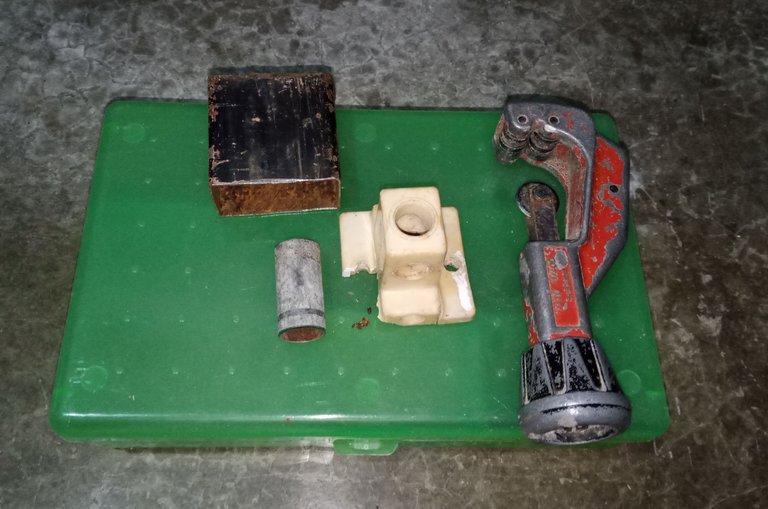
Finally, I cut a strip from a computer case cover, I am going to use the metal strip to join the pieces, my welding machine is an industrial type, and it is not worth using such a heavy and cumbersome machine to make the union of these two pieces, with the metal strip you will see that it will look quite good.
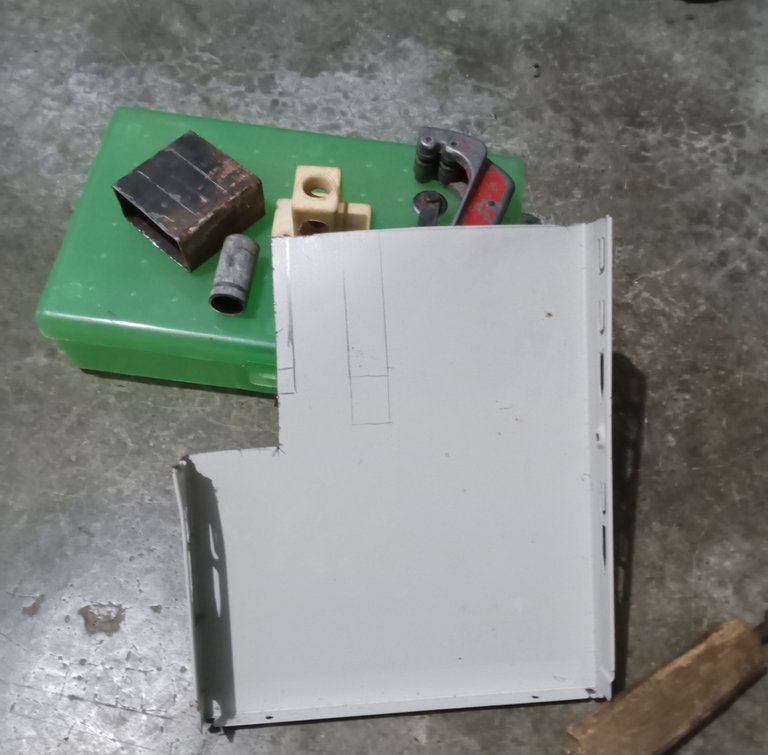
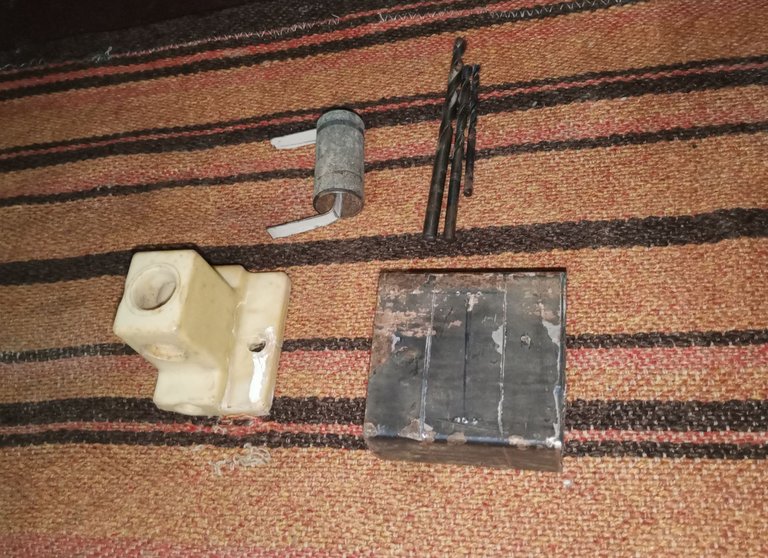
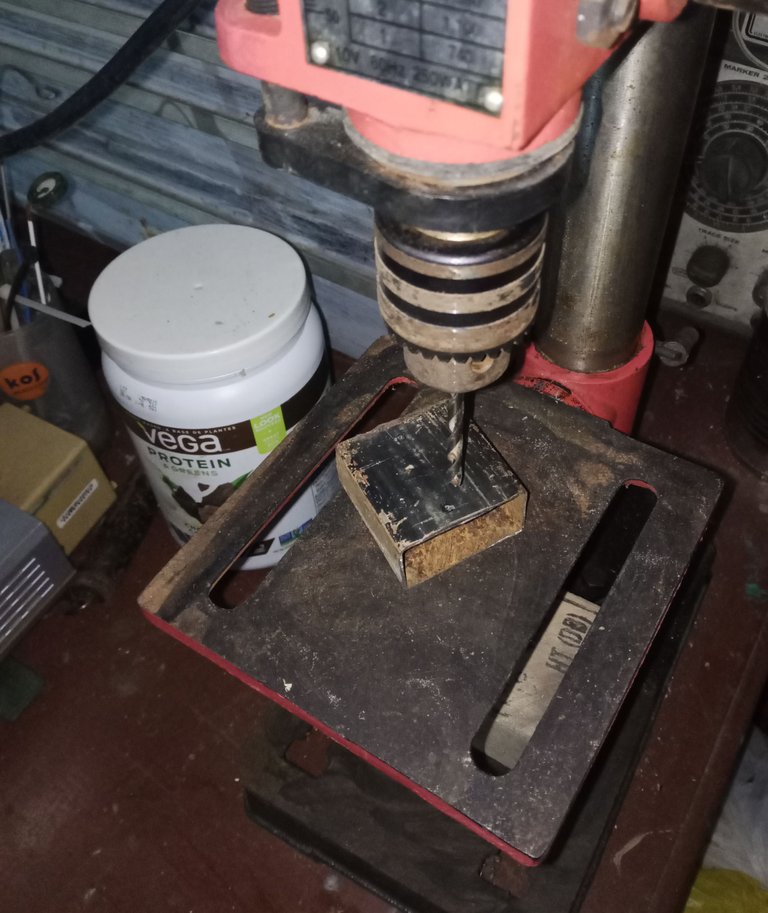
Drill in the piece of rectangular profile tube, the holes on the outermost face must allow the screwdriver to pass through, so they are larger than the holes where the screws that hold the base to the wall will enter.
I make the slots to fix the pieces with the drill and a small cutting tip.
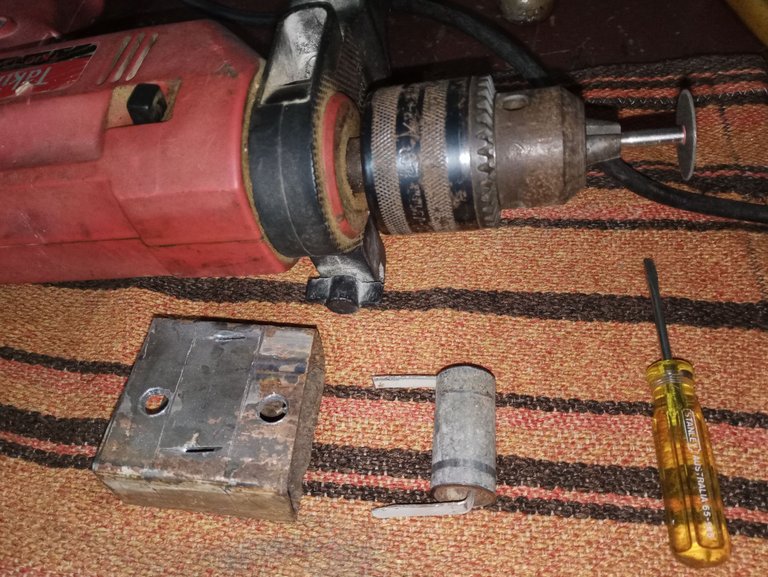
The joining of the pieces is not very complex, the concept is very simple.
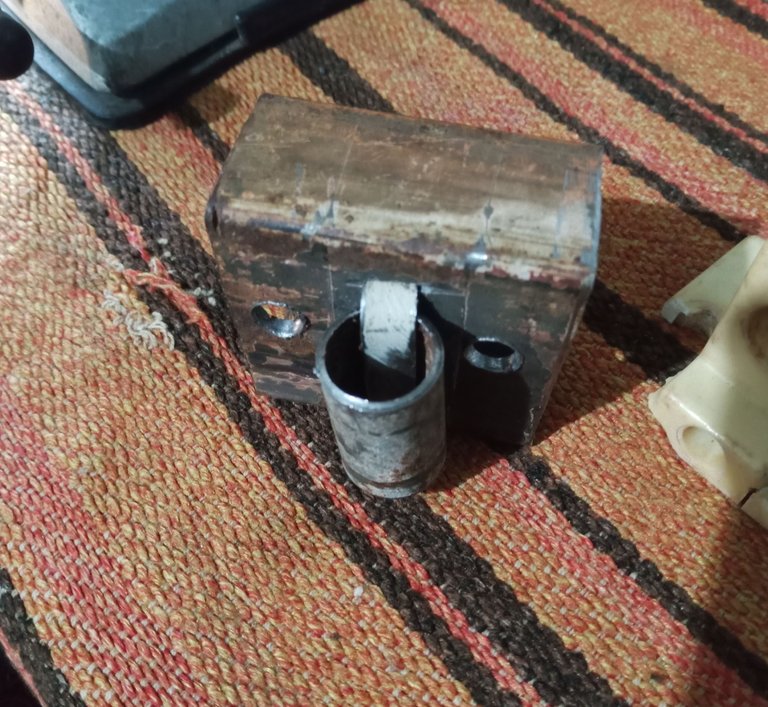
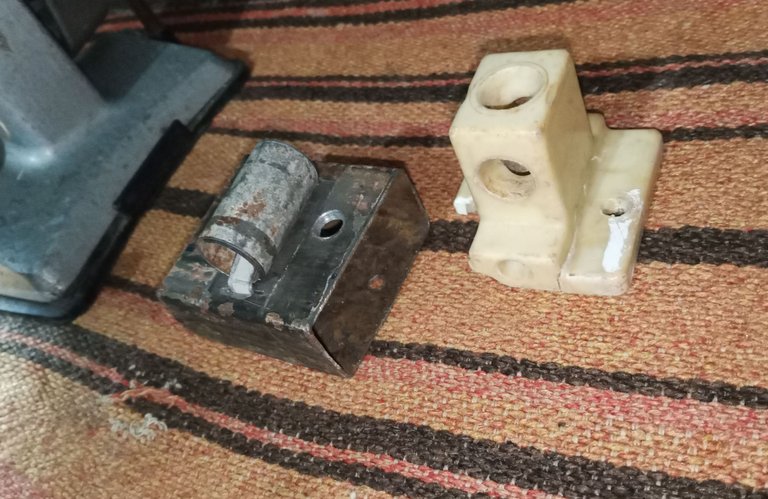
We clean the parts with a wire brush and apply a little paint to give it a better appearance. If everything goes well, I'm going to see it for a long time. It's better to have a nice view.
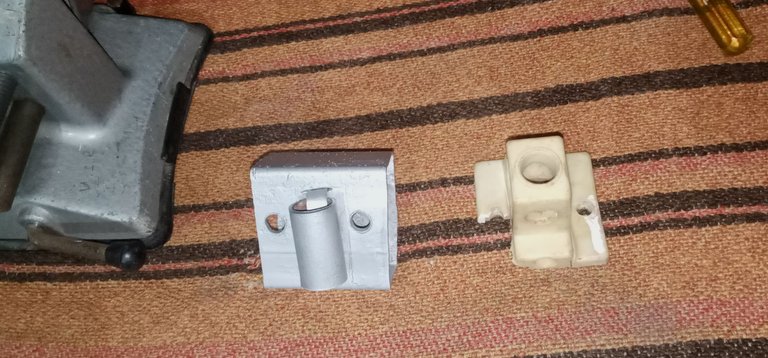
It was firm when fixing it on the wall.
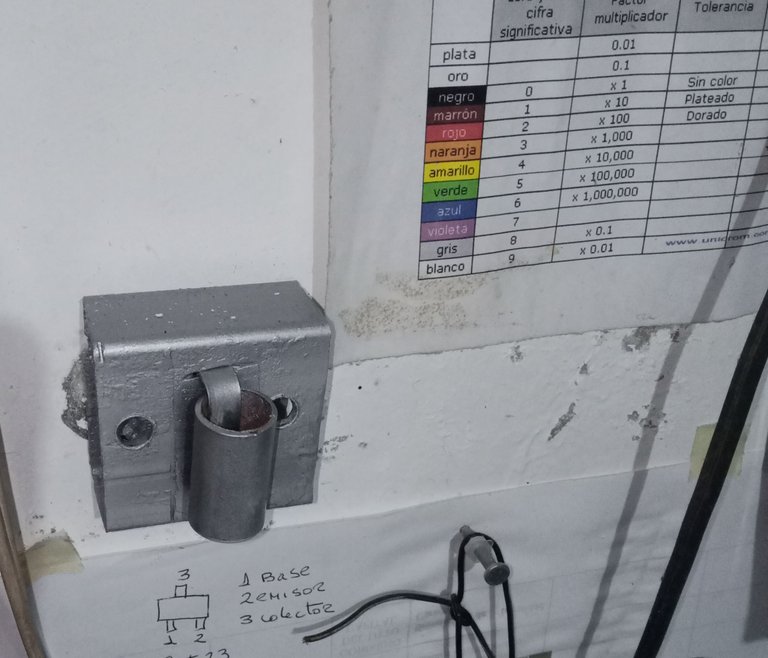
Now I can work calmly again, light is very important in an electronics workshop and when I use the workshop to do restorations, to work on the small details of the devices.
This is an additional comment, in case there are any questions on the subject:
I worked a lifetime to build my workshop, in the end I thought:
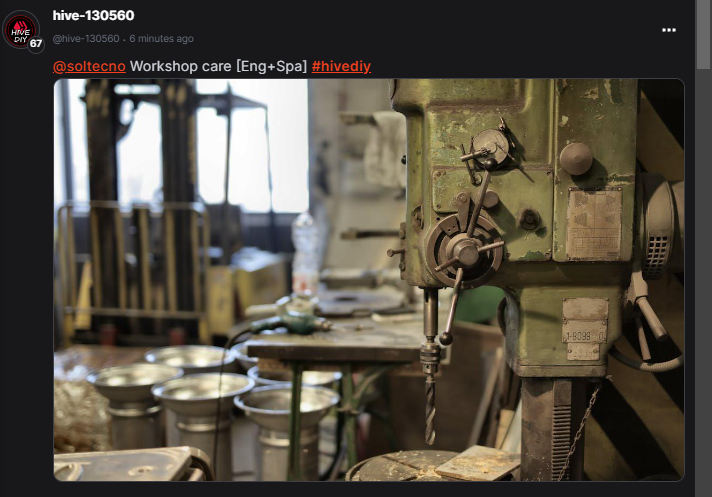
That when I retire, I will spend quiet hours repairing or restoring things. That is why many of the tools are not new, as you can see in the images, some have been with me for more than twenty or thirty years.
I never expected that the country's economy, when the time of my retirement arrived, would be in such a complicated situation.
Anyway, somehow we will get ahead.
Thank you very much for stopping by and reading me.
Have an excellent week.
Peace.
I have used Google Translate for the English language
The images unless otherwise indicated are screenshots of my work in the workshop.
Español

Image's Source - Fuente de la Imagen
Saludos y mis mejores deseos para las personas de la comunidad de Hive DIY. Espero que la vida les esté tratando bien y si no fuese así, si están en momentos entretenidos: les deseo mucho ánimo para que puedan salir adelante de la situación en la que se encuentren.
En esta oportunidad les comparto un trabajo que es bastante sencillo, corto y algo humilde. Mi lámpara de mesa se desprendió de su base en la pared.

Después de más de veinte años, es algo normal, que el plástico del soporte se haya degradado y termine por quebrarse. Me habría gustado contar con una impresora 3D o una buena pieza de madera, y darle la forma. Pero igual tenía que solucionar de alguna forma, necesito la luz para poder trabajar bien.

Aproveche del material de reciclaje que tenía en el depósito, encontré que tenía un trozo de tubo de 2” x 1” que en su mejor momento fue parte de una reja.


Corte una parte, según la medida de la base.

Use una tubería de electricidad reciclada, para hacer la parte donde va a encajar la espiga de la lámpara.

Finalmente, corte una tira de una tapa de case de computador, voy a usar la tira de metal para unir las piezas, mi máquina de soldar es del tipo industrial, y no vale la pena usar una máquina tan pesada y engorrosa, para hacer la unión de estas dos piezas, con la tira metálica ya verán que quedará bastante bien.


Perfore en el trozo de tubo de perfil rectangular, los agujeros de la cara más externa, deben permitir el paso del destornillador, así que son de una medida mayor que los agujeros donde entraran los tornillos que sujetan la base a la pared.

Hago las ranuras para fijar las piezas con el taladro y una punta de corte pequeña.

La unión de las piezas no tiene mayor complejidad, el concepto es muy simple.


Limpiamos las partes con un cepillo de alambre y aplicamos un poco de pintura para darle mejor aspecto. Si todo va bien, voy a verlo por un buen tiempo, Es mejor que tenga una vista agradable.

Quedo firme al fijarlo en la pared.

Ahora puedo volver a trabajar tranquilamente, la luz es muy importante en un taller de electrónica y cuando uso el taller para hacer restauraciones, para trabajar en los detalles pequeños de los aparatos.

Es un comentario adicional, por si hay alguna pregunta sobre el tema:
Trabaje toda una vida para ir armando mi taller, al final pensaba:
Que al retirarme, voy a pasar horas tranquilo reparando o restaurando cosas. Por eso muchas de las herramientas no son nuevas, como se puede ver en las imágenes, algunas tienen conmigo más de veinte o treinta años.
Yo nunca espere que la economía del país, cuando llegara la época de mi jubilación, la economía estaría en una situación tan complicada.
Igual, de alguna manera saldremos adelante.
Muchas gracias por pasar y leerme.
Que tengan una excelente semana.
Paz.

He usado el traductor de Google para el idioma inglés
Las imágenes a menos que indique lo contrario son capturas de mi trabajo en el taller.

