English

Greetings, I hope you are in the best possible situation and if you are not, I wish you all the encouragement you need to face whatever situation you find yourself in.
These days I went to the workshop with a few damaged led bulbs to repair or recycle, so I also take this opportunity to share my work with you.

In particular, I really prefer neon energy-saving bulbs, despite being more complicated to repair. They usually work without problem for a year or more, while LEDs rarely work for that long.

I have been experimenting in lowering the current intensity of the leds, to increase their useful life. When I am sure that it has worked well, I will share with you the result.
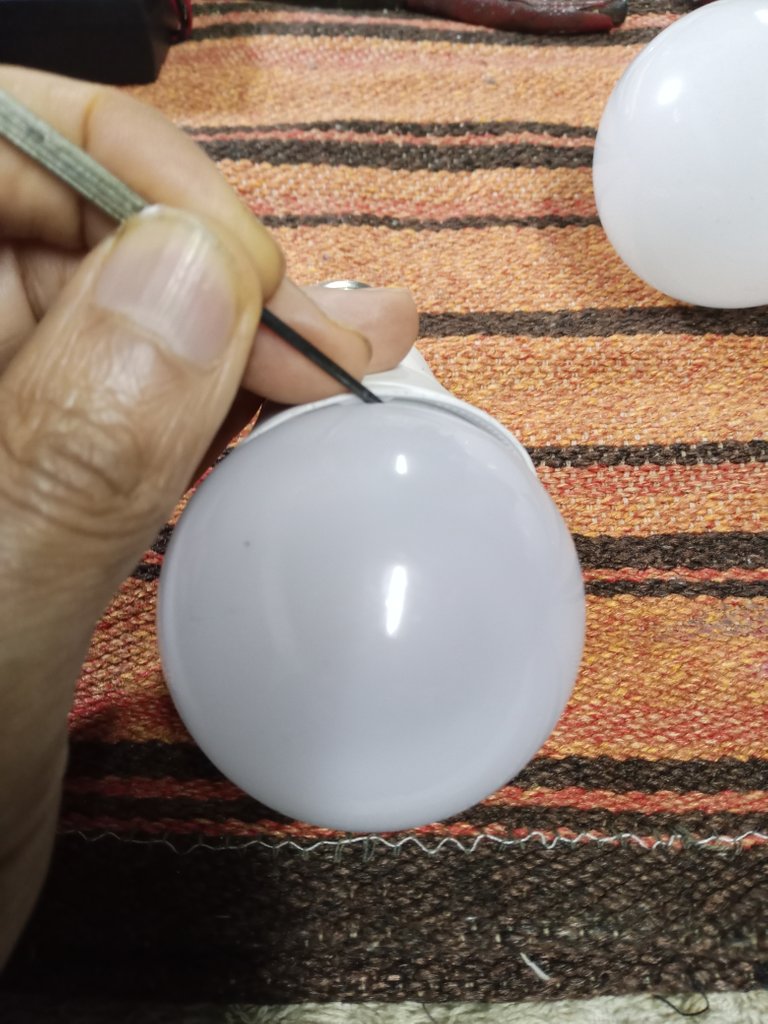
Accessing the plate is very simple, with a thin flat screwdriver we press lightly on the cover socket and we can remove the cover.
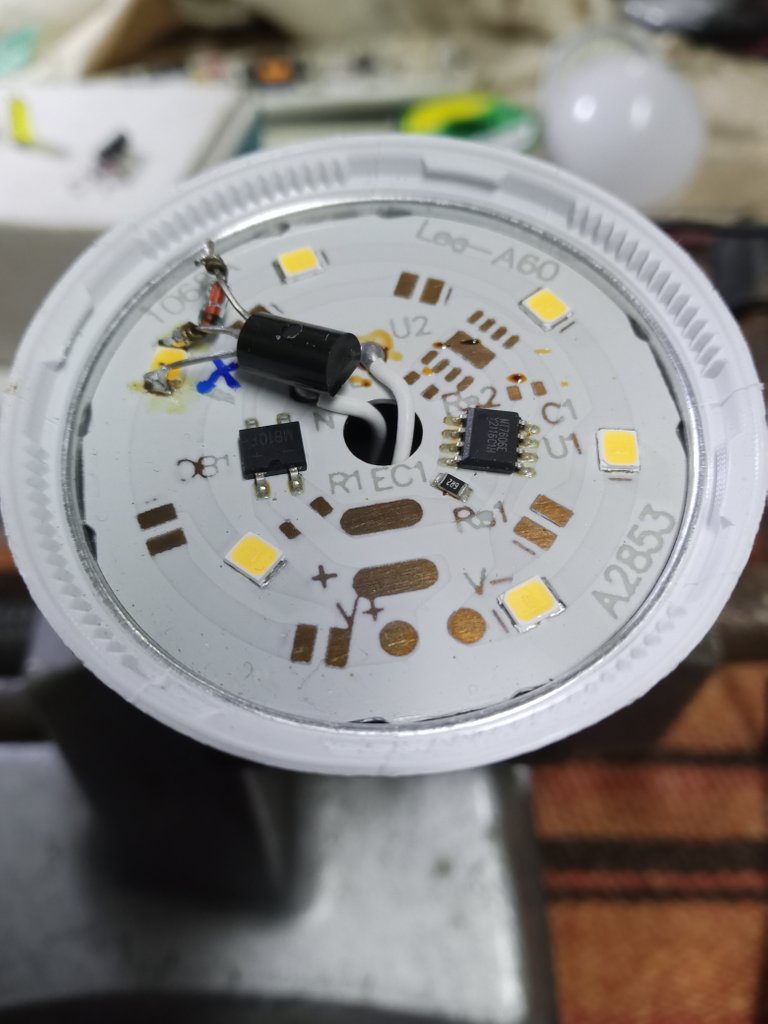
When you have some practice repairing a piece of equipment, a quick inspection usually tells you what the fault may be, in this case all the leds are in perfect condition.

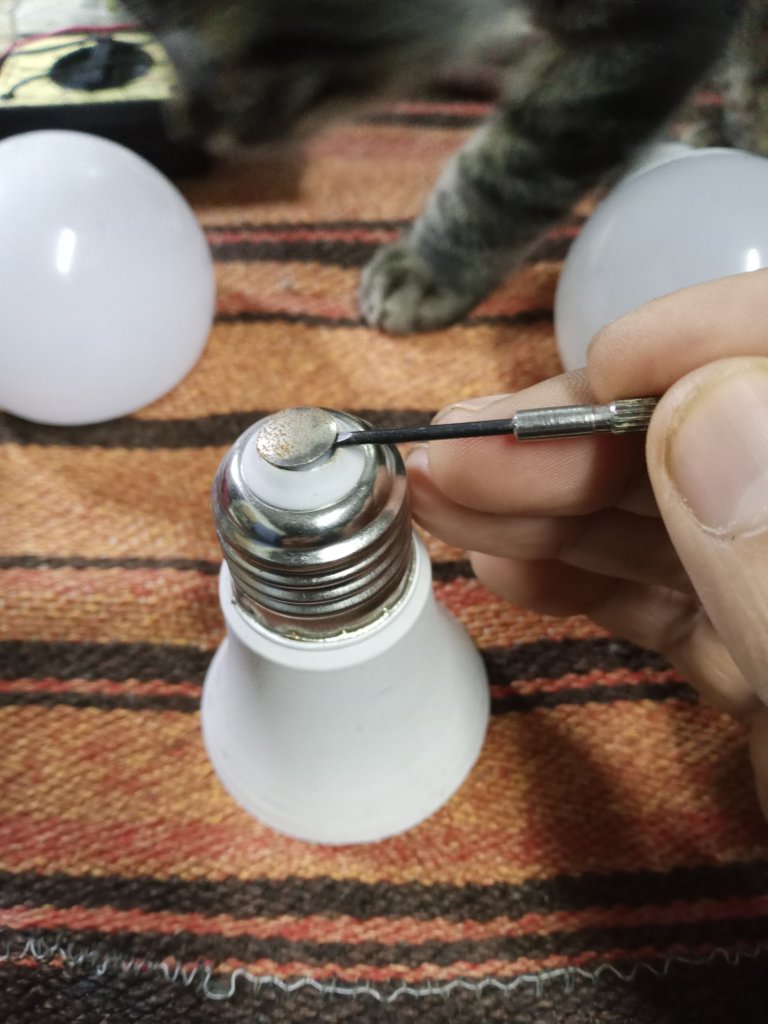
A fault that was very easy for me to solve is a bad contact with the threaded bushing (E 27 connector). I just do a slight pressure and lift to check, (it is not glued or soldered like the bulbs of old) I have already seen this failure in some new bulbs that they discard, and they are in perfect condition, so first of all I check that the cable does Good contact, and the fault was resolved.
We started quite well, in the next repair we helped ourselves with the led tester that we put together in the previous post, if you want to put one together it's simple:
https://ecency.com/hive-130560/@soltecno/simple-led-tester-for-tv

It is a bit difficult to photograph and apply the led tester, that's why I only leave a sample image with one of the bulbs, (I tried them all, but I don't see it as practical to upload the image of each one). I can test the leds one by one or the whole led strip with no problem.

It is usually noticeable with the naked eye when the led is damaged by the black spot or spot, but it is better to check with the appropriate tool.

If it's just a damaged led, I usually replace it with a transistor, in this case I use a 667 with a 5 volt zenner diode. It has given me very good results with leds from 3 volts to 6 volts, it is a fairly reliable replacement. If there are more than one damaged led in the bulb, it is better to recycle the parts to repair other equipment. I have detailed it in a post, if you want to review it:
https://ecency.com/hive-130560/@soltecno/repairing-led-lamps-with-transistors

We tested that it works without incident.

We move on to the next patient.

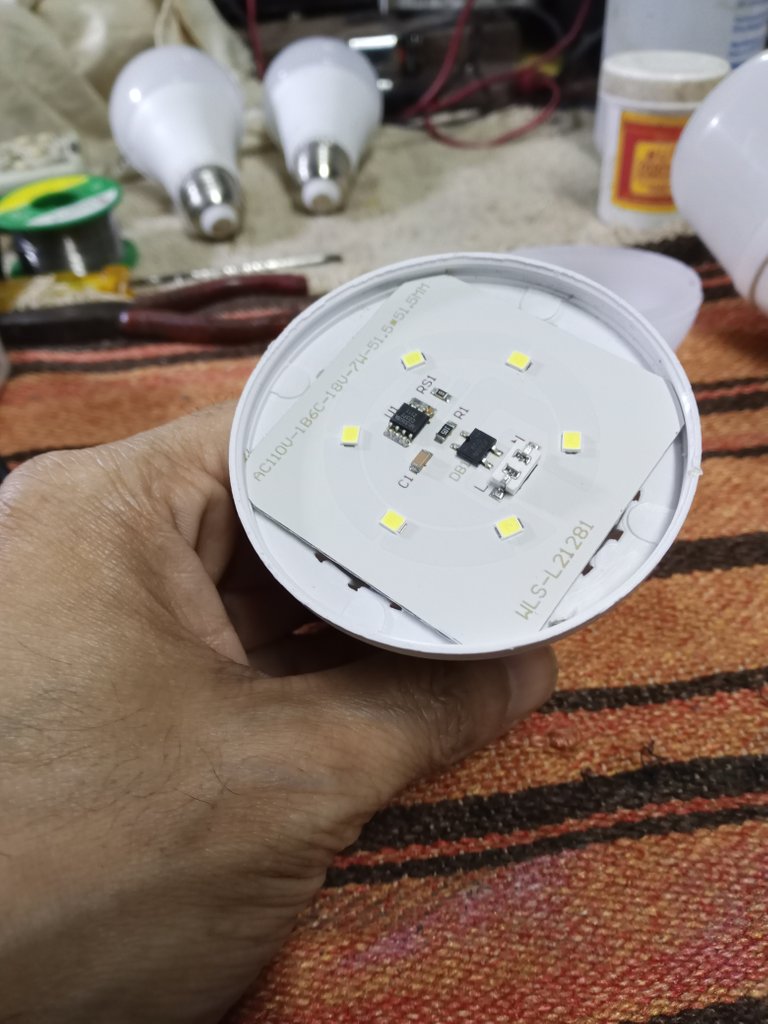
It may look great at first glance, but take a closer look carefully.
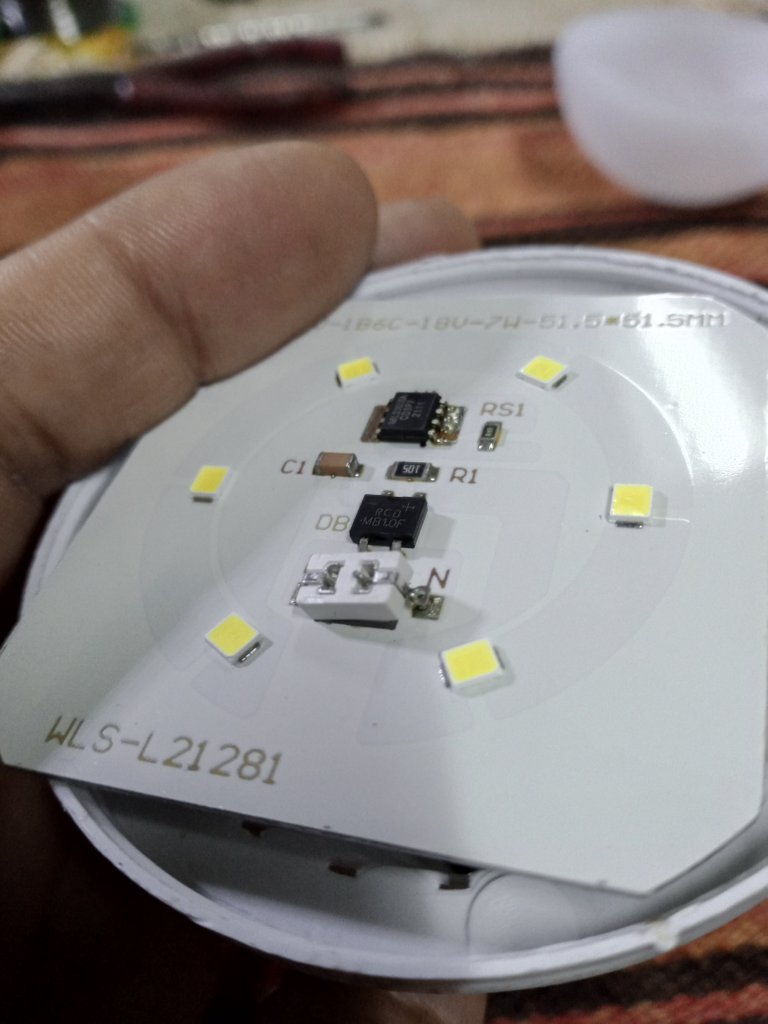
In this case, the fault is something that I find in many equipment, from televisions to sound equipment, ovens, washing machines. Failed welds can make the repair very complicated if you are not careful.
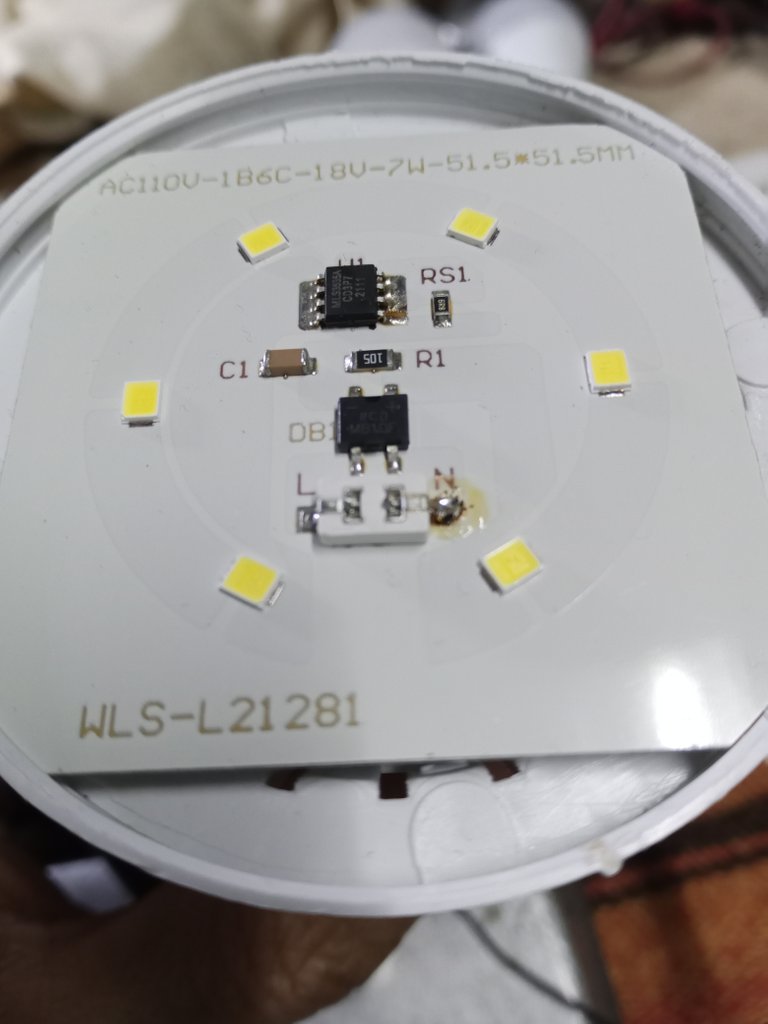
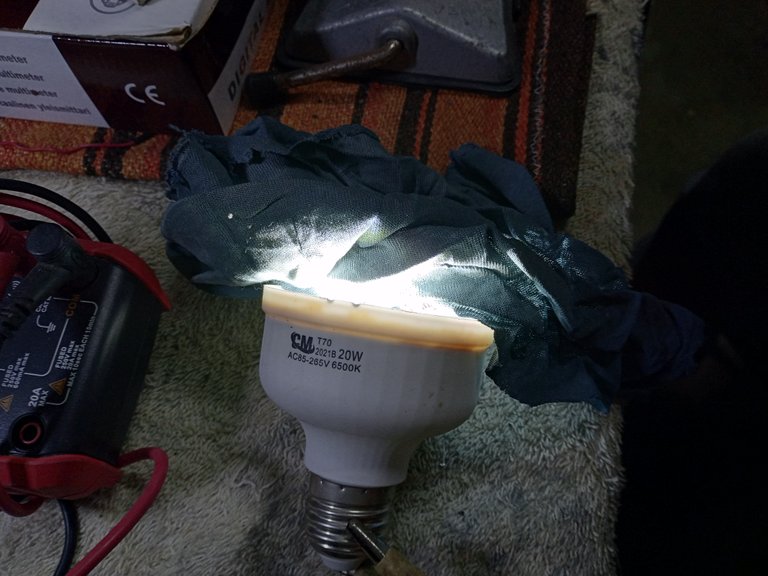
We reviewed the welding and tested, without incident. (place a cloth to reduce the light, it interfered with the camera)
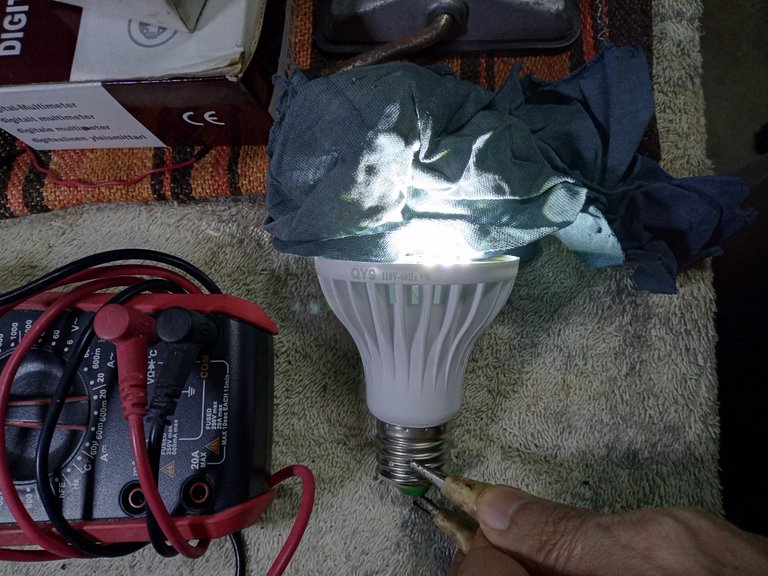
The truth is that this batch has not been wasted, we move on to the next fault.
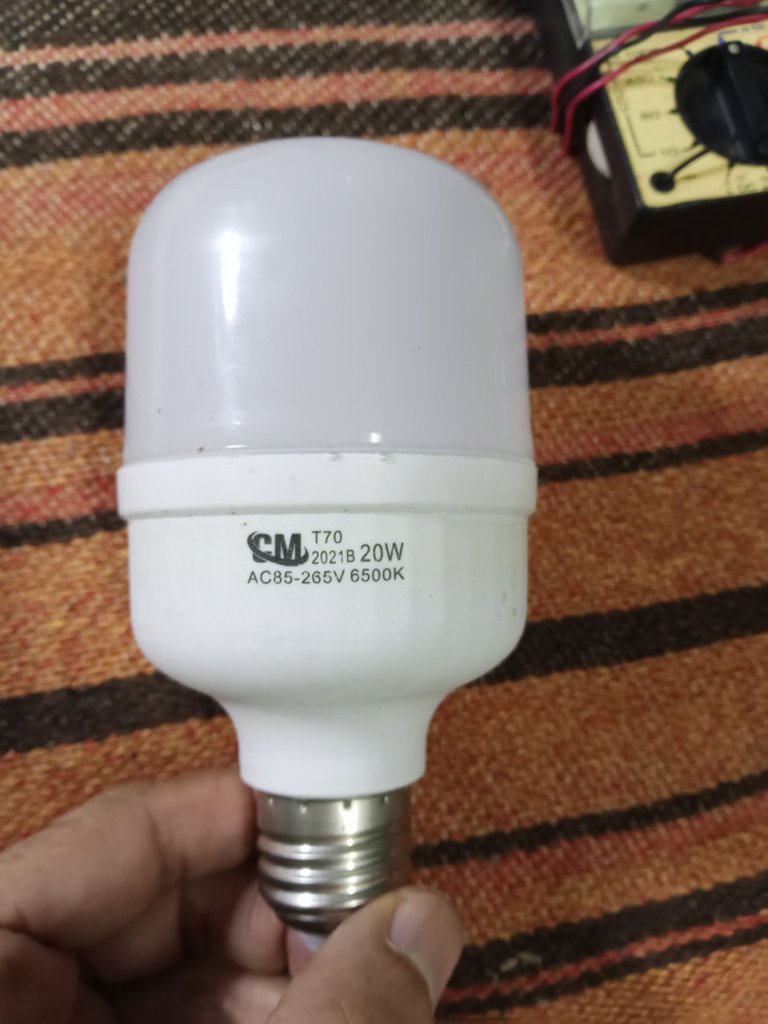
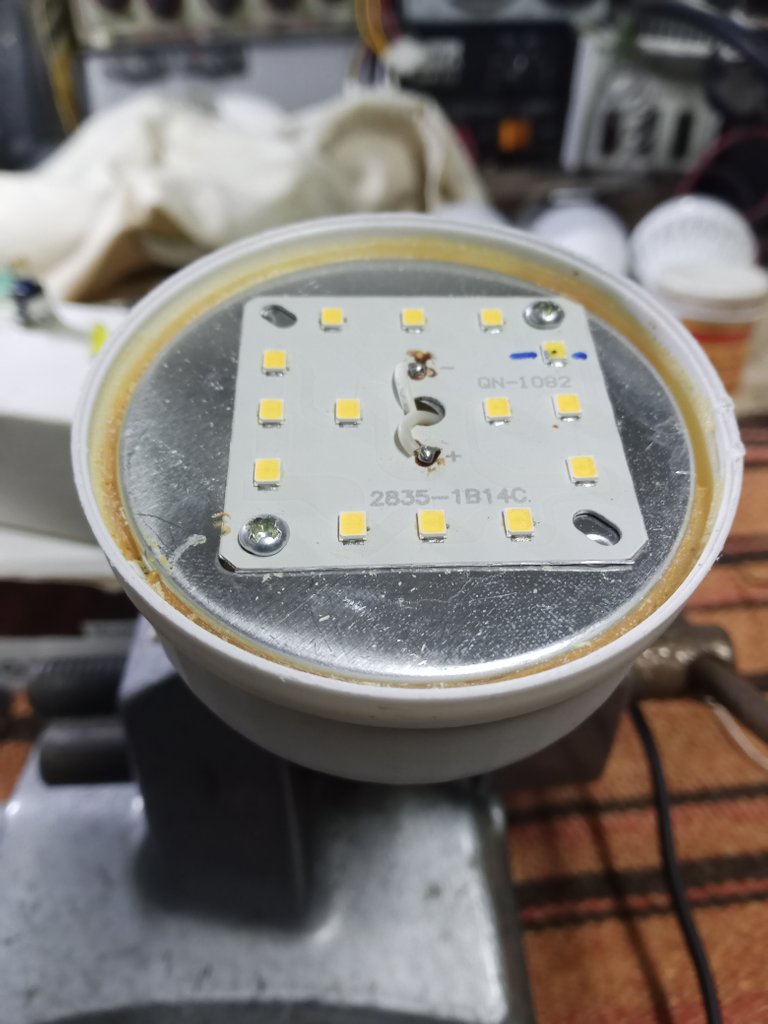
In this we only found a damaged led, we replaced it with a 667 transistor with the led arrangement.
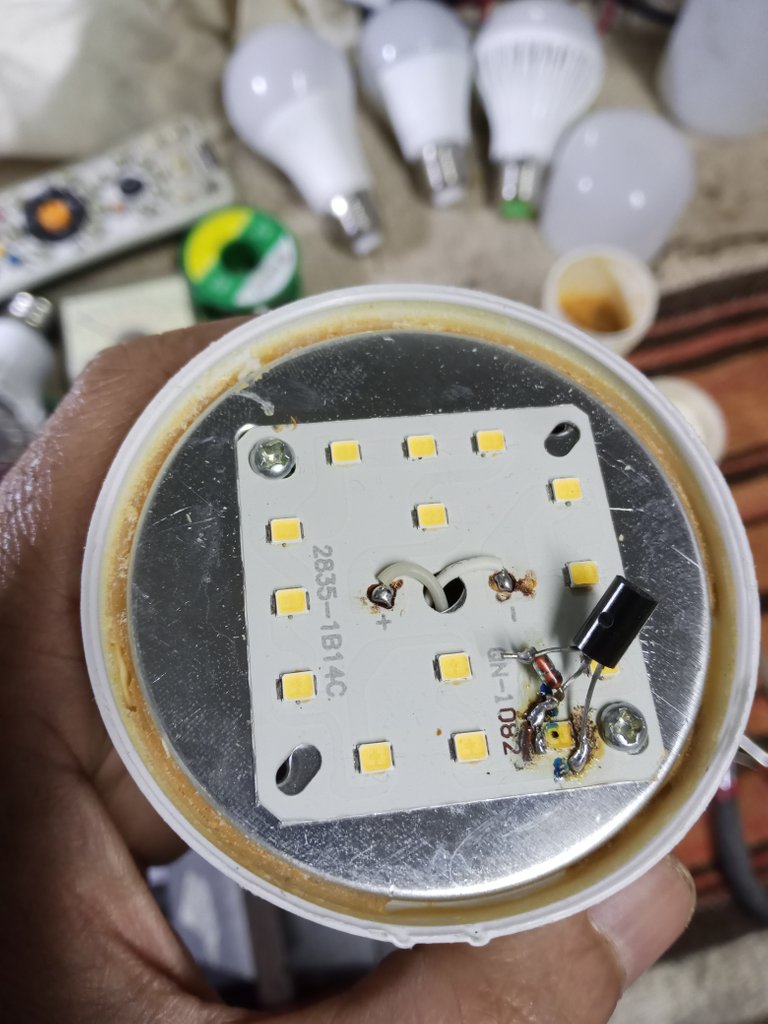
For some reason I had a hard time doing a weld on these tracks, it doesn't look very good at the end. But I'm pretty steady.
Finally, the last patient of the batch, in this case, I tried something new, and replaced the damaged led with a high brightness led that I had left over from a recycled flashlight.

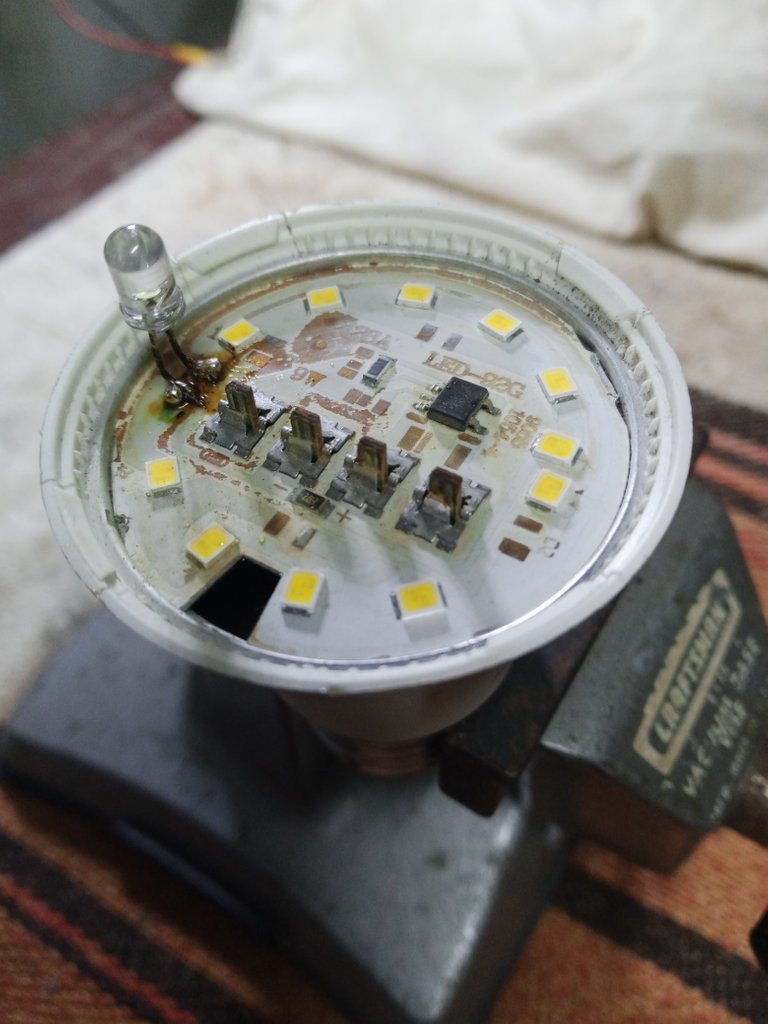
I'm going to have to test it for some time to find out if it's a valid solution, so I can't recommend if this solution works or not, I can't say yet if it's something that can be trusted.
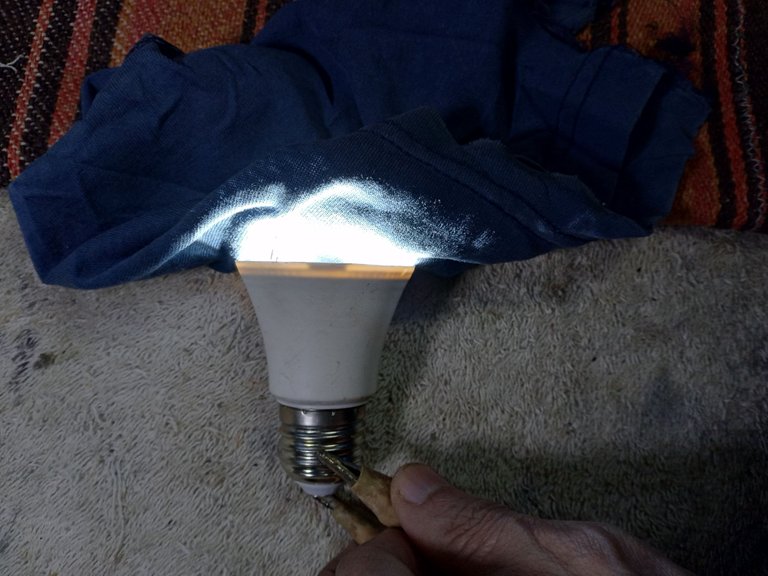
It has been a very lucky batch, I had no major problems. For the next publication I will have to get some more damaged bulbs than these, so it will be an explanation of more serious failures.
Well, it has been a pleasure to share with you some of my recycling work. I do not intend to make a tutorial or guide with the publication, although there are faults that as you can see are very simple to solve and with a little knowledge they can be solved at home.
As always, if you don't have some practice with soldering or electricity, I strongly urge you to get at least a basic level of training before attempting to handle electronic equipment: some equipment can give you a severe shock if you're not careful. And if a capacitor explodes and you don't have safety glasses on, it can hurt your eye.
So please take the security measures that correspond to any job.
Thank you very much for stopping by and reading.

I have used Google translate for the English language.
The images are captures of my work in the workshop.
The banner image is created with Canvas.
Have an excellent week.
Peace.
Español

Saludos, espero que estén en la mejor situación que sea posible y si no es así, les deseo todo el ánimo que necesiten para enfrentar la situación en que se encuentren.
En estos días me hice para el taller con unos cuantos bombillos leds dañados para reparar o reciclar, así que aprovecho también para compartir con ustedes el trabajo.

En lo particular realmente prefiero los bombillos ahorradores de neón, a pesar de ser más complicados de reparar. Por lo general funcionan sin problema por un año o más, mientras que los leds raramente funcionan por tanto tiempo.

He estado experimentando en bajar la intensidad de la corriente de los leds, para aumentar su vida útil. Cuando tenga seguro que ha funcionado bien, compartiré con ustedes el resultado.
Acceder a la placa es muy sencillo, con un destornillador plano delgado hacemos una ligera presión en el encaje de la cubierta y podemos retirar la tapa.

Cuando tienes cierta práctica reparando un equipo, una inspección rápida por lo general te indica cuál puede ser la falla, en este caso se ven todos los leds en perfecto estado.

Una falla que me fue muy fácil de resolver es un mal contacto con el casquillo de la rosca (conector E 27). Solo hago una ligera presión y levanto para verificar, (no está pegado ni soldado como los bombillos de antaño) ya he visto esta falla en algunos bombillos nuevos que desechan, y están en perfecto estado, así que antes que nada reviso que el cable haga buen contacto, y la falla quedo resuelta.

Comenzamos bastante bien, en la siguiente reparación nos ayudamos con el probador de led que armamos en la publicación anterior, si quieren armar uno es simple:
https://ecency.com/hive-130560/@soltecno/simple-led-tester-for-tv

Es un poco difícil fotografiar y aplicar el probador de led, por eso solo dejo una imagen de muestra con uno de los bombillos, (los probé todos, pero no veo práctico subir la imagen de cada uno). Puedo probar los leds uno por uno o toda la tira de led sin problemas.

Por lo general se nota a simple vista cuando el led está dañado por la mancha o punto negro, pero es mejor verificar con la herramienta adecuada.

Si solo es un led dañado, suelo reemplazar con un transistor, en este caso uso un 667 con un diodo zenner de 5 volts. Me ha dado muy buenos resultados con led desde los desde 3 volts hasta los de 6 volts, es un reemplazo bastante confiable. Si son más de un led dañado en el bombillo, es mejor reciclar las partes para reparar otros equipos. Lo he detallado en una publicación, si la quieren revisar:
https://ecency.com/hive-130560/@soltecno/repairing-led-lamps-with-transistors


Probamos que funcione sin novedad.

Pasamos al siguiente paciente.


Puede parecer muy bien a primera vista, pero si vemos más de cerca con cuidado.

Este caso la falla es algo que encuentro en muchos equipos, desde televisores a equipos de sonido, hornos, lavadoras. Soldaduras que fallan, pueden complicar mucho la reparación si no tiene cuidado.

Repasamos la soldadura y probamos, sin novedad. (coloque un paño para reducir la luz, interfería con la cámara)

La verdad es que este lote no ha tenido desperdicio, pasamos a la siguiente falla.


En este solo hallamos un led dañado, sustituimos por un transistor 667 con el arreglo para led.

Por algún motivo me costó bastante hacer una soldadura en estas pistas, no luce muy bien a la final. Pero quedo bastante firme.

Finalmente, el último paciente del lote, en este caso, probé con algo nuevo, y reemplacé el led dañado por un led de alto brillo que me quedo de una linterna reciclada.


Voy a tener que probarlo por algún tiempo para saber si es una solución válida, así que no puedo recomendar si esta solución funciona o no, aún no puedo decir si es algo que puede ser confiable.

Ha sido un lote muy afortunado, no tuve mayores problemas. Para la próxima publicación tendré que hacerme con algunos bombillos más dañados que estos, así será una explicación de fallas más graves.
Bueno, ha sido un placer compartir con ustedes un poco de mi trabajo de reciclaje. No pretendo hacer un tutorial o guía con la publicación, aunque hay fallas que como pueden ver son muy simples de resolver y con un poco de conocimiento se pueden resolver en casa.
Como siempre, si no tienes algo de práctica con la soldadura o la electricidad, te pido encarecidamente que te capacites por lo menos a nivel básico, antes de intentar manipular equipo electrónico: hay equipos que pueden darte una descarga fuerte si no tienes cuidado. Y si un capacitor explota y no tienes lentes de seguridad, puede lastimarte un ojo.
Así que por favor tomen las medidas de seguridad que correspondan en cualquier trabajo.
Muchas gracias por pasar y leerme.

He usado el traductor de Google para el idioma inglés.
Las imágenes son capturas de mi trabajo en el taller.
La imagen del banner es creada con Canvas.
Que tengan una excelente semana.
Paz.


