Greetings to the Hive DIY community, hoping you are in the best situation possible. This time I bring you a recycling job that I did for my old and beloved cat, Vero.

And of course, also for the little one who graces us with his recent company.

Each one of them claims a space on the computer desk and it's not that they make it very easy for me to work.
When Vero was little it fit in the palm of a hand and there was no major complication, but Vero has grown a little and falls down when lying down on the computer case, now it takes up a lot of space on the desk.
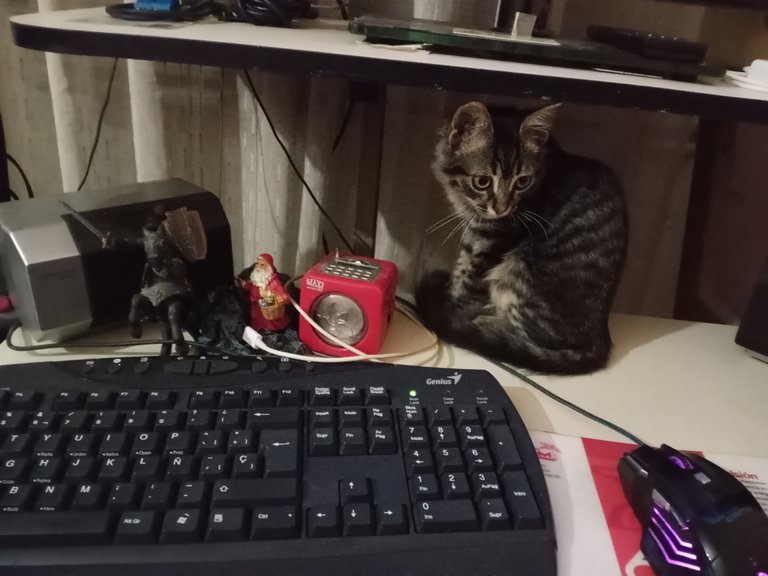
So he needed to make a bed for the computer table, without further ado, here we have the process.

I took advantage of a side cover from an old computer case, which I had in storage, sanded it and polished it with a wire brush to remove rust and dirt.
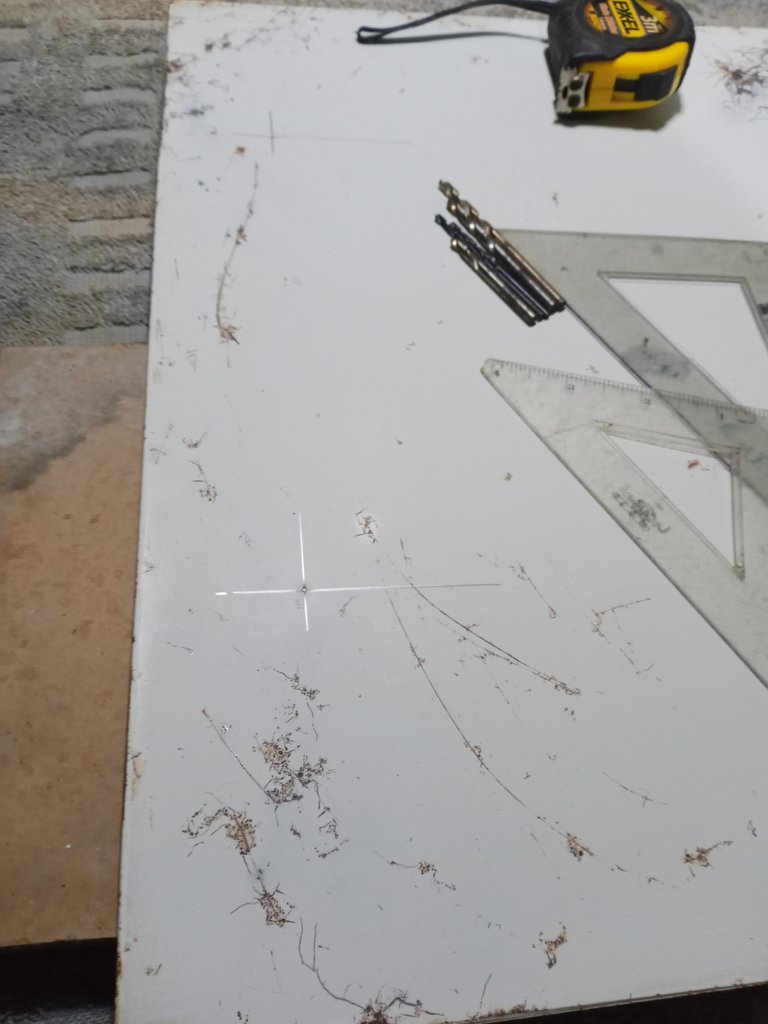
Mark to drill a pair of holes, ten centimeters from the center of the sheet, towards the top side and four inches from the center towards the bottom side, and four centimeters from the side edge of the sheet.
Use a damaged screwdriver, such as a center point, to mark the sheet and work precisely.
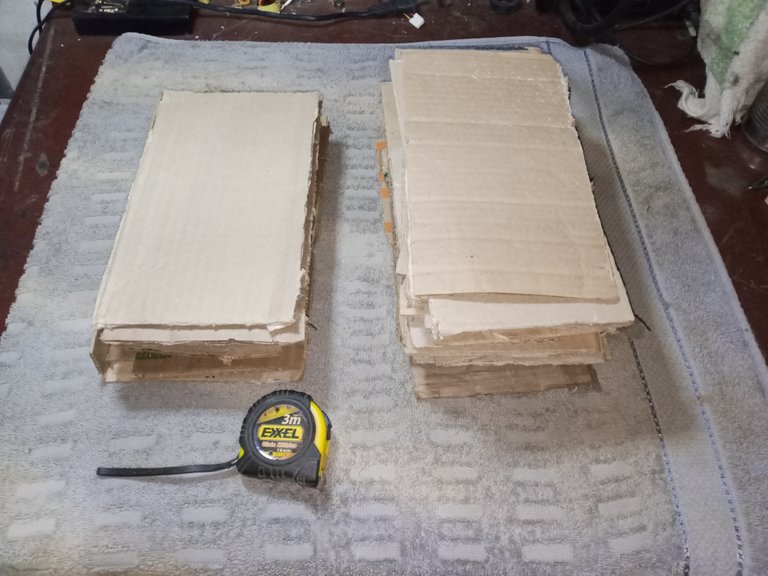
I took advantage of the pieces of recycled cardboard that I have accumulated in the warehouse to make the soft parts of the bed.
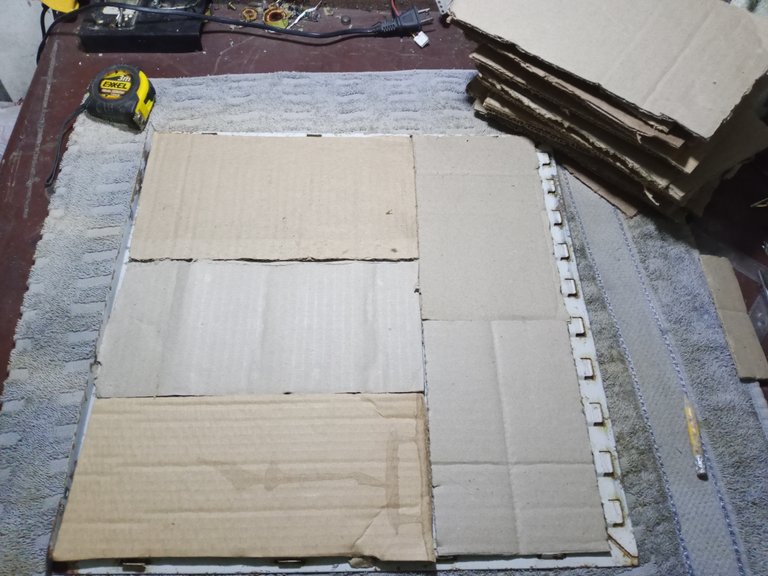
I take advantage of the help of the inevitable and reliable hot glue gun to make a softer cover on the metal sheet, with the pieces of cardboard.
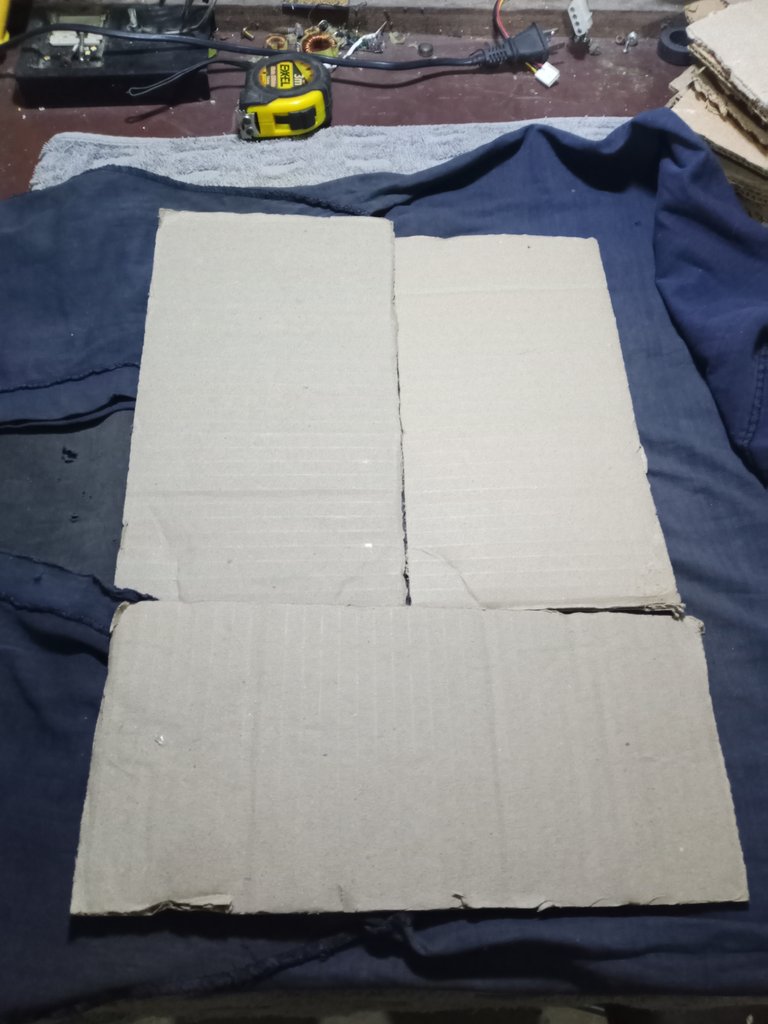
To make the small mattress I wanted to use padded foam, like a cushion and remember my time working in upholstery. But I didn't have that material on hand, so I solved it by putting together three layers of cardboard and joining them with the hot glue gun.
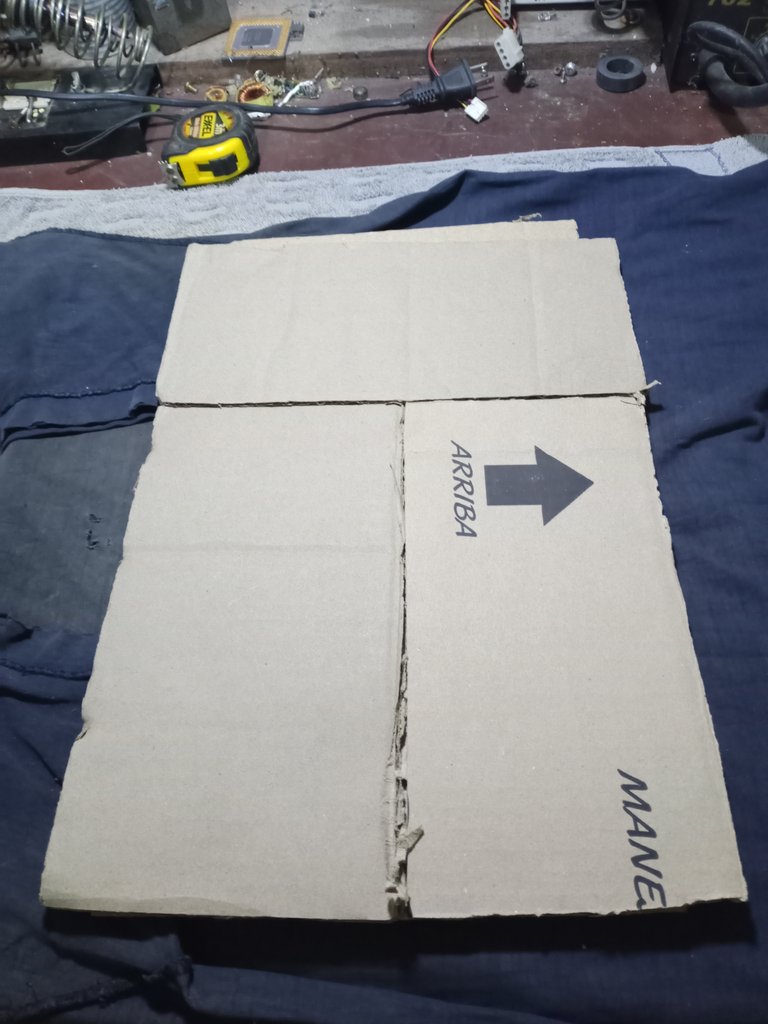
Three layers of cardboard seemed enough to me, I finished off the mattress by covering it with an old flannel and sort of securing everything with more hot silicone.
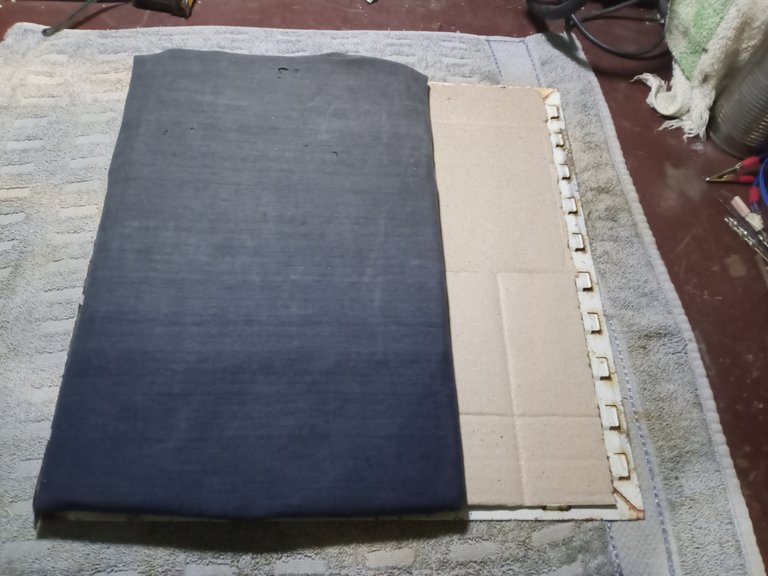
The side to the right of the bed is the one with the holes in the metal of the sheet, and it is the one that will be under the desk board, at first I wanted to go through the board to fix the bed.
Fortunately, I later realized that mostly the weight would be supported by the computer case, which is where the bed would rest, so the screws did not have to go through the table, they just had to enter the table and be fixed enough to that everything stayed in its place.
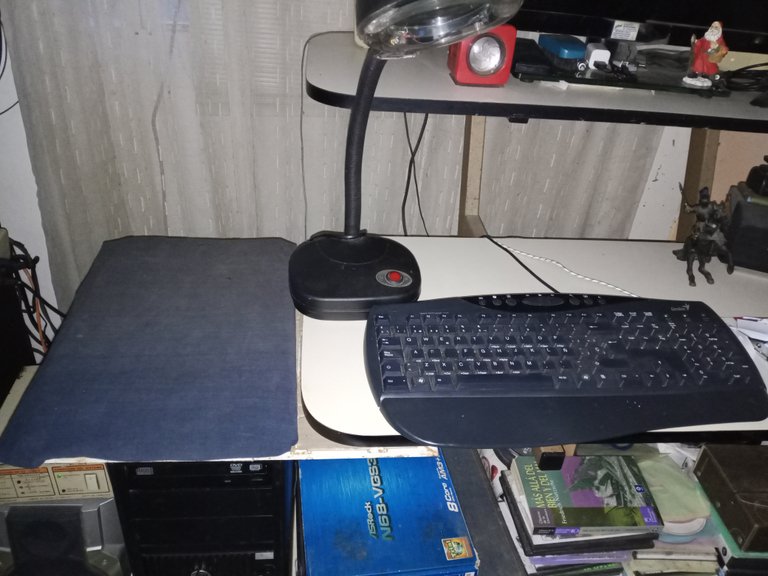
I am quite satisfied with how the bed turned out, in fact it gives me space to better accommodate the desk lamp.
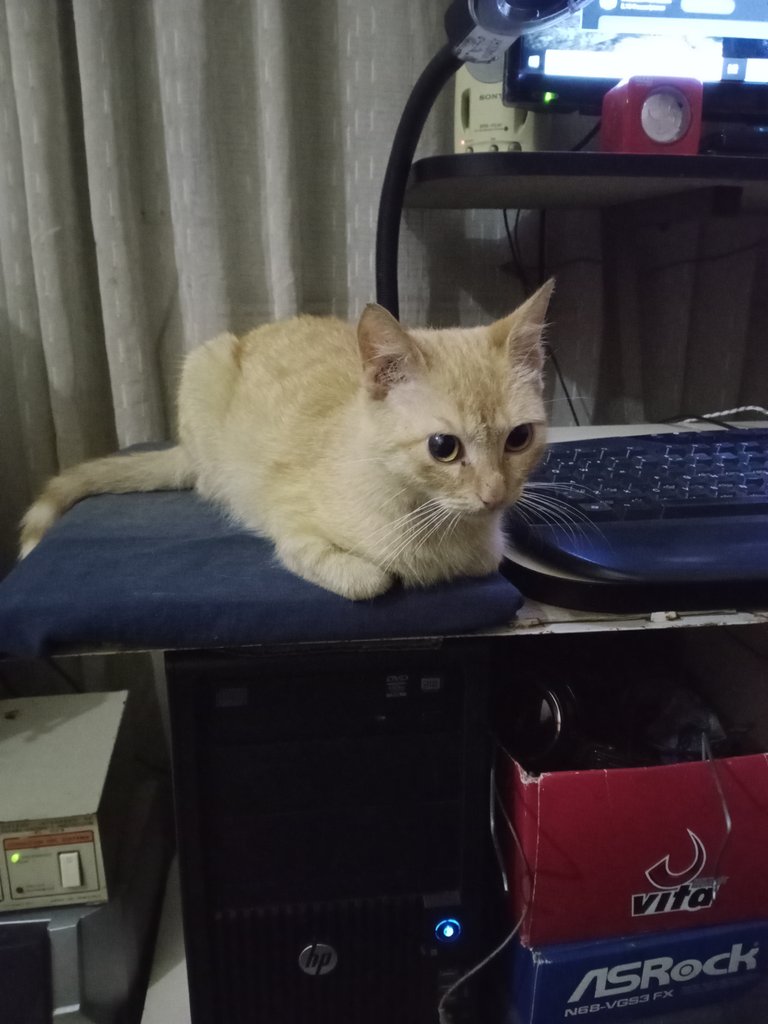
The little guy seems to be happy with the job, but he had forgotten the most important thing about cats: "cats are creatures of habit" and an older cat is more reluctant to change, so now Vero sees the bed and wrinkles her face. , I think Vero preferred to be on the verge of falling on the back of the computer case at all times.
But hey, every path begins with a step, at some point Vero will get used to it and sleep peacefully while he lets me work.
Thank you very much for stopping by and reading, it is appreciated.
Have an excellent week.
Peace.
I have used Google translator for the English language.
Images unless indicated are captures of my work in the workshop.
Header texts are created with the help of TexStudios.
[Image's Source - Image Source](Source generator)

Saludos a la comunidad de Hive DIY, deseando que se encuentren en la mejor situación que sea posible. En esta ocasión les traigo un trabajo de reciclaje que realice para mi viejo y querido gato, Vero.

Y como no, también para el pequeñín que nos agracia con su reciente compañía.

Cada uno de ellos reclama un espacio en el escritorio del computador y no es que me hagan muy fácil trabajar.
Cuando Vero era pequeño cabía en la palma de una mano y no había mayor complicación, pero Vero ha crecido un poco y se cae al acostarse en él case del computador, ahora ocupa mucho espacio del escritorio.

Así que necesitaba hacer una cama para la mesa del computador, sin más aquí tenemos el proceso.

Aproveche una cubierta lateral de un viejo case de computador, que tenía en el depósito, lo lije y Pulí con un cepillo de alambre para eliminar el óxido y la suciedad.

Marque para perforar un par de agujeros, a diez centímetros a partir del centro de la lámina, hacia el lado superior y diez centímetros a partir del centro hacia el lado inferior, y a cuatro centímetros desde el borde lateral de la lámina.
Use un destornillador dañado como un gránete o centro punto, para marcar la lámina y trabajar con precisión.

Aproveche los trozos de cartones reciclados que tengo acumulados en el depósito, para hacer las partes suaves de la cama.

Aprovecho la ayuda de la infaltable y confiable pistola de silicona caliente, para hacer una cubierta más suave sobre la lámina de metal, con los trozos de cartón.

Para hacer el pequeño colchón yo quería usar espuma acolchada, como un cojín y recordar mis tiempos de trabajo en la tapicería. Pero no tenía a mano ese material, así que lo resolví juntando tres capas de cartón y las fui uniendo con la pistola de silicona caliente.

Tres capas de cartón me parecieron suficientes, remate el colchón cubriéndolo con una vieja franela y como asegurándolo todo con más silicona caliente.

El lado a la derecha de la cama es el que tiene los agujeros en el metal de la lámina, y es el que quedara bajo la tabla del escritorio, en un primer momento quería atravesar la tabla para fijar la cama.
Por fortuna luego me di cuenta de que mayormente el peso sería soportado por la caja del computador, que es donde se apoyara la cama, así que los tornillos no tenían que atravesar la mesa, solo debían entrar en la tabla y estar fijos lo suficiente para que todo se mantuviese en su sitio.

Estoy bastante conforme de como me ha quedado la cama, de hecho me da espacio para acomodar mejor la lámpara del escritorio.

El pequeñín parece que está conforme con el trabajo, pero había olvidado lo más importante sobre los gatos: "los gatos son animales de costumbres" y un gato viejo es más reacio a los cambios, así que ahora Vero ve la cama y arruga la cara, creo que Vero prefería estar en todo momento a punto de caerse en el lomo del case del computador.
Pero bueno, todo camino comienza con un paso, en algún momento Vero se acostumbrará y dormirá tranquilamente mientras me deja trabajar.
Muchas gracias por pasar y leerme, se les aprecia.
Que tengan una excelente semana.
Paz.

He usado el traductor de Google para el idioma inglés.
Las imágenes a menos que lo indique son capturas de mi trabajo en el taller.
Los textos de encabezados son realizados con la ayuda de TexStudios.
[Image's Source - Fuente de la Imagen](Generador de fuentes)
