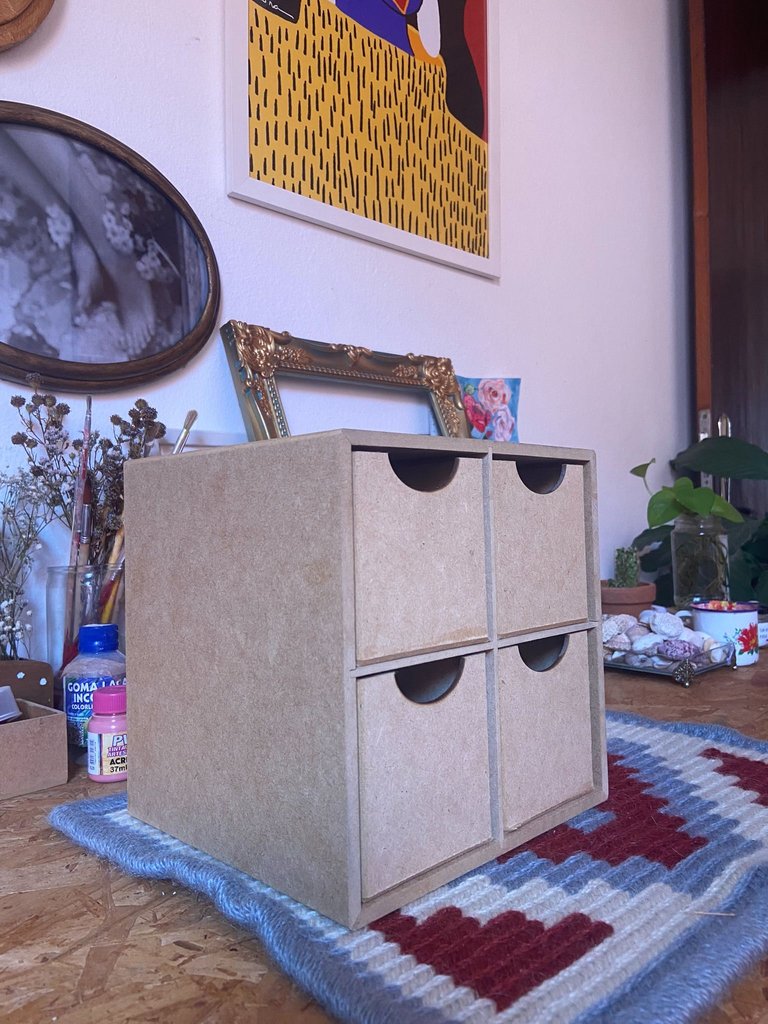
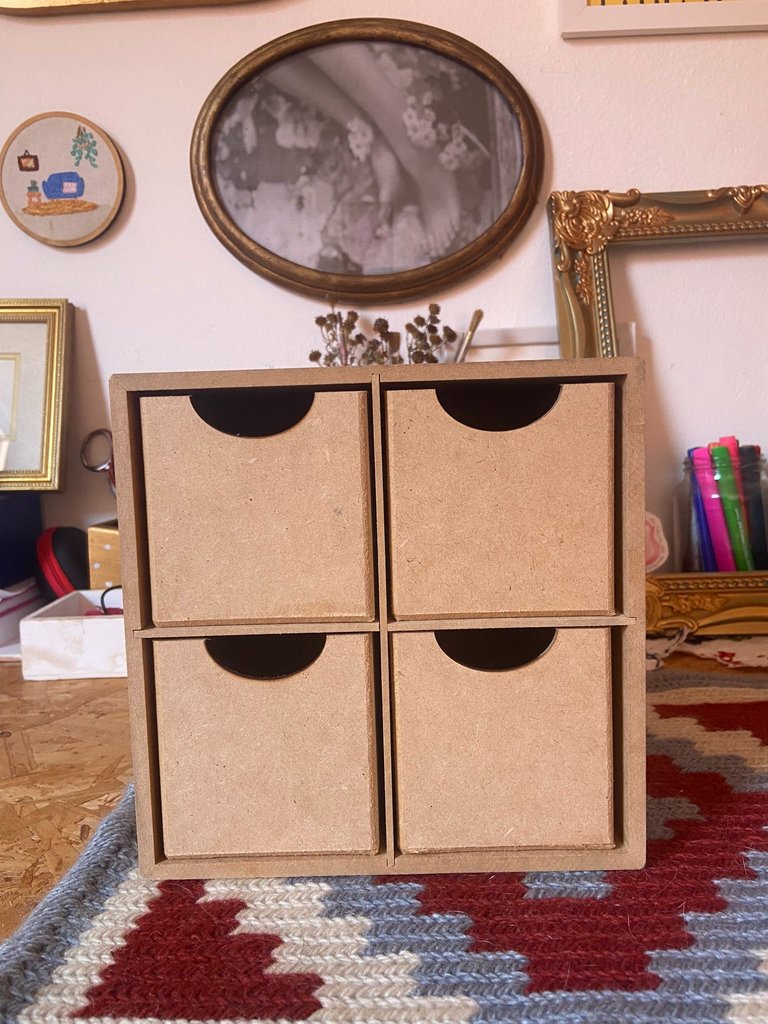
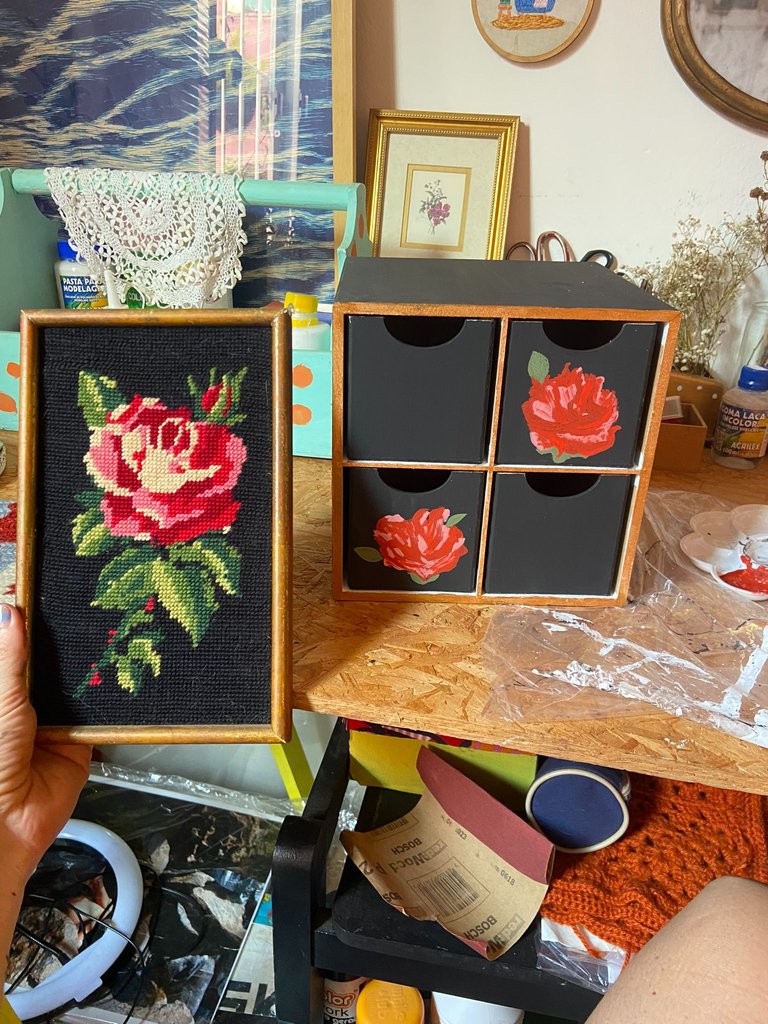
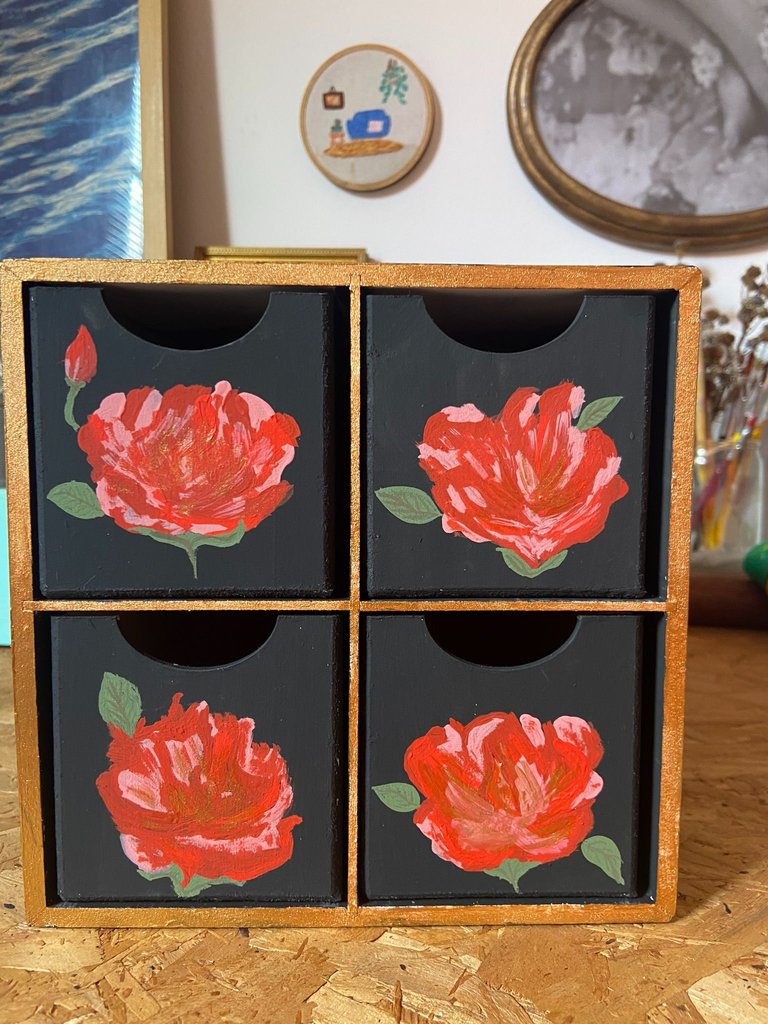
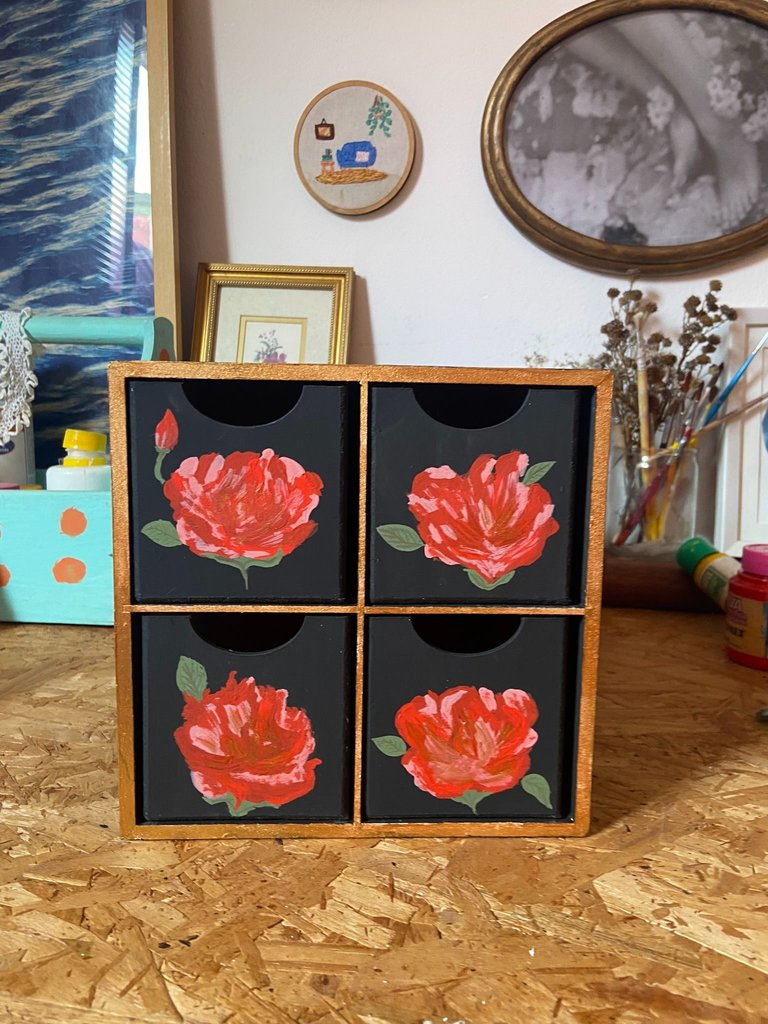
Today's diy project is to paint an organizer box for my studio. Ever since I started making some pieces to sell and created a space to keep everything organized in my home, I've felt the need to keep absolutely everything organized. After all, organization is not my strong suit.
So I needed a small box, with compartments, to put on my workbench and keep everything within easy reach. Small craft and painting items and other small objects that I use to package customer orders.
Then one day I was in a craft store and found the perfect little box. I brought it home knowing that I was going to paint it somehow. In fact, in the store itself I already had an idea of how I was going to paint it and that helped me to bring the right paints home.
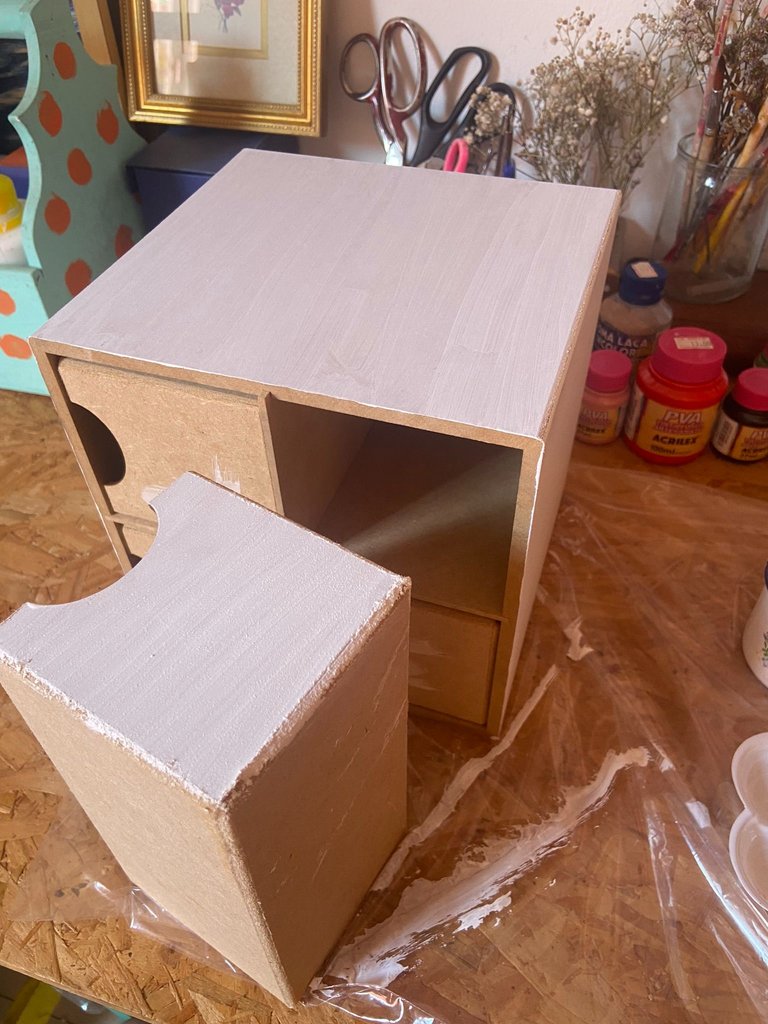
As the box was made of MDF and was raw, without any kind of finish, I thought it would be a good idea to paint it completely white before actually starting the final painting process. This is because the MDF ends up "sucking in" all the paint and it doesn't have a uniform finish. So my idea was to give it a base coat of white paint, so that afterwards the black color (which is what I used to finish the box) would be completely uniform.
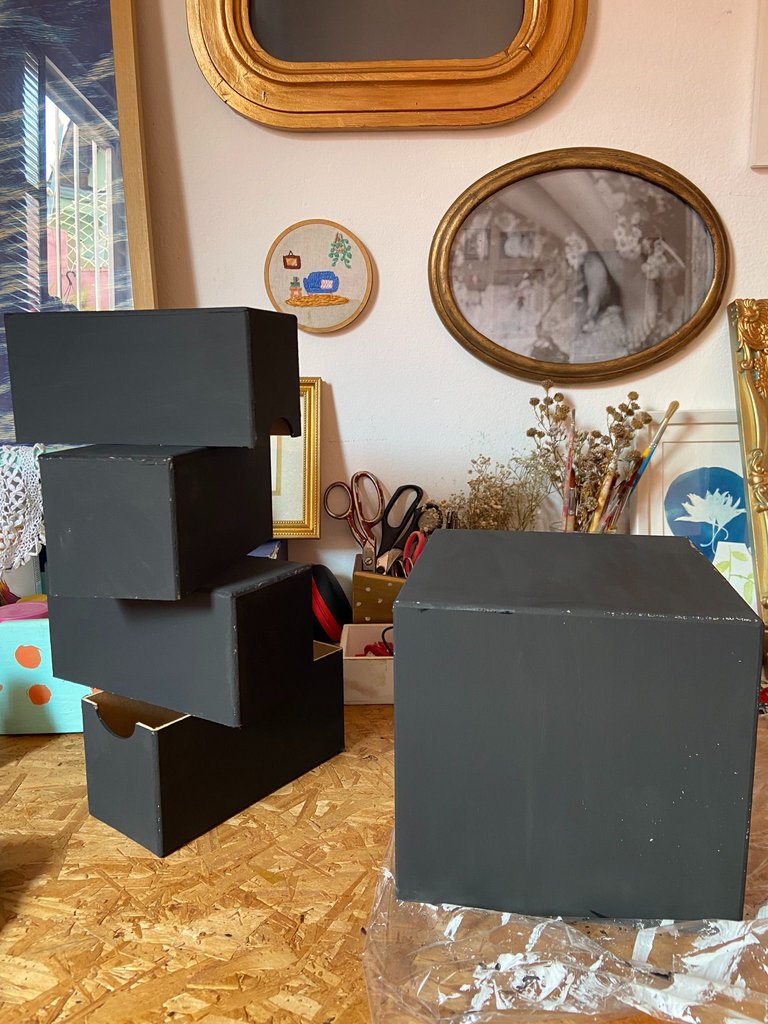
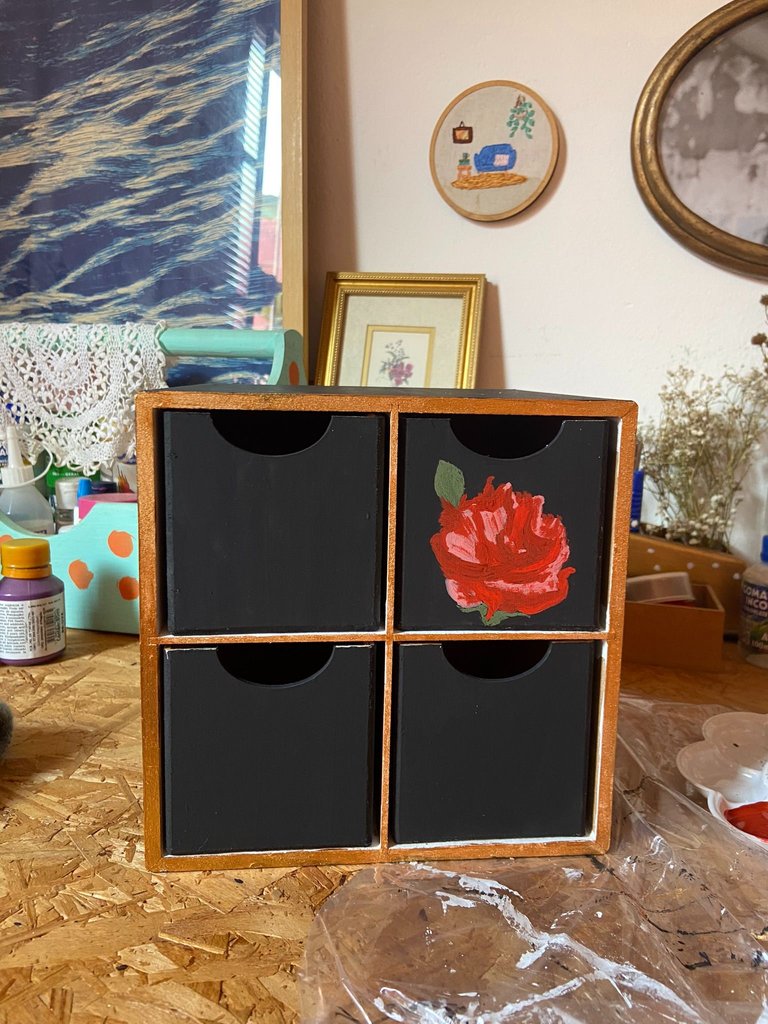
After painting the entire cube and drawers with black acrylic paint, it was time to start thinking about the details. I had the idea and inspiration, but I didn't really know if it would look aesthetically pleasing and interesting in practice.
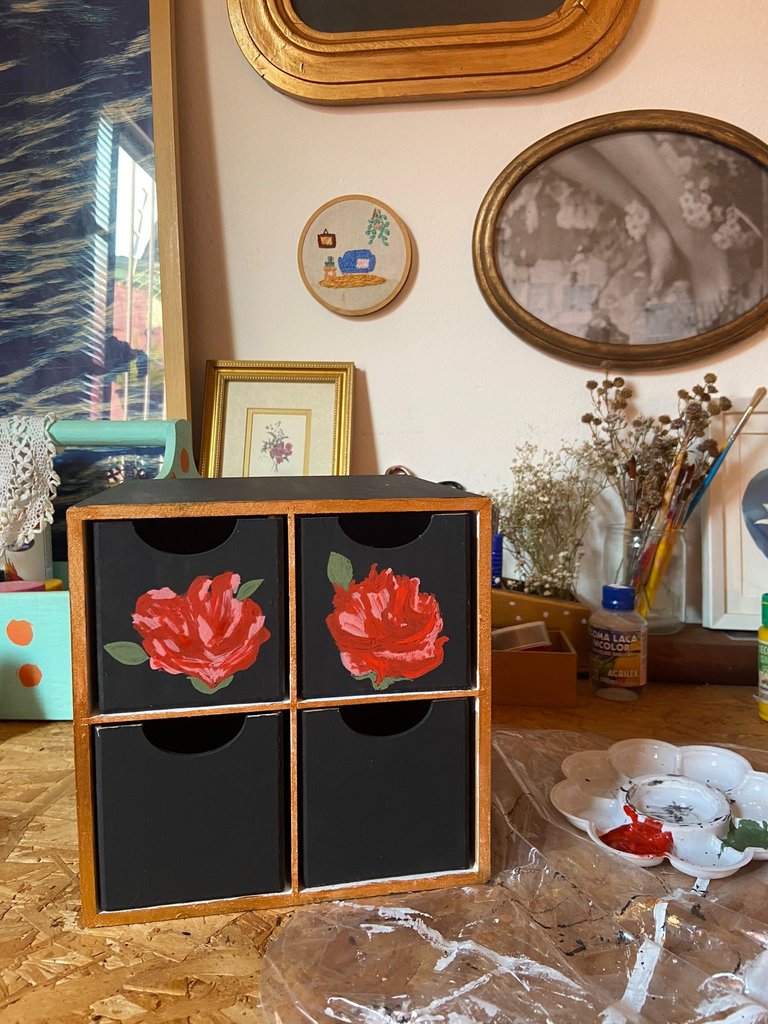
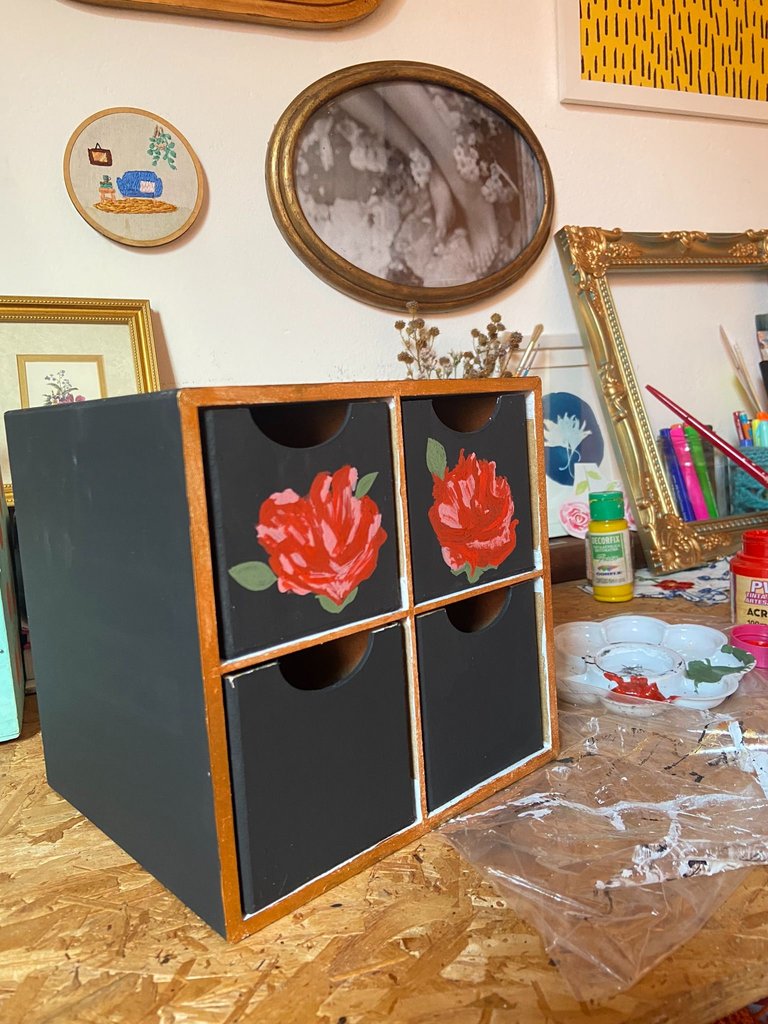
So I made a gold detail on the front of the drawer with a fine brush. I used an old gold paint that I already had at home and had already used to paint this frame.
The gold paint has a metallic finish and I think it's an interesting combination with the matte finish of the black paint. Once everything was done, I started drawing the roses on the drawers. For the first one, I wasn't sure how I was going to do it, so I made a sketch with a graphite pencil and filled it in with the acrylic paint colors I had chosen: pink and red.
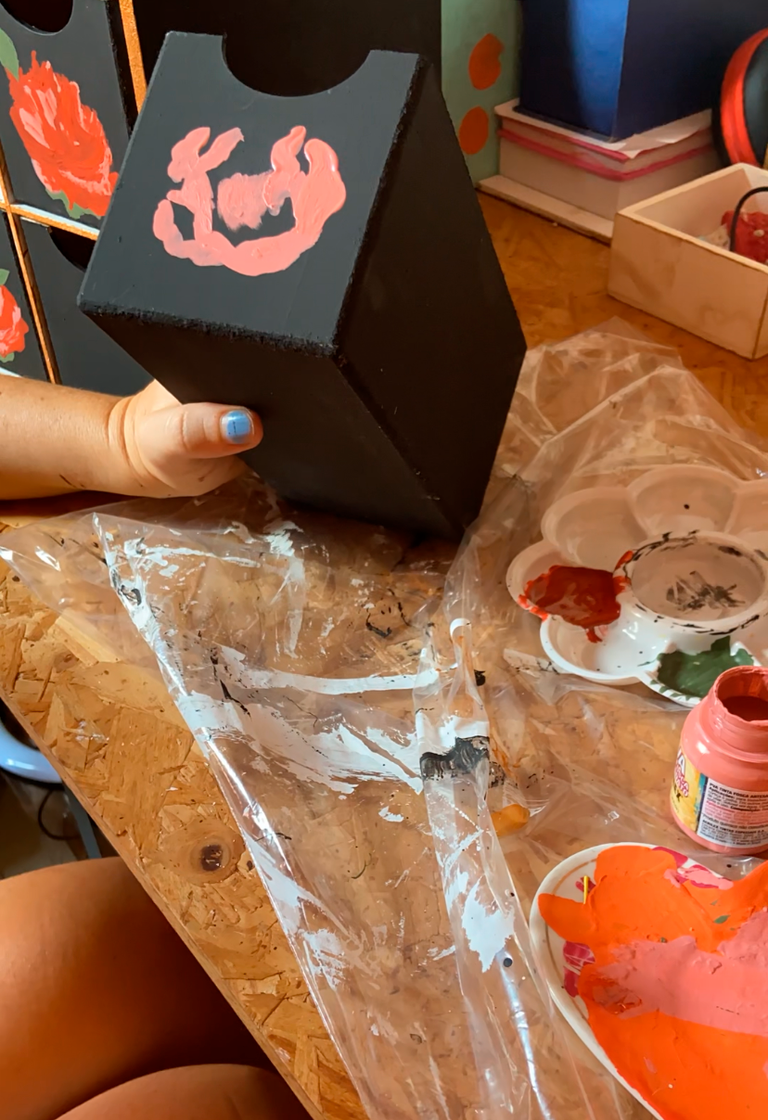
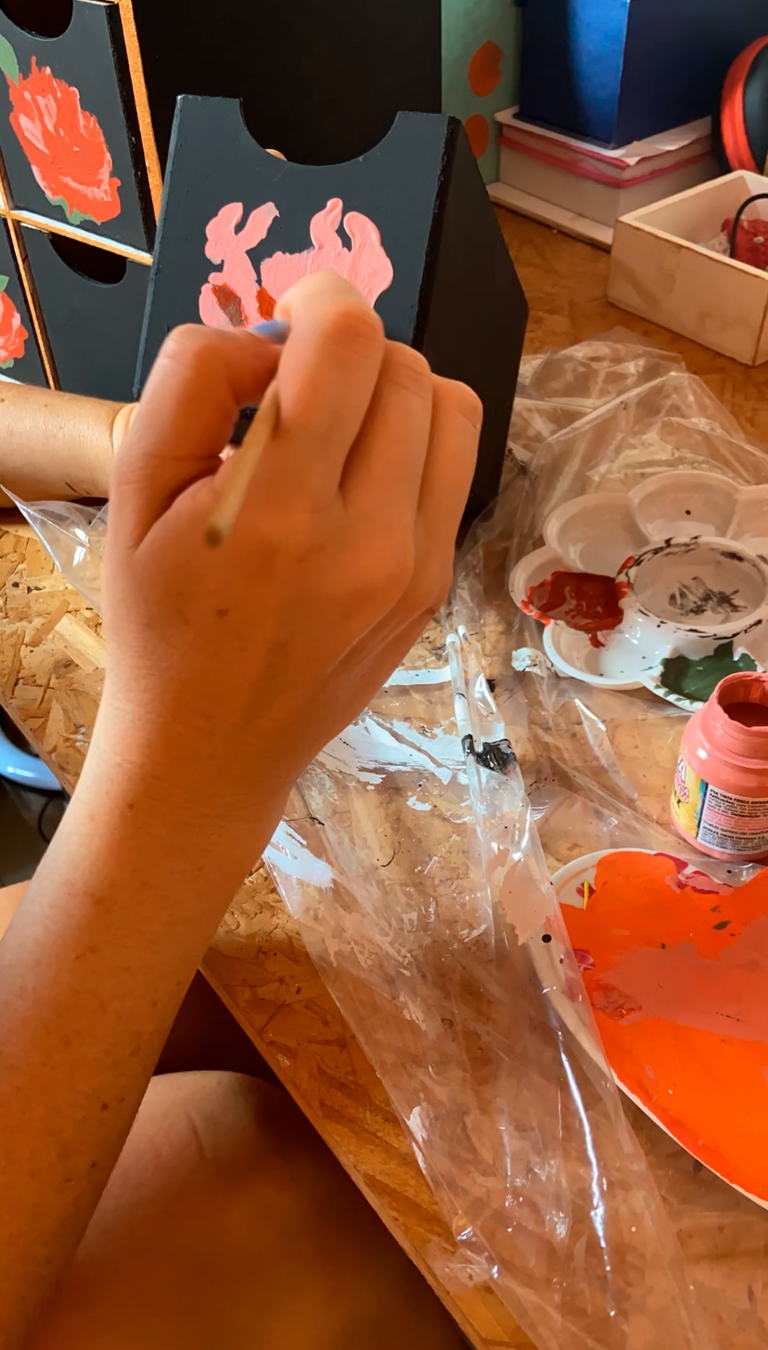
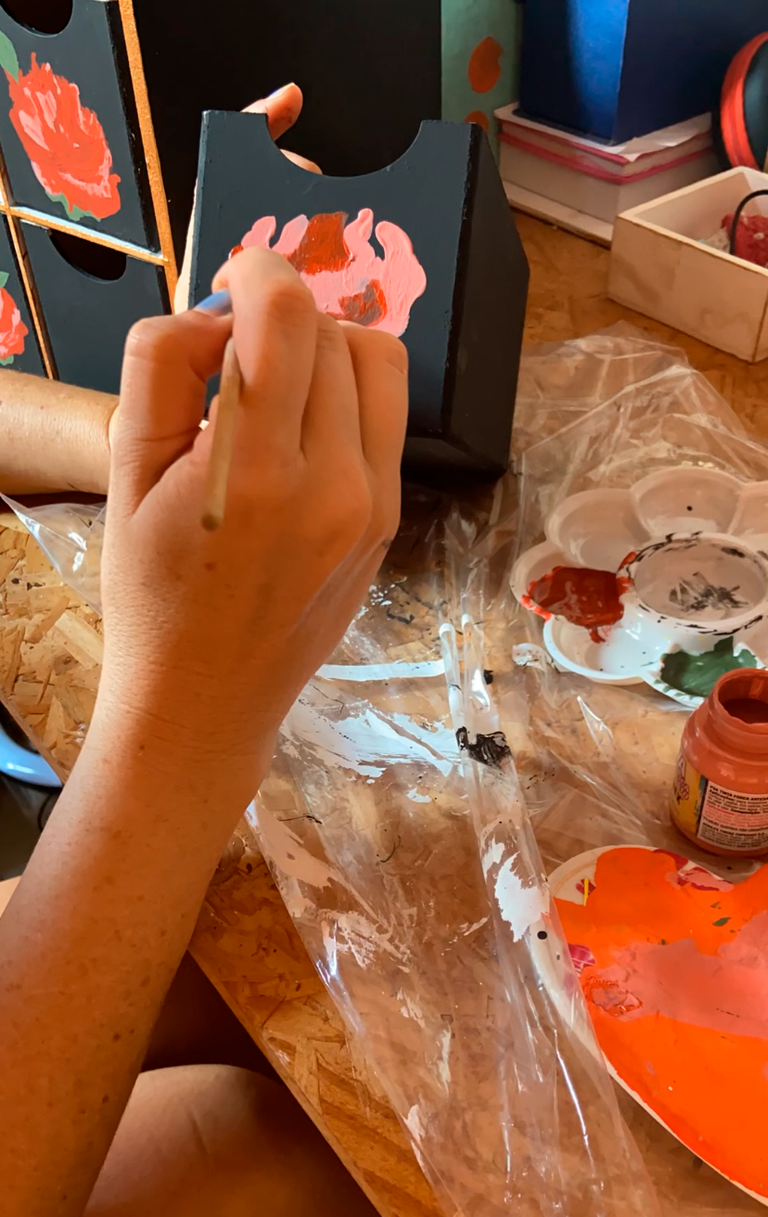
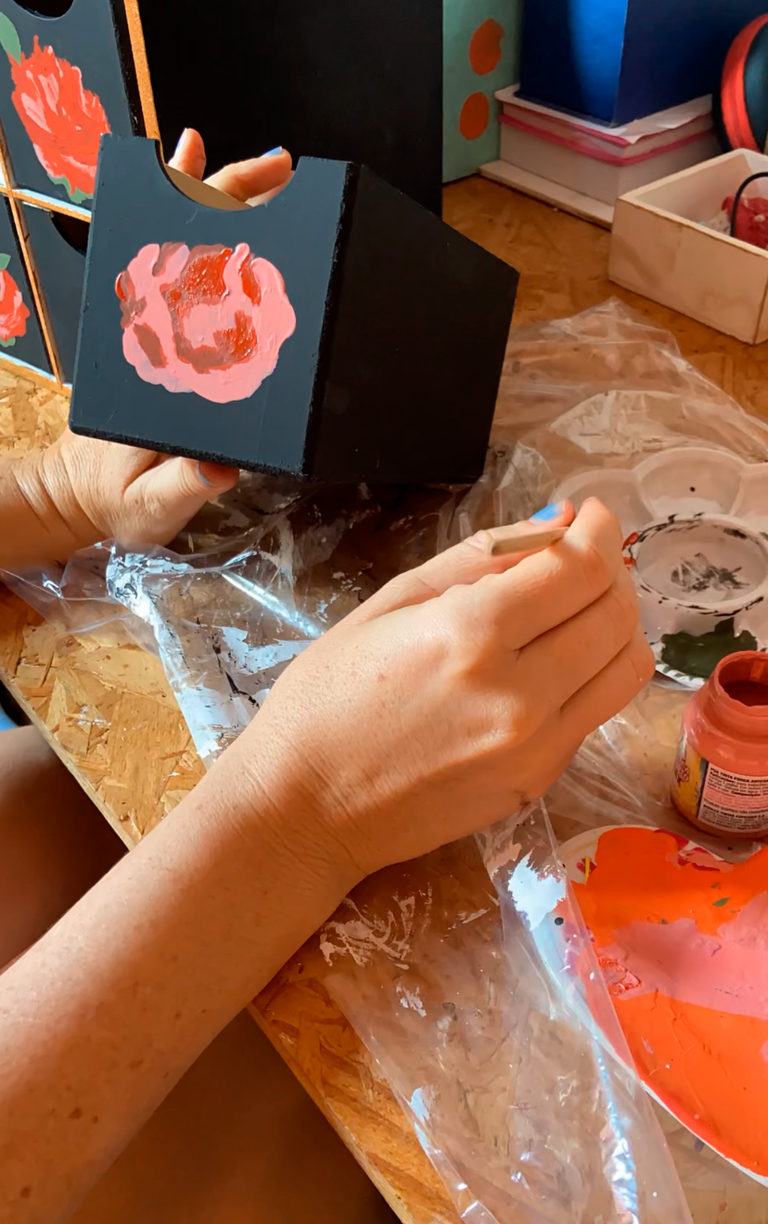
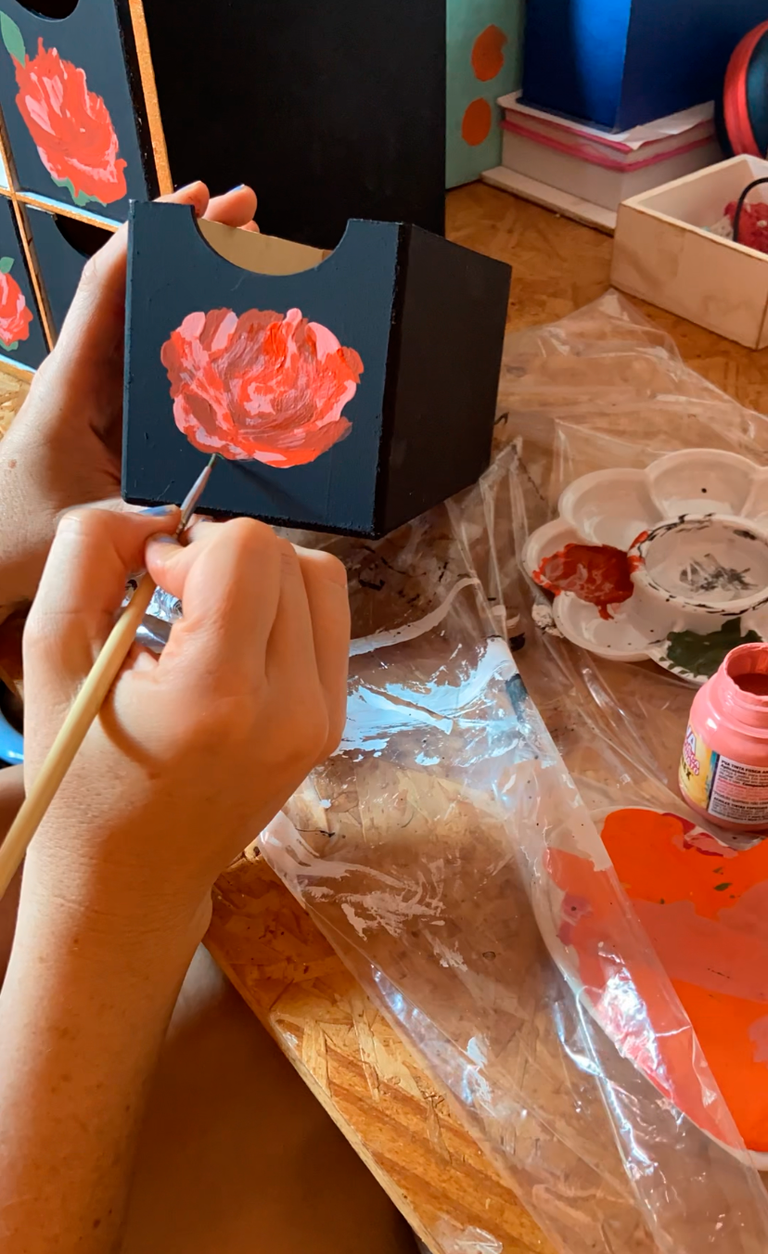
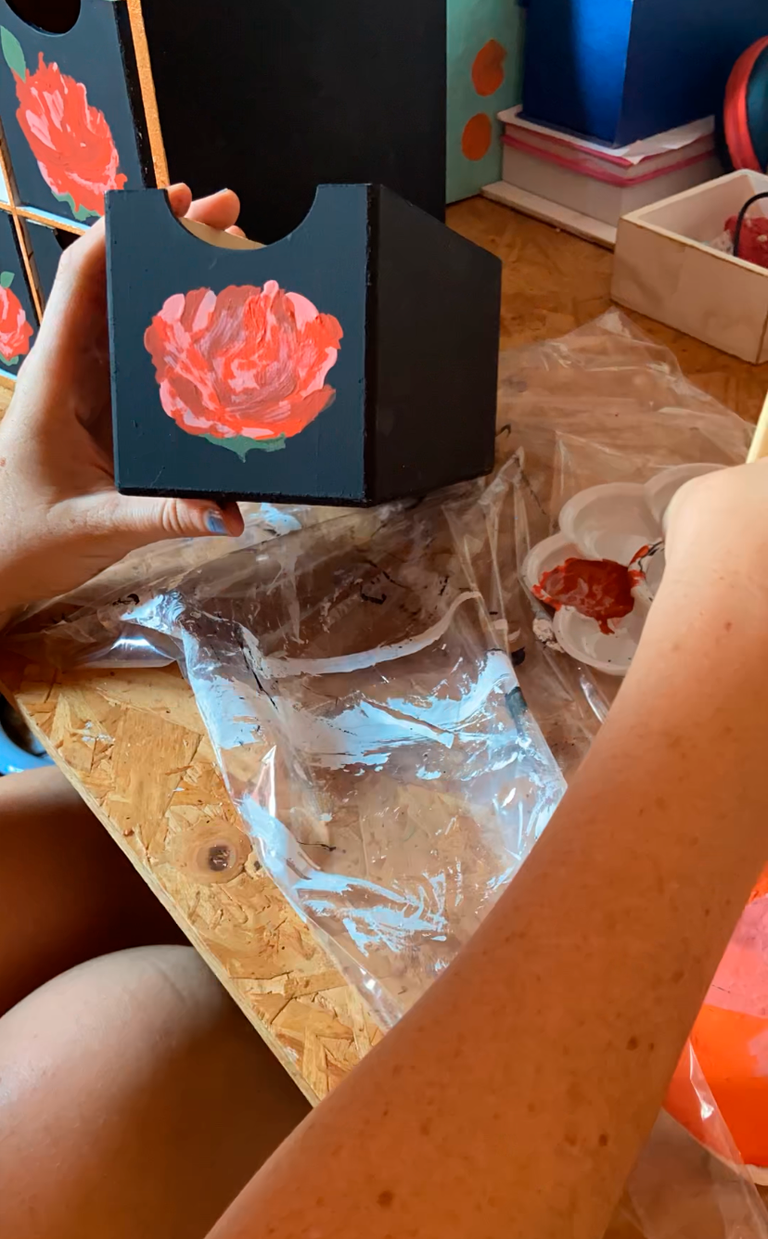
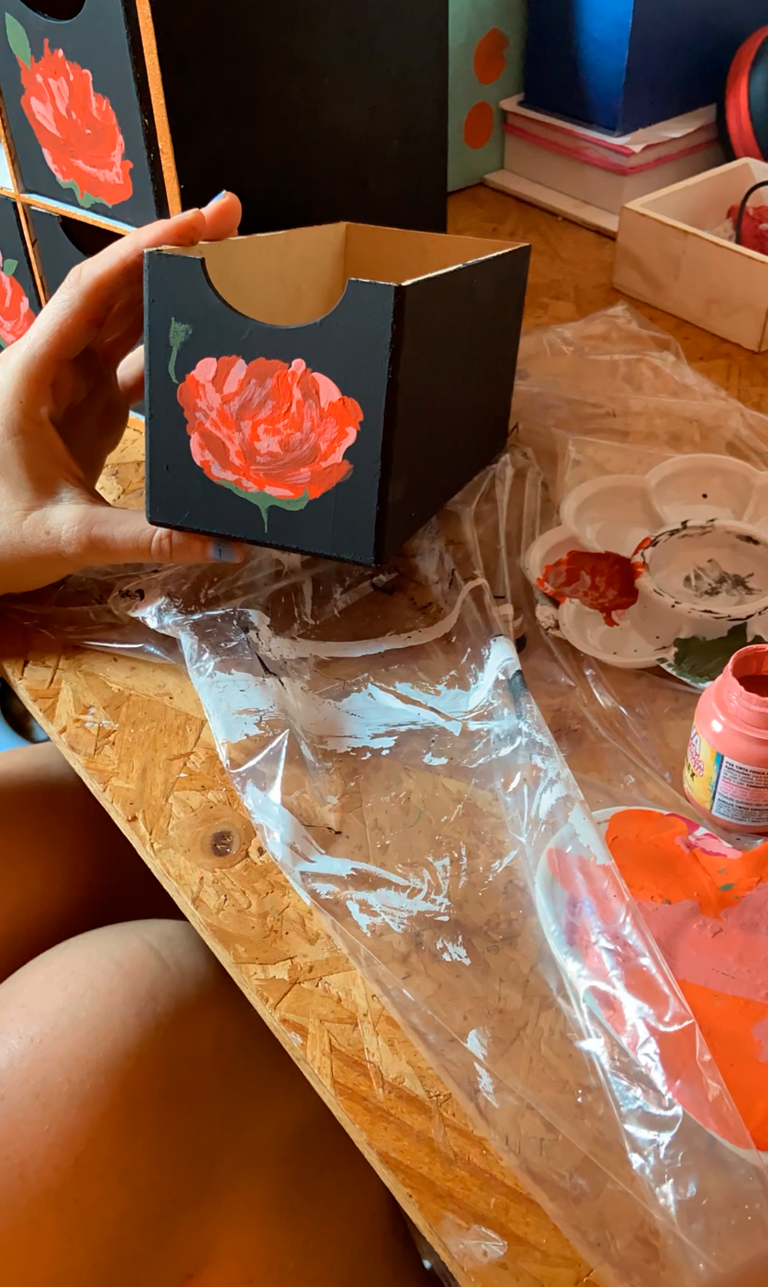
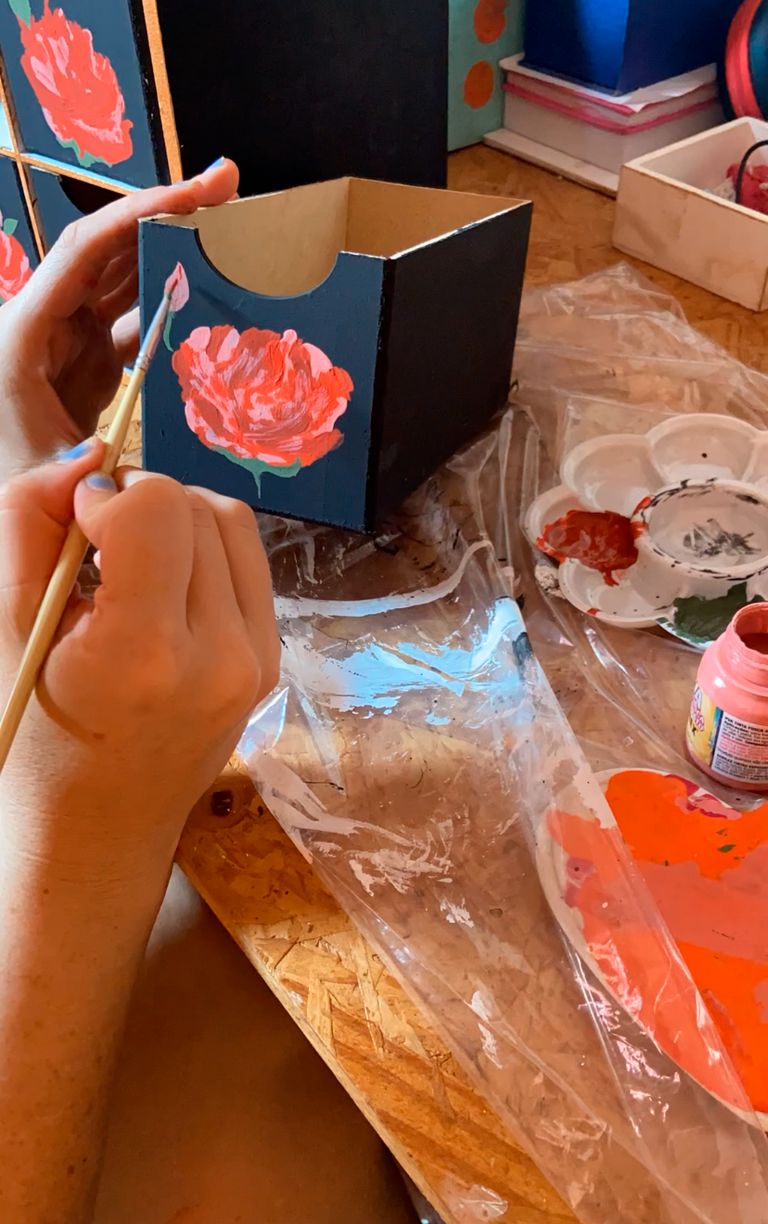
But I found this process a bit time-consuming and not very enjoyable, so I decided to paint the roses directly with the brush and paint. At this stage, I made a sort of outline with the pink paint to guide me as to the size of the rose and then completed the outline with the red paint. First darkened to a burgundy tone and then in its natural tone, which was more vibrant and a little lighter.
The photos of this stage aren't very good, because I left my cell phone recording the process so that I could print the painting stage later. It's hard to stop painting to photograph everything hahah
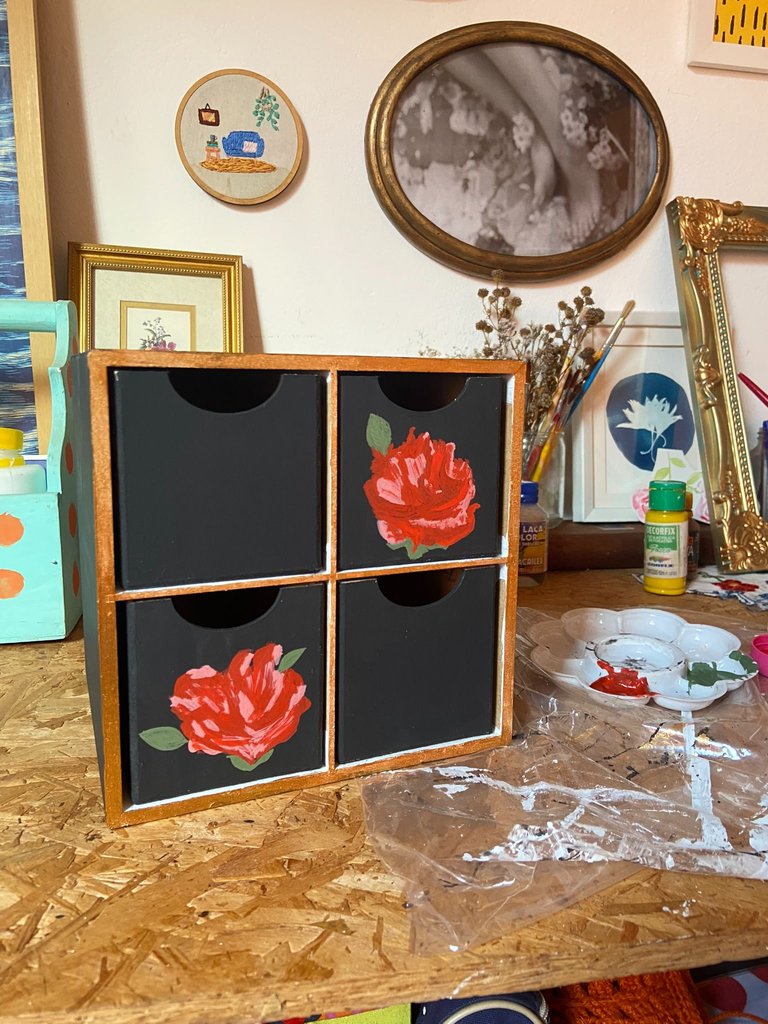
As with any handmade process, the flowers weren't super identical and I tried painting them in a different way for each drawer, to see which process would be most satisfactory for me. In the end, I think it all worked out, as they all looked good together.
Oh, and do you remember that at the beginning of the text I had an inspiration for the painting? It was exactly this embroidered picture. At least for the colors and the idea of a gold border.
I hope you liked the result.
See you at the next diy!
🌹
