[Eng-Esp] Making a beautiful Christmas cookie doll. -- Haciendo un hermoso muñeco de galleta navideño.

in #hive-1305603 years ago

Making a beautiful Christmas cookie doll.

Haciendo un hermoso muñeco de galleta navideño.


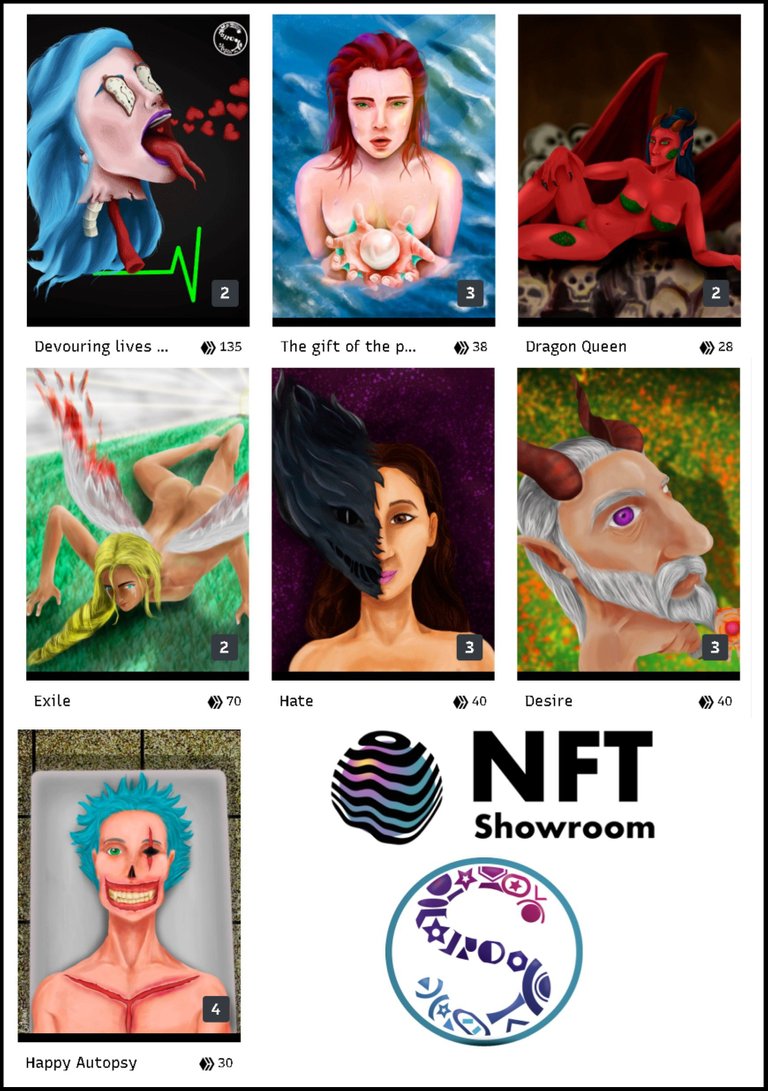
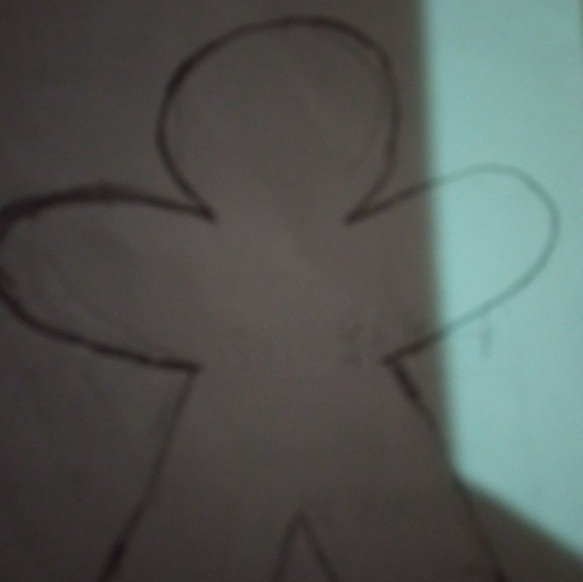
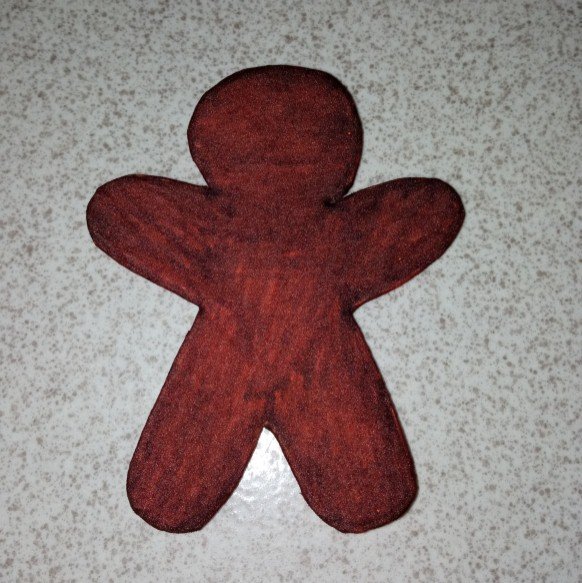
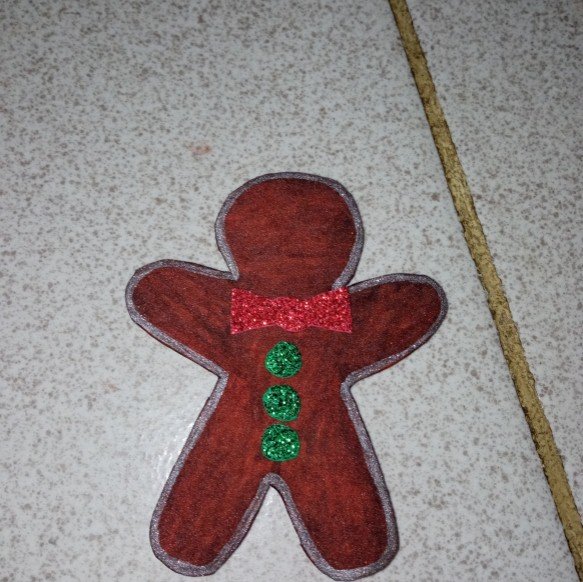
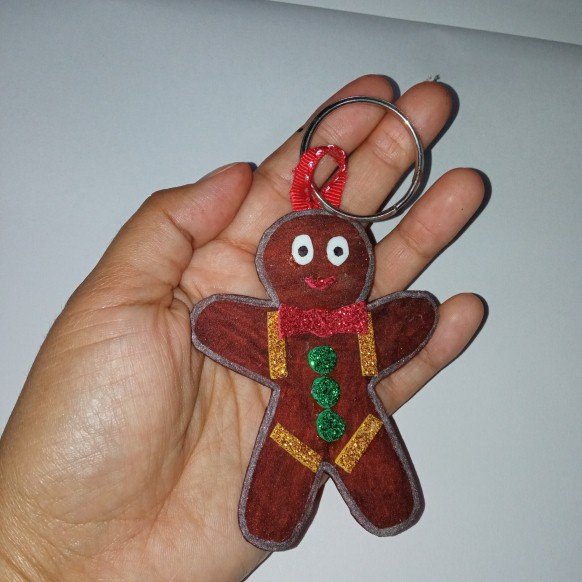
Hello reader friends, happy and blessed Tuesday today I will be presenting a cute and cuddly Christmas cookie doll, it looks beautiful and is very easy to make and its materials in use are very simple to find, stay with me until the end of the post and enjoy every step that I will be giving to make such a beautiful craft.

Hola amigos lectores , feliz y bendecido martes el día de hoy les estaré presentando un lindo y tierno muñeco de galleta navideño, queda hermoso y es muy fácil de realizar y sus materiales en uso son muy simples de encontrar, quédate conmigo hasta el final del post y disfruta de cada paso que estaré dando para realizar tan preciosa manualidad.

portada.jpg


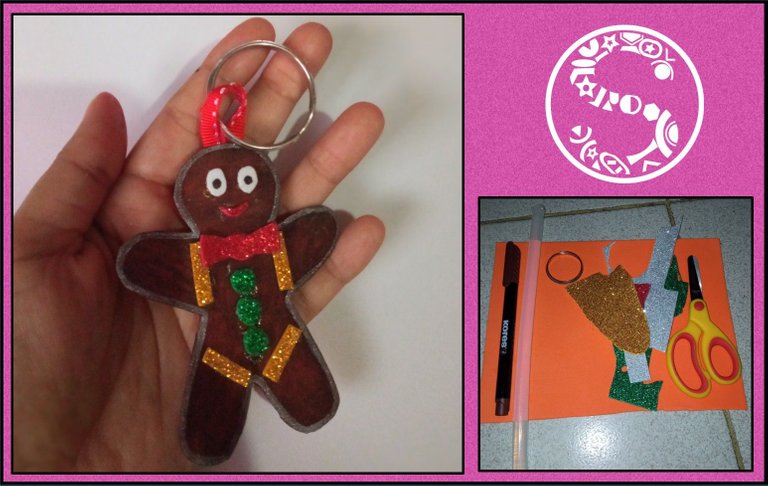
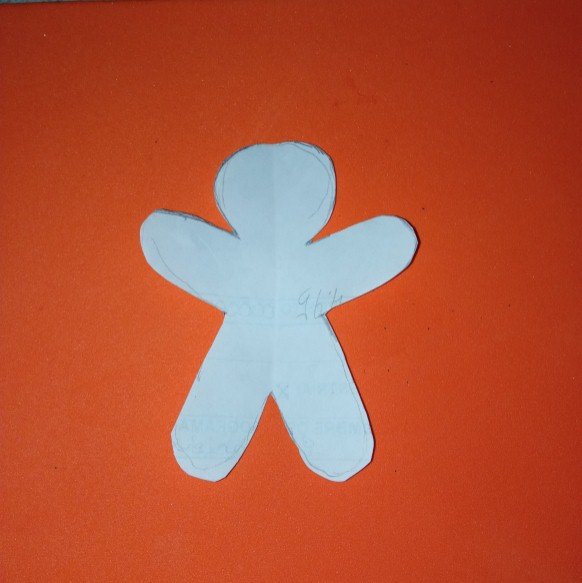
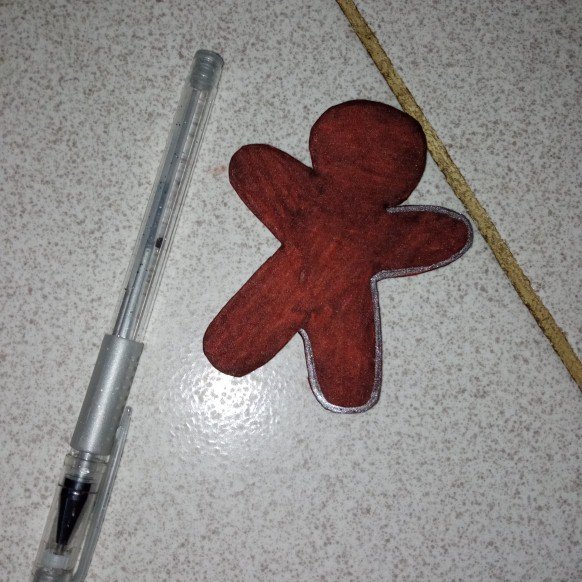
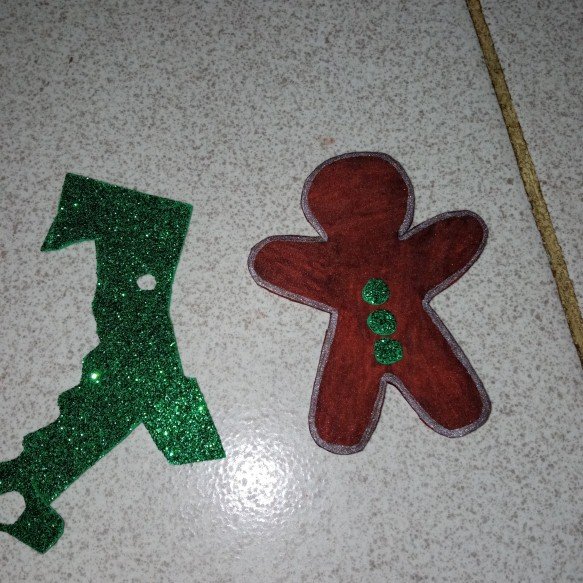
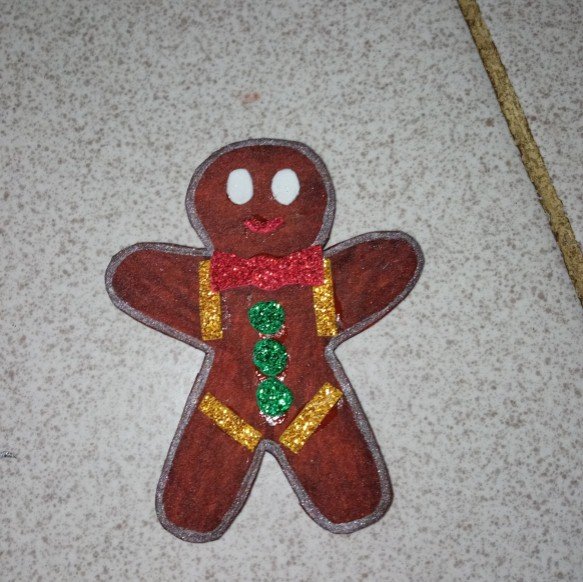
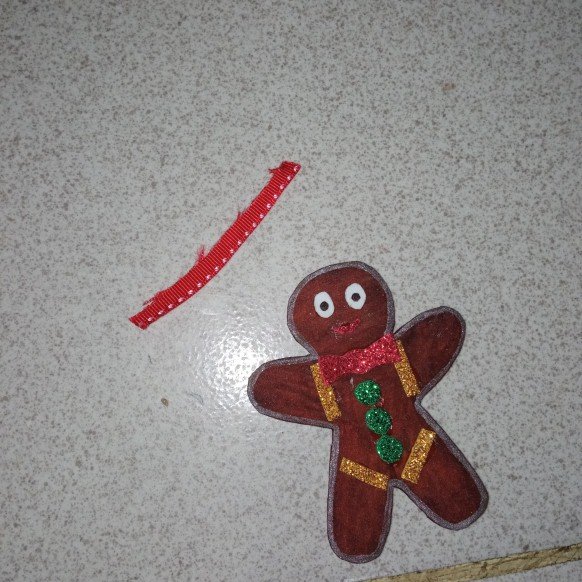
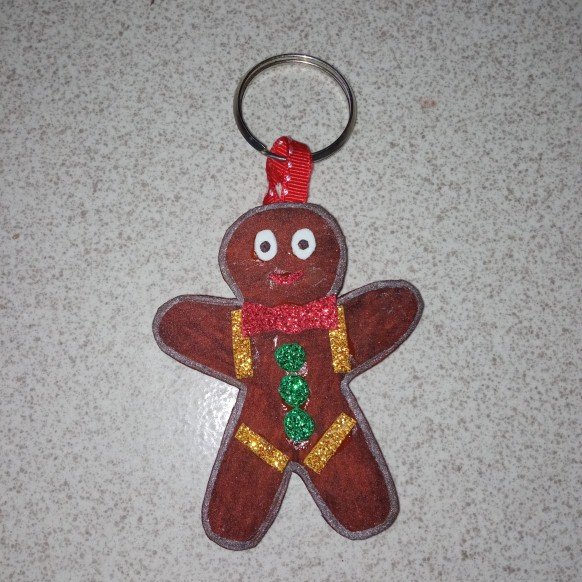
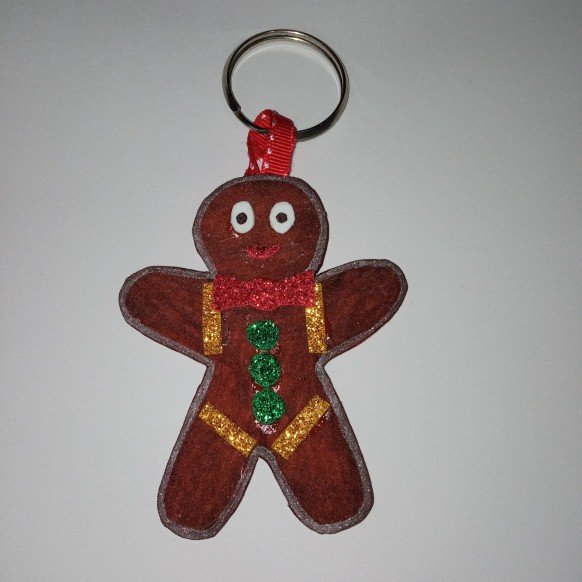
As you all know me, you know that I love crafts and since it's Christmas time, I decided to make a Christmas cookie keychain to hang on my bag and thus have something that differentiates me from others and it's a nice Christmas outfit made by me.

Cómo todos ya me conocen saben que las manualidades me apasionan y como estamos en época de navidad pues decidí hacer un llavero de galleta navideño para colgarlo en mi bolso y así tener algo que me diferencie de los demás y es un lindo atuendo navideño realizado por mi persona.


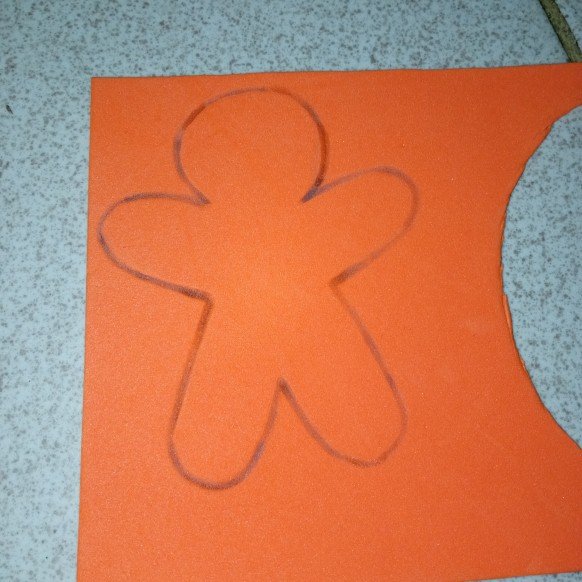
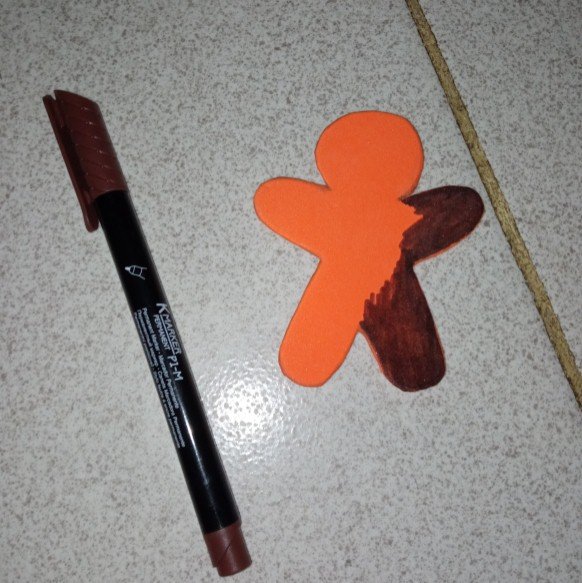
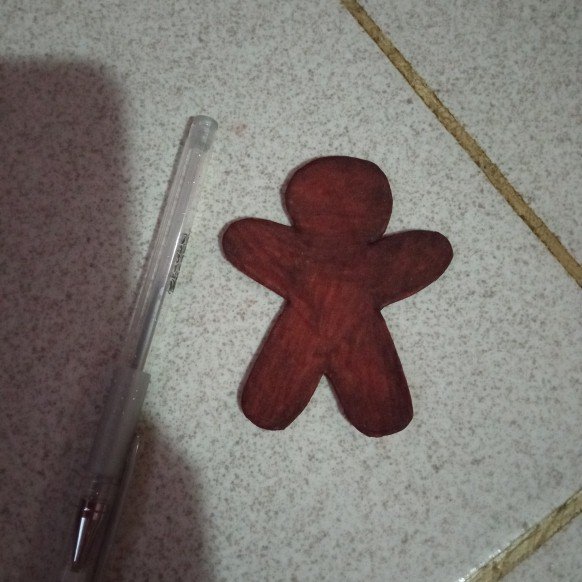
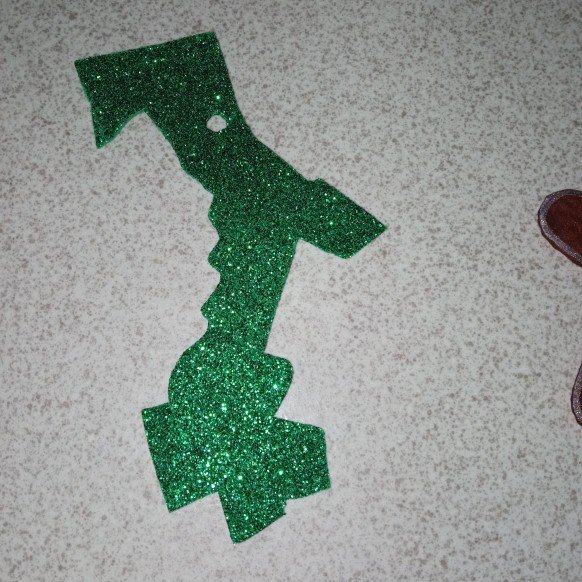
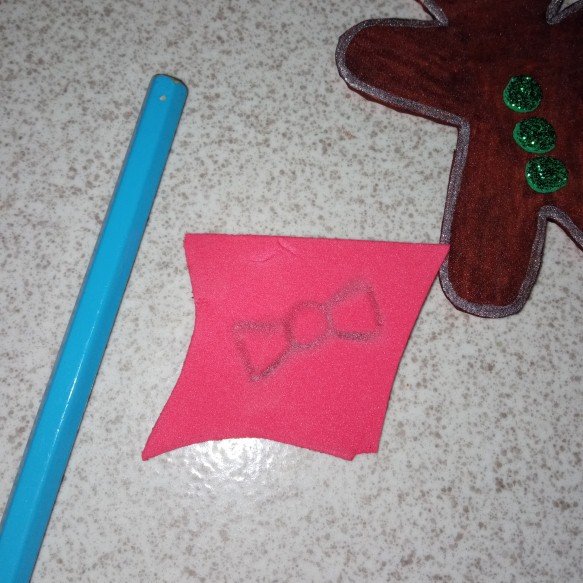
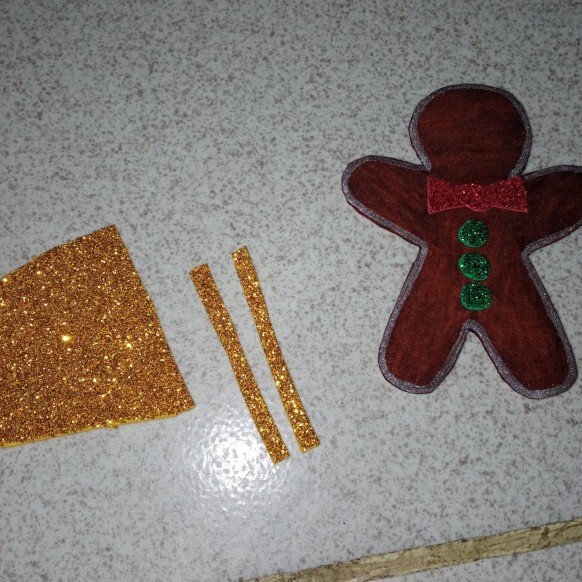
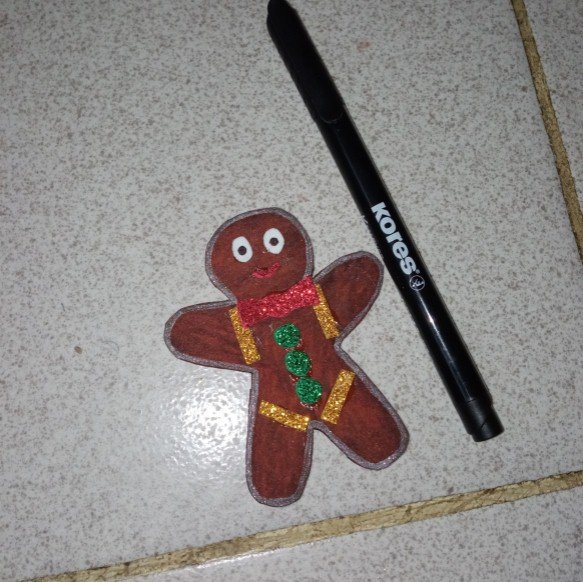
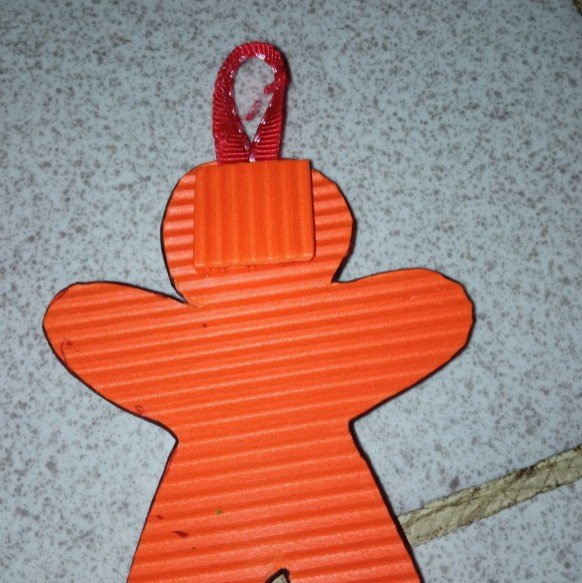
The materials I used were the following: eva rubber, silicone stick, scissors, markers, pens and a key ring.

Los materiales que utilice fueron los siguientes: goma eva, silicón en barra, tijera, marcadores, lapiceros escuchado y un aro de llavero.

Imagen1.jpg

The first thing to do is to draw a model of the cookie dummy on a white sheet of paper and cut it out with scissors.
Lo primero que se debe hacer es sacar un modelo del muñeco de galleta en una hoja blanca y recortamos con una tijera.

Imagen2.jpg


Here we place the mold on top of the eva rubber and after having the doll ready, we proceed to cut it out.
Acá colocamos el molde encima de la goma eva y luego de tener el muñeco listo se procede a recortar.

Imagen3.jpg

Imagen4.jpg

Imagen5.jpg


Once I cut out the cookie cutout in the eva rubber I grab the brown marker and proceed to paint.
Ya recortado el muñeco de galleta en la goma eva agarro el marcador marrón y procedo a pintar.

Imagen6.jpg

Imagen7.jpg

Imagen8.jpg


In this step, the silver frosted marker is applied to the doll all around the edge.
En este paso con el marcador escarchado en color plateado se le aplica al muñeco por toda la orilla.

Imagen9.jpg

Imagen10.jpg

Imagen11.jpg


With the green eva rubber three circles are removed and glued to the belly of the cookie cutter doll with silicone.
Con la goma eva verde se sacan tres círculos y se le pegan en la panza del muñeco de galleta con silicón.

Imagen12.jpg

Imagen13.jpg


Next, a ribbon is made for the tie of the doll in red eva rubber and also some golden strips to place in the parts of the arms and legs, as I show in the images.
Seguidamente se saca un lazo para la corbata del muñeco en goma eva roja y también unas tiras doradas para colocar en las partes de los brazos y las piernas, así como muestro en las imágenes.

Imagen14.jpg

Imagen15.jpg

Imagen16.jpg

Imagen17.jpg


The eyes are made with the white eva rubber and then with the black marker a dot is placed on it.
Con la goma eva blanca se hacen los ojos y luego con el marcador negro se le coloca un punto.

Imagen18.jpg

Imagen19.jpg

Imagen20.jpg


Almost at the end, take a thin red ribbon to make the hole where the ring of the key ring will go, it is paid as shown in the images.
Ya casi para finalizar se agarra una cinta roja delgada para hacer el agujero donde irá el aro del llavero, se paga así como muestro en las imágenes.

Imagen21.jpg

Imagen22.jpg

Imagen23.jpg


As always I leave you several images with the final result of the beautiful cookie doll.
Como siempre les dejo varias imágenes con el resultado final del hermoso muñeco de galleta.

Imagen24.jpg

Imagen25.jpg

Imagen26.jpg

Imagen27.jpg

Imagen28.jpg


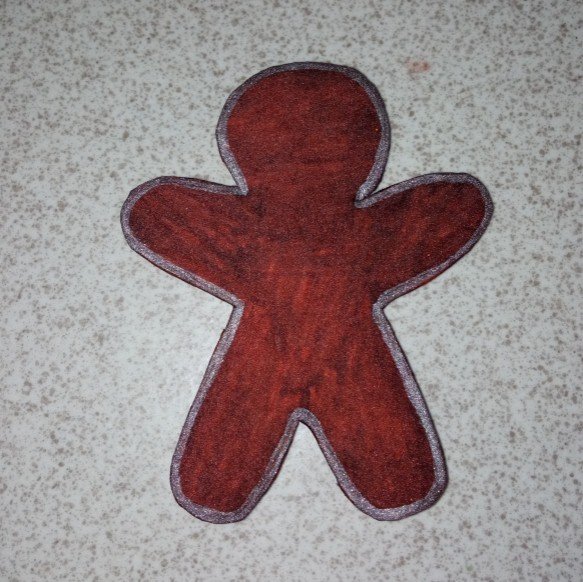
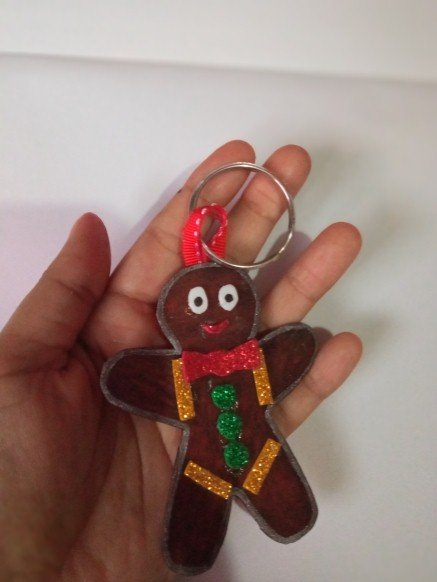
Without more to say and hoping that this craft is to the liking of each reader I say goodbye with a big hug loves you @shirahoshi.

Sin más que decir y esperando que esta manualidad sea del agrado de cada lector me despido con un gran abrazo los quiere @shirahoshi.

Logo sin sombra.gif


The photographs are my own and were taken by me with a Redmi 9 and were edited in powerpoint.


The Step by Step Gif was made by me in AdobePhotoshop CC2014.


The logo was designed by me in Adobe Illustrator CC 2015 and its animated version was made in After Effects CC 2017.


Language corrector used Deepl.


Remember that you can purchase these beautiful pieces of art made and tokenized by me at Nftshowroom at an excellent price. Link to the gallery here

Sort:  

Muy bonito trabajo me gusto mucho