🪷Español🪷
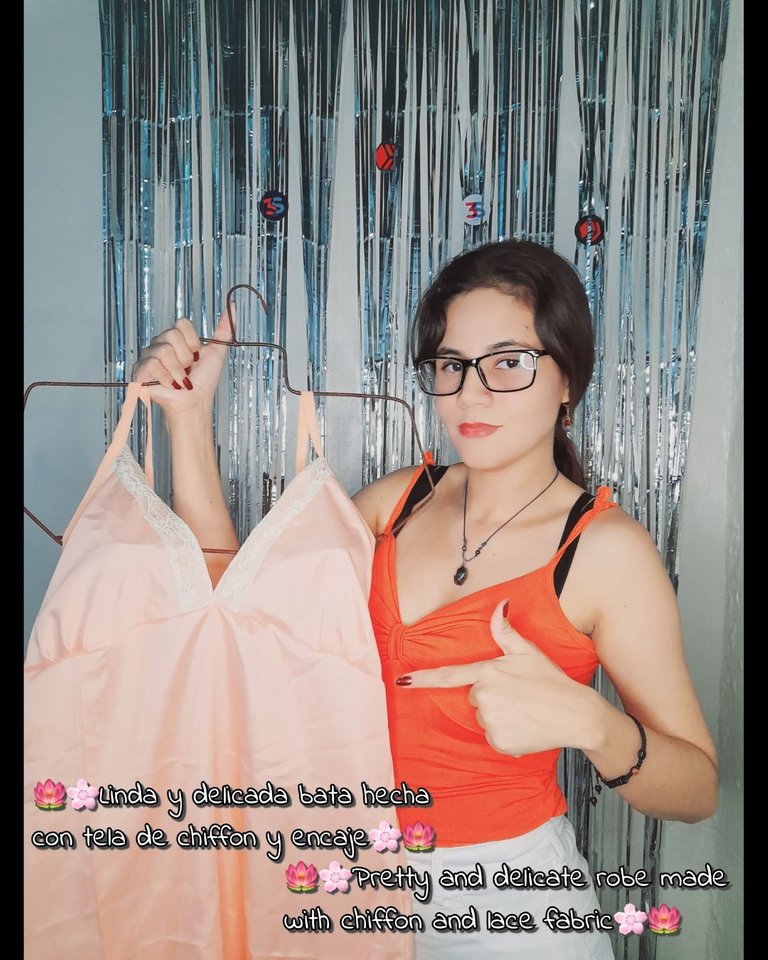
Buenas noches amigos feliz inicio de semana para todos 😘 espero hayan tenido un excelente dia lleno de bendiciones 💕 un saludo muy especial para toda la comunidad de hive y #Diy es un placer encontrarnos acá disfrutando de este pequeño momento de aprendizaje 😉 hoy quiero compartir con ustedes la realización de una bata muy bonita y femenina hecha con tela de chifon y encaje elástico muy delicada y suave para la hora de conciliar el sueño y la cual te enseñaré hacer a partir de ahora, continua bajando 😉.
Estos fueron los materiales que use
• Máquina de coser
• Tijera
• Hilo de coser
• Tela
• Prenda de medida
🪷Pasos🪷
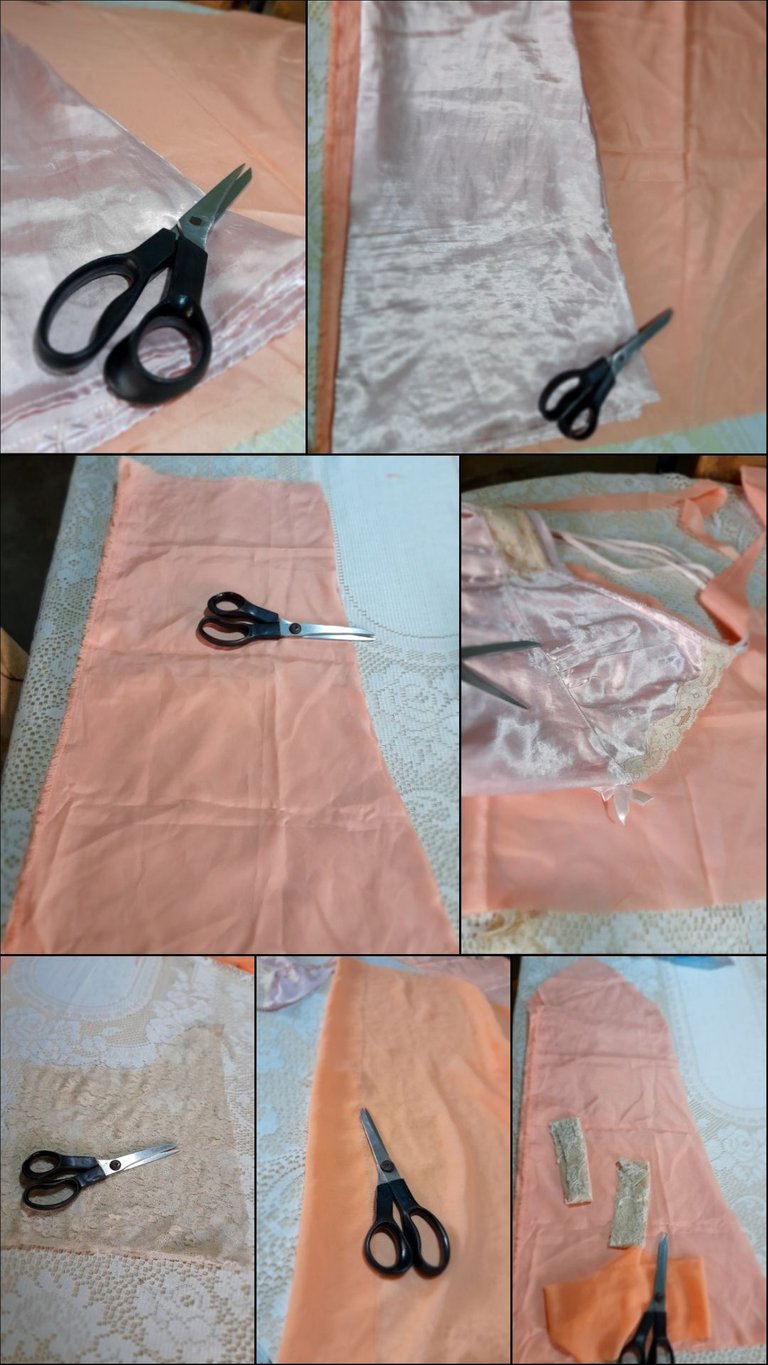
•💕Como primer paso iniciamos cortando las piezas de mi bata siendo estas: parte trasera en dos partes, delantera, dos copas, parte superior trasera en tela de encaje, orillas de las copas en tela de encaje y dos tiros.
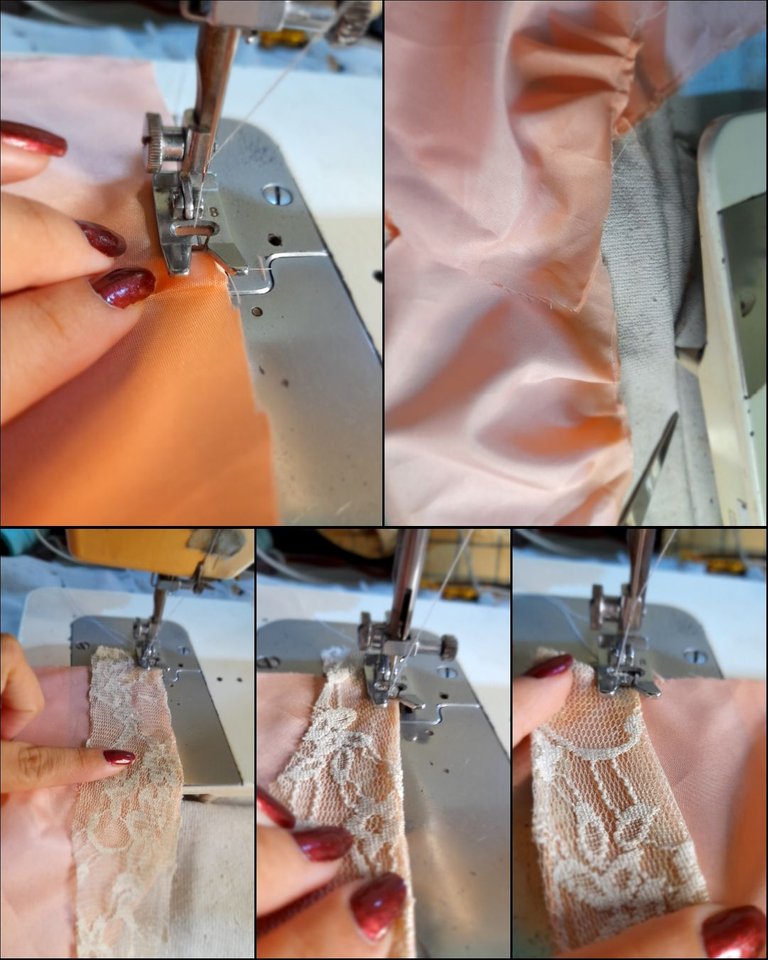
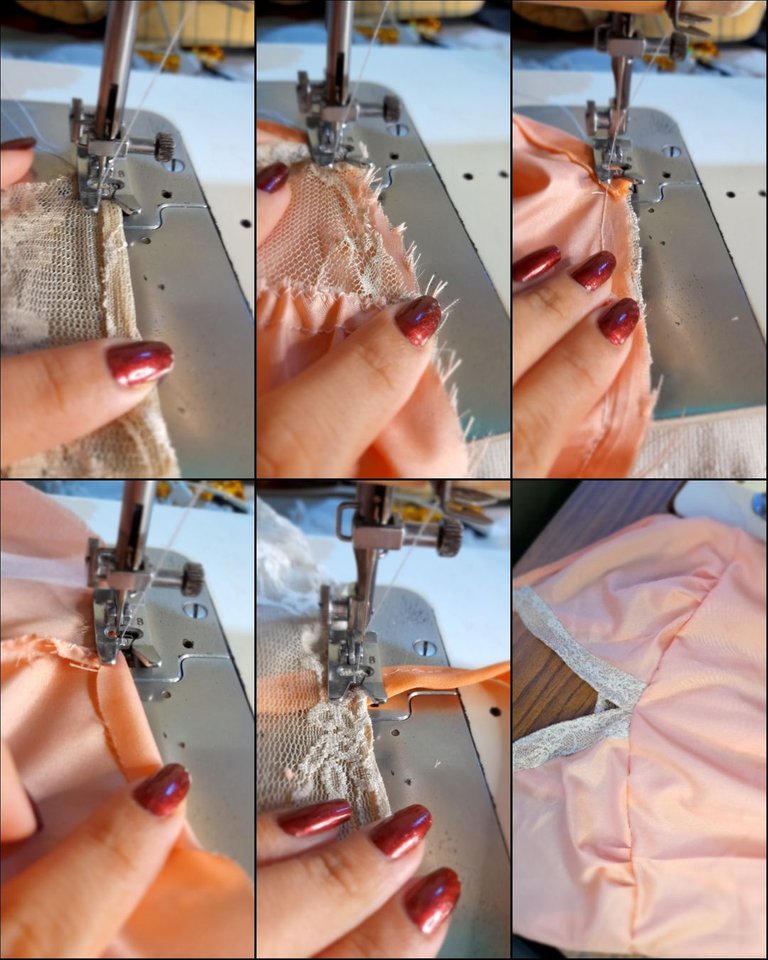
•💕Continúo haciendo tres pequeños pliegues en cada copa para brindarle forma y caída esto lo hago doblando la tela y cosiendo con costura recta luego coloco la tela de encaje por el lado reverso y voy cosiendo con costura recta luego doblo hacia afuera y paso una costura recta por la orilla para fijar esta y luego doblare la otra orilla y coseré con costura de zigzag para terminar de fijar bien el encaje.
•💕Voy a unir las copas con la parte delantera inferior mediante una costura recta y zigzag para asegurar y continúo uniendo mis dos piezas traseras con costura recta y zigzag.
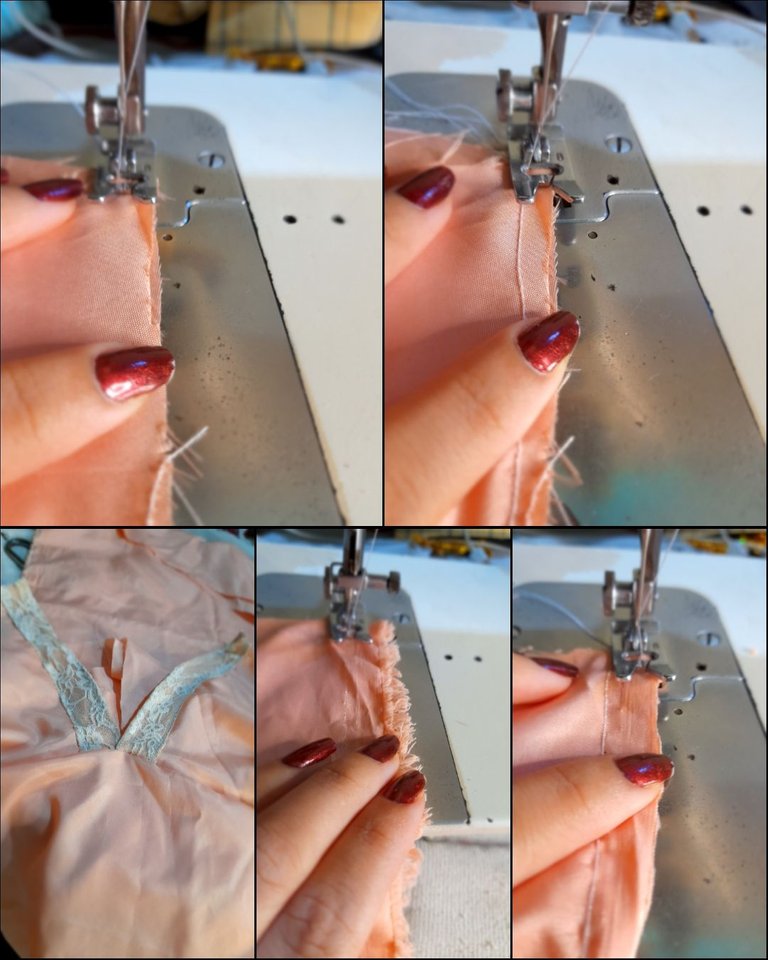
•💕De igual forma voy a unir mis dos piezas traseras de encaje con costura recta y zigzag y voy a unir esta a la pieza trasera inferior con costura recta y zigzag y me voy a mi pieza delantera a coser los tiros colocandolos por el lado derecho de la tela y cosiendo con costura recta para luego doblarlos y coser con costura recta de nuevo.
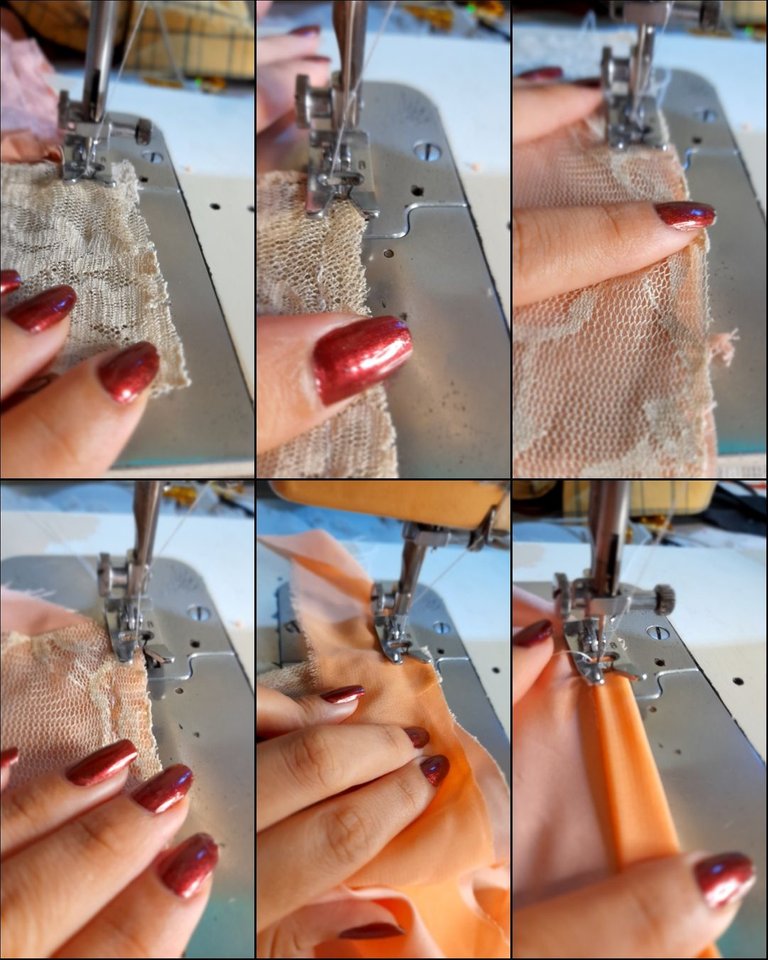
•💕Voy a coser la orilla superior trasera doblando la tela y estirando mientras voy cosiendo con zigzag luego voy a cerrar la pieza en ambos extremos con costura recta y zigzag y me voy a coser el ruedo con costura de zigzag y puntada en 2 doblando la orilla de la tela mientras voy cosiendo y para finalizar coseré los tiros fijandolos y cosiendo con costura recta.
🪷Resultados🪷
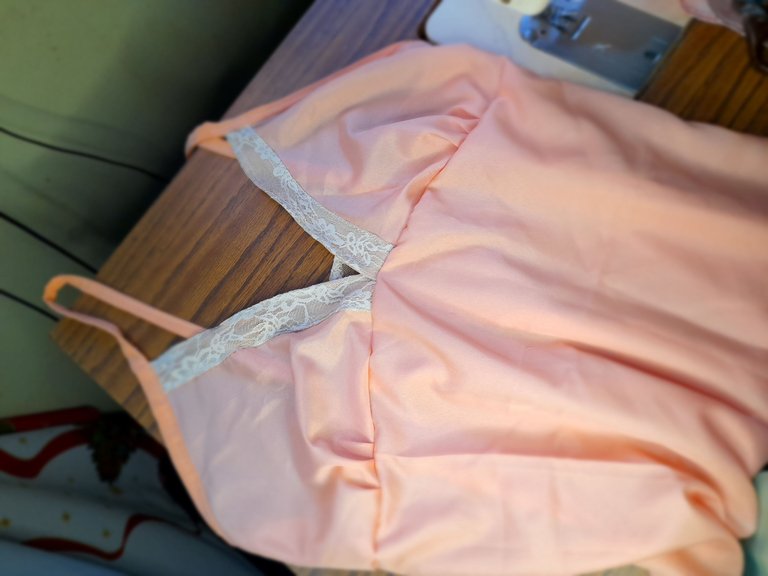
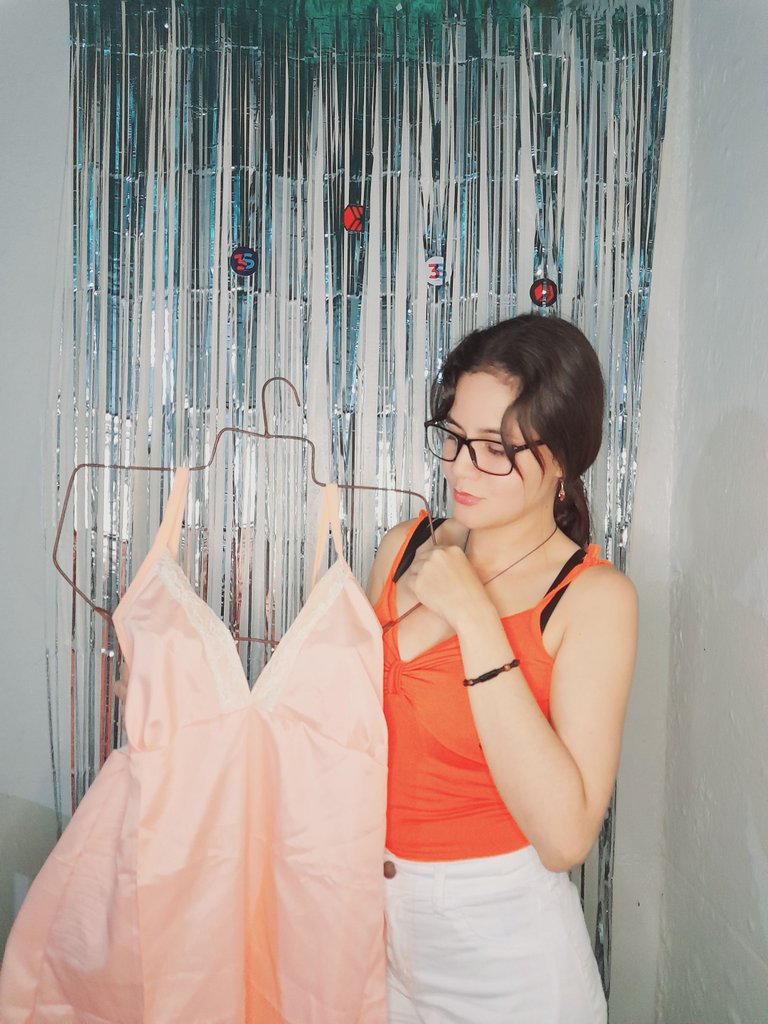
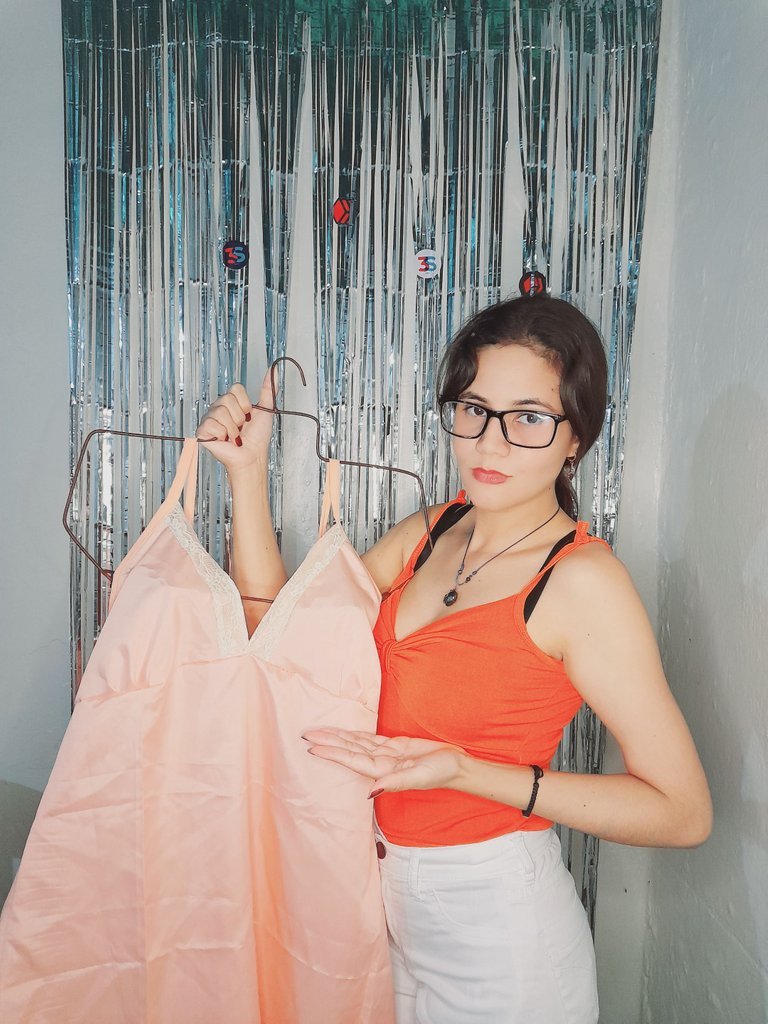
Como pueden observar amigos es un diseño muy fácil de realizar y el cual fácilmente puede ser un obsequio hecho por ti mismo para alguien muy especial y sin duda alguna esa persona se sentirá muy bien 💕😉 espero mi post te haya sido de gran utilidad y ayuda para confecciones futuras muchas gracias por el apoyo y por haberte quedado conmigo hasta el final. Saludos 💕 🤗
🪷English🪷
Good evening friends, happy start to the week for everyone 😘 I hope you had an excellent day full of blessings 💕 a very special greeting to the entire hive and #Diy community, it is a pleasure to find ourselves here enjoying this little moment of learning 😉 today I want to share with you the making of a very pretty and feminine robe made with very delicate and soft chiffon fabric and elastic lace for falling asleep and which I will teach you to do from now on, keep scrolling down 😉.

These were the materials I used
• Sewing machine
• Scissors
• Sewing thread
• Fabric
• Measurement garment
🪷Steps🪷
•💕As a first step we started cutting the pieces of my robe, being these: back in two parts, front, two cups, upper back in lace fabric, edges of the cups in lace fabric and two shots.

•💕I continue making three small folds in each cup to give it shape and drape. I do this by folding the fabric and sewing with a straight seam, then I place the lace fabric on the reverse side and I sew with a straight seam, then I fold outwards and pass a seam straight along the edge to fix this and then I will fold the other edge and sew with a zigzag seam to finish fixing the lace well.

•💕I'm going to join the cups to the lower front using a straight and zigzag seam to secure and continue to join my two back pieces with a straight and zigzag seam.

•💕In the same way I am going to join my two back pieces of lace with a straight and zigzag seam and I am going to join this to the lower back piece with a straight and zigzag seam and I go to my front piece to sew the shots placing them on the right side of the fabric and sewing with straight seams and then fold them and sew with straight seams again.

•💕I'm going to sew the upper back edge folding the fabric and stretching while I'm sewing with a zigzag then I'm going to close the piece at both ends with a straight and zigzag seam and I'm going to sew the hem with a zigzag seam and stitch in 2 folding the edge of the fabric while I am sewing and to finish I will sew the shots fixing them and sewing with a straight seam.

🪷Results🪷


As you can see friends, it is a very easy design to make and which can easily be a gift made by yourself for someone very special and without a doubt that person will feel very good 💕😉 I hope my post has been very useful and helps you For future preparations, thank you very much for your support and for staying with me until the end. Greetings 💕 🤗
💁♀️Todas las fotografías son de mi autoría capturadas con mi Samsung Galaxy A12 y editadas en GridArt.
El texto y resumen es totalmente de mi autoría.
Texto traducido en el traductor Google.💁♀️
💁♀️All the photographs are my own, captured with my Samsung Galaxy A12 and edited in GridArt.
The text and summary is entirely my own.
Translated text in Google translator.💁♀️
