🩵✨️💙Español💙✨️🩵
Hola mis queridos amigos de Hive ✨️ muy buenas noches para todos 💕 espero todos se encuentren muy bien disfrutando de la noche de hoy ❤️ muchas bendiciones para la creativa comunidad de #diy Dios permita bendiciendo las manos de todos los artistas que hacen vida en esta maravillosa comunidad 🤗 me gustaría mostrarles el diseño y la confección de un hermoso uniforme quirúrgico para dama con detalle en el cuello tipo "v" y en un hermoso color azul rey haciendo de este más radiante aún. Los invito a acompañarme en cada uno de los pasos a seguir 😘.
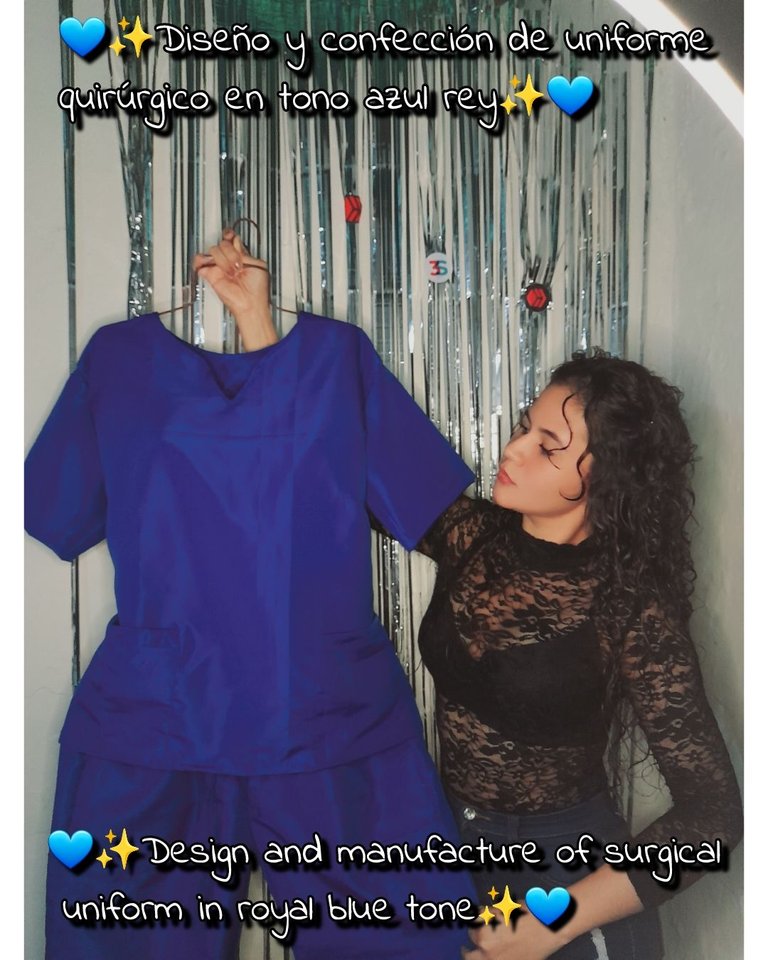
Estos fueron los materiales que use
• Máquina de coser
• Tijera
• Hilo de coser
• Tela
• Prenda de medida
• Elástica
✨️Pasos✨️
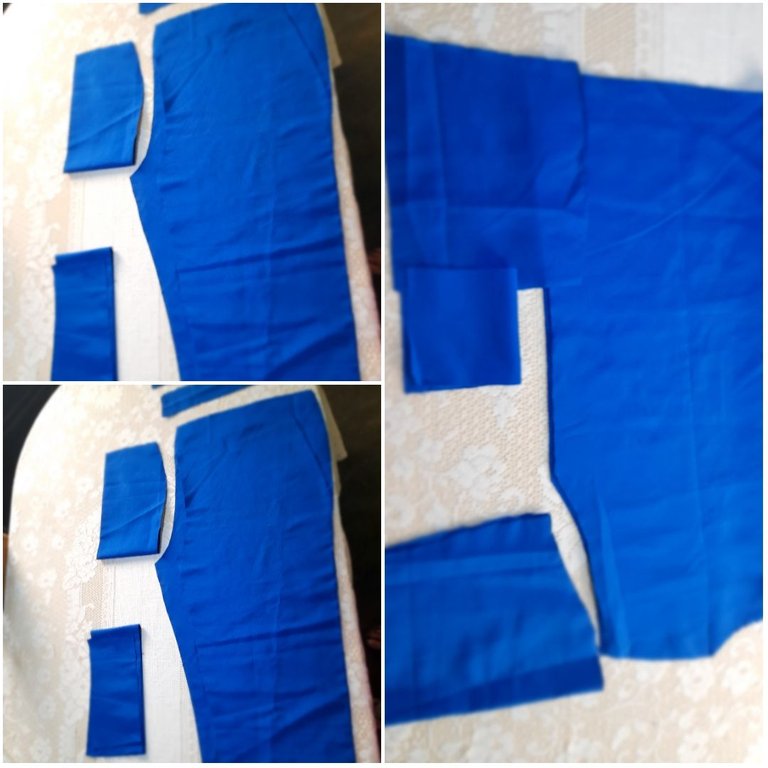
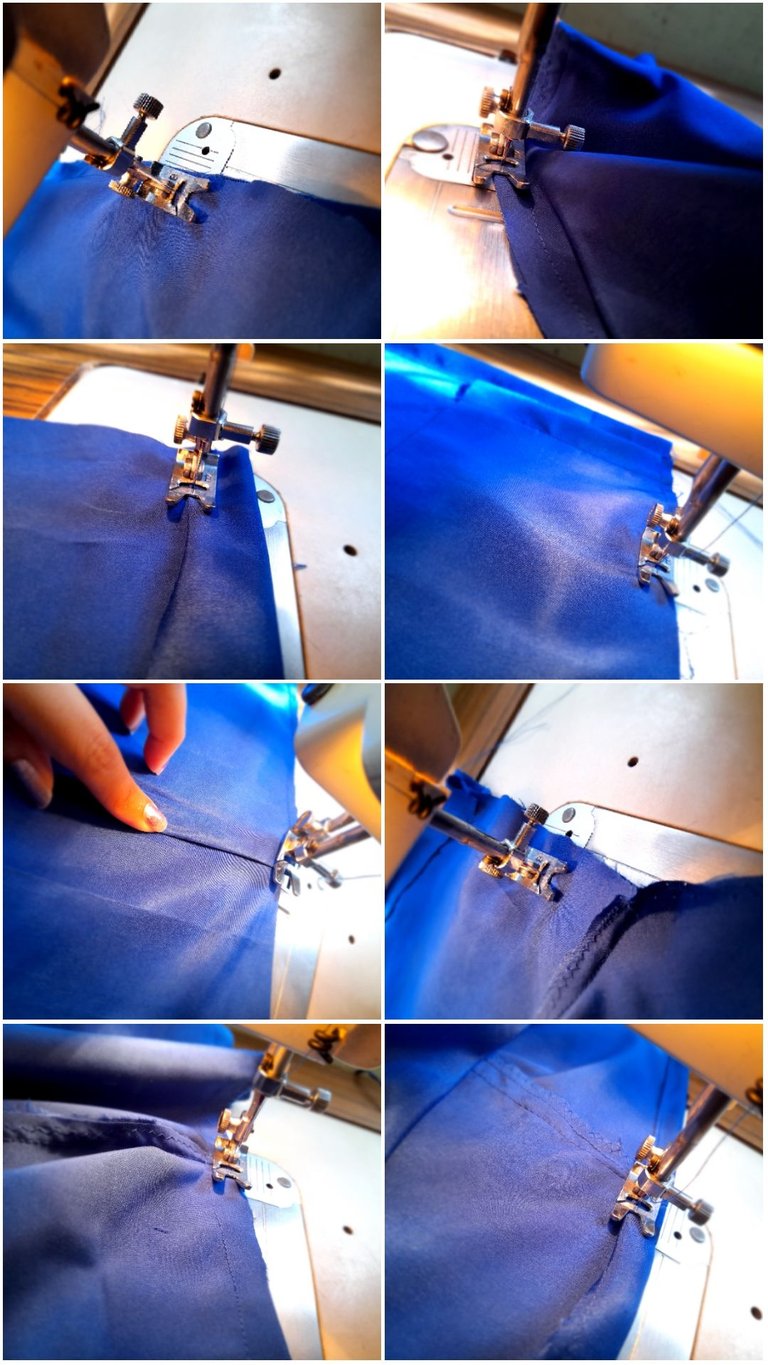
•✨️Con una prenda de medida como método de referencia voy a cortar todas las piezas siendo estas para la parte superior o camisa una pieza trasera, delantera, dos mangas, un forro superior trasero y otro delantero, tres bolsillos.
Para la parte inferior o pantalon dos piezas frontales, dos traseras, dos bolsillos internos, dos bolsillos laterales externos, un tiro largo para la trenza y un contorno de cintura dividido en dos.
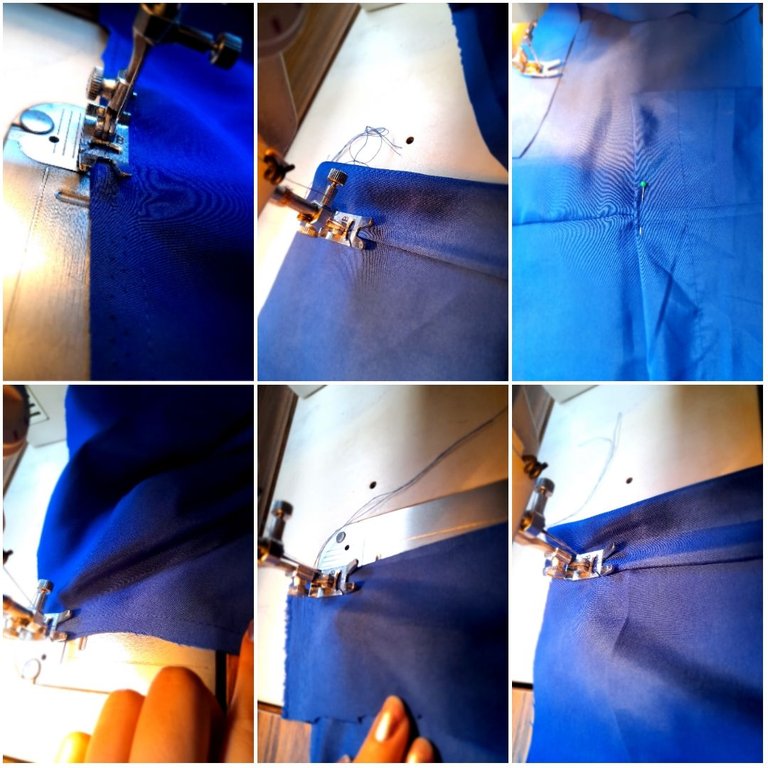
•✨️Continúo cosiendo los bolsillos internos colocandolos en el lado derecho de la tela y cosiendo con costura recta para luego voltear hacia adentro y fijar la caída con una costura recta luego voy a coser el fondo del bolsillo con costura recta y zigzag y aseguraré en los extremos y en la parte superior con costura recta y voy a unir parte trasera con delantera con una costura recta.
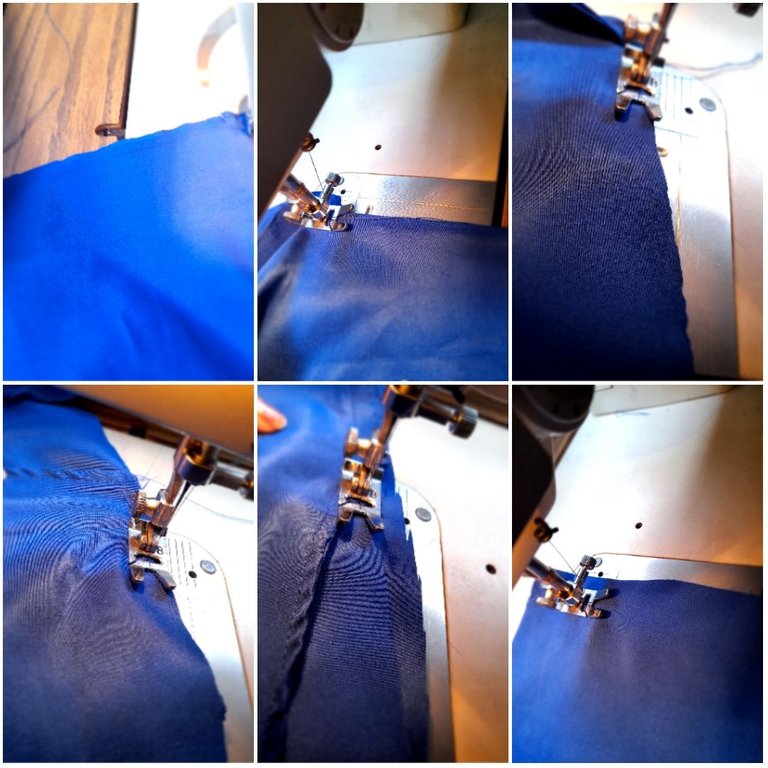
•✨️Voy asegurar con costura de zigzag y voy a coser la orilla de los bolsillos laterales doblando la tela y cosiendo con costura recta luego voy a fijar cada bolsillo con un alfiler y voy a coser con costura recta alrededor doblando la tela hacia adentro y asegurando los inicios de las costuras y luego voy a unir ambas piezas delanteras con costura recta dos veces y luego zigzag para asegurar este paso lo repetiré con la parte trasera también y voy a coser el contorno de cintura trasero doblando la tela y cosiendo con costura recta.
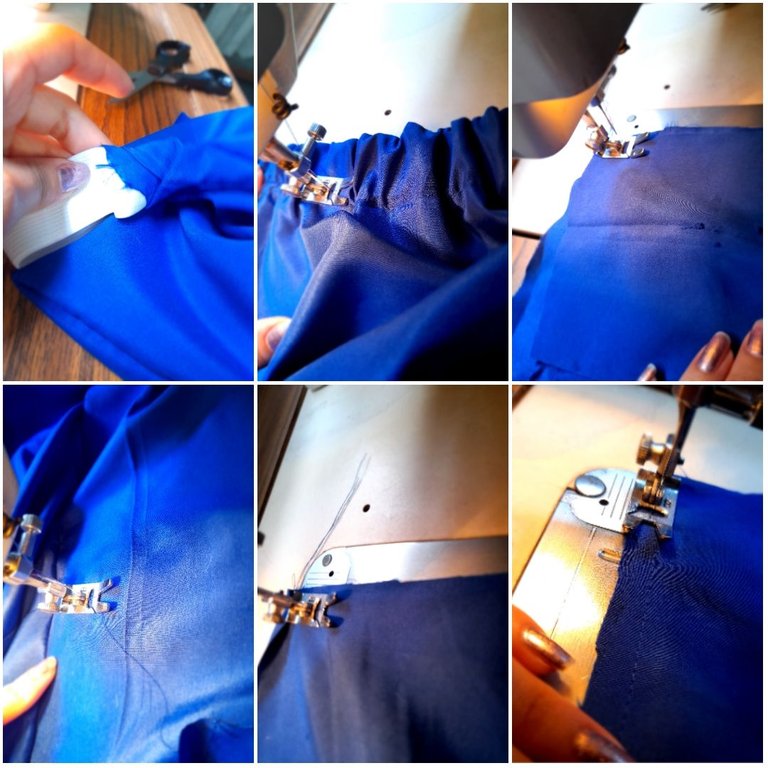
•✨️Voy a introducir la elástica con la ayuda de un gancho y voy a coser por encima mientras voy estirando la tela junto con el elástico formando así pliegues luego continúo cosiendo la parte frontal del contorno de cintura con costura recta y zigzag y luego voy hacer un ojal frontal con costura de zigzag y tensión en 1 y continúo cerrando el pantalón en la parte interna de las piernas con costura recta y zigzag para asegurar.
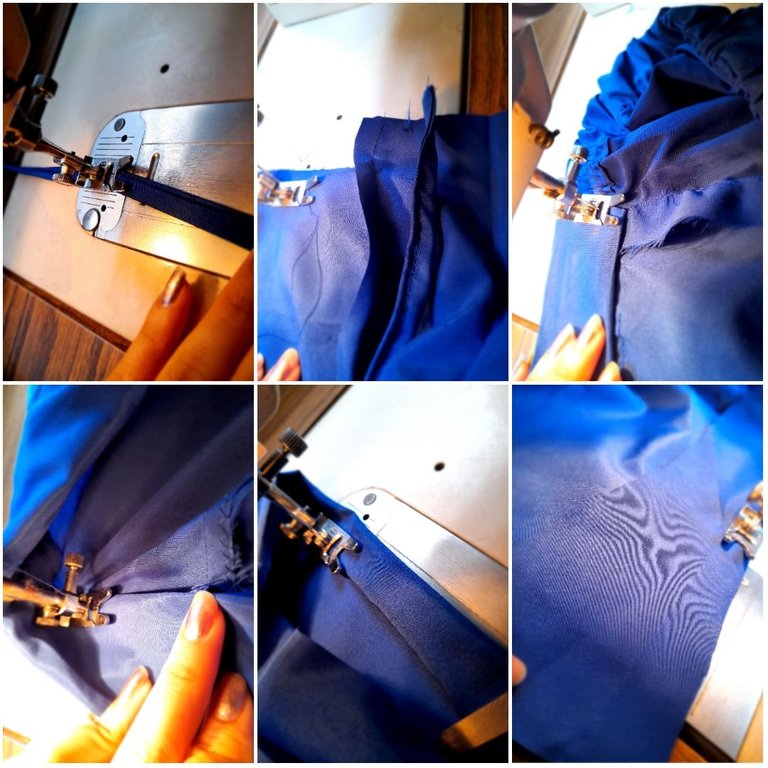
•✨️Continúo cosiendo el tiro para las trenzas doblando la tela y cosiendo con costura recta luego voy a coser la trenza en ambos extremos con costura recta y zigzag y luego voy a pisar la costura inferior del contorno de cintura con una costura recta y para culminar con el pantalón voy a coser el ruedo doblando la tela y cosiendo con costura recta. Voy a coser los forros de la parte superior colocandolos en el lado derecho de la tela y cosiendo con costura recta.
•✨️Voy a coser la parte de los hombros con costura recta y zigzag y cosere la orilla del forro con una costura de zigzag y continúo cosiendo el forro con una caída en la parte del hombro para evitar que se levante y voy a coser por encima con costura recta alrededor del cuello para evitar que se levante luego voy a coser la orilla de las mangas doblando la tela y cosiendo con costura recta.
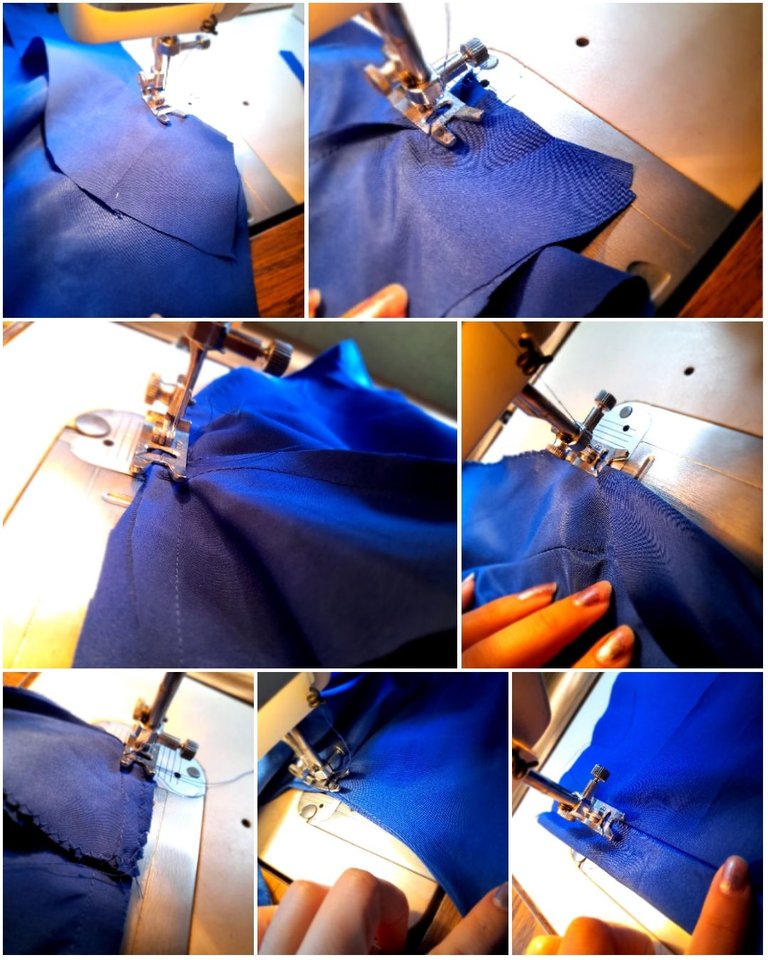
•✨️Continúo cosiendo las mangas colocandolas en el lado derecho de la tela y cosiendo con costura recta y zigzag luego voy a coser con costura recta la orilla de los bolsillos doblando la tela y pasando la máquina luego en uno de los bolsillos principales voy a coser un bolsillo pequeño para los bolígrafos en la parte de encima con costura recta luego voy a fijar los bolsillos en cada lateral con costura recta asegurando todos los bordes con costura recta luego voy a coser la orilla con costura de zigzag.
Continúo cosiendo los extremos de la pieza con una costura recta y zigzag para asegurar y para culminar voy a coser con costura recta también el ruedo.
🩵✨️💙Resultados💙✨️🩵
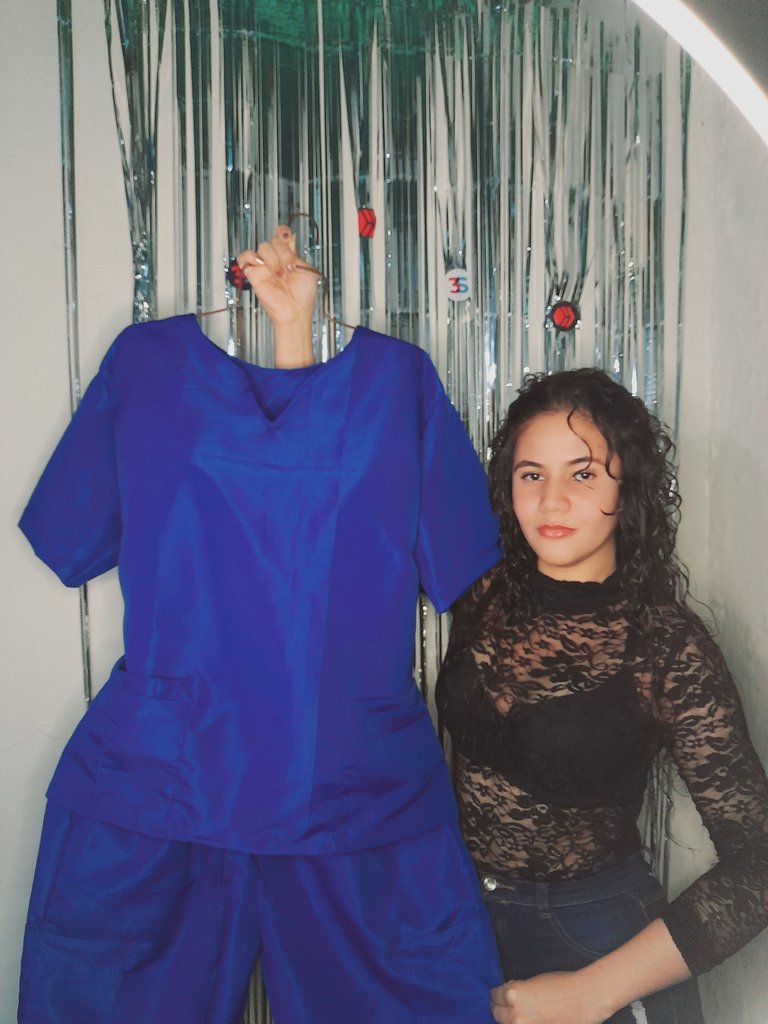
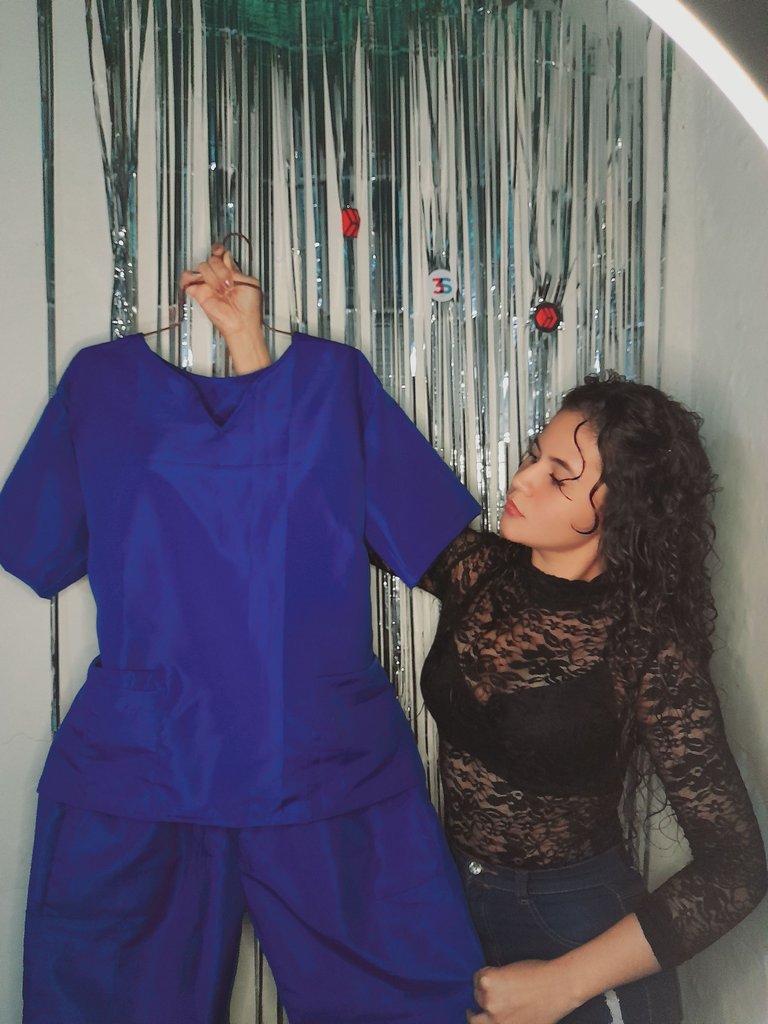
Estos diseños forman parte de mi emprendimiento dedicado a la elaboración de uniformes quirúrgicos para los profesionales de la salud y es un placer para mí poder enseñarles una de las formas de hacerlos para que pronto se animen a realizarlos ustedes mismos. Muchas gracias por haber tomado un minuto para leer mi post espero les guste ✨️❤️💕. Feliz noche para todos amigos de hive ✨️.
🩵✨️💙English💙✨️🩵
Hello my dear friends of Hive ✨️ very good night to everyone 💕 I hope everyone is well enjoying tonight ❤️ many blessings for the creative community of #diy May God bless the hands of all the artists who make life in this wonderful community 🤗 I would like to show you the design and construction of a beautiful surgical uniform for women with detail in the "v" neck and in a beautiful royal blue color, making it even more radiant. I invite you to accompany me in each of the steps to follow 😘.

These were the materials I used
• Sewing machine
• Scissors
• Sewing thread
• Fabric
• Measurement garment
• Elastic
✨️Steps✨️
•✨️With a garment measurement as a reference method I am going to cut all the pieces, these being for the top or shirt a back piece, a front piece, two sleeves, a back and another front upper lining, three pockets. For the bottom part or pants, two front pieces, two back pieces, two internal pockets, two external side pockets, a long shot for the braid and a waist contour divided into two.

•✨️I continue sewing the internal pockets by placing them on the right side of the fabric and sewing with a straight seam and then turn inwards and fix the fall with a straight seam then I will sew the bottom of the pocket with a straight and zigzag seam and I will secure in the ends and at the top with a straight seam and I am going to join the back to the front with a straight seam.

•✨️I am going to secure with a zigzag seam and I am going to sew the edge of the side pockets by folding the fabric and sewing with a straight seam, then I am going to secure each pocket with a pin and I am going to sew with a straight seam around it, folding the fabric inwards and securing the beginnings of the seams and then I am going to join both front pieces with a straight seam twice and then zigzag to ensure this step I will repeat it with the back part as well and I am going to sew the back waist contour by folding the fabric and sewing with a straight seam.

•✨️I am going to insert the elastic with the help of a hook and I am going to sew over it while I stretch the fabric together with the elastic, thus forming folds, then I continue sewing the front part of the waist contour with a straight and zigzag seam and then I am going to do a front buttonhole with a zigzag seam and tension in 1 and I continue closing the pants on the inside of the legs with a straight and zigzag seam to secure.

•✨️I continue sewing the throw for the braids by folding the fabric and sewing with a straight seam, then I am going to sew the braid at both ends with a straight and zigzag seam and then I am going to step on the lower seam of the waist contour with a straight seam and to finish With the pants I am going to sew the hem by folding the fabric and sewing with a straight seam. I am going to sew the top linings by placing them on the right side of the fabric and sewing with a straight seam.

•✨️I am going to sew the shoulder part with a straight and zigzag seam and I will sew the edge of the lining with a zigzag seam and I continue sewing the lining with a drop on the shoulder part to prevent it from rising and I am going to sew over it with a straight seam around the neck to prevent it from rising, then I am going to sew the edge of the sleeves by folding the fabric and sewing with a straight seam.

•✨️I continue sewing the sleeves, placing them on the right side of the fabric and sewing with a straight and zigzag seam, then I will sew the edge of the pockets with a straight seam, folding the fabric and passing the machine, then in one of the main pockets I will sew a small pocket for pens on the top with a straight seam then I am going to attach the pockets on each side with a straight seam securing all the edges with a straight seam then I am going to sew the edge with a zigzag seam. I continue sewing the ends of the piece with a straight and zigzag seam to secure and to finish I am going to sew the hem with a straight seam as well.

🩵✨️💙Results💙✨️🩵


These designs are part of my venture dedicated to making surgical uniforms for health professionals and it is a pleasure for me to be able to show you one of the ways to make them so that you will soon be encouraged to make them yourself. Thank you very much for taking a minute to read my post, I hope you like it ✨️❤️💕. Happy night to all hive friends ✨️.
💁♀️Todas las fotografías son de mi autoría capturadas con mi Samsung Galaxy A12 y editadas en GridArt.
El texto y resumen es totalmente de mi autoría.
Texto traducido en el traductor Google.💁♀️
💁♀️All the photographs are my own, captured with my Samsung Galaxy A12 and edited in GridArt.
The text and summary is entirely my own.
Translated text in Google translator.💁♀️
