🖤Español🖤
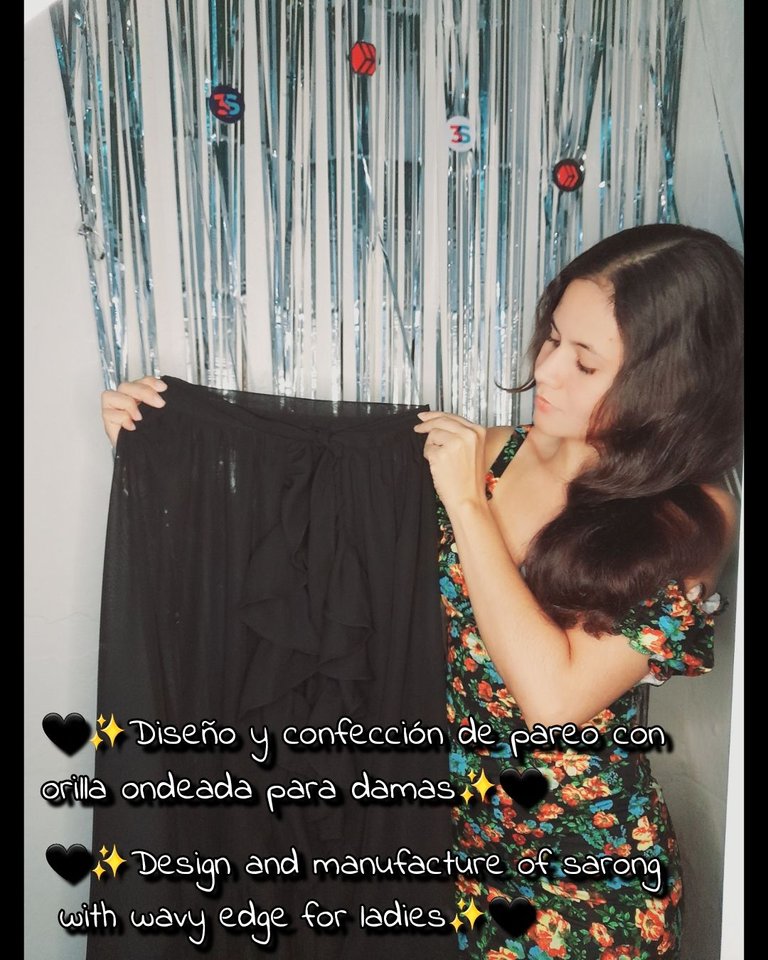
Hola muy buenas noches querida y apreciada comunidad de Hive 💕 sean todos bienvenidos una vez más a mi blog donde les enseñaré como hacer un hermoso pareo para dama con orilla ondeada siempre es un placer poder compartir un momento agradable en esta creativa comunidad de #Diy y la cual nos ofrece muchas alternativas ingeniosas y artísticas por eso los invito acompañarme en cada uno de los pasos a seguir 😉.
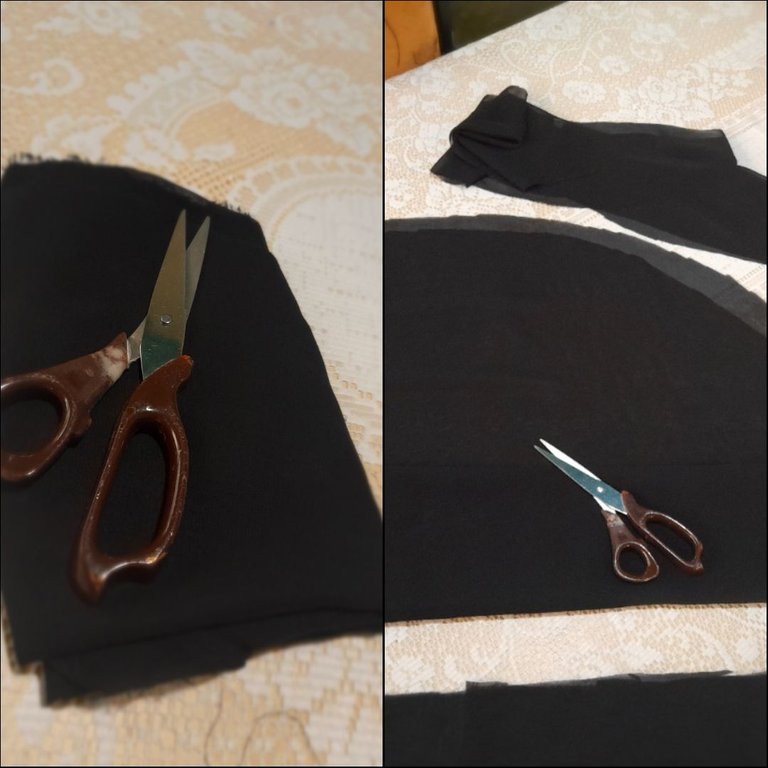
Estos fueron los materiales que use
• Máquina de coser
• Tijera
• Hilo de coser
• Tela
• Prenda de medida
✨️Pasos✨️
•✨️Daré inicio cortando todas las piezas de mi pareo siendo estas el contorno de cintura, el cuerpo de la falda el cual contará con una forma ondeada y la orilla compuesta de dos partes.
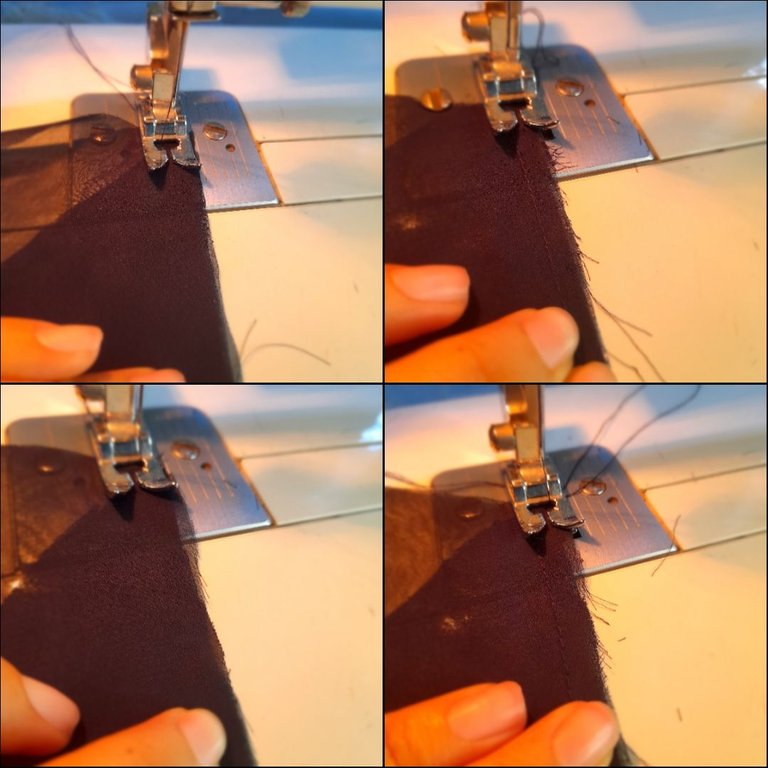
•✨️Continúo uniendo la parte de la orilla con una costura recta y zigzag para asegurar para de esta forma hacer mas larga la orilla y tener facilidad para crear los pliegues.
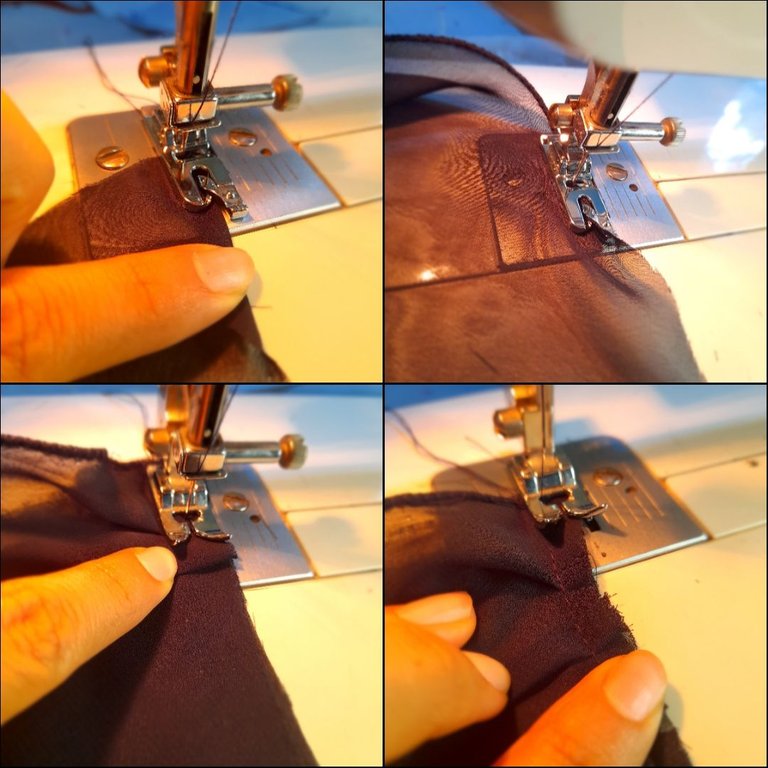
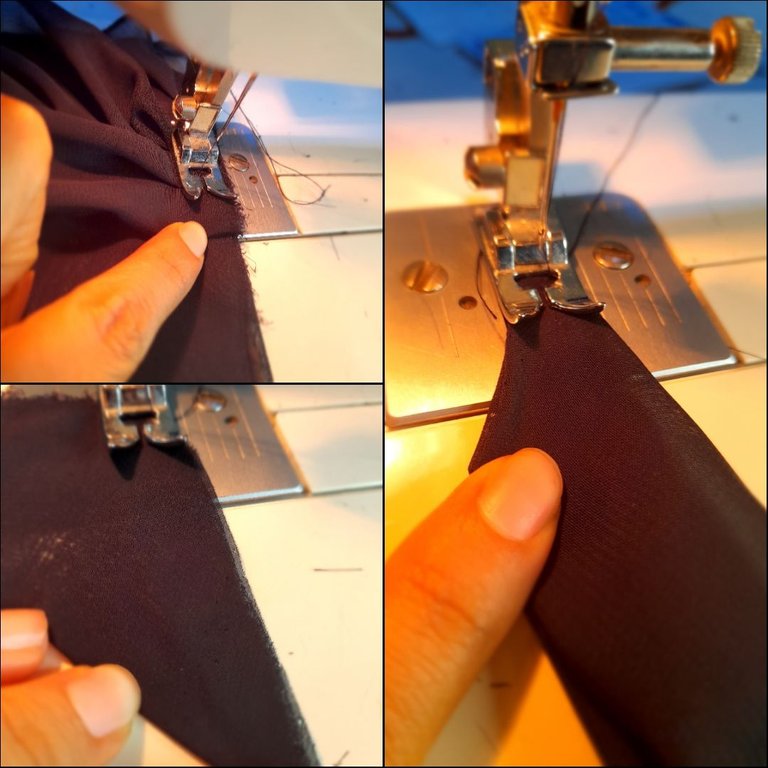
•✨️Colocaré mi prensa tela de orillas y voy a ir introduciendo la tela y cosiendo con costura de zigzag para luego coser dicha orilla al cuerpo de la falda doblando y creando pequeños pliegues los cuales voy a coser con costura recta y zigzag.
•✨️Una vez cosida toda la orilla voy a coser el cuerpo de la falda al contorno de cintura doblando y formando pequeños pliegues en un solo lado de la pieza luego doblare hacia adentro y voy a coser por encima con costura recta culminando así este hermoso diseño.
🖤Resultados🖤
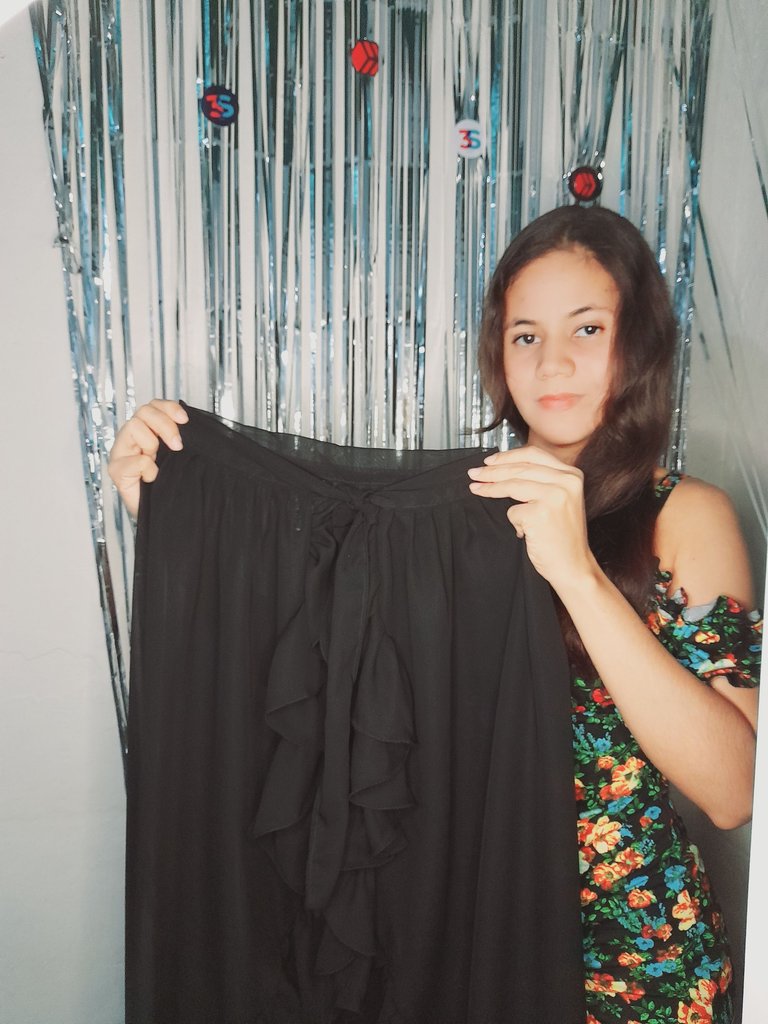
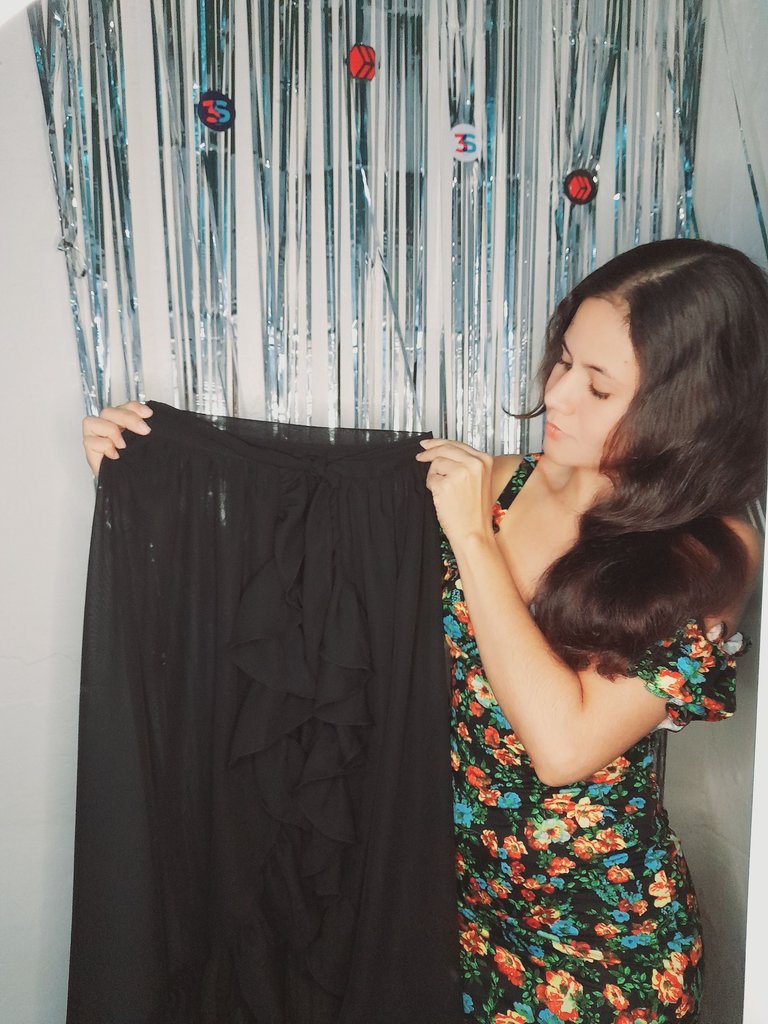
Es un diseño que te hará lucir regia e imponente creando y jugando con la imaginación de las personas 😉 me alegro mucho haber compartido este pequeño espacio dedicado a la costura y al diseño con todos ustedes 💕 estoy muy agradecida por el apoyo que recibo siempre de todos ustedes espero sean todos bendecidos y tengan una linda noche 🤗 saludos.
🖤English🖤
Hello, good evening, dear and appreciated Hive community 💕 everyone, welcome once again to my blog where I will teach you how to make a beautiful sarong for women with a wavy edge, it is always a pleasure to be able to share a pleasant moment in this creative #DIY community and which offers us many ingenious and artistic alternatives, which is why I invite you to accompany me in each of the steps to follow 😉.

These were the materials I used
• Sewing machine
• Scissors
• Sewing thread
• Fabric
• Measurement garment
✨️Steps✨️
•✨️I will start by cutting all the pieces of my sarong, these being the waist contour, the body of the skirt which will have a wavy shape and the edge made up of two parts.

•✨️I continue joining the edge part with a straight and zigzag seam to ensure that it makes the edge longer and makes it easier to create the folds.

•✨️I will place my edge fabric press and I will introduce the fabric and sew with a zigzag seam and then sew said edge to the body of the skirt, folding and creating small folds which I will sew with a straight and zigzag seam.

•✨️Once the entire edge is sewn, I will sew the body of the skirt to the waist contour, folding and forming small folds on one side of the piece, then I will fold inwards and sew on top with a straight seam, thus completing this beautiful design.

🖤Results🖤


It is a design that will make you look regal and imposing creating and playing with people's imagination 😉 I am very happy to have shared this small space dedicated to sewing and design with all of you 💕 I am very grateful for the support I always receive from everyone I hope you are all blessed and have a nice night 🤗 greetings.
💁♀️Todas las fotografías son de mi autoría capturadas con mi Samsung Galaxy A12 y editadas en GridArt.
El texto y resumen es totalmente de mi autoría.
Texto traducido en el traductor Google.💁♀️
💁♀️All the photographs are my own, captured with my Samsung Galaxy A12 and edited in GridArt.
The text and summary is entirely my own.
Translated text in Google translator.💁♀️

