🌸✨️💖Español💖✨️🌸
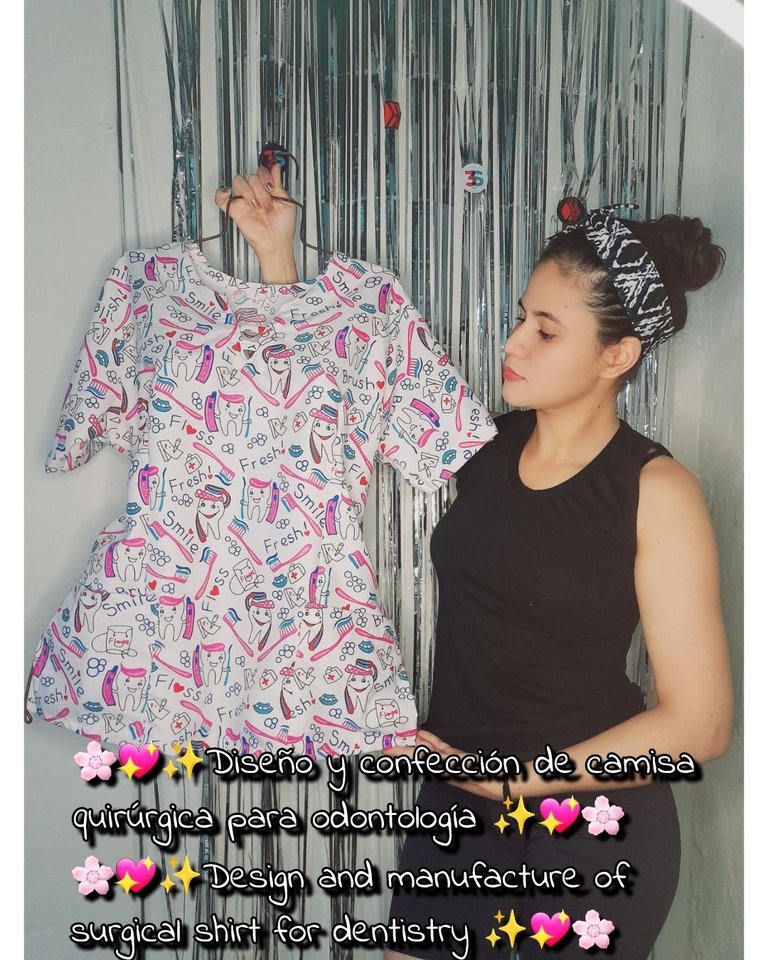
Hola mis queridos amigos de Hive ✨️ muy buenas noches para todos 🤗 espero se encuentren muy bien disfrutando de la noche 💖 saludos para todos en esta linda y talentosa comunidad de #Diy hoy les enseñaré como hacer una camisa quirúrgica para el personal femenino de odontología paso a paso y detalladamente para el aprendizaje y aprovechamiento de todos 🤗 los invito a acompañarme y continuar leyendo.
Estos fueron los materiales que use
• Máquina de coser
• Tijera
• Hilo de coser
• Tela
• Prenda de medida
✨️Pasos✨️
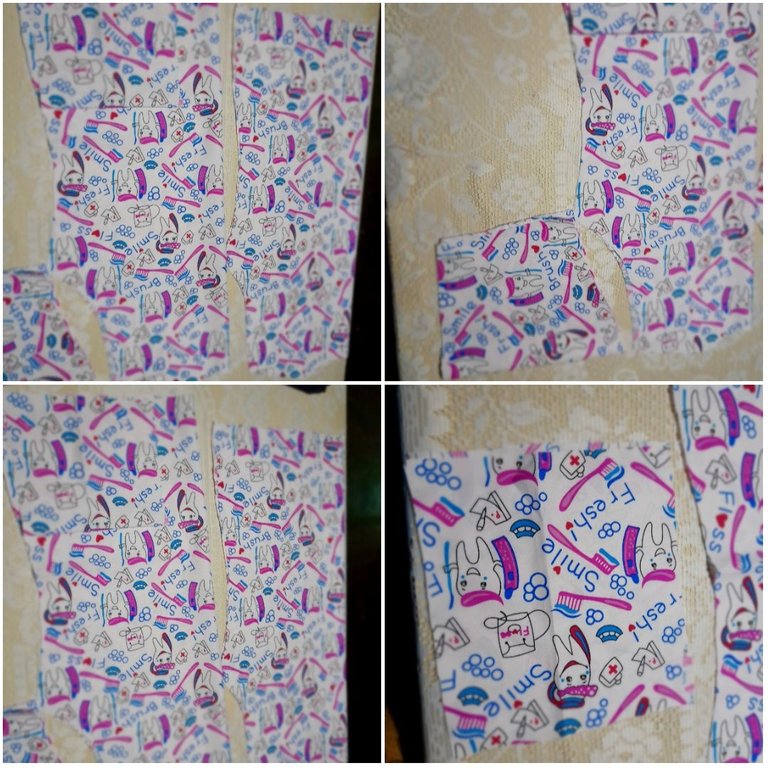
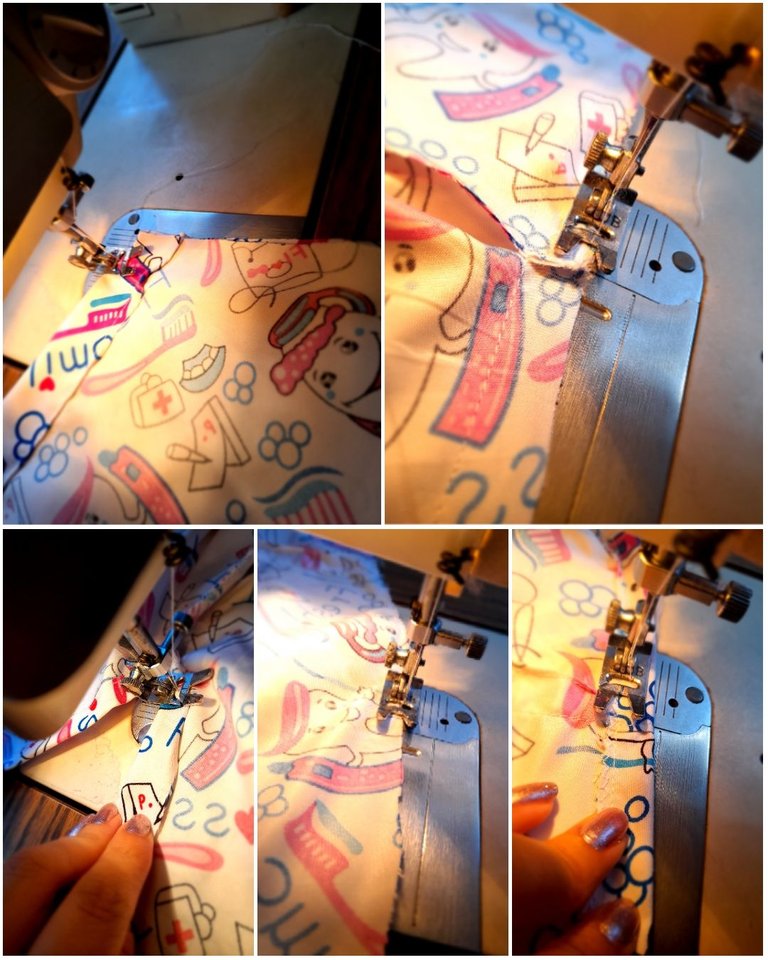
•✨️Voy a iniciar cortando todas las piezas de mi camisa siendo estas una pieza trasera, delantera, un forro frontal y uno trasero, un tiro largo, dos mangas y dos bolsillos.
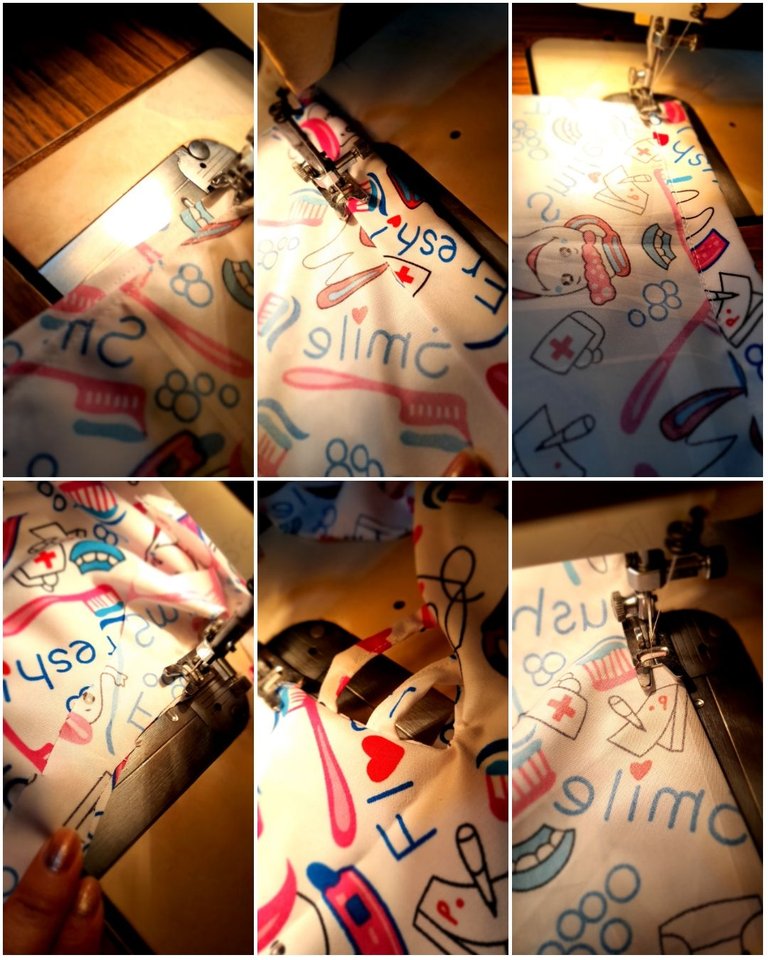
•✨️Continúo cosiendo las pinzas traseras y delanteras para proporcionar forma y caída a la prenda luego voy a coser la orilla de la manga y de los bolsillos doblando la tela y cosiendo con costura recta luego voy a coser el tiro largo con costura recta y luego voy a voltear y cortar en tiras más pequeñas para colocarlas en la abertura frontal de mi camisa y voy a coser con costura recta junto con el forro frontal luego voy a coser con costura recta el forro trasero y cosere la orilla de estos con costura de zigzag medio mientras voy doblando la tela.
•✨️Voy a fijar los bolsillos frontales en cada extremo y voy a coser estos con costura recta mientras voy doblando la orilla hacia adentro luego voy a unir piezas trasera y delantera en la parte de los hombros con costura recta y zigzag. Luego voy a coser con costura recta y zigzag las mangas.
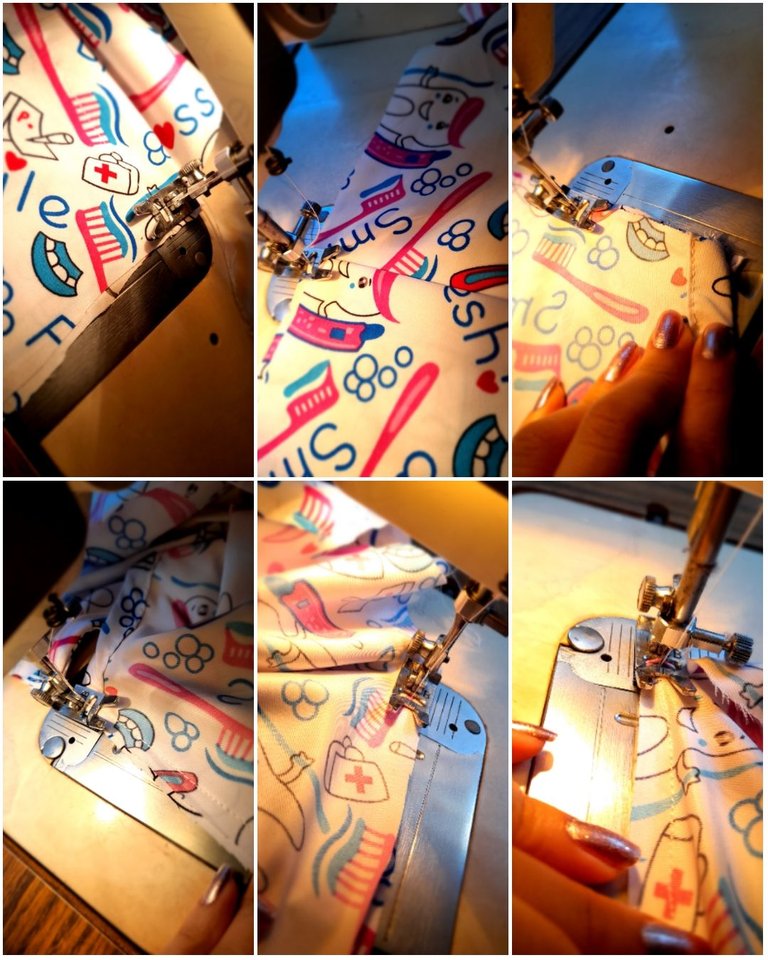
•✨️Continúo cosiendo la prenda en ambos extremos con costura recta y zigzag dejando una pequeña abertura al final en la cual voy a doblar las orillas hacia adentro y cosere con costura recta para luego coser la orilla de la prenda con costura de zigzag y posteriormente coser el ruedo con costura recta mientras voy doblando la tela culminando así este diseño.
🌸✨️💖Resultados💖✨️🌸
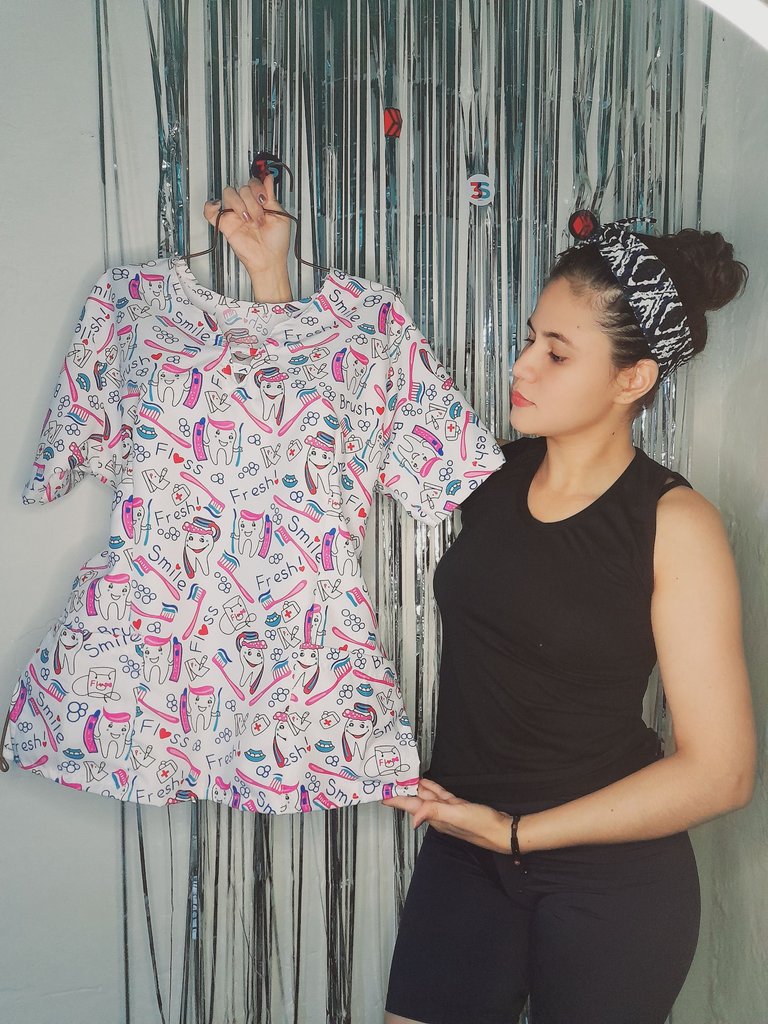
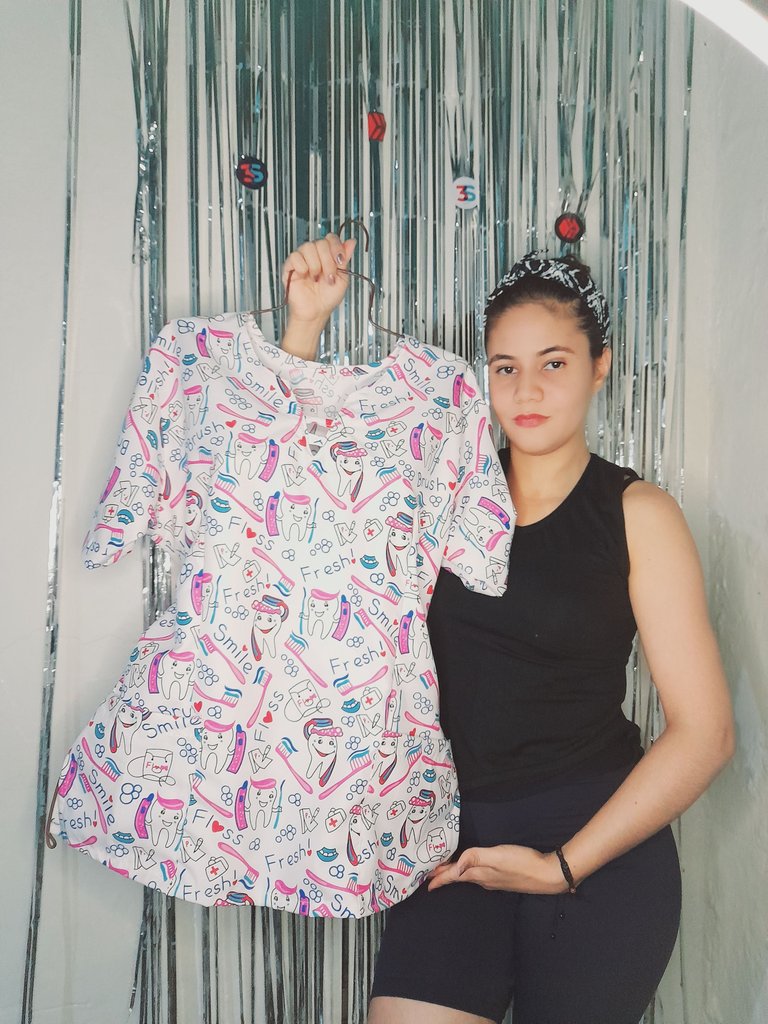
Me alegro mucho haber compartido este pequeño espacio dedicado a la costura con todos ustedes espero les haya gustado mi post y que este haya sido de gran utilidad para todos queridos amigos de Hive ✨️ nunca es tarde para aprender y hacer las cosas nosotros mismos ❤️ feliz noche para todos 💖🤗✨️.
🌸✨️💖English💖✨️🌸
Hello my dear friends of Hive ✨️ very good night to everyone 🤗 I hope you are well enjoying the night 💖 greetings to everyone in this beautiful and talented #DIY community today I will teach you how to make a surgical shirt for the female dental staff step step by step and in detail for everyone's learning and use 🤗 I invite you to join me and continue reading.

These were the materials I used
• Sewing machine
• Scissors
• Sewing thread
• Fabric
• Measurement garment
✨️Steps✨️
•✨️I'm going to start by cutting all the pieces of my shirt, these being a back piece, a front piece, a front lining and a back lining, a long shot, two sleeves and two pockets.

•✨️I continue sewing the back and front darts to provide shape and drape to the garment then I am going to sew the edge of the sleeve and the pockets by folding the fabric and sewing with a straight seam then I am going to sew the long shot with a straight seam and then I am going to turn and cut into smaller strips to place in the front opening of my shirt and I am going to sew with a straight seam along with the front lining then I am going to sew with a straight seam the back lining and I will sew the edge of these with a zigzag seam while I fold the fabric.

•✨️I am going to fix the front pockets at each end and I am going to sew these with a straight seam while I fold the edge inwards, then I am going to join the back and front pieces on the shoulder part with a straight and zigzag seam. Then I'm going to sew the sleeves with a straight and zigzag seam.

•✨️I continue sewing the garment at both ends with a straight and zigzag seam, leaving a small opening at the end in which I will fold the edges inward and sew with a straight seam and then sew the edge of the garment with a zigzag seam and then sew I hem with a straight seam while I fold the fabric, thus completing this design.

🌸✨️💖Results💖✨️🌸


I am very happy to have shared this small space dedicated to sewing with all of you. I hope you liked my post and that this has been very useful for all dear friends of Hive ✨️ it is never too late to learn and do things ourselves ❤️ happy night for everyone 💖🤗✨️.
💁♀️Todas las fotografías son de mi autoría capturadas con mi Samsung Galaxy A12 y editadas en GridArt.
El texto y resumen es totalmente de mi autoría.
Texto traducido en el traductor Google.💁♀️
💁♀️All the photographs are my own, captured with my Samsung Galaxy A12 and edited in GridArt.
The text and summary is entirely my own.
Translated text in Google translator.💁♀️


