🌸Español🌸
Hola hola mis queridos amigos de Hive ✨️ saludos y linda noche para todos ❤️ espero que todos se encuentren muy bien 👍🏻 saludos para todos los artistas que hacen vida en tan creativa comunidad como lo es #Diy siempre sorprendiéndonos con sus ideas y tips para hacer las cosas nosotros mismos 🤗.
Hoy me encuentro muy entusiasmada porque traje un hermoso diseño de blusa que vi recientemente en Internet el cual decidí confeccionar para que ustedes aprendan algo nuevo el día de hoy por eso los invito acompañarme en mi tutorial.
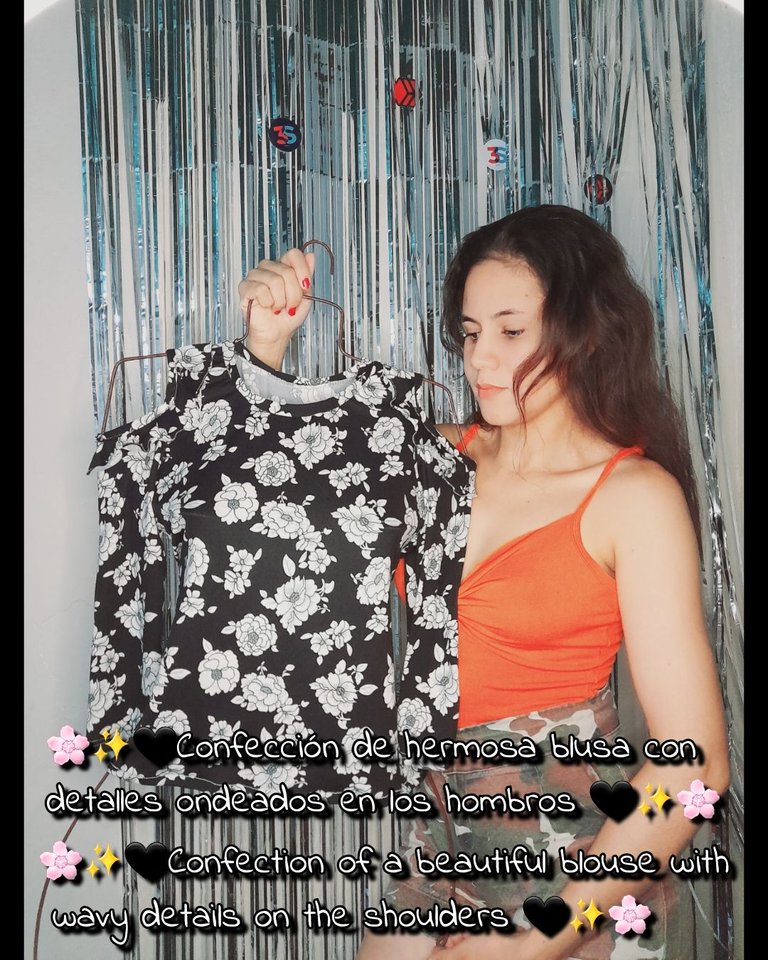
Estos fueron los materiales que use
• Máquina de coser
• Tijera
• Hilo de coser
• Tela
• Prenda de medida
✨️Pasos✨️
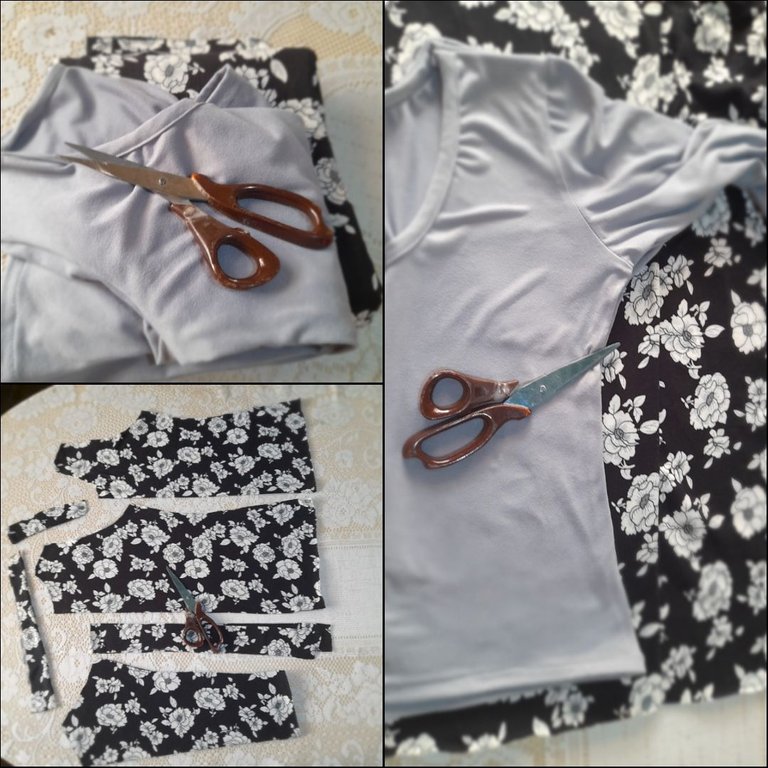
•✨️Voy a iniciar cortando todas las piezas de mi blusa usando una prenda de medida como método de referencia y de la cual obtuve una pieza delantera, trasera, dos mangas, orilla del cuello, dos orillas para la abertura de los hombros y dos orillas ondeadas para los hombros también.
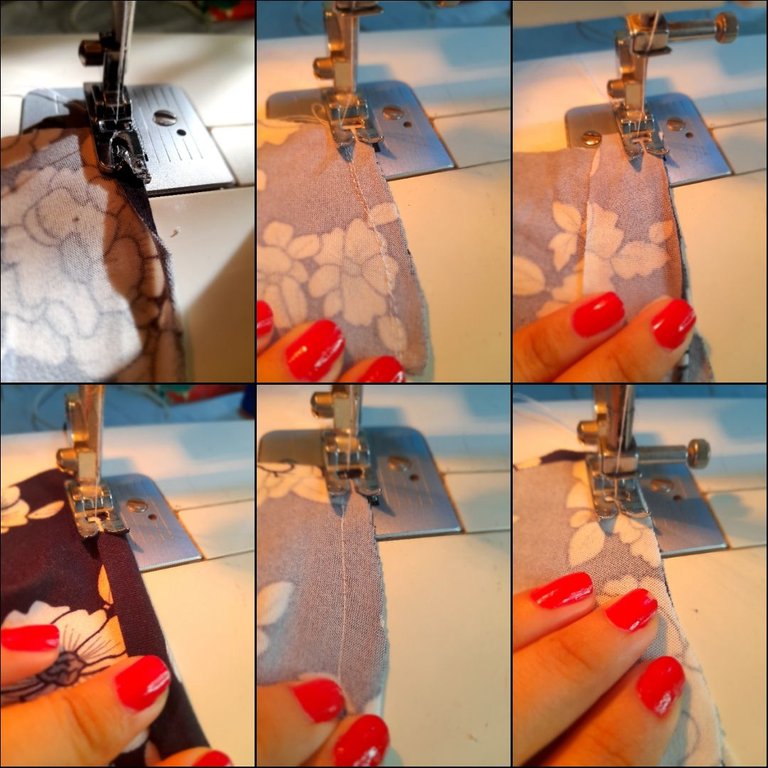
•✨️Continúo cosiendo la orilla ondeada de los hombros doblando la tela y cosiendo con costura de zigzag y tensión en 1 con el prensa tela de orillas y luego sigo cosiendo un solo extremo superior del hombro con costura recta y zigzag luego voy a coser con costura recta la orilla del cuello colocando esta en el lado reverso de la tela para después doblar y coser por el lado derecho con costura recta nuevamente luego voy a cerrar el extremo faltante con costura recta y zigzag.
•✨️Voy a coser la manga dejando una abertura para el hombro, la manga solo la voy a coser en un extremo con costura recta y zigzag y voy a coser la orilla ondeada en el lado externo formando pequeños pliegues. Luego voy a coser la orilla de los hombros colocando esta en el lado reverso y cosiendo con costura recta para luego voltear, doblar y coser con costura recta nuevamente.
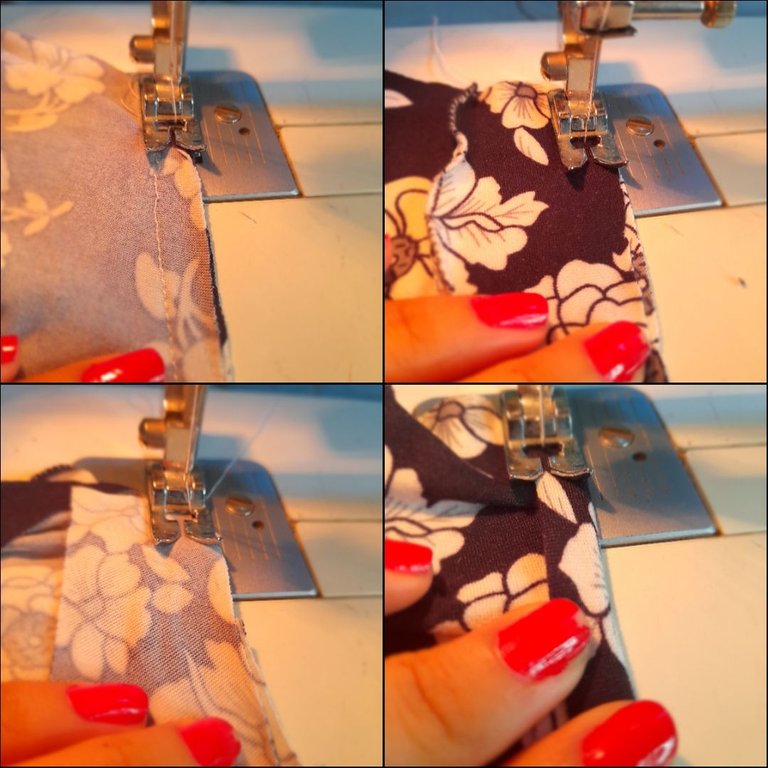
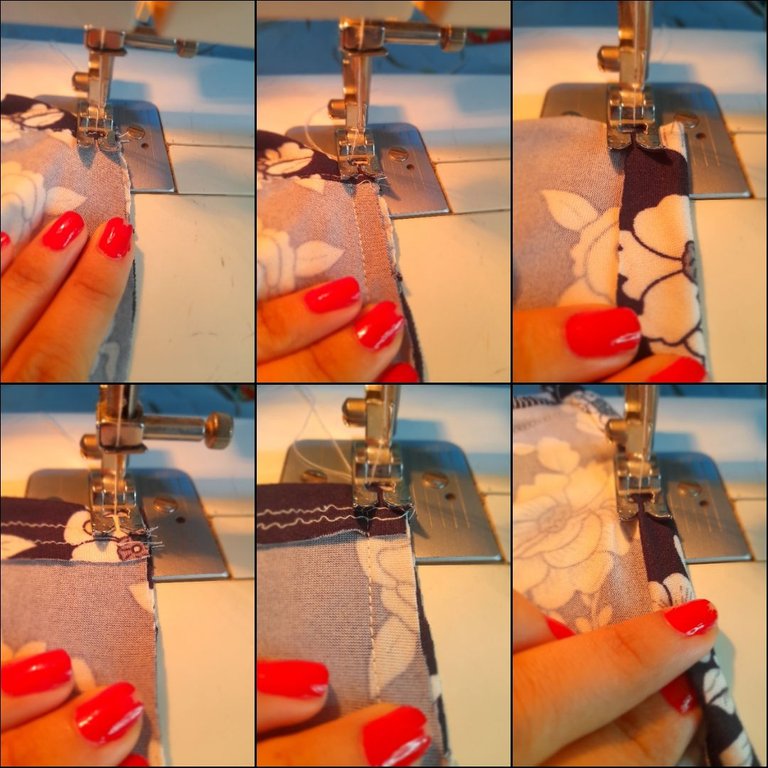
•✨️Continúo cosiendo el extremo faltante de la manga con una costura recta y zigzag luego voy a coser la orilla de la manga con una costura recta mientras voy doblando la orilla para luego cerrar los extremos con costura recta y zigzag para asegurar y luego voy a culminar cosiendo con costura recta el ruedo mientras voy doblando la orilla.
🌸Resultados🌸
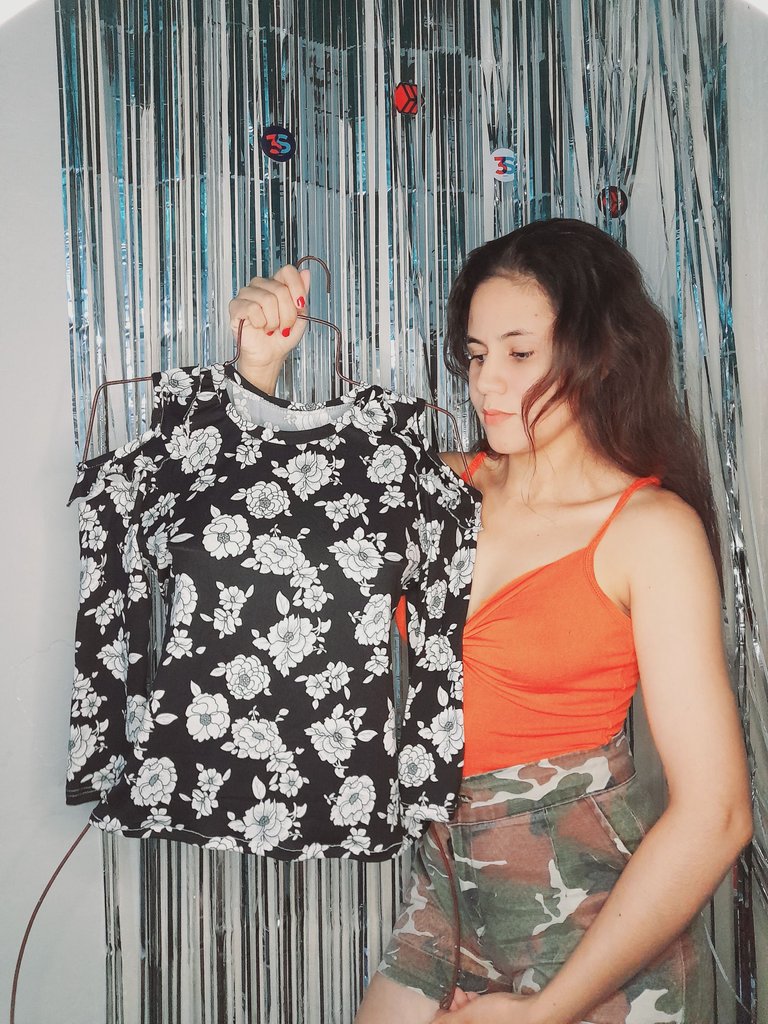
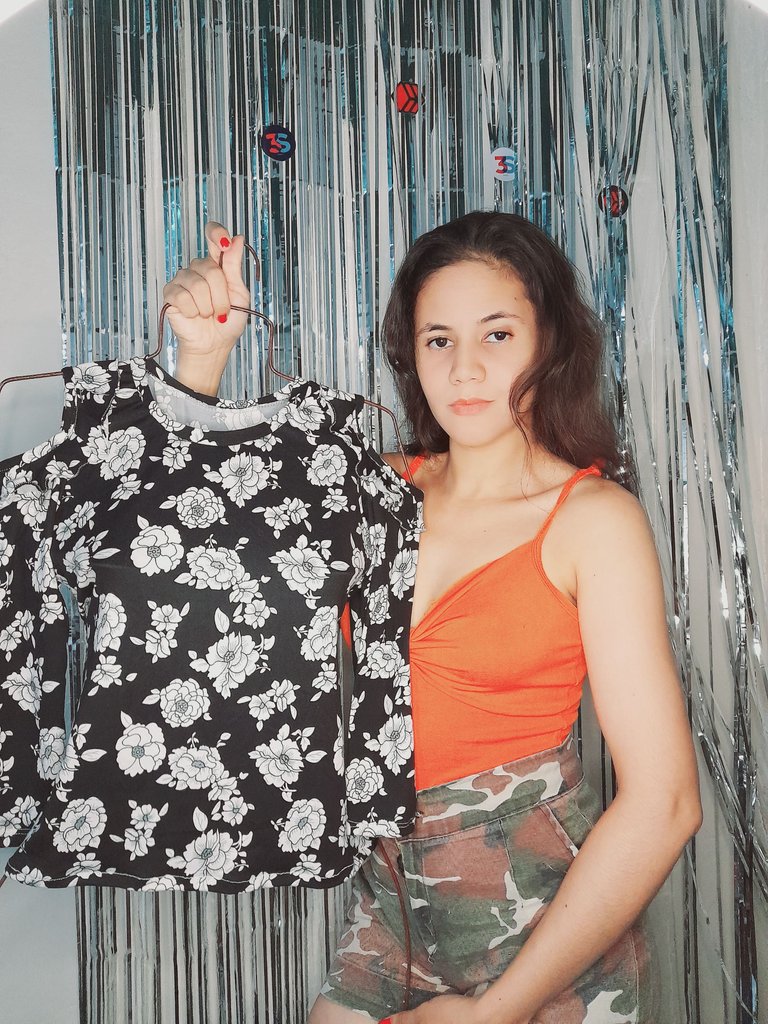
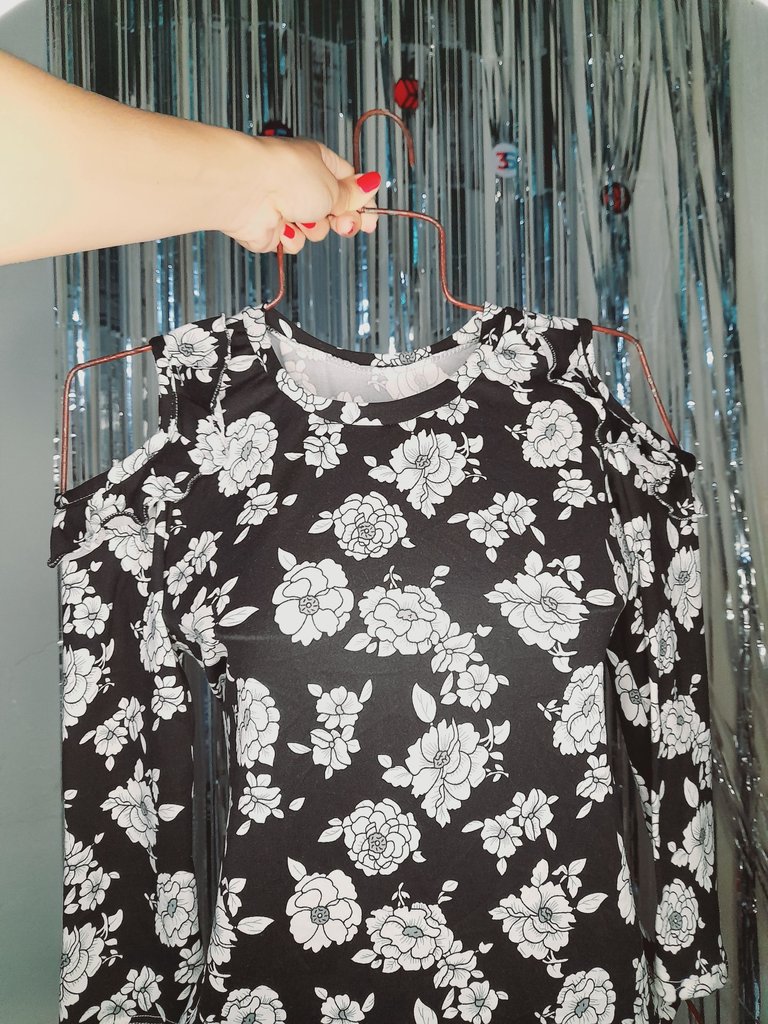
Es un diseño la verdad muy hermoso para ser usado en una ocasión muy especial los detalles en los hombros aportan un aire sutil y delicado a la pieza 🌸 me alegra mucho haber estado acá compartiendo con todos ustedes espero les encante mi diseño y la confección del mismo. Un saludo muy especial para todos espero tengan una linda noche 🤗.
🌸English🌸
Hello hello my dear friends from Hive ✨️ greetings and a nice night for everyone ❤️ I hope everyone is feeling very well 👍🏻 greetings to all the artists who make life in such a creative community as #DIY is always surprising us with their ideas and tips to make things ourselves 🤗. Today I am very excited because I brought a beautiful blouse design that I recently saw on the Internet which I decided to make so that you can learn something new today, that is why I invite you to join me in my tutorial.

These were the materials I used
• Sewing machine
• Scissors
• Sewing thread
• Fabric
• Measurement garment
✨️Steps✨️
•✨️I am going to start by cutting all the pieces of my blouse using a garment measurement as a reference method and from which I obtained a front piece, a back piece, two sleeves, a neck edge, two edges for the shoulder opening and two edges wavy for the shoulders too.

•✨️I continue sewing the wavy edge of the shoulders by folding the fabric and sewing with a zigzag seam and tension in 1 with the edge fabric presser and then I continue sewing a single upper edge of the shoulder with a straight seam and zigzag then I will sew with a seam Straighten the edge of the neck by placing it on the wrong side of the fabric and then fold and sew on the right side with a straight seam again, then I will close the missing end with a straight and zigzag seam.

•✨️I am going to sew the sleeve leaving an opening for the shoulder, I am only going to sew the sleeve at one end with a straight and zigzag seam and I am going to sew the wavy edge on the outer side forming small folds. Then I'm going to sew the edge of the shoulders, placing it on the wrong side and sewing with a straight seam and then turning, folding and sewing with a straight seam again.

•✨️I continue sewing the missing end of the sleeve with a straight and zigzag seam then I will sew the edge of the sleeve with a straight seam while I fold the edge and then close the ends with a straight and zigzag seam to secure and then I will Finish by sewing the hem with a straight seam while folding the edge.

🌸Results🌸


It is a very beautiful design to be used on a very special occasion. The details on the shoulders add a subtle and delicate air to the piece. I am very happy to have been here sharing with all of you. I hope you love my design and the making of it. . A very special greeting to everyone, I hope you have a nice night 🤗.
💁♀️Todas las fotografías son de mi autoría capturadas con mi Samsung Galaxy A12 y editadas en GridArt.
El texto y resumen es totalmente de mi autoría.
Texto traducido en el traductor Google.💁♀️
💁♀️All the photographs are my own, captured with my Samsung Galaxy A12 and edited in GridArt.
The text and summary is entirely my own.
Translated text in Google translator.💁♀️
