Buen día amigos de Hive!, hoy estamos en un nuevo tutorial de como reparar bombillos en mal estado, darles mas vida útil de forma sencilla y directa.
En este caso, denotamos un bombillo con problemas de led's bajas o en algunos casos que no encienden, algunos de estos problemas pueden ser led's quemados, pero muchas veces es por un mal contacto de los cables en el conductor donde enroscamos el bombillo al socate o en casos criticos, que el condensador este dañado, desvalorizado o abombado.
Ahora veamos como se resuelve!.
Good morning friends of Hive, today we are in a new tutorial on how to repair bulbs in poor condition, give them more life in a simple and straightforward way.
In this case, we denote a bulb with low led's problems or in some cases that do not light, some of these problems may be burned led's, but often it is a bad contact of the wires in the conductor where we screw the bulb to the socket or in critical cases, that the capacitor is damaged, devalued or buckled.
Now let's see how it works out!

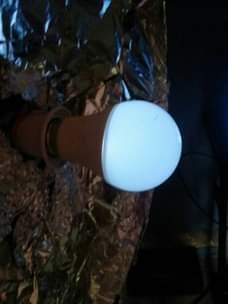
Confirmamos que el bombillo este en mal estado, en mi caso lo coloco en mi paral de luz casero que me ayuda a comprobar que el problema esta en el bombillo y no en el socate de la casa.
We confirm that the bulb is in bad condition, in my case I put it in my home light parallel that helps me to check that the problem is in the bulb and not in the socket of the house.
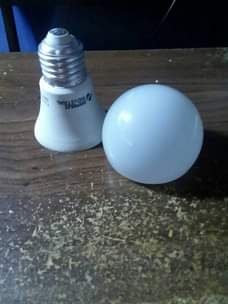
Destapamos la cabeza del bombillo para comprobar el estado de los led's
Uncover the bulb head to check the status of the LEDs.
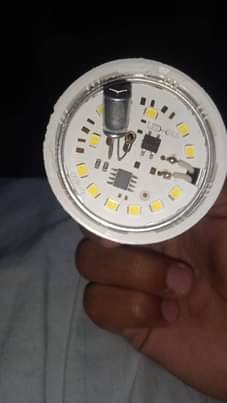
Comprobamos que los led's esten completamente amarillos, sin puntos negros o que tengan algún síntoma de quemaduras.
We check that the LED's are completely yellow, without black spots or that they have any burnt symptoms.
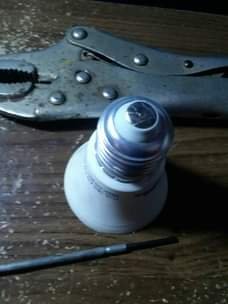
Nos dirigimos a la parte del contacto y tomamos un destornillador plano para retirar el tornillo de contacto (positivo +).
We go to the contact part and take a flat screwdriver to remove the contact screw (positive +).
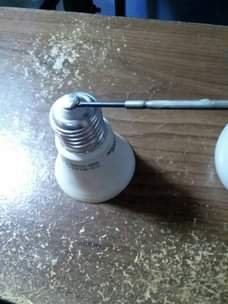
hacemos palanca hasta que este salga por completo.
we pry it until it comes out completely.
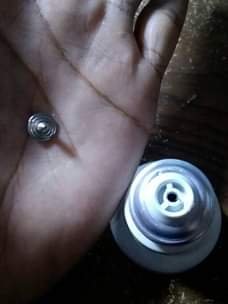
Tomamos el alicate a presión y presionamos sin dañar, ya sea doblando la tapa de aluminio y no millar los dientes del conector
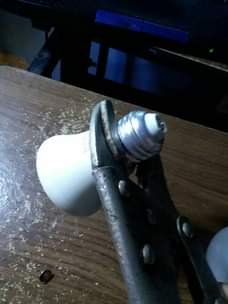
LISTO!, verificamos que por dentro del conector no este oxidado y este completamente bien, si esta oxidado, tendremos que lijar esa parte hasta que quede limpio y sin tanto oxido, si tenemos repuesto, seria remplazarlo.
READY, we verify that the inside of the connector is not oxidized and is completely well, if it is oxidized, we will have to sand that part until it is clean and without so much rust, if we have spare, it would be to replace it.
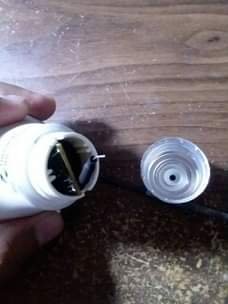
Vemos el estado de los dos cables, el negro, el cual es una resistencia (en este caso es el negativo), el que va pegado en la lamina de aluminio.
Y el otro cable largo, el cual va unido al tornillo que sacamos anteriormente (el positivo).
We see the state of the two wires, the black one, which is a resistor (in this case is the negative), which is glued to the aluminum sheet.
And the other long wire, which is attached to the screw that we removed earlier (the positive).
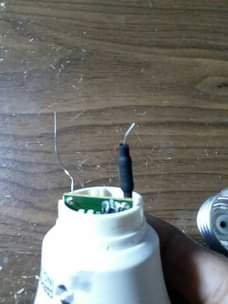
Nos fijamos que todo los puntos de soldadura no estén rotos, quemados, doblados u alguna forma que los cables estén en buen estado y fijos a la placa y no hayan falsos contactos.
We check that all the soldering points are not broken, burned, bent or bent in any way, that the cables are in good condition and fixed to the board and that there are no false contacts.
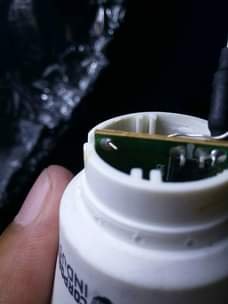
Al ver que todo esta bien, el cable de la resistencia (el que va pegado al conector de aluminio) debe de estar haciendo excelente contacto con este, por lo general la falla de fabrica es que el cable no esta pegando bien de las paredes del conector (falso contacto) haciendo que la corriente sea deficiente y no encienda correctamente el bombillo, o hace que este se encienda o apague por corto tiempo.
When you check that everything is OK, the resistance cable (the one that is glued to the aluminum connector) should be making excellent contact with it, usually the factory fault is that the cable is not sticking well to the walls of the connector (false contact) making the current is poor and does not turn on the bulb properly, or makes it turn on or off for a short time.
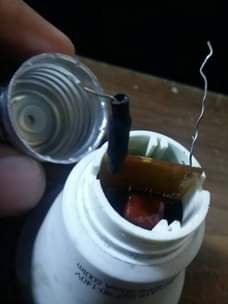
Doblamos el cable con el fin de que este logre hacer presión con el conector y la corriente pueda circular mejor
We bend the cable so that it can press against the connector and the current can circulate better.
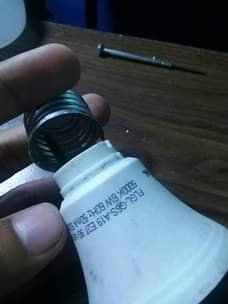
Procedemos a colocar el conector y que este pise bien con el cable negro (resistencia).
We proceed to place the connector and make sure that the black wire (resistor) is in good contact with the connector.
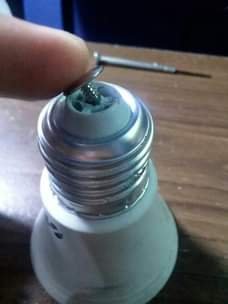
Colocamos el tornillo del cable positivo y pisamos bien el otro extremo del cable
We place the screw of the positive cable and press well the other end of the cable.
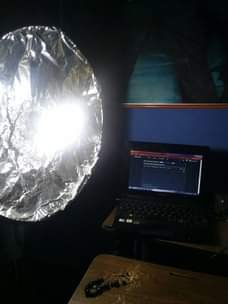
Y ahora conectamos y listo!, problema resuelto.
and now we connect and that's it, problem solved!


Traducción: Deepl.com
Edición: Canva.com
Fotos de mi propiedad.


