As a stay at home mom with a homeschooling toddler, it has been my habit to DIY whatever I can DIY when it comes to our learning materials. While I'm at it, I make sure our learning contraptions can also be used for playtime. Over time, I've made quite a number of DIY learning aides. Some of them were extremely useful, some worked as one-hit wonders. After seeing these failed DIY's, I made sure that my next DIY projects follow certain qualifications before I even get started with them.
The anatomy of a good DIY project
I came up with some criteria and conditions before embarking on a DIY project. I used this as a guide on my DIY projects.
- The Project should be doable
This means that it requires some sort of planning before executing the project. I used to just start a project on a whim. I create a craft just because I felt like it. This is especially true on my crochet projects. While most of the time the crochet projects turn out fine (with a lot of adjustments and modifications along the way) the same cannot be said with my other DIY crafts. I learned to control my emotions, breathe for a bit while trying to visualize my target end product. This also means that the vision I had and the execution should be in sync. - End product should be Sturdy
Especially when it will be used by kids, the DIY needs to be strong enough to withstand the unforgiving force of a toddler's tiny little hands. The DIY Dice I made has been tossed and thrown up and down countless times. If I had not been generous with the glue and water mixture, these might have been long gone. - Uses Recycled Materials
I used a mix of recycled materials and new materials for the DIY dice. We have a surplus of milk boxes in our house. I'm one of those adults that goes through the phase of thinking twice or thrice about throwing a carton just because it's a really good carton. Sometimes I put them to good use, sometimes my husband sneaks some of my collection into the trash. Half of the material is the yellow Carolina. Why yellow? Because back in college, I learned that yellow stimulates brain activity and makes it easier to absorb information. I'm not sure if that's true but I've been using a yellow pad in college. I seemed to have acceptable grades back then. - Multifunctional
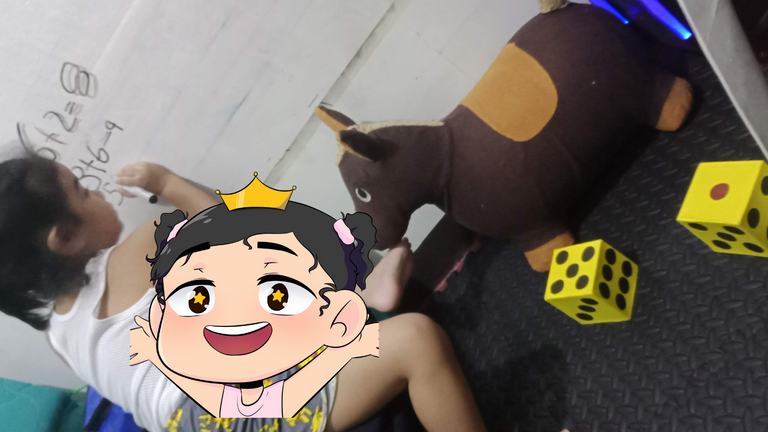
I could have easily just made one piece of the DIY die but I wanted it to have another purpose other than the dice for the DIY board game I made. These have been used in several math lessons we had. We learned basic addition and counting using these DIY dice. When my nieces come over, they use these on a game they invented, higher vs lower. I call it a lesson on greater than, less than, and equals. They have fun, I have an easier time with teaching. Win-win! Multifunctional DIY project achieved!
The multifunction bit actually just dawned on me after I have made two pieces of the dice. It made it easier for me to teach her addition because we did not have to deal with counting sticks or drawing figures on the whiteboard. It has its limitation though being that it has only 6 sides. Even so, it still works its charm since my daughter is still 5 years old and I was slowly easing her into addition and subtraction. Glad to say, the dice did this purpose wonderfully. My daughter learned how to add and subtract a lot easier than I expected.
The other alternate purpose was actually discovered by my nieces. They were just simply bored and saw the dice. One of them decided to throw one. My other niece threw the other and instantly, they found a way to pass the time. They would throw the dice and whoever lands the higher amount wins a point. Sounds like a form of gambling to me, but to them, it's just for fun. They played with it like that until I completed the DIY board game.
Process
 |  |  |
|---|
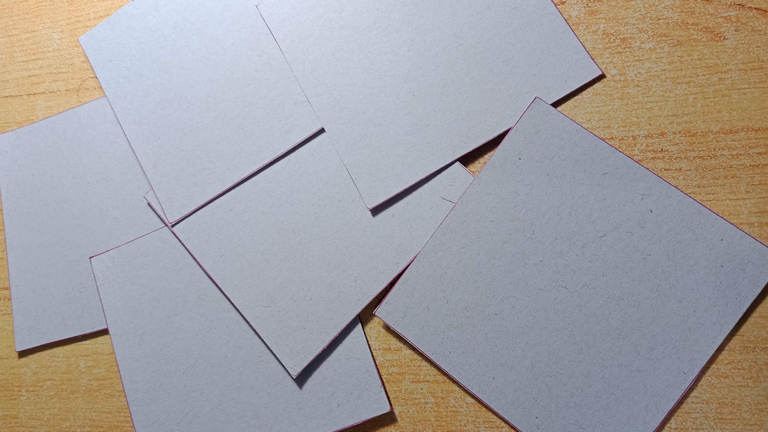
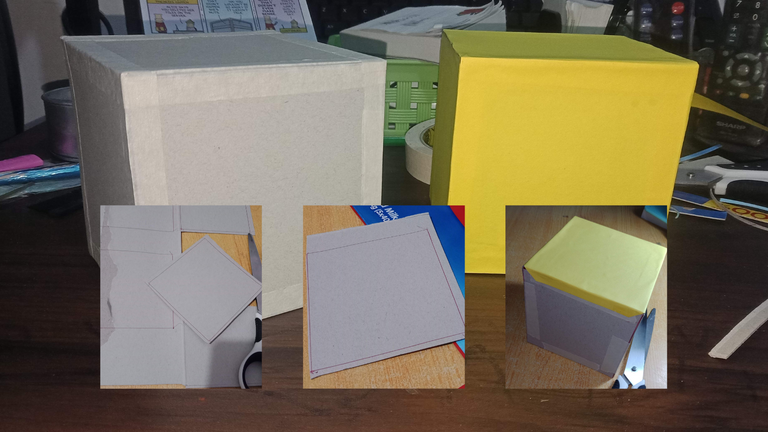
This was a project quite easy to make. All you need would be a milk box. I used just one out of the many I have stored. Then cut squares, 6 for each die so I made 12 squares of equal sizes.
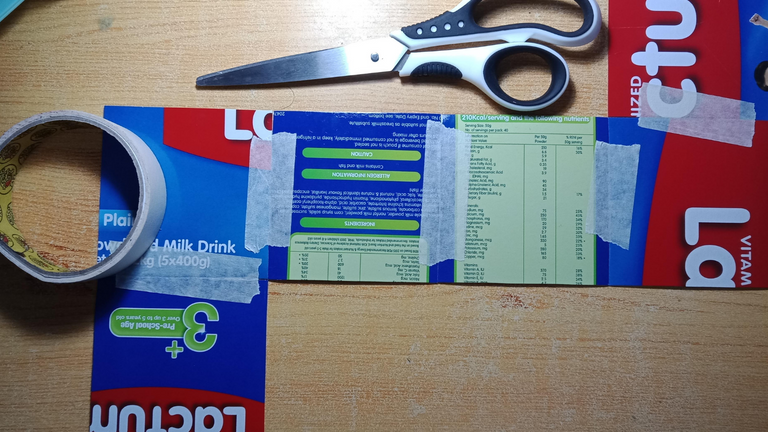
Then I used masking tape to temporarily connect each square to make a cube. Once I made a wobbly sort of cube, I made it a bit stable by taping some more masking tape on the sides, sealing all the corners carefully.
Next, I covered the entire thing with yellow cartolina. I used a lot of glue here to add to its sturdiness. I know my kid will be throwing these like there's no tomorrow so they have to withstand the wear and tear. I can proudly say that I made them sturdy enough to last almost half a year of torturous playtime and rigorous study time.
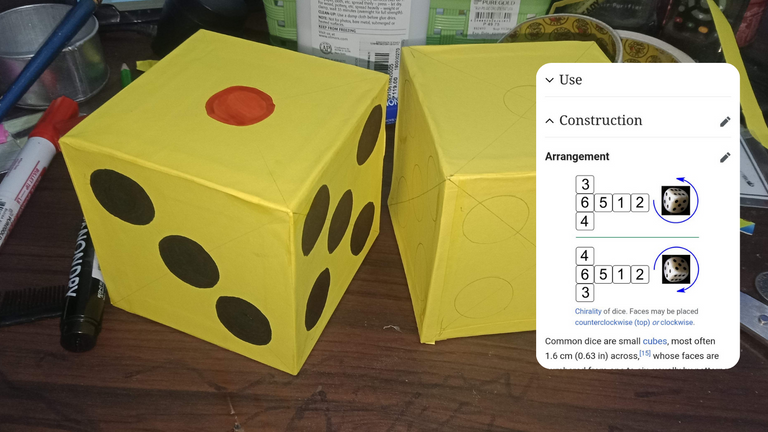
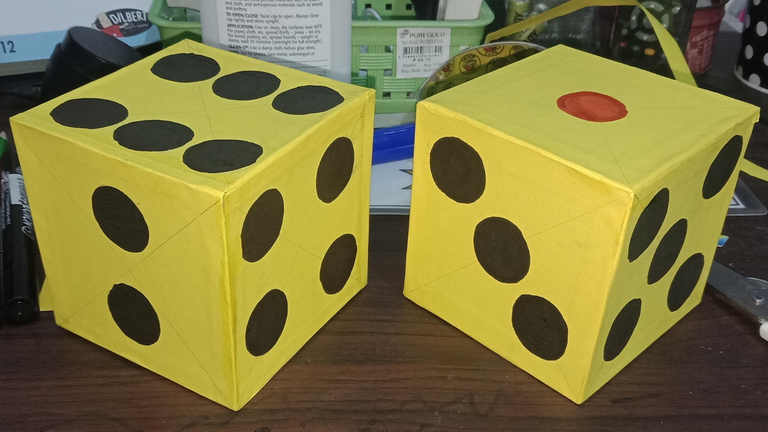
Then the last bit was to mark the sides with the number of dots. I sought the help of Wikipedia this time. I know there are instances that information in there may not be that reliable, but man, these are just dice. I trusted good old Wikipedia with the information it gave me.
End Result
So far, it's still surviving, with no visible dent on the entirety of the cubes. There is some sort of bruises on the corners, which is actually a fault of mine. I should have made the corners less pointy when I made them. After all, dice are actually designed to have curved corners. All in all, I am satisfied. My little kiddo is happy, my nieces are delighted with the toy. I may have made a lot of failed DIYs in the past but so far, this one is one of my best DIY creations.


@romeskie is a full-time stay-at-home mom to a homeschooling toddler. Loves crocheting as a hobby. Maintains a mini food forest, aiming to grow more to achieve that farm-to-table homesteading. Learned how to cook after leaving the corporate world to take care of her family and is now starting to acquire basic baking skills. Learn more about her adventures and misadventures in the world of motherhood.
Connect with her through her Facebook Page: The Leftie Crocheter and on Instagram. Feel free to subscribe to her Youtube Channel: The Leftie Crocheter
