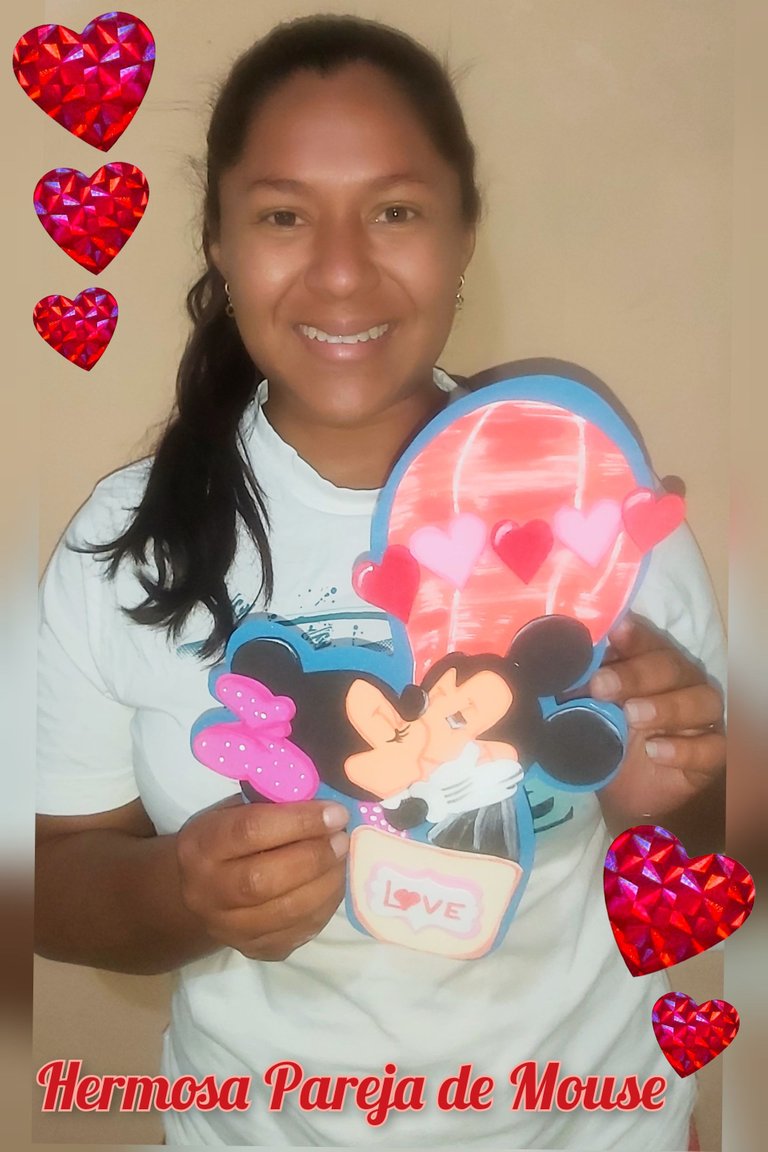
Hola mis queridos lectores hivers
Hello, my dear hivers readers
Un saludo y un gusto poder estar un día más con ustedes y poder compartirles mis creaciones, en esta oportunidad les quiero mostrar como elaborar a la pareja Mouse volando en un globo aerostático en goma eva, espero les guste y los invito a que van el paso a paso.
Greetings and a pleasure to be with you one more day and to share with you my creations, this time I want to show you how to make the Mouse couple flying in a hot air balloon in eva rubber, I hope you like it and I invite you to follow the step by step.
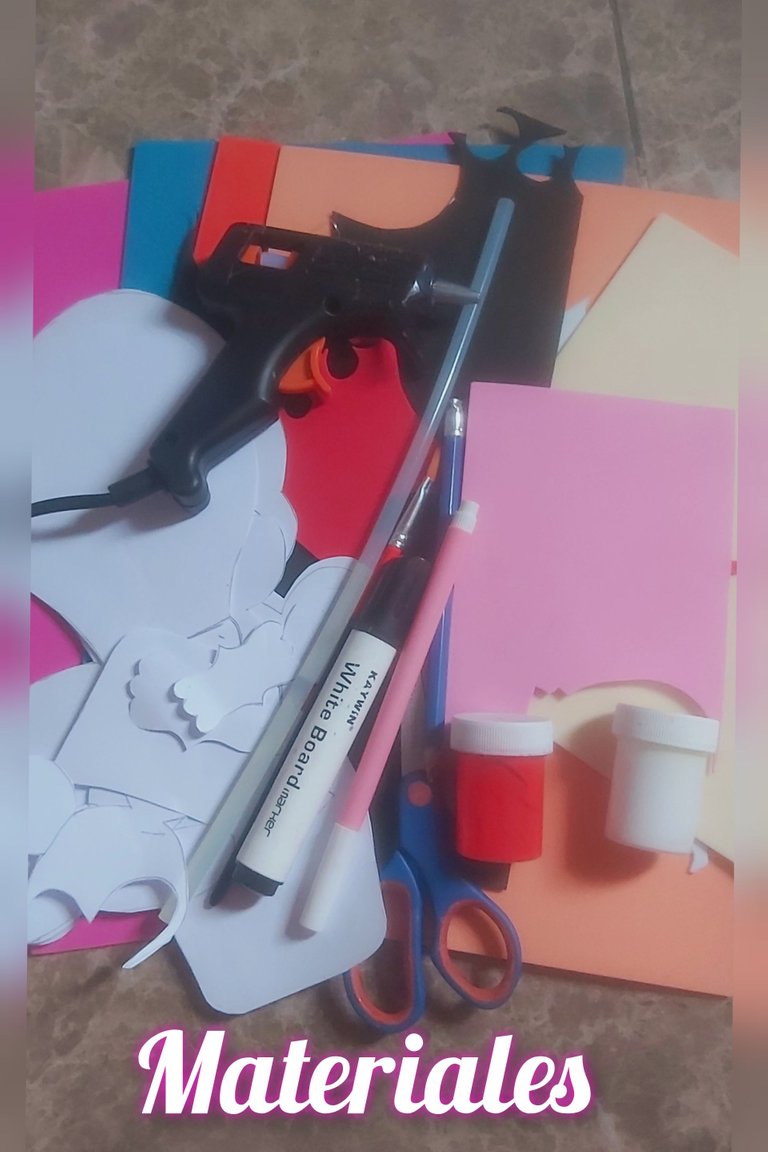
Materiales
🌀 Goma eva de colores rojo, rosado, azul, negro, blanco, Fucsia, piel y beis.
🌀 Pistola y barra de Silicón
🌀 Tijera
🌀 Lapiz
🌀 Pintura blanca y roja
🌀 Marcadores
🌀 Moldes
Materials.
🌀 Eva rubber in red, pink, blue, blue, black, white, Fuchsia, leather and beige.
🌀 Silicone gun and Silicone stick.
🌀 Scissors
🌀 Pencil
🌀 White and red paint
🌀 Markers
🌀 Molds
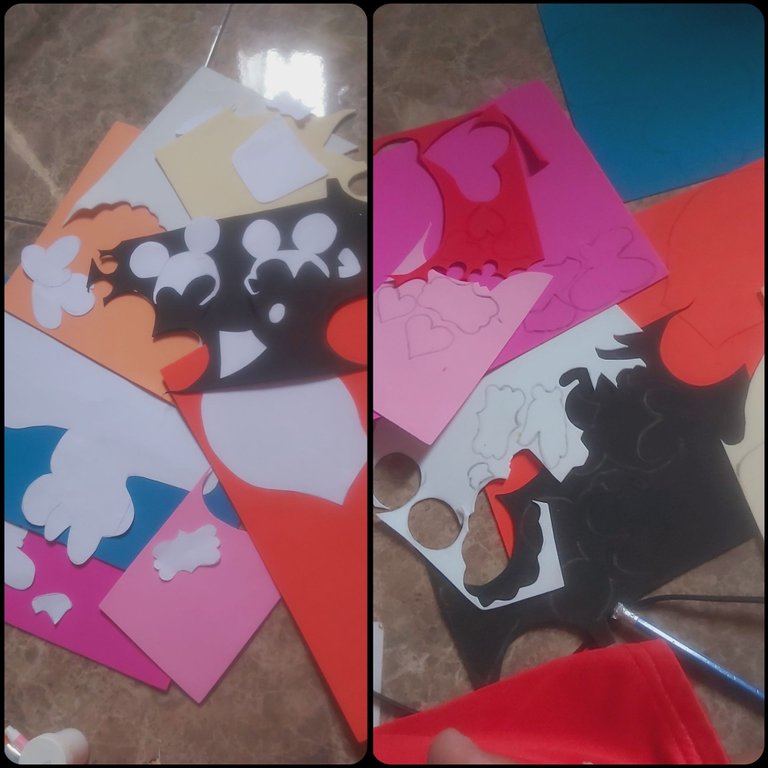
Hagámolos juntos
Let's do it together
Comenzamos colocando los moldes en los distintos colores de la goma eva, marcamos y recortamos todas las piezas.
We start by placing the molds in the different colors of the eva rubber, mark and cut out all the pieces.
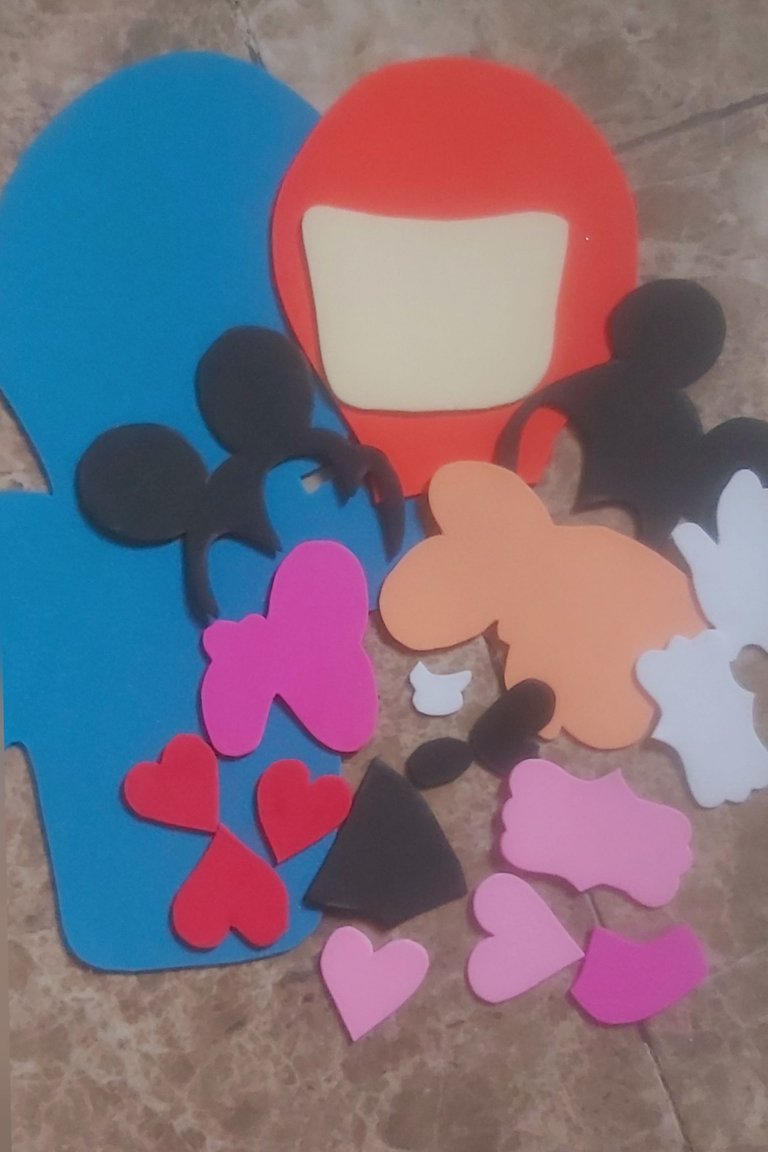
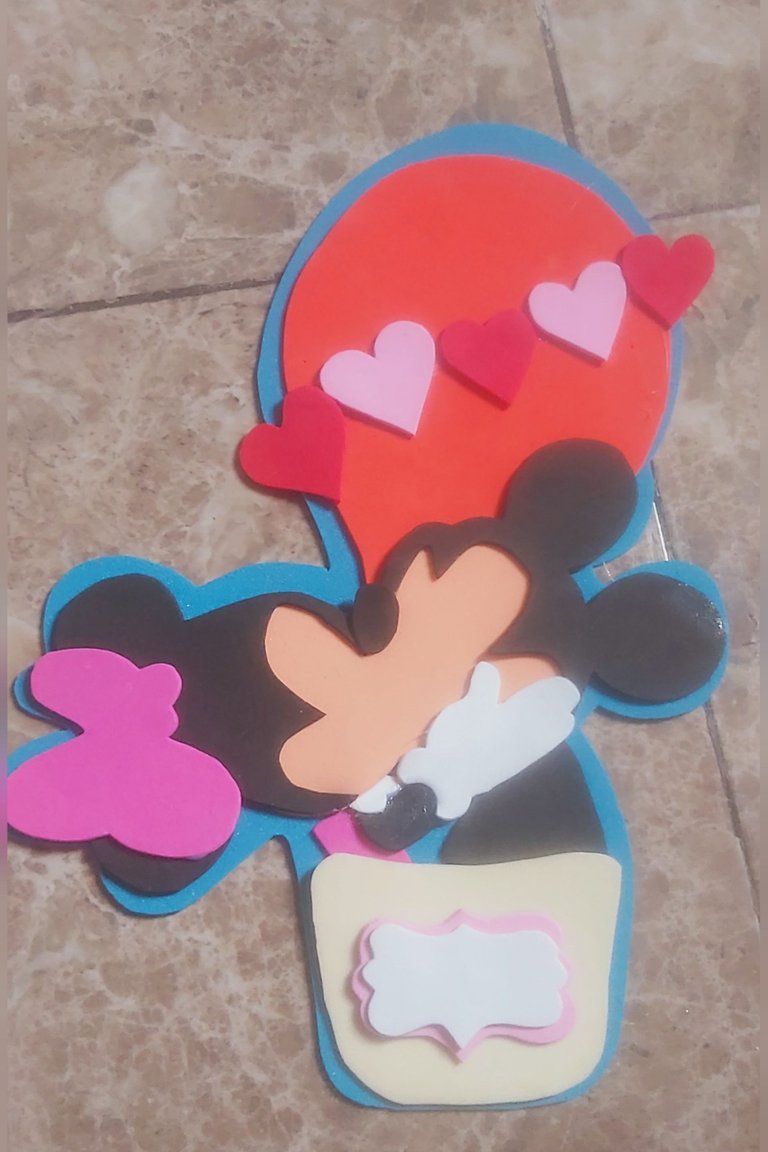
Teniendo todas las piezas pasamos a pegar, primero colocamos la base azul y le pegamos el globo encima, luego pegamos la cabeza de Mickey y Minnie.
Having all the pieces we glue them together, first we place the blue base and glue the balloon on top, then we glue Mickey and Minnie's head.
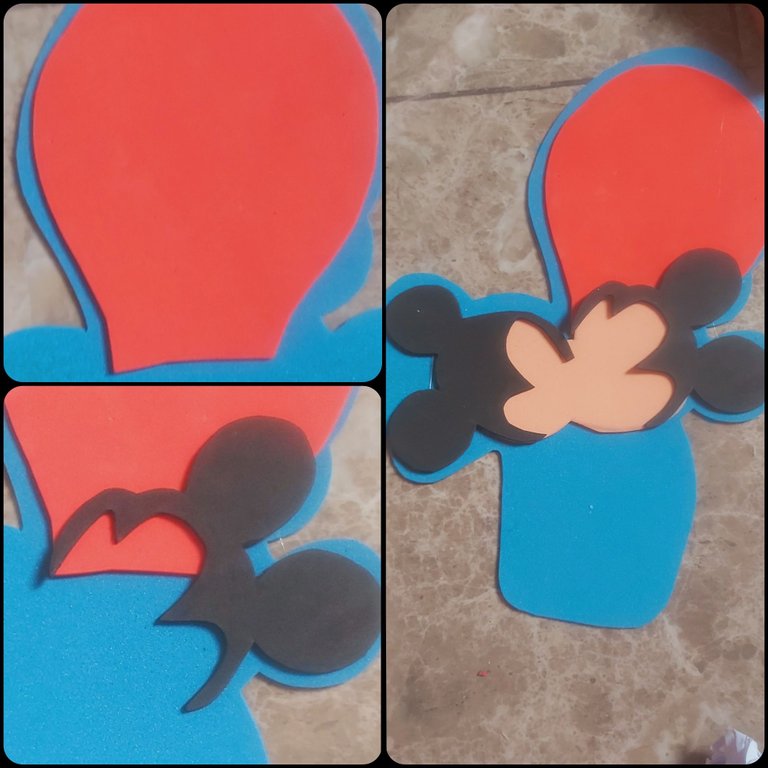
En este paso pegamos el lazo, el vestido y la mano de Minnie, también pegamos el cuerpo de Mickey
In this step we glue the bow, the dress and Minnie's hand, we also glue Mickey's body.
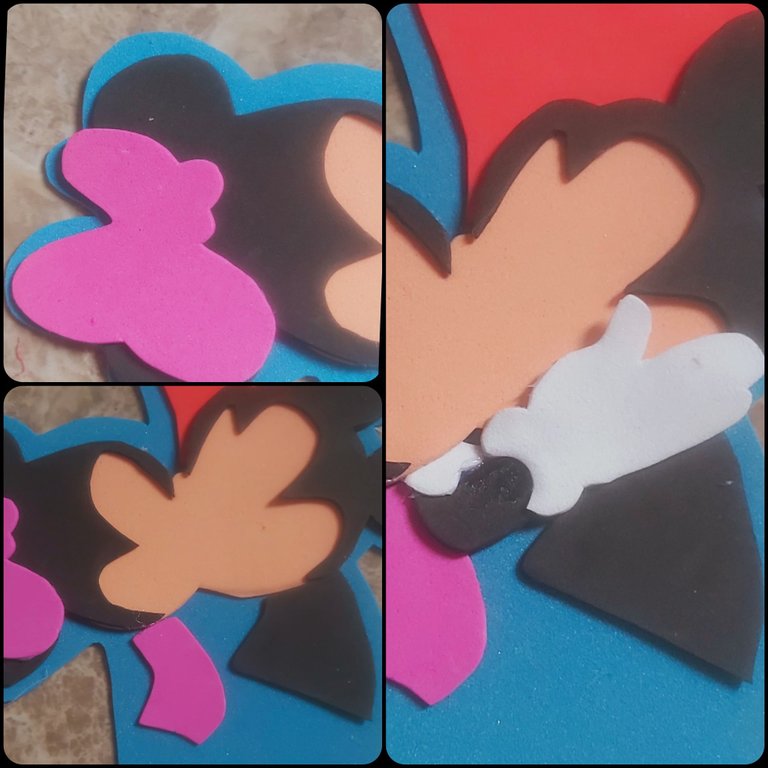
Luego vamos a pegar la cesta del globo aerostático, los corazones y el cartel que hicimos con la goma eva rosado y blanco
Then we will glue the hot air balloon basket, the hearts and the sign we made with the pink and white eva rubber.
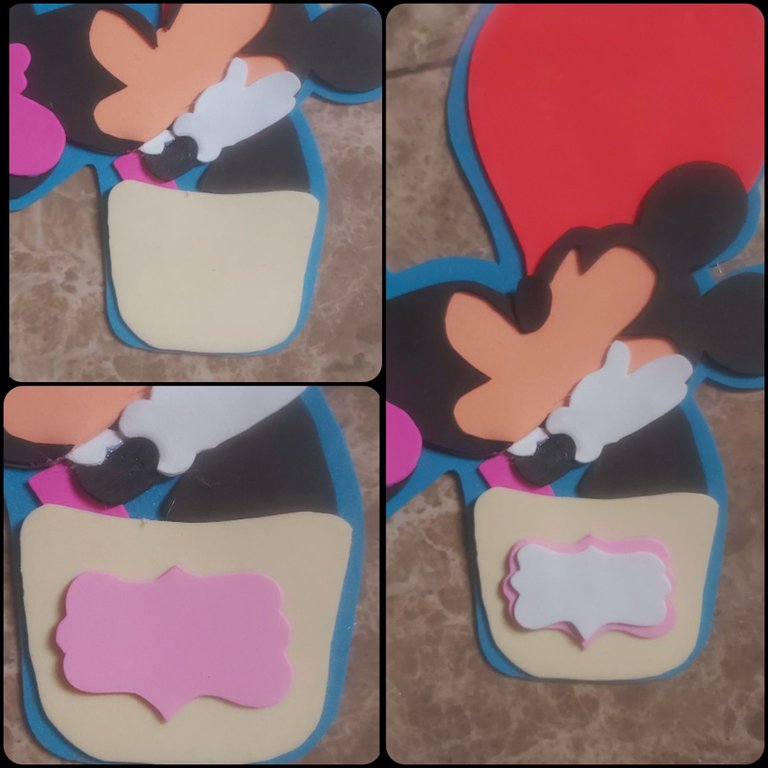
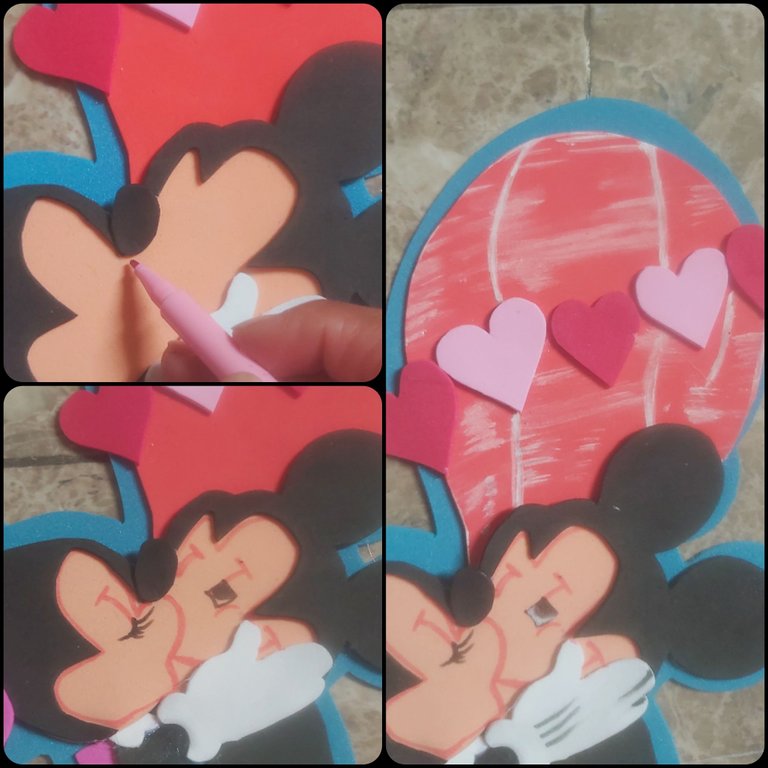
Para finalizar hacemos las líneas de la cara con el marcador rosado y negro, también resaltamos algunos detalles con la pintura blanca y roja para embellecer.
To finish we make the lines of the face with the pink and black marker, we also highlight some details with the white and red paint to embellish.
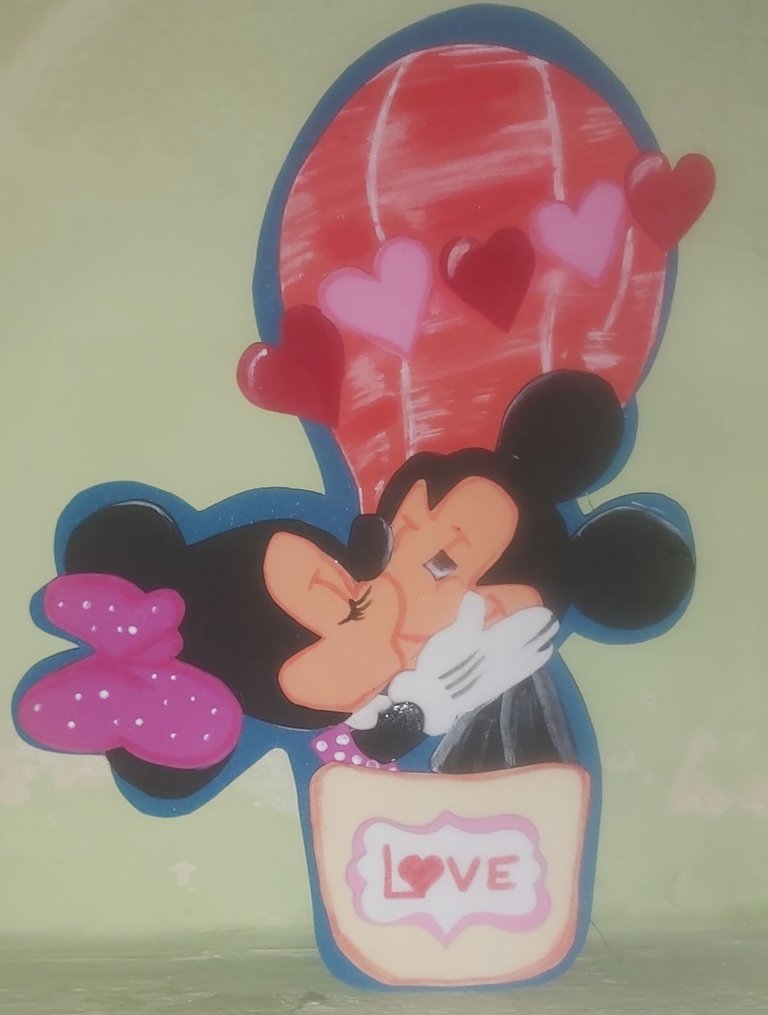
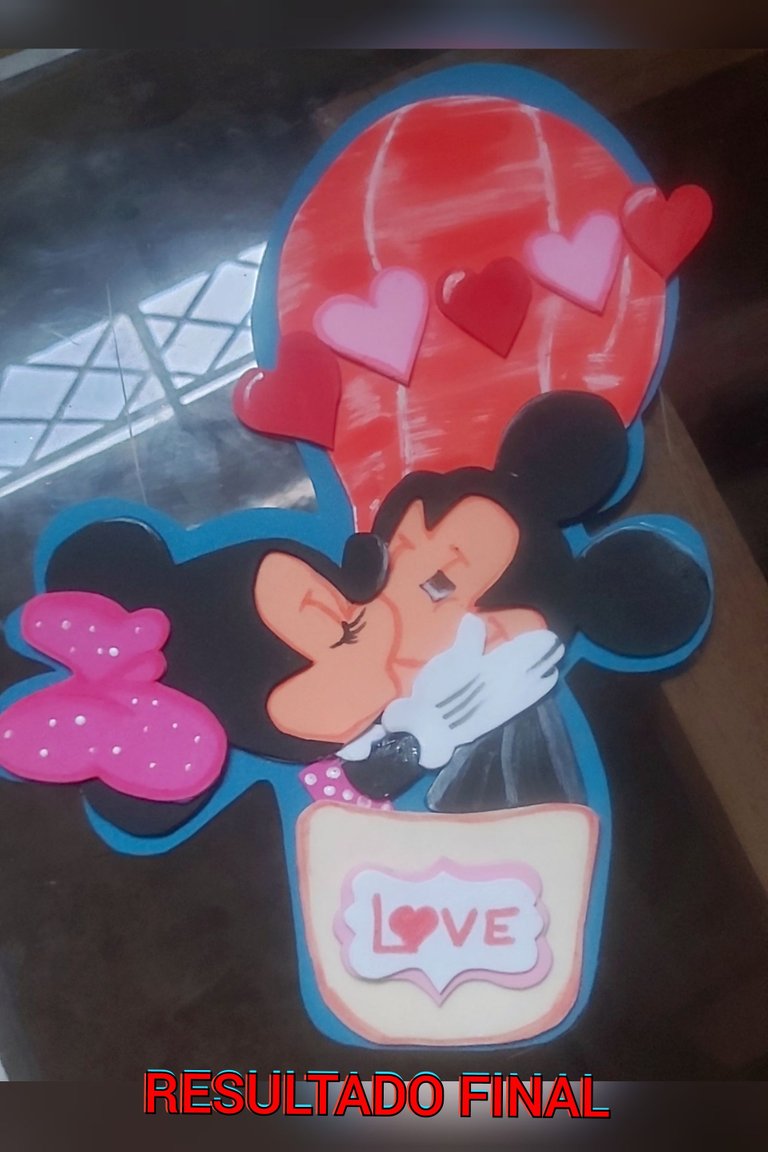
Les muestro les resultado final
I show you the final result
Esto es todo por ahora mi amigos, gracias por pasar a leer mi blog me despido de ustedes hasta otra oportunidad espero les guste mi trabajo
This is all for now my friends, thank you for reading my blog I say goodbye to you until another opportunity I hope you like my work
Traducido en www.DeepL.com
Las fotos son de mi autoria y fueron editadas en Incollage

Translated at www.DeepL.com
The photos are of my authorship and were edited in Incollage