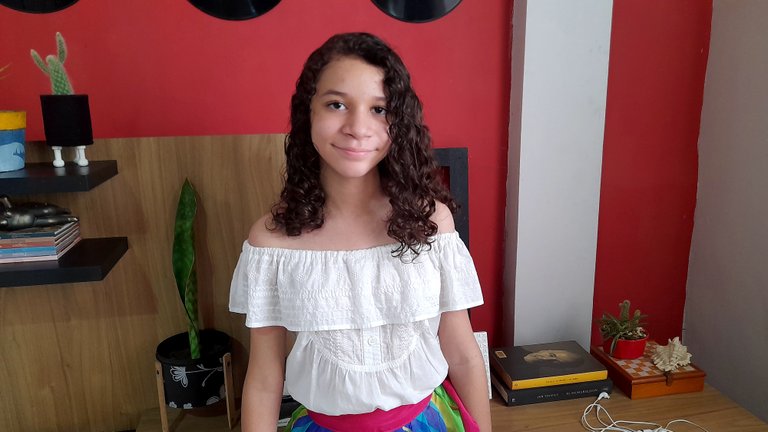
Para el último cierre de proyecto de Miranda debía ir vestida de "margariteña" con falda amplia por debajo de la rodilla y una camisa con un volado arriba, tipo campesina le dicen aquí, la cosa es que Miranda no tiene nada de eso, y lo que generalmente hago es pedirlo prestado a mamás que tienen a sus niñas en danzas tradicionalistas.
Como todos los años para el cierre cultural es casi lo mismo, ya tengo a las personas que me prestan estas cosas para Miranda, pero quien me prestaba la camisa ya la había prestado, y obviamente colapse y entré en pánico, pues en tan poco tiempo nadie me haría esa camisa, así que me tocó ser creativa y partiendo de un blusón de mi mamá, hacerle la camisa a Miranda.
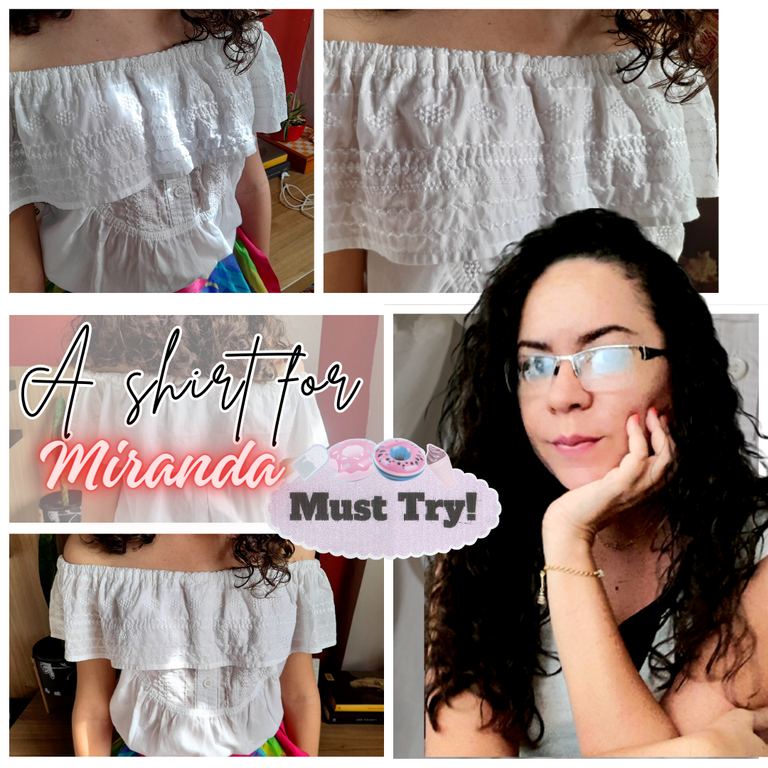
No diré que nunca había cosido algo antes, pues justamente para cierres de proyecto me ha tocado hacer de todo un poco, pero nunca algo tan complejo como una camisa de este estilo, pero pues, mamá tenía que resolver y eso hice. Pensé que de una camisa blanca de adultos podría sacar una para Miranda, y por suerte mi Mamá tenía un blusón que pensaba transformar en una bata de diario, pero me la dio para que hiciera la camisa de la niña.
Lo primero fue buscar tutoriales para sacar las medidas, ya que no quería dañar la tela, y luego ver el paso a paso de cómo hacerla, así que listas las medidas comenzó el trabajo. Y por aquí les dejo los materiales y el paso a paso.

1 camisa blanca de adulto
Hilo blanco
Alfileres
Lápiz
Cinta métrica
Elástica de 1 cm de ancho
Tijera

Como les dije, lo primero que hice fue cortar la camisa y dejarla en dos piezas, ya mi mamá le había retirado las mangas.
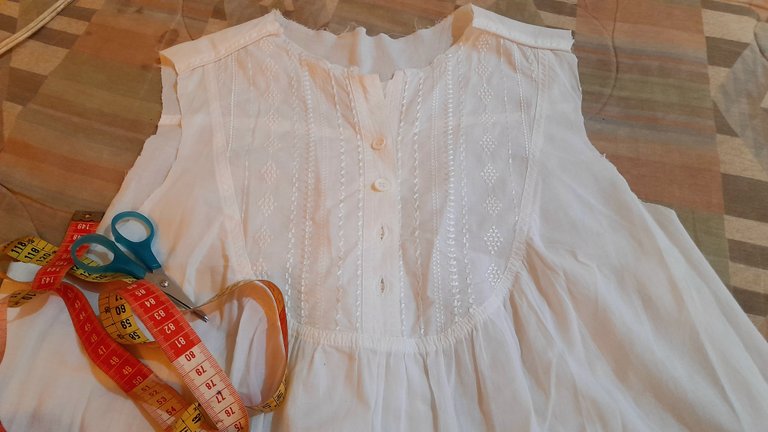
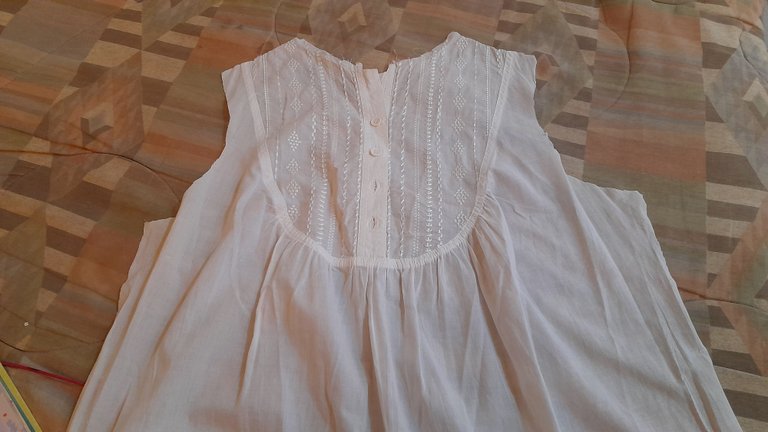

El siguiente paso fue tomar las medidas para la parte de la axila, midiendo desde el inicio hasta el final de ella, tal como lo decía el tutorial y recortar.

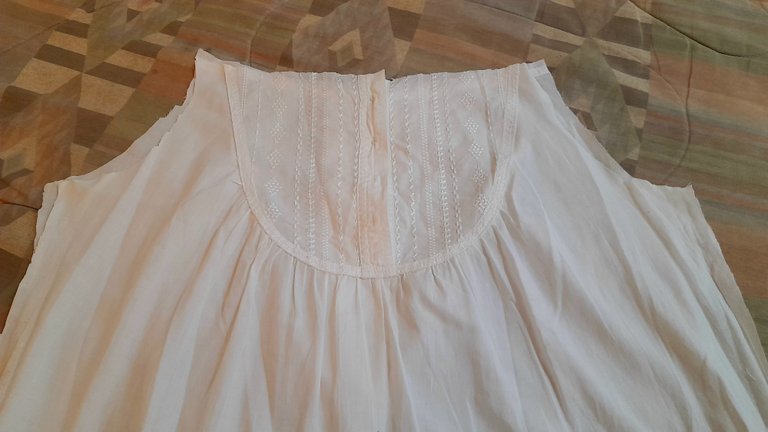
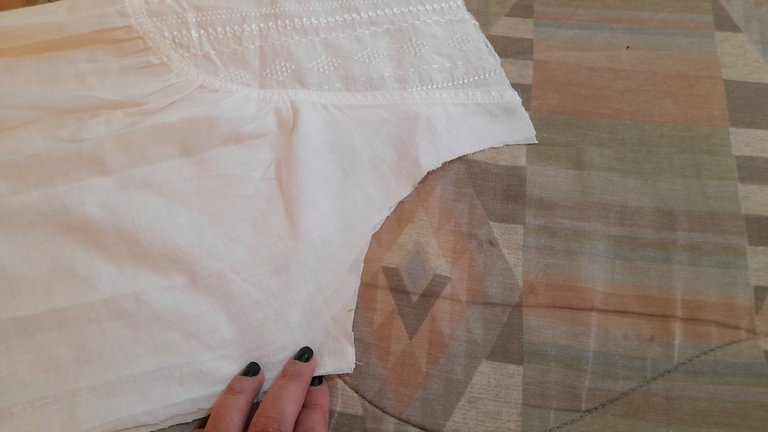
La siguiente medida a tomar fue el ancho de la camisa, para lo que la indicación era medir el contorno del cuerpo al rededor del busto y a esta cifra sumar la mitad de la misma. Es decir, que si su medida da 60 cm, siendo la mitad de 60, 30, el ancho de su camisa sería 90 cm.
Con respecto al largo lo medí hasta donde me pareció adecuado para meterla dentro de la falda y que no se saliera durante el baile.
Una vez listas las medidas, lo siguiente fue marcar sobre la tela y proceder a cortar.
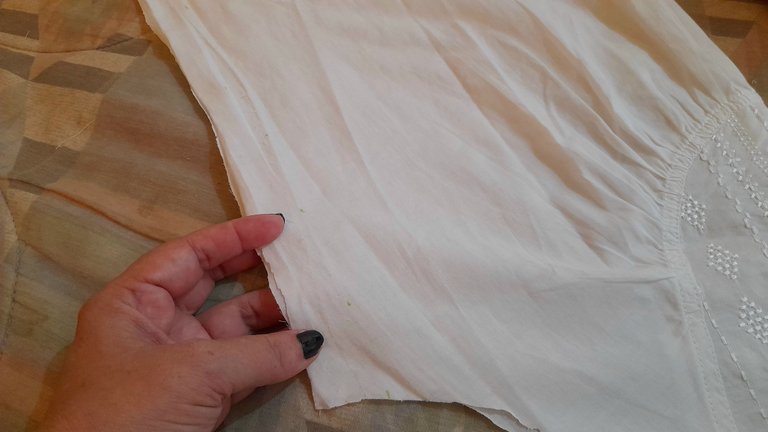
Lo que sigue es coser los lados de nuestra camisa, para lo que enfrentamos los dos derechos de la tela, sujetamos con alfileres para que no se mueva, y cosemos. En mi caso yo lo hice a mano, pues aunque en casa hay máquina de coser, no la sé usar, así que lo hice de esta manera.
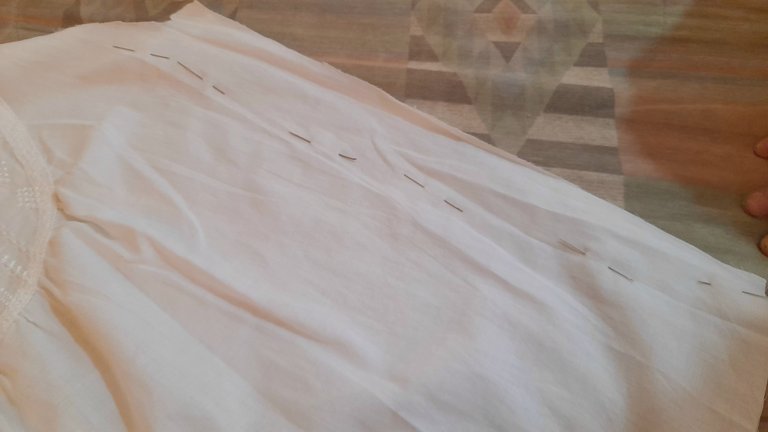

Listos los lados, lo que hice fue coser la sisa, que es la parte de la axila, para esto solo doblé la tela y cosí con mucho cuidado, ya que al tratarse de una curva no es muy sencillo, o por lo menos a mí me costó bastante.
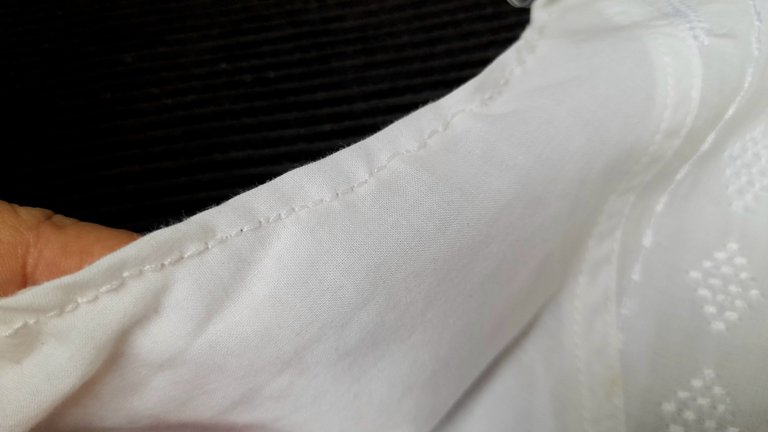
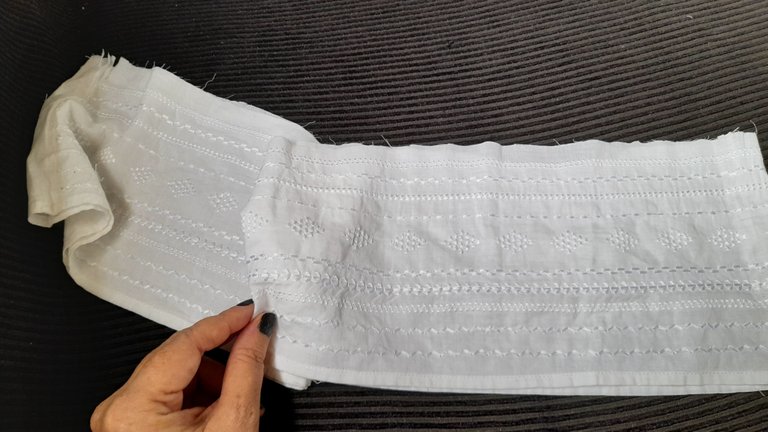
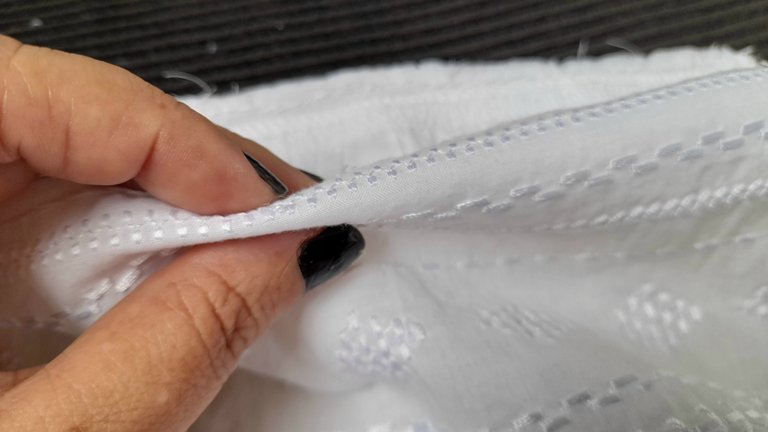
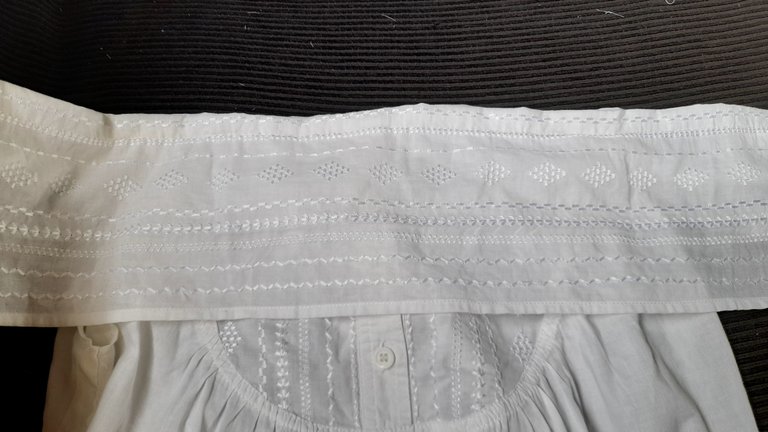
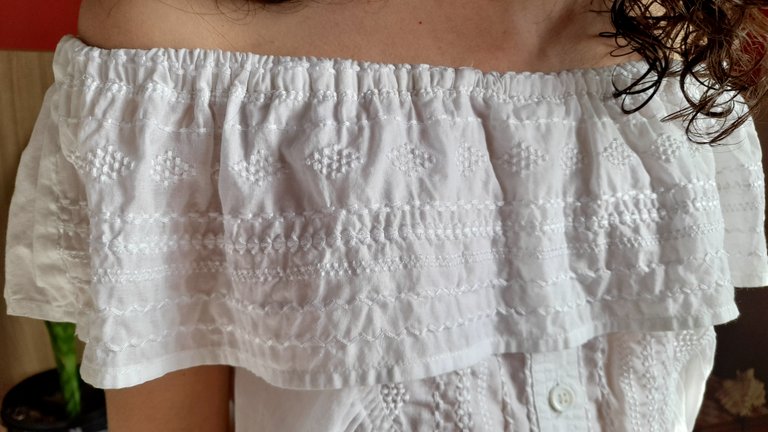
Para la parte del volado, tuve la suerte que este blusón era bastante ancho y en la parte abajo contaba con un bordado muy bonito que también lo tenía en la parte del pecho, así que solo corté y este sería el volado.
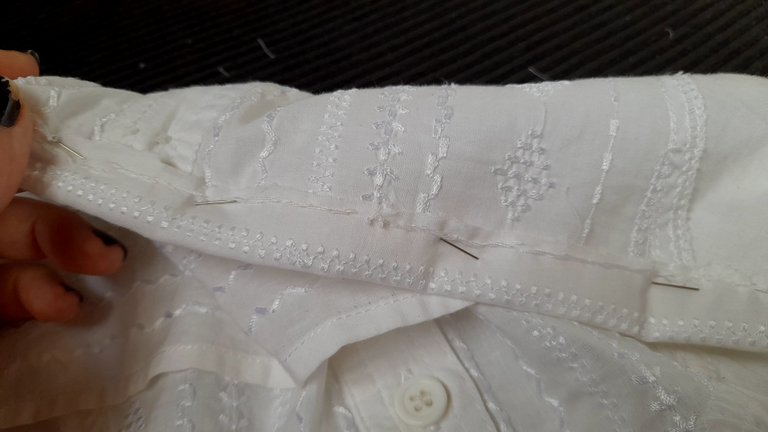
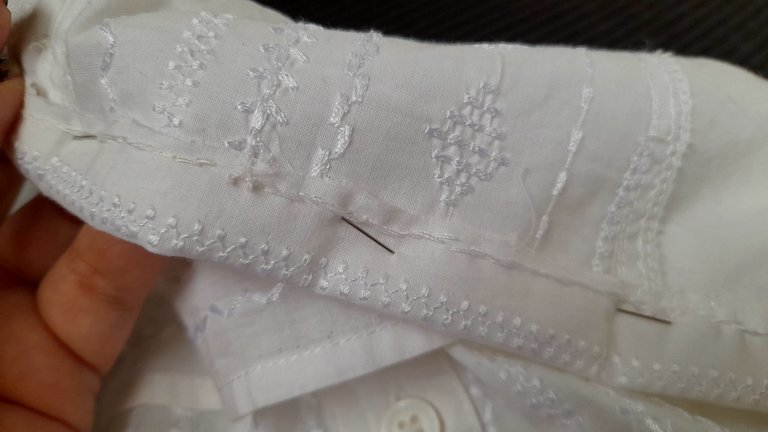
En los vídeos vi dos maneras de coserlo a la camisa, y hoy les comento la que usé. Para lo que tuve que poner tanto la camisa al revés como la tela del volado y ubicarlo en el lugar exacto con la ayuda de alfileres. La idea es unirla a la otra parte de la camisa.
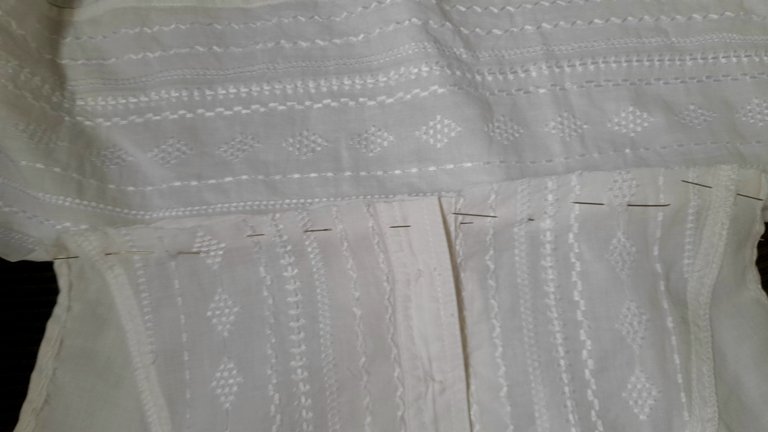
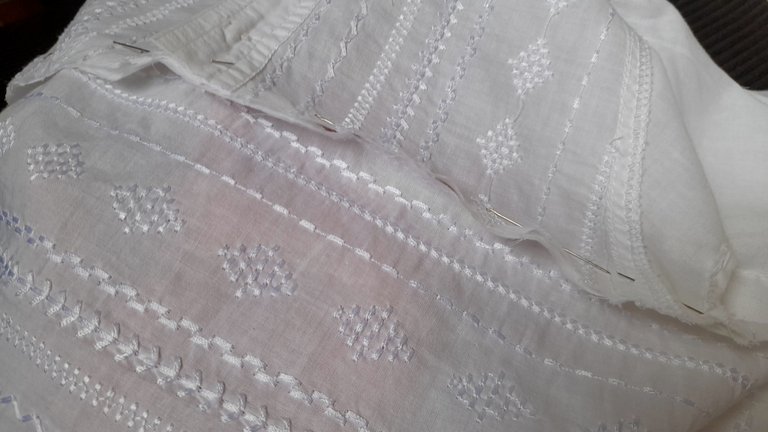
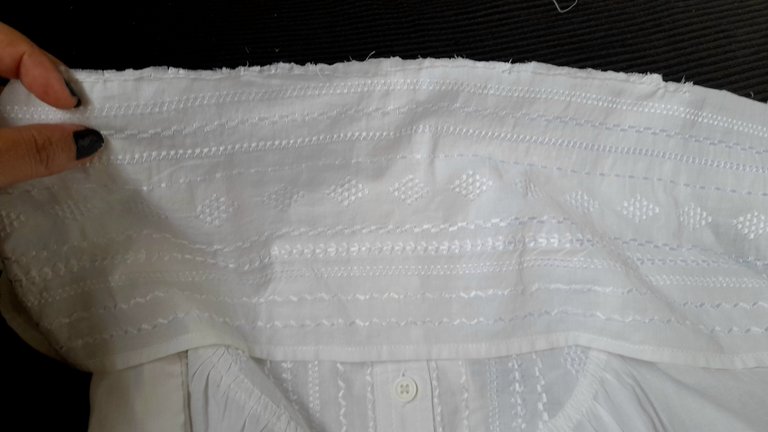
Listo este paso corresponde hacer el surco por donde vamos a pasar la elástica que nos dará el arruchado que queremos, y para esto doblamos hacia adentro 1,5 cm aproximadamente y cosemos, dejando una pequeña abertura para pasar la elástica y en este momento aprovechamos de coser el borde del volado que corresponde a los hombros.
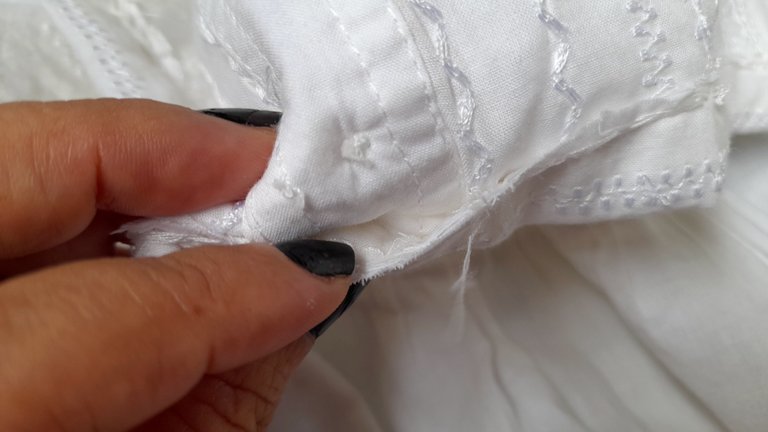
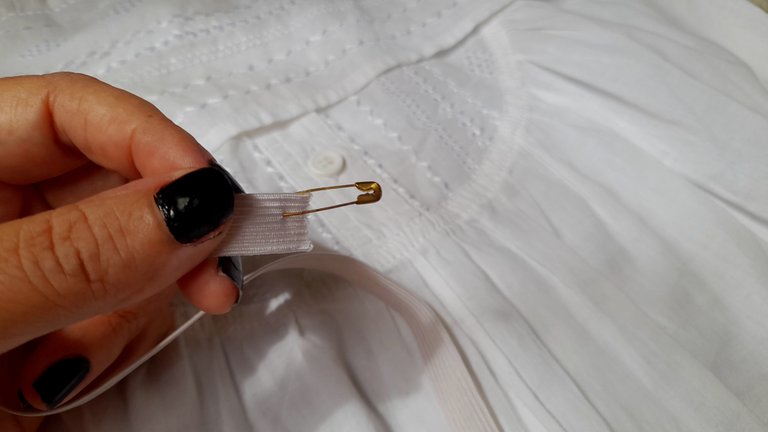
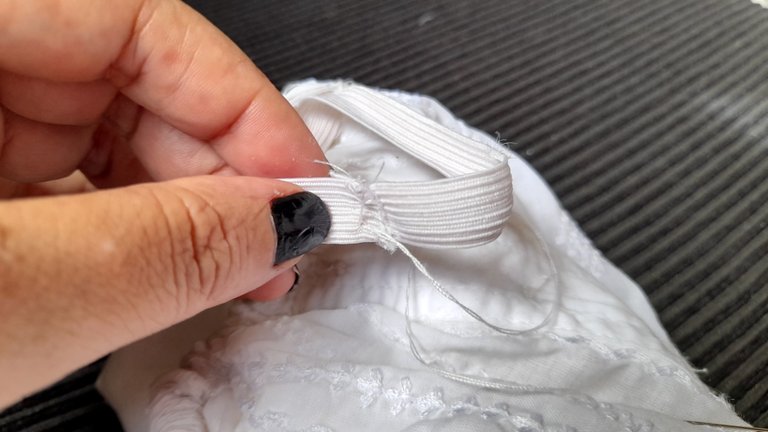
Con esto listo, medí el contorno de los hombros de Miranda y corté la elástica, fijé un imperdible o gafete en la punta para pasar la elástica por dentro del surco que hicimos para ella, al terminar de hacerlo cosemos la punta de la elástica muy bien, cerramos la abertura y el volado está listo.
Es mi caso como ven, no tuve que coser el borde del mismo porque al ser la parte inferior del blusón ya estaba cocido, así que me ahorré ese trabajo.
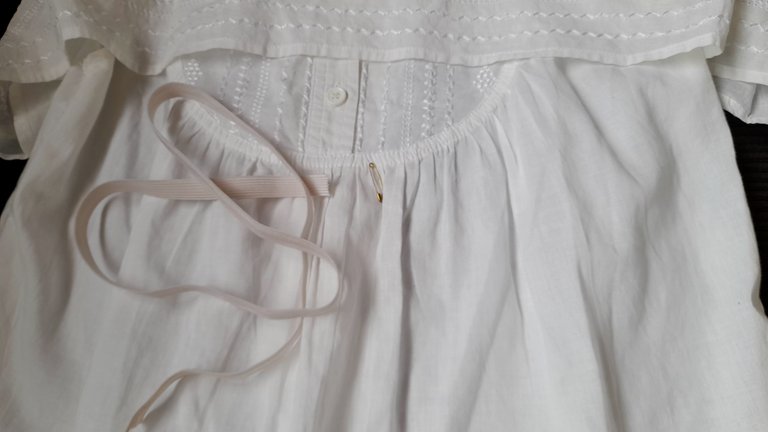
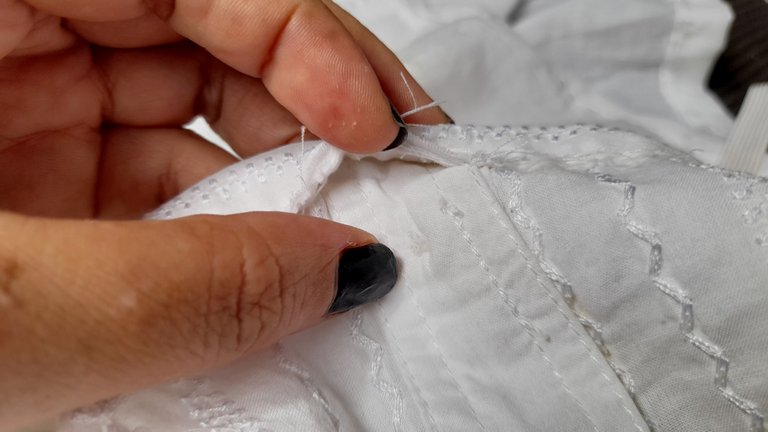

Ya solo quedaban hacer el doblez en la parte inferior, coser y listo. Una camisa campesina partiendo de un blusón de adultos.
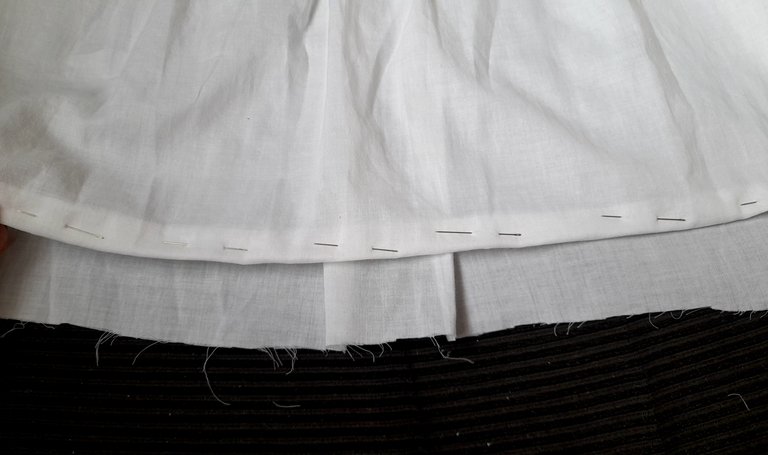
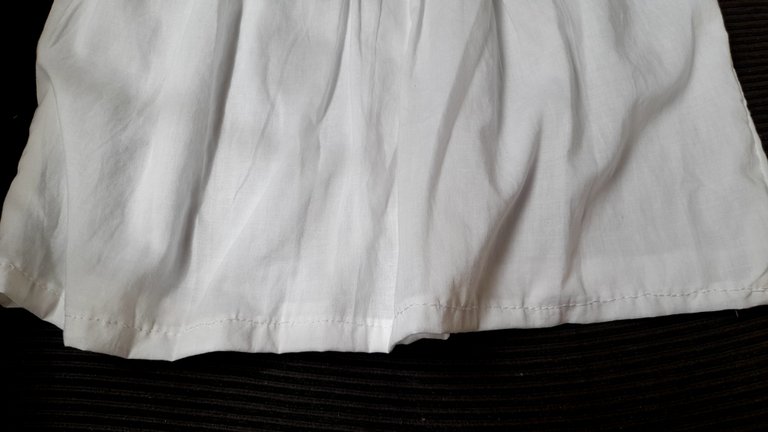
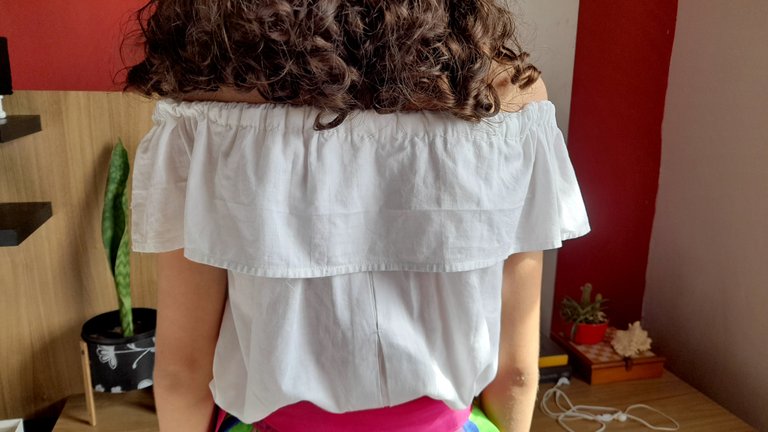
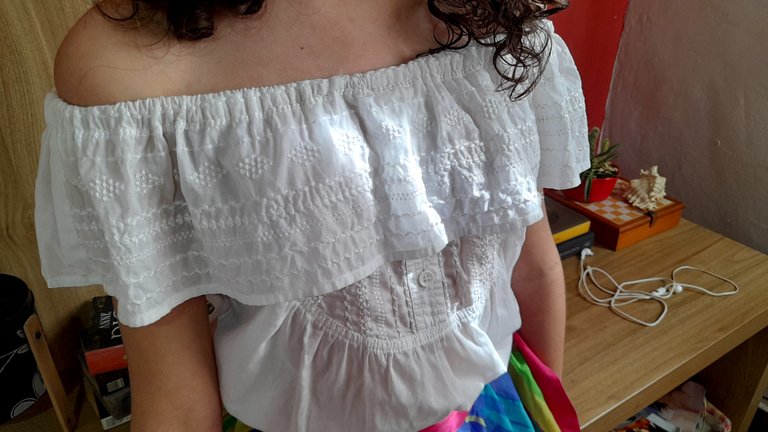
La verdad no fue algo realmente difícil, pero sí bastante agotador, ya que coser a mano no es algo que me encante, y menos con mi problema de cervical, pero ¿qué no hacemos por los hijos?
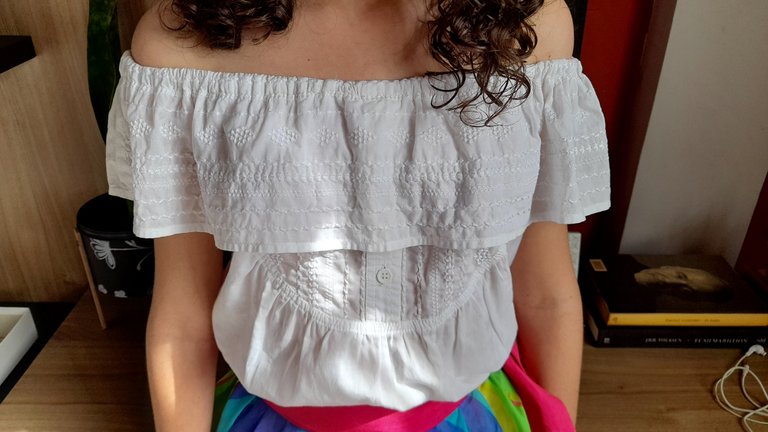
A mí me encantó cómo quedó, súper delicada con el bordado de la tela y a mi niña le luce muy bien. Como ven, todo es cuestión de atreverse.

For the last closing of the Miranda project I had to dress as a "margariteña" with a wide skirt below the knee and a shirt with a ruffle on top, peasant type they say here, the thing is that Miranda has nothing like that, and what I usually do is to borrow it from moms who have their girls in traditionalist dances.
As every year for the cultural closing is almost the same, I already have the people who lend me these things for Miranda, but whoever lent me the shirt had already lent it, and obviously I collapsed and panicked, because in such a short time nobody would make me that shirt, so I had to be creative and starting from a blouse of my mom, make the shirt for Miranda.

I won't say that I had never sewn anything before, because I have done a little bit of everything for project closings, but never something as complex as a shirt of this style, but well, Mom had to solve it and that's what I did. I thought that from a white adult shirt I could make one for Miranda, and luckily my mom had a blouse that I was thinking of transforming into an everyday robe, but she gave it to me so I could make the girl's shirt.
The first thing was to look for tutorials to get the measurements, since I didn't want to damage the fabric, and then see the step by step of how to make it, so once the measurements were ready the work began. And here are the materials and the step by step.

1 adult white shirt
White thread
Pins
Pencil
Tape measure
1 cm wide elastic band
Scissors

As I told you, the first thing I did was to cut the shirt and leave it in two pieces, my mom had already removed the sleeves.


The next step was to take the measurements for the underarm part, measuring from the beginning to the end of the armpit, just as the tutorial said.


The next measurement to take was the width of the shirt, for which the indication was to measure the contour of the body around the bust and to this figure add half of it. That is, if your measurement is 60 cm, being half of 60, 30, the width of your shirt would be 90 cm.
As for the length, I measured it up to where I thought it was appropriate to put it inside the skirt so that it would not come out during the dance.
Once the measurements were ready, the next step was to mark on the fabric and proceed to cut.

The next step is to sew the sides of our shirt, for which we face the two right sides of the fabric, fasten with pins so that it does not move, and sew. In my case I did it by hand, because although I have a sewing machine at home, I don't know how to use it, so I did it this way.


Ready the sides, what I did was to sew the armhole, which is the part of the armpit, for this I just folded the fabric and sewed very carefully, since it is a curve is not very easy, or at least it was quite difficult for me.

For the ruffle part, I was lucky that this blouse was quite wide and at the bottom it had a very nice embroidery that also had it on the chest, so I just cut it and this would be the ruffle.
In the videos I saw two ways to sew it to the shirt, and today I'll tell you the one I used. For this I had to turn the shirt inside out as well as the ruffle fabric and place it in the exact place with the help of pins. The idea is to attach it to the other part of the shirt.


Ready this step is to make the groove where we are going to pass the elastic that will give us the ruffle we want, and for this we make another seam 1.5 cm above the initial one, leaving a small opening to pass the elastic and at this moment we sew the edge of the ruffle that corresponds to the shoulders.


With this ready, I measured the contour of Miranda's shoulders and cut the elastic, I fixed a safety pin or badge at the tip to pass the elastic inside the groove we made for it, when finished we sew the tip of the elastic very well, close the opening and the ruffle is ready.
In my case, as you can see, I didn't have to sew the edge because the bottom part of the blouse was already sewn, so I saved myself that work.


Now all that was left to do was to make the fold at the bottom, sew and that's it. A peasant shirt from an adult blouse.


The truth is that it wasn't really difficult, but it was quite exhausting, since sewing by hand is not something I love, and even less with my cervical problem, but what can't we do for our children?
I loved the way it turned out, super delicate with the embroidery of the fabric and it looks great on my little girl. As you can see, it's all a matter of daring.

