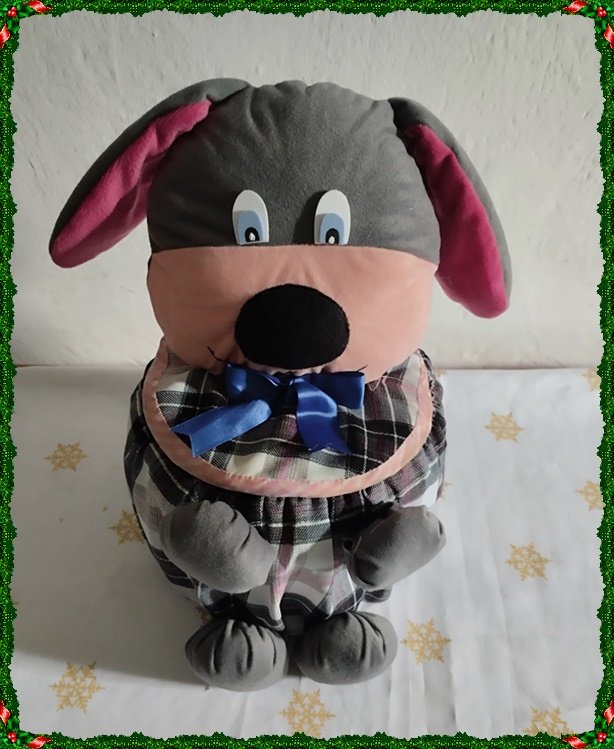
Saludos, estimada comunidad. Me trae por aquí otro reto personal, un proyecto en donde pondría a prueba otras habilidades. Lo asumí ya que siempre estoy dispuesta a aprender. Después que realicé mi joyero, me di cuenta de que necesitaba algo lindo para guardar mis hebillas, colas y demás accesorios para el cabello, así que quise elaborar una manualidad diferente y experimentar con otros materiales. Consideré que un envase plástico sería ideal para mis requerimientos. Esta vez quería un peluche, de modo que cada vez que lo viera me trajera recuerdos gratos de mi niñez, escogí un perro, de esos que tienen las orejas largas para rememorar a mi mascota de esa época, la cual ya no está con nosotros, pues falleció. Así que este trabajo también tiene un aire de melancolía. Sin embargo, ese sentir bonito lo trasladé a mis manos y aquí les muestro cómo fue el proceso.
Greetings, dear community. It brings me here another personal challenge, a project where I would test other skills. I took it on since I am always willing to learn. After I made my jewelry box, I realized that I needed something nice to store my buckles, tails and other hair accessories, so I wanted to make a different craft and experiment with other materials. I felt that a plastic container would be ideal for my requirements. This time I wanted a stuffed animal, so that every time I saw it it would bring back fond memories of my childhood, I chose a dog, one of those with long ears to remind me of my pet from that time, which is no longer with us, as he passed away. So this work also has an air of melancholy. However, I transferred that beautiful feeling to my hands and here I show you how the process went.
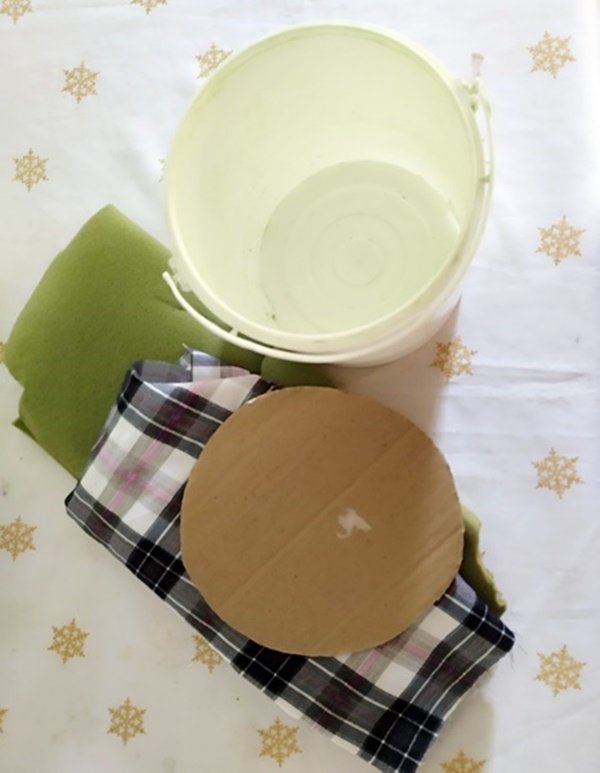
Materiales e instrumentos:
- Telas
- Goma espuma
- Guata
- Elástica
- Lápiz
- Hilos
- Aguja
- Alfileres
- Tijera
- Cartón
- Envase plástico
- Foami
- Silicón frío
Materials and instruments:
- Fabrics
- Foam rubber
- Wadding
- Elastic
- Pencil
- Threads
- Needle
- Pins
- Scissors
- Cardboard
- Plastic container
- Foami
- Cold silicone
Procedimiento:
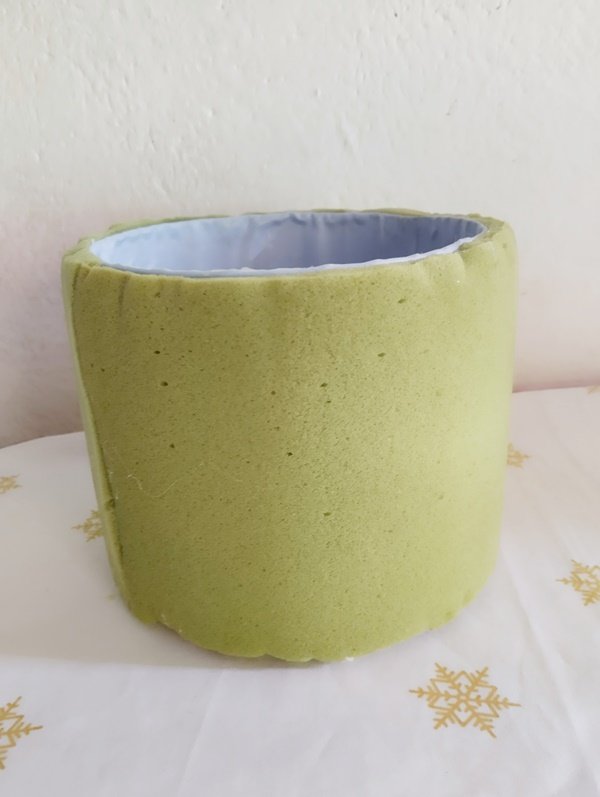
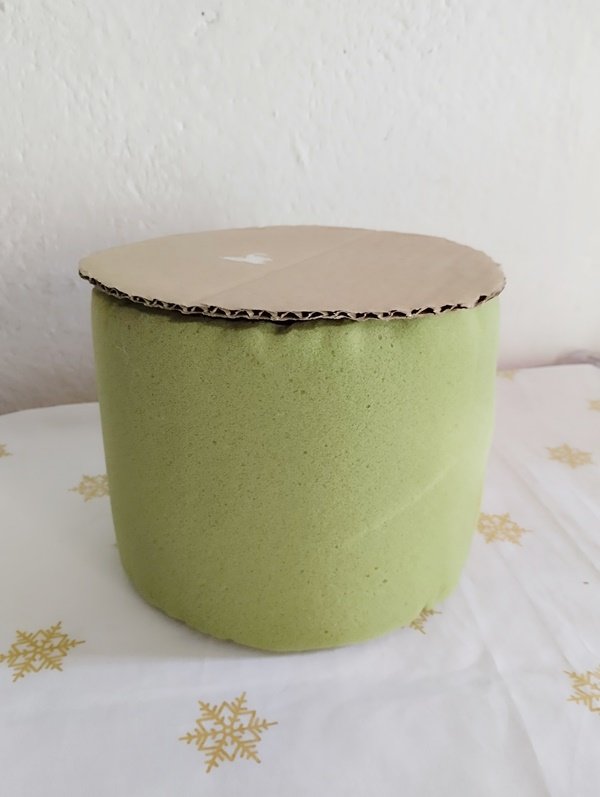
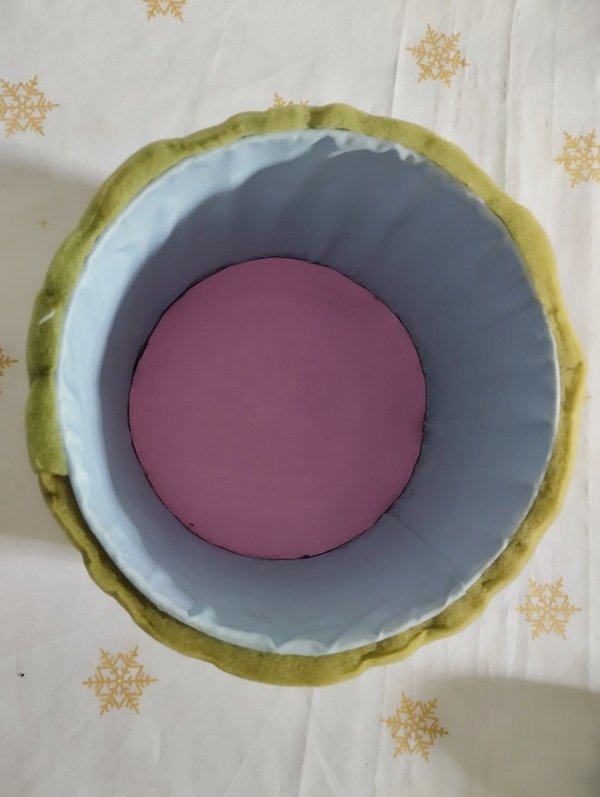
Empecé forrando el envase plástico, le coloqué goma espuma alrededor. Esto representaría el cuerpo del perro. Quería que se viera muy estético, así que también lo decoré por dentro, para ello utilicé una tela de color azul claro.
Procedure:
I started by lining the plastic container, I placed foam rubber around it. This would represent the dog's body. I wanted it to look very aesthetic, so I also decorated the inside, using a light blue fabric.
 |  |
|---|
Luego, usé el pote de plástico como molde para marcar un círculo en cartón. Esta sería la tapa del envase. Este patrón sirvió también para sacar la base, el material utilizado fue foami rosado.
Then, I used the plastic pot as a mold to mark a circle on cardboard. This would be the lid of the container. This pattern was also used to make the base, the material used was pink foami.
 |  |
|---|
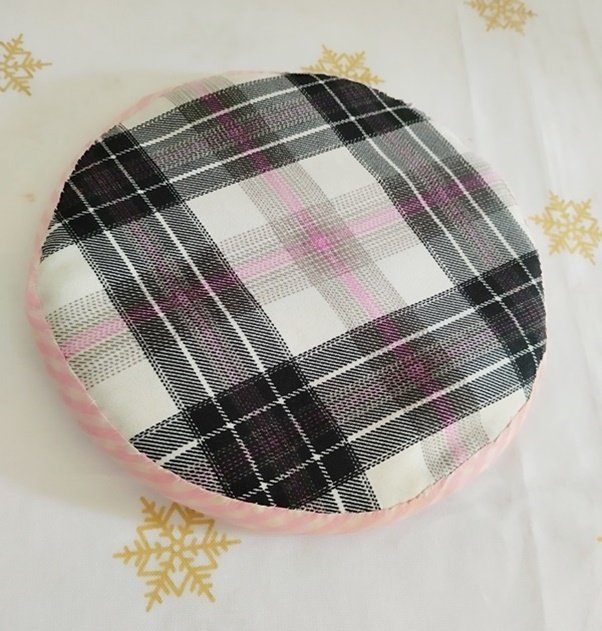
A la tapa le coloqué goma espuma en la parte de abajo para darle volumen. Luego, la forré. Escogí esta tela de rayas porque sus colores me llamaron la atención. Corté dos capas, una de líneas negras y blancas y la otra rosada, luego las cosí por el borde. Los consejos de mi mamá y mi abuela están dando resultados, lo hice con mucho cuidado para lograr un buen acabado.
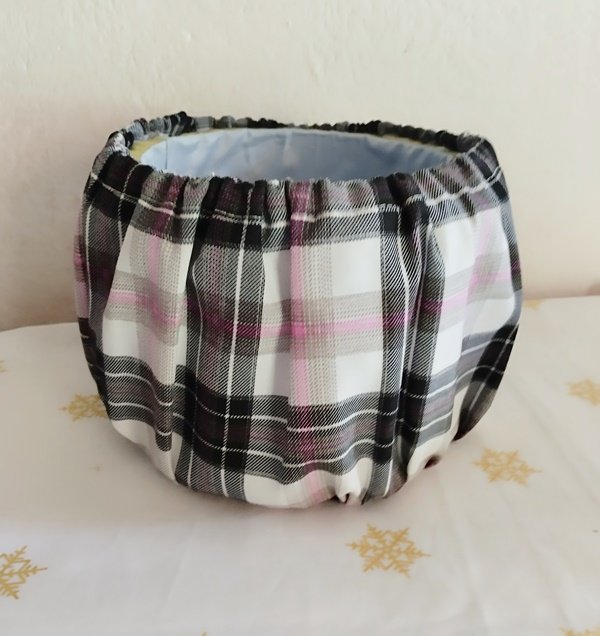
Para realizar el forro que cubriría el pote, recorté un rectángulo de 20 cm de alto por 40 cm de ancho y el círculo de la base. Luego, uní estas dos partes. En la zona superior de la funda le coloqué cinta elástica para que quedara arruchado, esto lo haría más vistoso. La medida debe ajustarse al borde del envase plástico. Utilicé alfileres para sujetar, luego, cosí en zig zag algunas puntadas, doble la tela para la costura final. Este procedimiento es similar a poner la elástica de un pantalón.
I put foam rubber on the bottom of the lid to give it volume. Then, I lined it. I chose this striped fabric because its colors caught my attention. I cut two layers, one with black and white lines and the other pink, then I sewed them around the edge. My mom's and grandmother's advice is paying off, I did it very carefully to achieve a good finish.
To make the lining that would cover the pot, I cut out a rectangle 20 cm high by 40 cm wide and the circle of the base. Then, I joined these two parts together. In the upper area of the cover I placed elastic tape to make it more attractive. The size should be adjusted to the edge of the plastic container. I used pins to fasten, then zig zag stitched a few stitches and folded the fabric for the final seam. This procedure is similar to putting on the elastic of a pair of pants.
 |  |
|---|
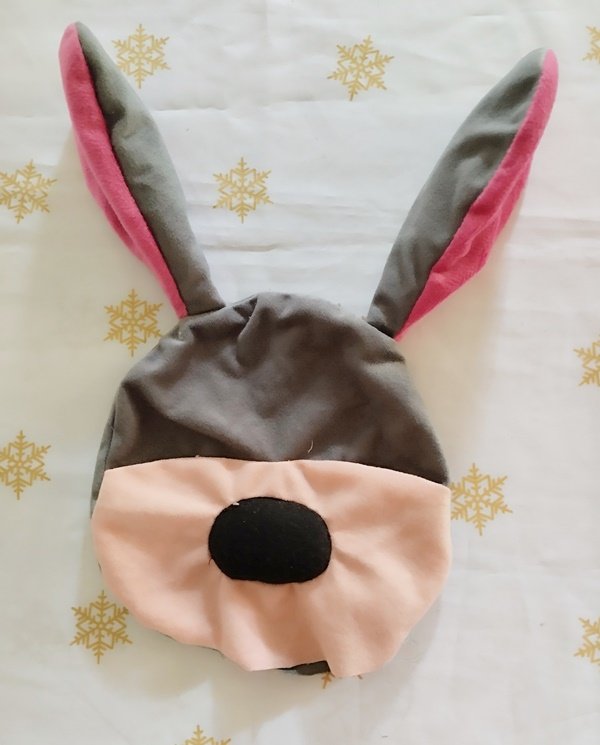
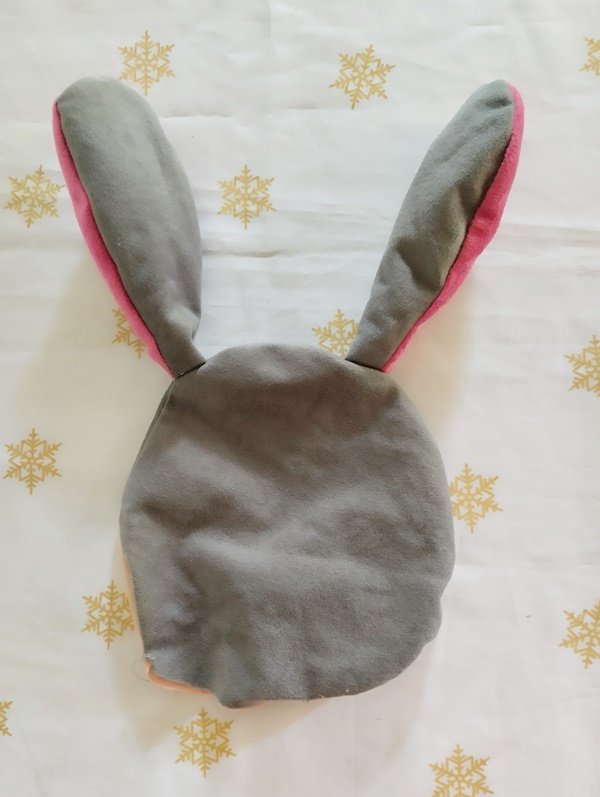
Para hacer la cara del peluche, marqué en tela gris un círculo para la parte trasera y la mitad de uno para la zona del frente, el otro pedazo en color piel, así tendríamos el rostro completo. Recorté las dos orejas, gris y rosado respectivamente, como se observa en la foto. Marqué un óvalo en negro, este sería la nariz. A partir de aquí comenzó el proceso de costura, lo cual se hace colocando la tela al revés o frente con frente como diría mi mamá. Posteriormente, rellené con guata para darle relieve.
To make the face of the stuffed animal, I marked in gray fabric a circle for the back part and half of one for the front area, the other piece in skin color, so we would have the complete face. I cut out the two ears, gray and pink respectively, as shown in the photo. I marked an oval in black, this would be the nose. From here began the sewing process, which is done by placing the fabric upside down or front to front as my mom would say. Afterwards, I stuffed it with wadding to give it relief.
 |  |
|---|
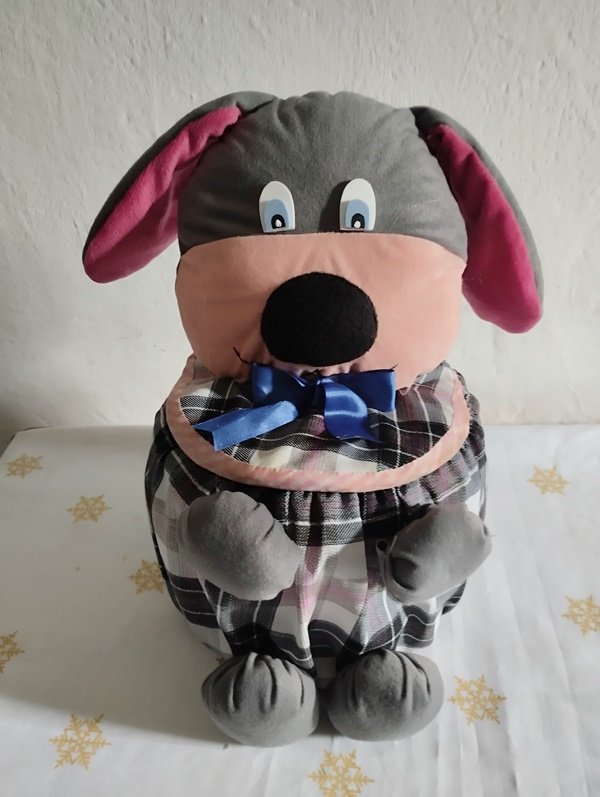
Pegué la cabeza en el centro de la tapa del envase, luego, le punteé una sonrisa con hilo negro. Para decorar elaboré un lazo con cinta azul. Después que tenía esto listo, se me ocurrió sacar cuatro bolitas, estas serían las patas del perro, las rellené y las cosí a la estructura. Por último, le hice los ojos con foami. Así quedó el resultado final.
I glued the head in the center of the lid of the container, then stippled a smile with black thread. To decorate, I made a bow with blue ribbon. After I had this ready, I took out four little balls, these would be the dog's paws, filled them and sewed them to the structure. Finally, I made the eyes with foami. This is the final result.
Texto traducido con DeepL Translate.
Text translated with DeepL Translate.
Todas las fotografías utilizadas en este post son de mi archivo personal.
All photographs used in this post are from my personal archive.

