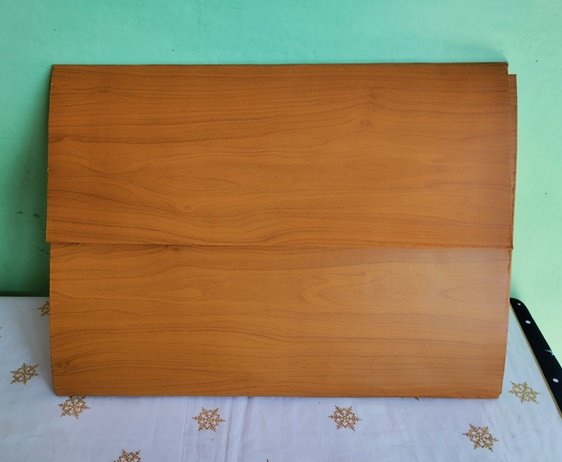
La indicación del docente fue que dividiéramos un papel bond en cuatro partes, en cada pliego de esos empezaríamos a trazar, para esta actividad nos facilitan un caballete y la madera se ajusta perfectamente a esa medida. En vista de ello, había que buscar una carpeta que tuviera esa dimensión, como no encontramos una, la mejor opción era realizarla. Consideré que el modelo que mejor se ajustaba al requerimiento que tenía era el de un maletín para que los esbozos allí guardados pudieran conservarse mejor. Debido a las lluvias que casi todas las tardes nos visitan, decidí forrarla con papel Contac estampado, como sabemos este material posee dos capas, una decorativa y la otra adhesiva. La finalidad fue proteger la superficie del agua y del sudor.
Greetings, friends. I'm back with a new project: the folder for my drawings. Since I started the classes I have made some sketches, mainly still lifes. The teacher places the pots and bottles in front of our eyes and we have to start tracing everything we observe, taking into account the perspective, depth and symmetry of the objects. I consider that I must continue practicing, because I must confess that some shapes were complicated for me, therefore, independent study will help me to further develop my skills.
The teacher's indication was that we should divide a bond paper into four parts, in each of those sheets we would begin to trace, for this activity we were provided with an easel and the wood fits perfectly to that measure. In view of this, we had to look for a folder that had that dimension, as we did not find one, the best option was to make it. I considered that the model that best fit the requirement I had was that of a briefcase so that the sketches stored there could be better preserved. Due to the rains that visit us almost every afternoon, I decided to line it with printed Contac paper, as we know this material has two layers, one decorative and the other adhesive. The purpose was to protect the surface from water and sweat.
Materiales e instrumentos:
- 1 pliego de cartón 2 en kilos
- Regla
- Tijera
- Lápiz
- 2 metros de papel Contac
- Silicón
- Cinta plástica
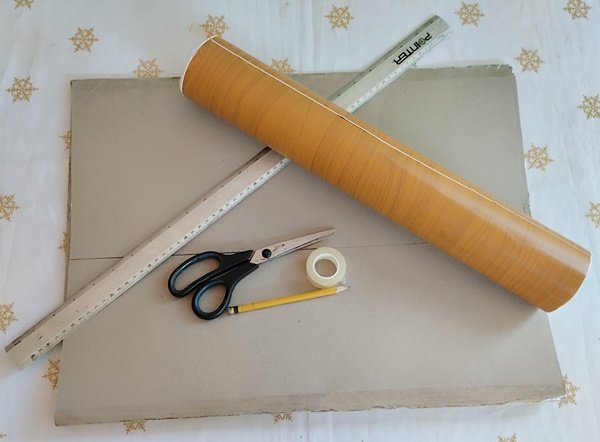
Materials and instruments:
- 1 sheet of cardboard 2 in kg.
- Ruler
- Scissors
- Pencil
- 2 meters of Contac paper
- Silicone
- Plastic tape
Procedimiento:
Con la ayuda de la regla marqué el cartón, el cuarto de la hoja de papel bond fue la guía para la medida base, pero más grande para que no se arrugara. La cara frontal sería de 60 cm de largo por 46 cm de ancho, después de ello, vendría un lomo de 2 cm (tal como el de un libro), este lo realicé para que quedara ancho y así archivar los dibujos y pinturas que realizaré durante el semestre. La segunda capa tendría la misma medida, no obstante, en los laterales se le dejaron dos pestañas de 7 cm, las cuales se doblarían. La última tapa poseería el mismo ancho y la mitad del largo, es decir, 30 cm. Esta era la parte frontal.
Procedure:
With the help of the ruler I marked the cardboard, the quarter of the sheet of bond paper was the guide for the base measurement, but larger so that it would not wrinkle. The front side would be 60 cm long by 46 cm wide, after that, there would be a 2 cm spine (just like a book), I made this so that it would be wide and so I could file the drawings and paintings that I will make during the semester. The second layer would have the same size, however, on the sides I left two 7 cm tabs, which would be folded. The last layer would have the same width and half the length, that is, 30 cm. This was the front part.
Posteriormente, se corta y se dobla con mucho cuidado para no dañar la superficie. En los dobleces coloqué pedazos de cartón para reforzar la estructura, la cual pegué con silicón frío. También agregué cinta plástica. El mismo procedimiento lo hice en el lomo. Al doblar cada parte, le puse peso arriba, alrededor de tres horas, para que tomara la forma correspondiente.
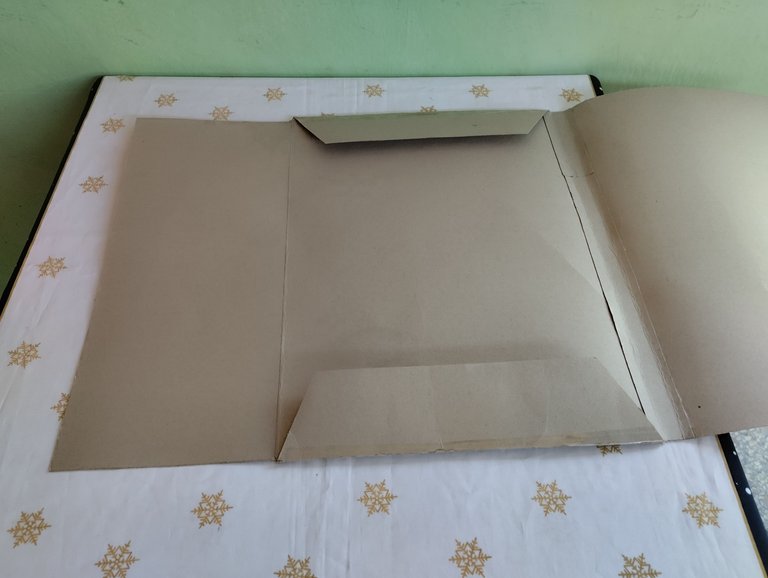
Afterwards, it is cut and folded very carefully so as not to damage the surface. In the folds I placed pieces of cardboard to reinforce the structure, which I glued with cold silicone. I also added plastic tape. I did the same procedure on the spine. When folding each part, I put weight on top, for about three hours, so that it would take the corresponding shape.
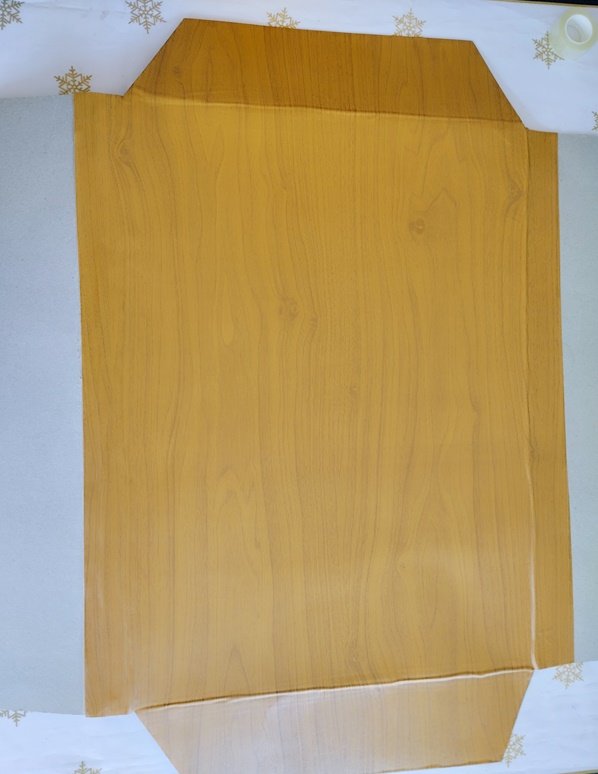
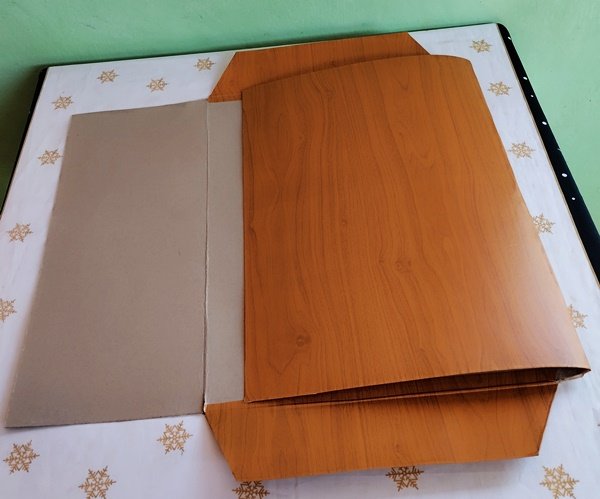
Una vez que se terminó este proceso, vendría la parte más complicada desde mi perspectiva, colocar el papel Contac, elegí el estampado de madera, pues luce elegante y da la impresión de buen acabado. En este punto hay que ser muy cuidadosos para que el pliego no se arrugue, así que este paso lo hice lentamente, de modo de que quedara completamente liso. Cabe mencionar que forré cada tapa por separado, sin embargo, las rayas del diseño no permitían dilucidar dónde estaba la división, lo cual me pareció fantástico. Al principio consideré que dos metros era mucho papel, pues resulta que me equivoqué, esa era la cantidad ideal. Le podemos colocar cierre mágico a la tapa para que se aguante o cinta elástica, en mi caso voy a utilizar dos ganchos grandes para sujetarla. Esto ha sido todo en esta ocasión.
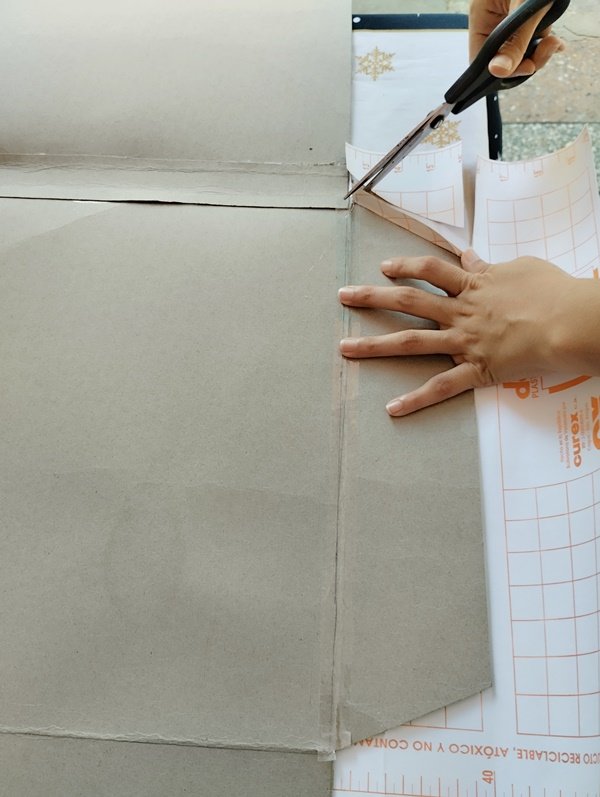
Once this process was finished, the most complicated part from my perspective would come, placing the Contac paper, I chose the wood print because it looks elegant and gives the impression of a good finish. At this point you have to be very careful so that the sheet does not wrinkle, so I did this step slowly, so that it would be completely smooth. It is worth mentioning that I lined each cover separately, however, the stripes in the design made it impossible to see where the division was, which I thought was fantastic. At first I thought that two meters was a lot of paper, but it turns out that I was wrong, that was the ideal amount. We can put a magic clasp on the lid to hold it in place or elastic tape, in my case I am going to use two large hooks to hold it in place. This has been all on this occasion.
Todas las fotografías son de mi archivo personal.
Translated with www.DeepL.com/Translator (free version)
All photographs are from my personal archive.
Translated with www.DeepL.com/Translator (free version)