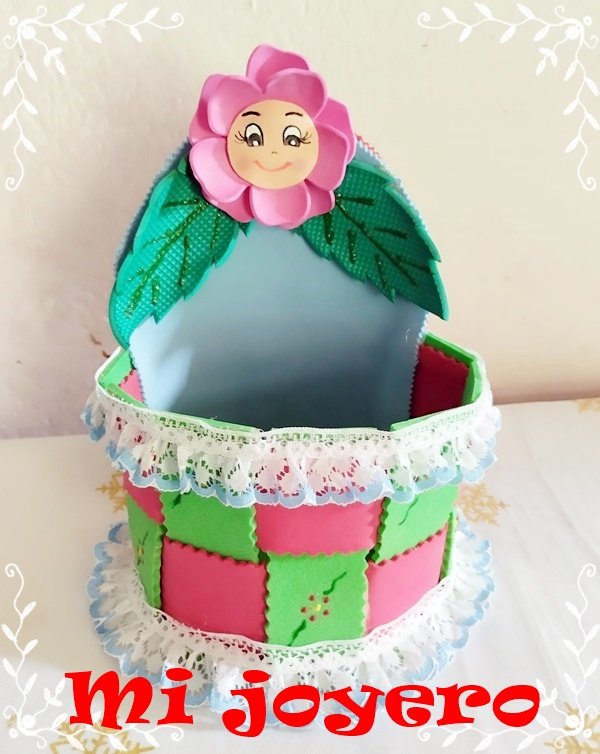
Saludos, queridos amigos, vuelvo por aquí con otro proyecto: un joyero. Aunque a decir verdad también puede ser útil para guardar otros accesorios o prendas, incluso material escolar o los cepillos de peinarse, eso lo decidirá cada uno. En mi caso particular, lo diseñé con esa función específica. Desde pequeña me han gustado las manualidades, considero que lo que hacemos con nuestro esfuerzo tiene un valor único. El disfrute viene acompañado de este proceso. Además, es personalizado, lo podemos adaptar a los gustos y las necesidades del fabricante.
Me gusta aprender, renovarme y nutrirme de las experiencias de otras personas. Mi mamá y mi abuela no solo sienten pasión por la costura, sino por las manualidades en general, son muy ingeniosas y han desarrollado, a través de tiempo y de algunos cursos prácticos, varias habilidades. Me agrada pedir su consejo valioso y que me ayuden a generar ideas, así pasó lo hicimos en esta ocasión.
Utilicé foami para realizar mi joyero, el cual tiene forma de pozo. Este material tiene la flexibilidad necesaria para mi propósito. Voy a detallarles los recursos que utilicé y el procedimiento.
Greetings, dear friends, I'm back with another project: a jewelry box. Although to tell the truth it can also be useful to store other accessories or clothes, even school supplies or hairbrushes, that's up to each one to decide. In my particular case, I designed it with that specific function. Since I was a child I have loved handicrafts, I consider that what we do with our effort has a unique value. The enjoyment comes with this process. In addition, it is personalized, we can adapt it to the tastes and needs of the manufacturer.
I like to learn, renew and nourish myself from other people's experiences. My mom and my grandmother are not only passionate about sewing, but about crafts in general, they are very resourceful and have developed, through time and some practical courses, several skills. I like to ask for their valuable advice and help me to generate ideas, so we did it this time.
I used foami to make my jewelry box, which is in the shape of a well. This material has the necessary flexibility for my purpose. I am going to detail the resources I used and the procedure.
Materiales e instrumentos:
- Foami
- Silicón líquido
- Hojas recicladas
- Tijera de formas
- Cartón
- Regla
- Lápiz
- Plancha
- Pintura texturizada
- Cinta
- Pintura
- Pincel puntafina
Materials and instruments
- Foami
- Liquid silicone
- Recycled sheets
- Shape scissors
- Cardboard
- Ruler
- Pencil
- Iron
- Textured paint
- Tape
- Paint
- Pointed paintbrush
Procedimiento:
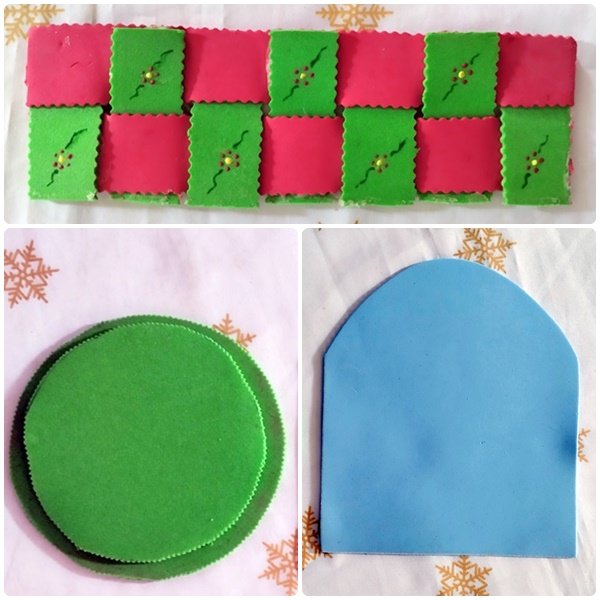
Lo primero que hice fue sacar los patrones en hojas de reciclaje, el círculo que colocaríamos como base y la parte de atrás en forma de arco. De ambos moldes recorté dos fragmentos en foami verde y azul respectivamente. También decidí ponerle cartón en el medio de las capas, esto le concedió el soporte ideal. Con la tijera de formas le di un toque diferente a los bordes.
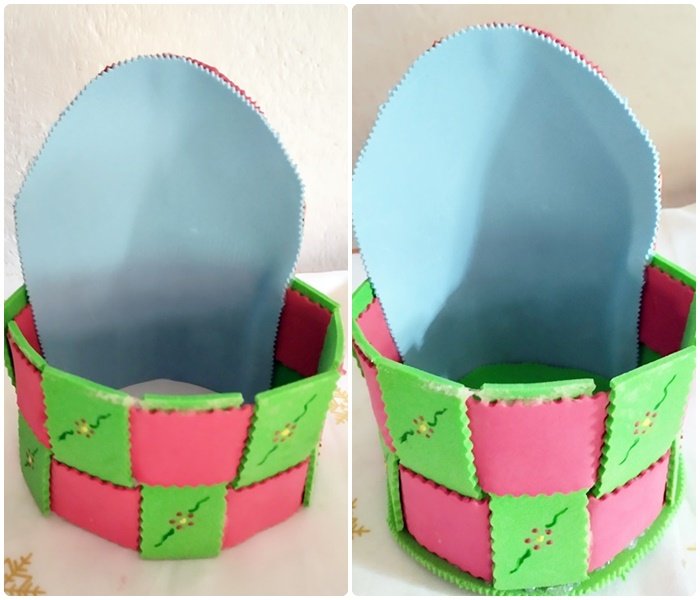
Con la ayuda de una regla marqué dos tiras en foami rojo, las dimensiones fueron: 3 cm de ancho por 20 cm de largo. Posteriormente, a las orillas le di forma ondulada con la tijera. Con este paso nos daremos cuenta de que disminuye un poco la medida inicial. Asimismo, en foami verde recorté siete tiras de 3 cm de ancho por 7 cm de largo. Una vez que tenemos esto, procedemos a entrelazar las tiras y a unirlas en las esquinas. El resultado se verá muy bonito por la combinación de colores. Para decorar, con pintura texturizada, le hice unos puntos diminutos que simularían unas flores.
Procedure:
The first thing I did was to make the patterns in recycled sheets, the circle that we would place as a base and the back part in the shape of an arch. From both molds I cut out two fragments in green and blue foami respectively. I also decided to put cardboard in the middle of the layers, this gave it the ideal support. With the shape scissors I gave a different touch to the edges.
With the help of a ruler I marked two strips in red foami, the dimensions were: 3 cm wide by 20 cm long. Afterwards, I gave the edges a wavy shape with the scissors. With this step we will notice that the initial size decreases a little. Also, in green foami I cut seven strips of 3 cm wide by 7 cm long. Once we have this, we proceed to intertwine the strips and join them at the corners. The result will look very nice because of the combination of colors. To decorate, with textured paint, I made some tiny dots to simulate flowers.
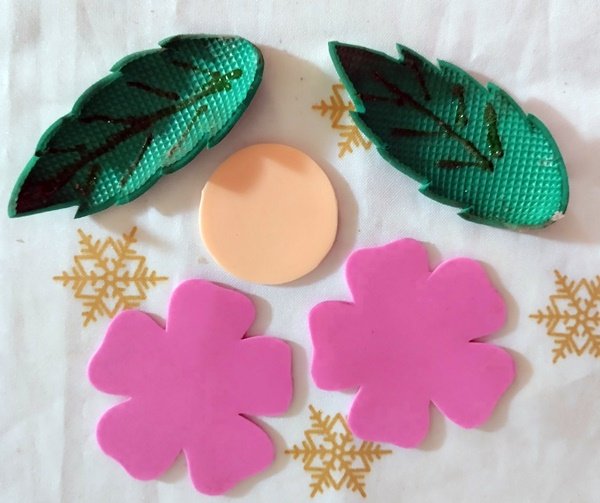
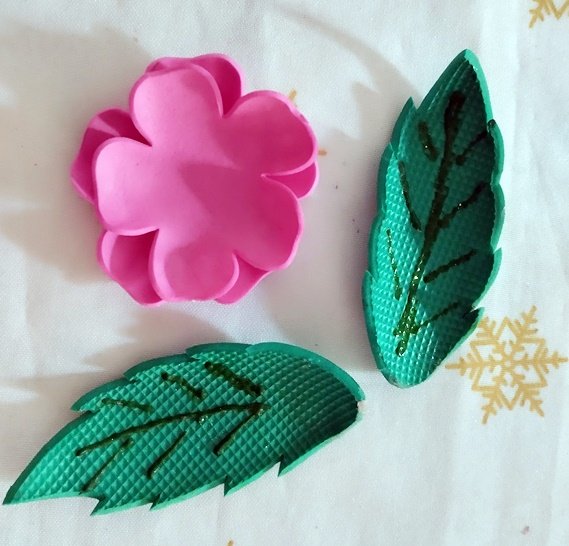
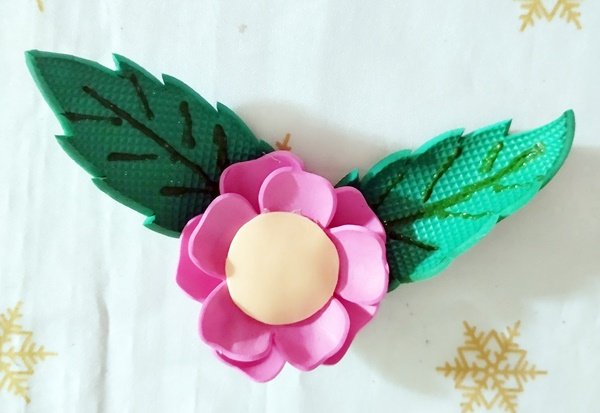
Saqué el patrón de una flor, luego, coloqué el molde y recorté dos en foami rosado. Esto para dar la sensación de muchos pétalos. El color piel lo empleé para hacer el rostro. En foami verde oscuro marqué dos hojas. A continuación, planché cada parte para darle el efecto de relieve.
I drew the pattern of a flower, then, I placed the mold and cut out two in pink foami. This to give the sensation of many petals. I used the skin color to make the face. In dark green foami I marked two leaves. Then, I ironed each part to give the relief effect.
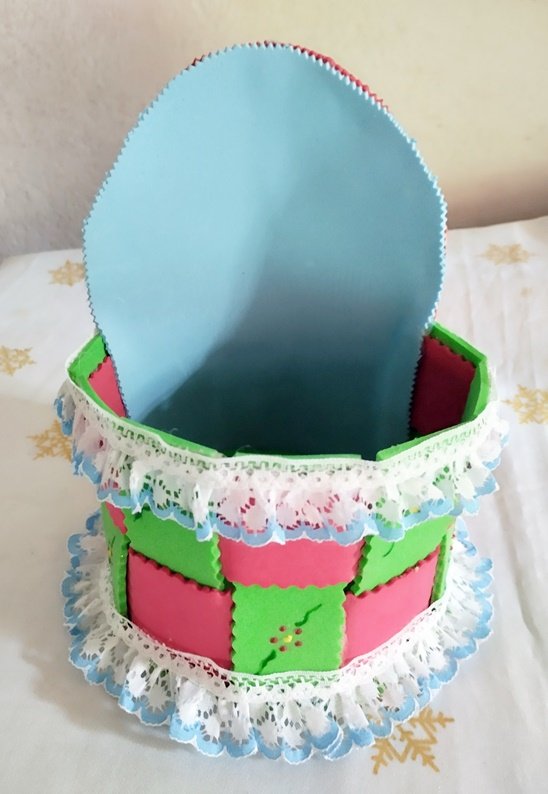
Unimos la parte trasera con las tiras entrelazadas. Luego, pegamos el círculo del fondo. Para decorar colocamos cinta por el borde, así le damos un acabado más detallado.
We join the back part with the intertwined strips. Then, we glue the bottom circle. To decorate, we place ribbon around the edge to give it a more detailed finish.
Pegamos los dos moldes de las flores, la cara y las hojas. Con ayuda del pincel, pintamos los ojos, las pestañas, las cejas, la nariz y la sonrisa. Eso último es lo más importante, así irradia buena vibra desde mi apreciación.
Glue the two molds of the flowers, the face and the leaves. With the help of the brush, we paint the eyes, eyelashes, eyebrows, nose and smile. That last one is the most important, so it radiates good vibes from my point of view.
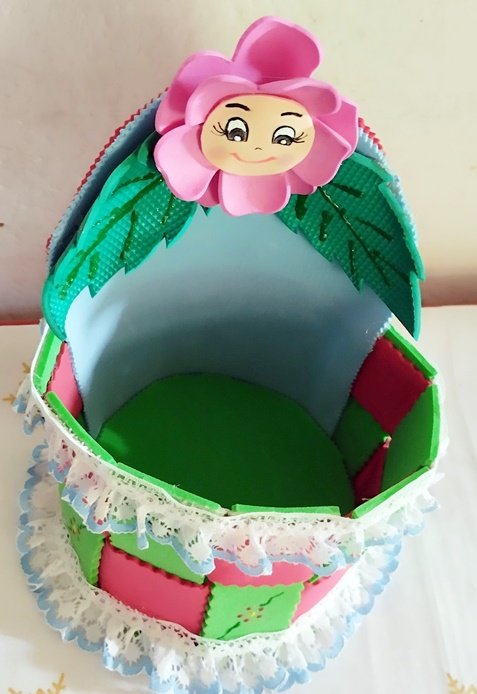
Una vez que tenemos todo listo, procedemos a pegar la flor en el centro de la parte trasera. De esta manera, concluimos nuestro trabajo de hoy. Espero que este tutorial les haya sido de utilidad y tengan otra opción para hacer un joyero.
Once we have everything ready, we proceed to glue the flower in the center of the back. In this way, we conclude our work today. I hope this tutorial has been useful and that you have another option to make a jewelry box.
Todas las fotografías son de mi archivo personal, editadas con PhotoScape
All photos are from my personal archive, edited with PhotoScape.
Traducido con www.DeepL.com/Translator (versión gratuita)
Translated with www.DeepL.com/Translator (free version)


