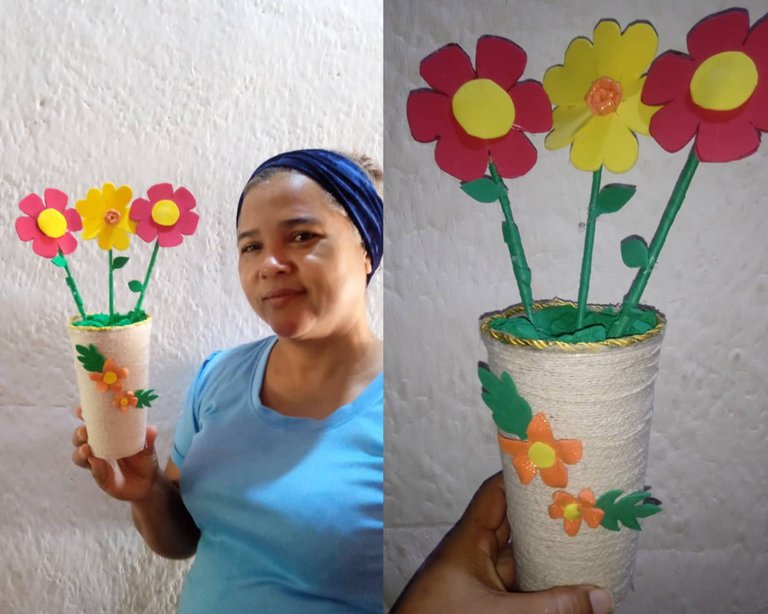
Hola amigos buenas noches tengan todos , Dios les bendiga , abrazo caluroso desde la distancia , espero que se encuentren bien , hoy les quiero compartir un tutorial,como realizar un pequeño florero utiliza para centro de mesa , utilizando materiales reciclados , los cuales están a nuestra comodidad de conseguir , lo más importante es que podremos decorar nuestros espacios libres a nuestro gusto
Hello friends good evening have all , God bless you , warm embrace from a distance , I hope you are well , today I want to share a tutorial , how to make a small vase used for centerpiece , using recycled materials , which are at our convenience to get , the most important thing is that we can decorate our free spaces to our liking.
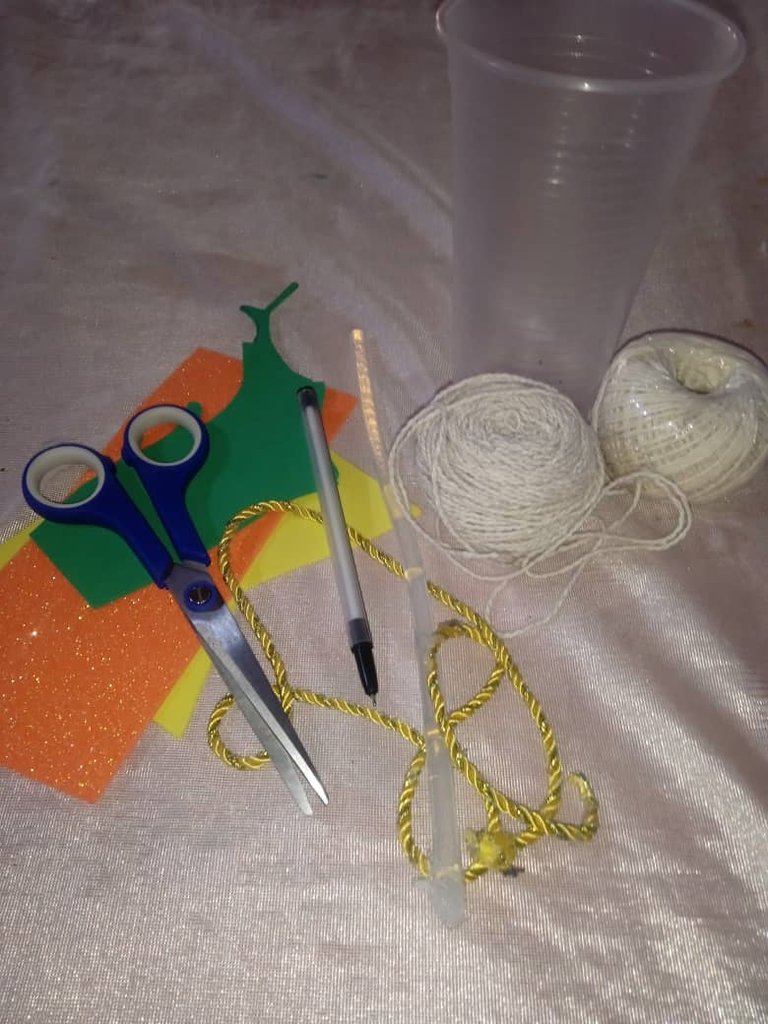
Materiales:
-Vaso desechable
-Hilo pabilo
-Silicon
-Tijera
-Foamis
-Hilo dorado
Materials:
-Disposable glass
-Wicker thread
-Silicon
-Scissors
-Foamis
-Golden thread
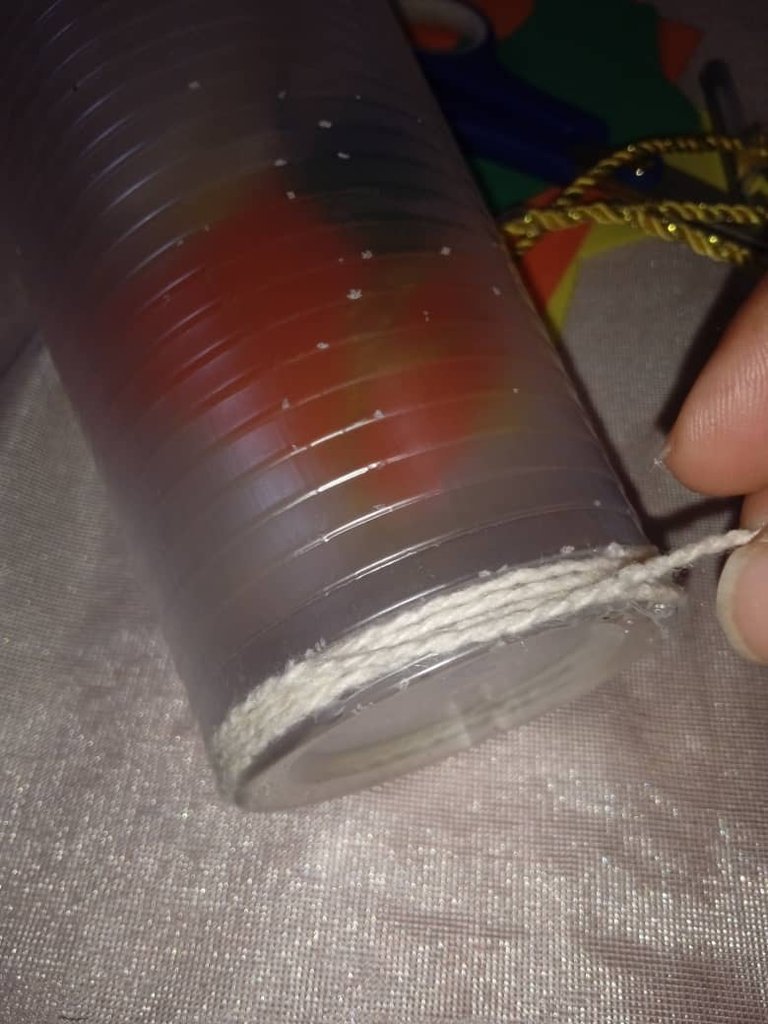
Pasos para elaborar nuestro centro de mesa reciclado :
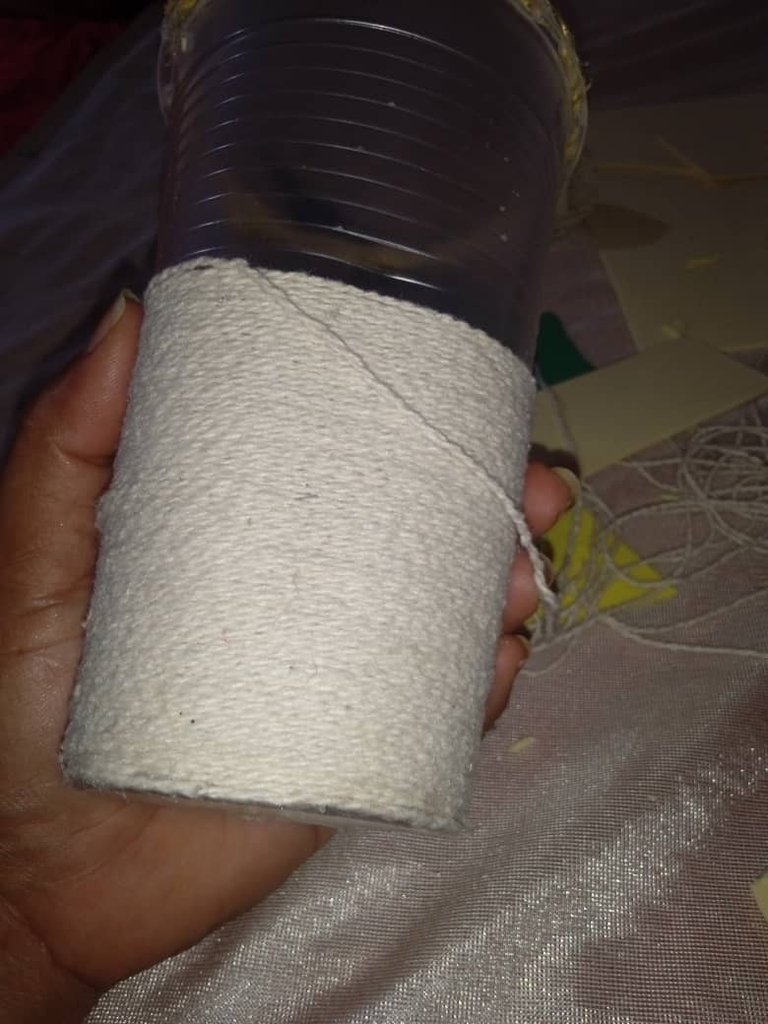
Paso 1: nuestro primer paso debemos comenzar decorando el vaso desechable, comenzaremos tomando el hilo pabilo (podemos utilizar también de saco, es opcional) , agregaremos silicón a la punta del hilo y lo comenzaremos pegando desde la parte de abajo del vaso , enrollando hacia arriba hasta cubrirlo por completo , de esta manera estaremos realizando el porrón o el centro de nuestra mesa
Steps to elaborate our recycled centerpiece:
Step 1: our first step we must start decorating the disposable glass, we will begin by taking the wicker thread (we can also use sack, it is optional), we will add silicone to the tip of the thread and we will start sticking it from the bottom of the glass, rolling up to cover it completely, in this way we will be making the porrón or the center of our table
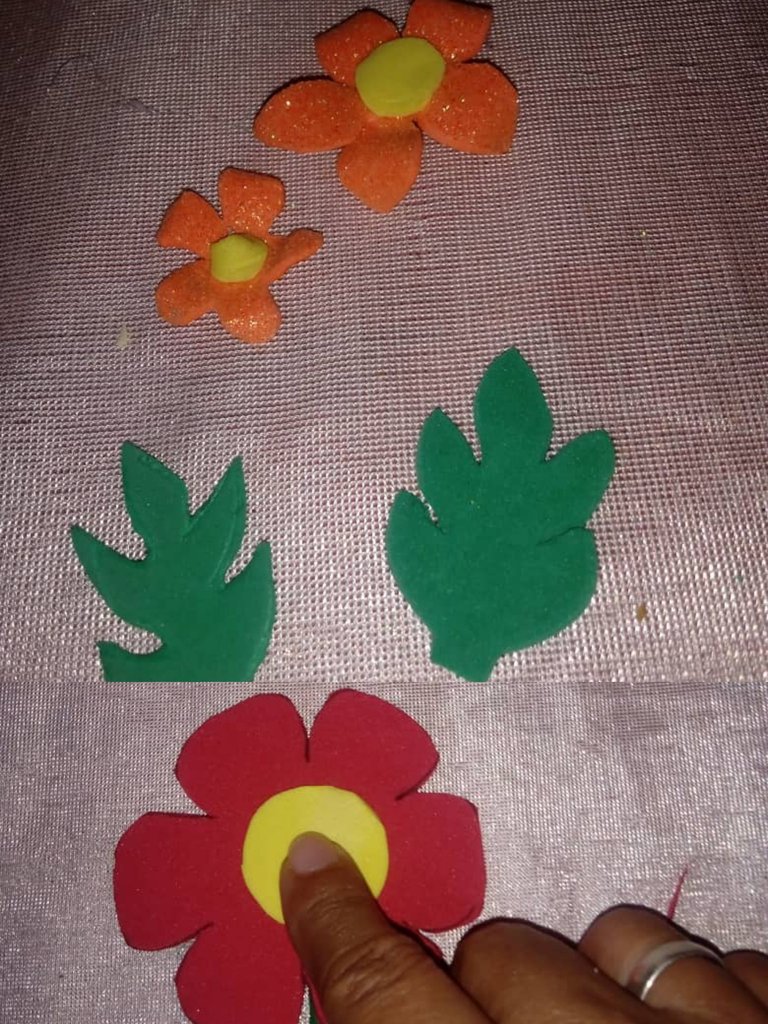
Paso 2: en este segundo paso vamos a continuar recortando unas flores , dos de ellas irán al frente de nuestro centro de mesa , las cuales serán las de color naranja, las más grandes tipo corazón formarán parte desde dentro ,estás serán rojas y amarilla, así mismo vamos a recortar unas pequeñas hojas
Step 2: in this second step we will continue cutting some flowers, two of them will go to the front of our centerpiece, which will be orange, the larger heart type will be part from the inside, these will be red and yellow, we will also cut some small leaves.
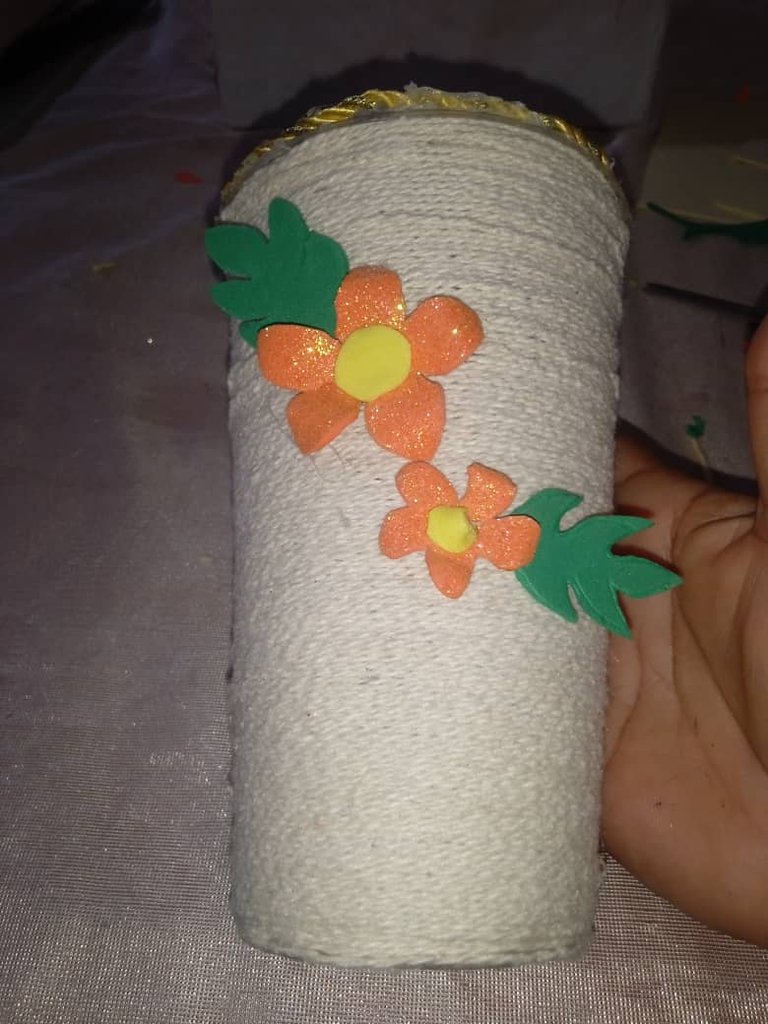
Paso 3 : luego amigos vamos a continuar pegando en este tercer paso las flores pequeñas las cuales irán pegadas al frente de nuestro adorno , pegaremos una arriba de la otra semi separadas , las hijas irán ubicadas alrededor de ambas
Step 3: then friends we will continue gluing in this third step the small flowers which will be glued to the front of our ornament, we will glue one on top of the other semi separated, the daughters will be located around both.
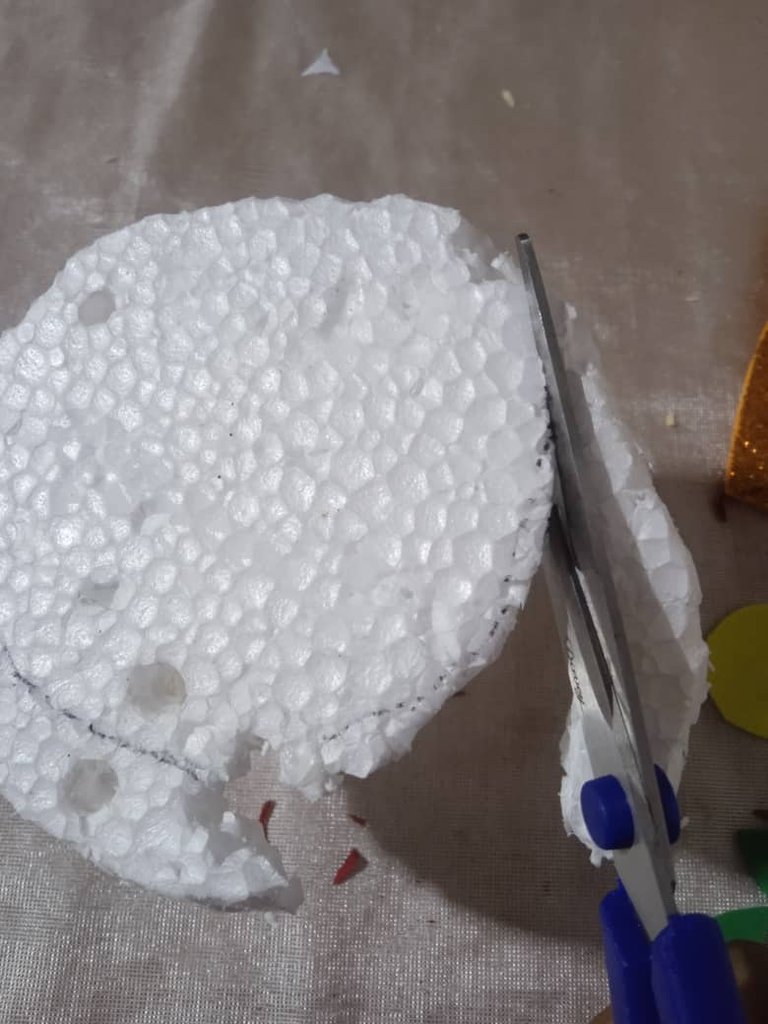
Paso 4: para que las flores que van en la parte de adentro del centro de mesa queden sujetas , vamos a tomar un recorte de anime redondo este lo cubriremos con papel crepé verde (pueden elegir otro tono o material) , así cuando introduzca mis flores queden sujetas
Step 4: for the flowers that go inside the centerpiece to be attached, we will take a round anime cutout and cover it with green crepe paper (you can choose another tone or material), so when I introduce my flowers they will be attached.
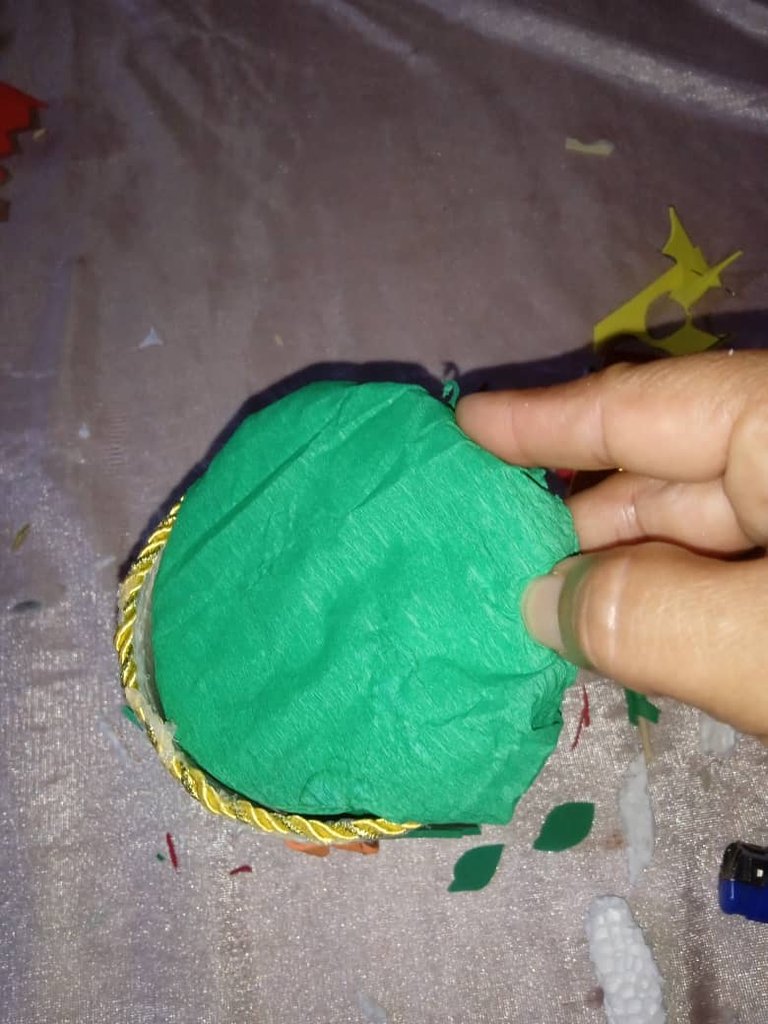
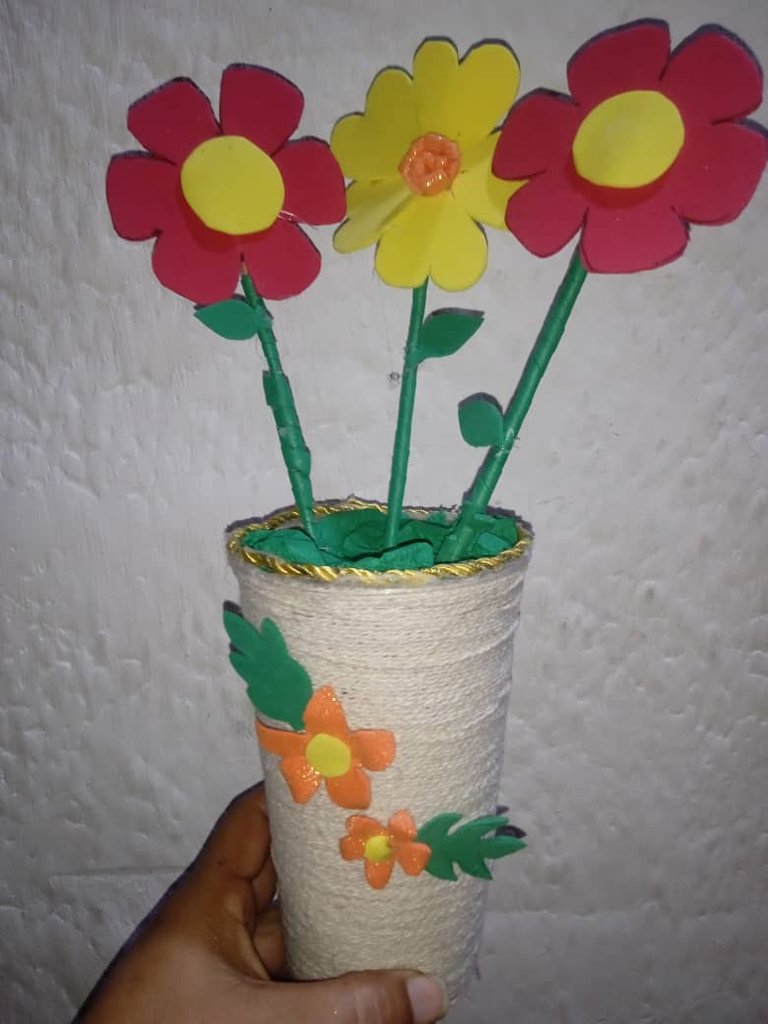
Paso 5: para terminar vamos a colocar la base dentro del centro de mesa , asegurándonos que quede en la parte de arriba (superficial) por último conoceremos nuestras pequeñas flores terminando nuestra obra
Step 5: to finish we will place the base inside the centerpiece, making sure it is on the top (surface) and finally we will know our little flowers finishing our work.
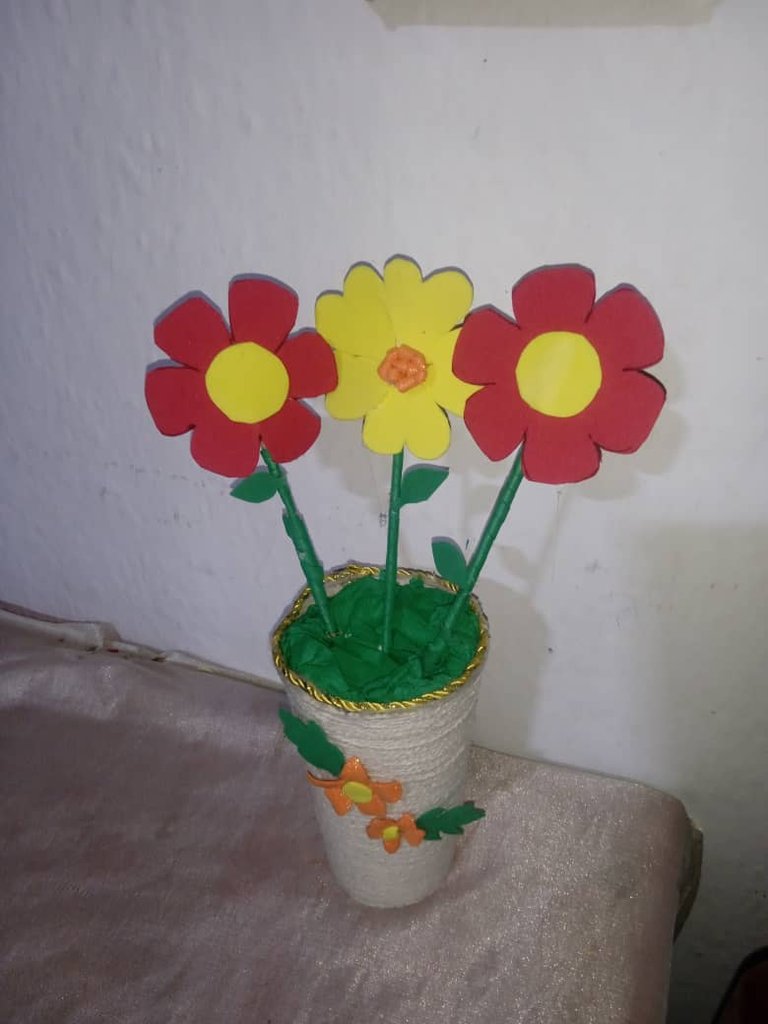
Resultado: así fue como realicé mi centro de mesa reciclado , ideal para decorar cualquier espacio de nuestro hogar , oficina , negocio, espero que pueda servirle este tutorial, hasta la próxima, bendiciones
Result: this is how I made my recycled centerpiece, ideal for decorating any space in our home, office, business, I hope you can use this tutorial, until next time, blessings.
Elabora un centro de mesa reciclado | Make a recycled centerpiece
