Hola queridos amigos de HIVE DIY cómo se encuentran? Jejeje saludos para todos ustedes espero y se encuentren bien con la bendición de Dios, ya tenia mucho tiempo sin subir un post perdón pero no encontraba nada para subir y que supiera que les iba a gustar, bueno amigos hoy me encuentro con ustedes para mostrarle la elaboración de un hermoso organizador de madera esta muy fácil de hacer y nos puede ayudar a embellecer los lugares de nuestra casa, bueno amigos sin mas nada que decir les invito a ver el paso a paso ojalá y sea de su agrado
Hello dear friends of HIVE DIY how are you doing? Hehehehe greetings to all of you I hope you are well with God's blessing, I had a long time without uploading a post sorry but I could not find anything to upload and that I knew you would like, well friends today I am with you to show you the development of a beautiful wooden organizer is very easy to do and can help us to beautify the places of our house, well friends without anything more to say I invite you to see the step by step hopefully and is to your liking

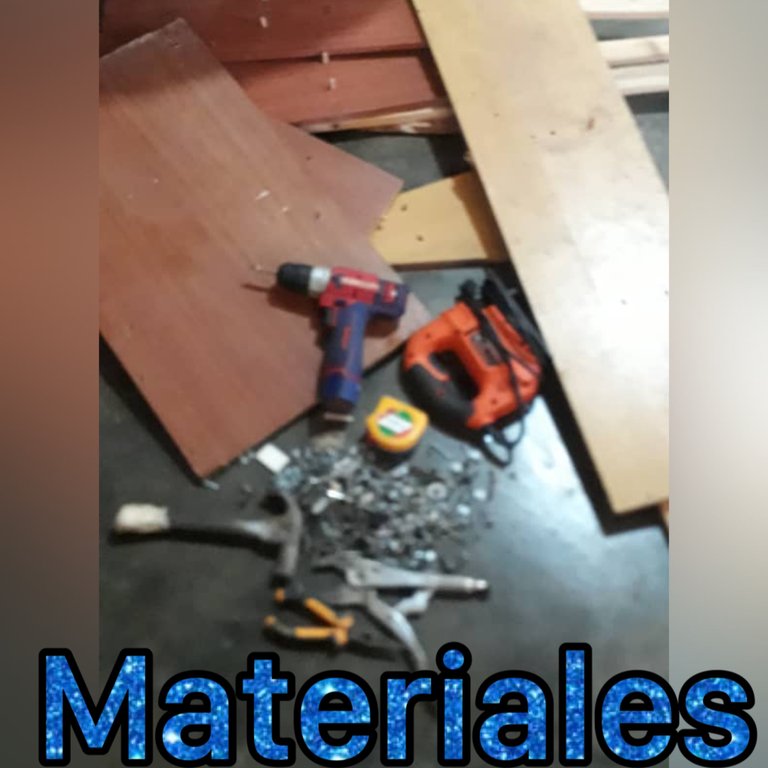
MATERIALES QUE VAMOS A UTILIZAR
• madera
• caladora
• taladro
• cinta métrica
• tornillos
• lija
• barniz
*MATERIALS WE ARE GOING TO USE
- wood
- jigsaw
- drill
- tape measure
- screws
- sandpaper
- varnish
AHORA SI AMIGOS MANOS A LA OBRA
NOW IF FRIENDS, LET'S GET TO WORK
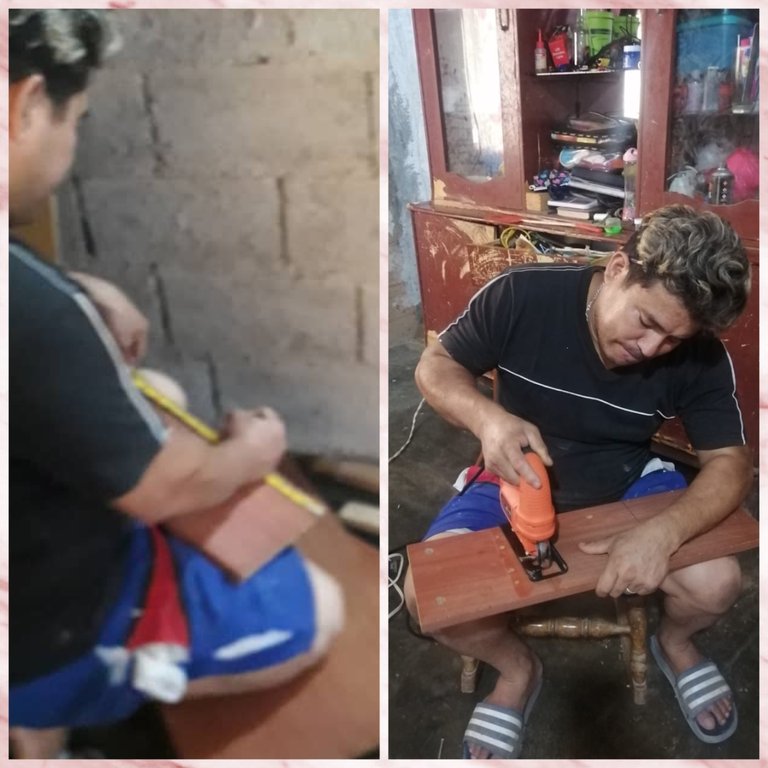
Primero mediremos con la cinta métrica en la madera unos cuadrados de 20 por 20 sacaremos 4 de ellas y cortaremos con la caladora
First we will measure with the tape measure in the wood some squares of 20 by 20 we will take out 4 of them and we will cut with the jigsaw
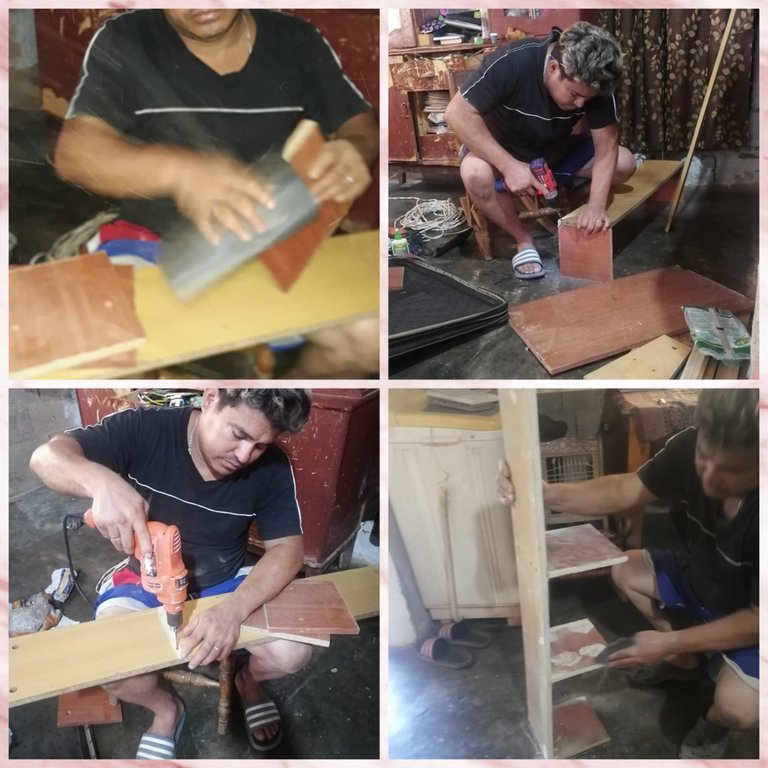
Ahora limaremos un poco la madera ya cortada y después con el taladro y tornillos iremos pegando la madera antes cortada a una madera larga que era el apoyo de estas pequeñas
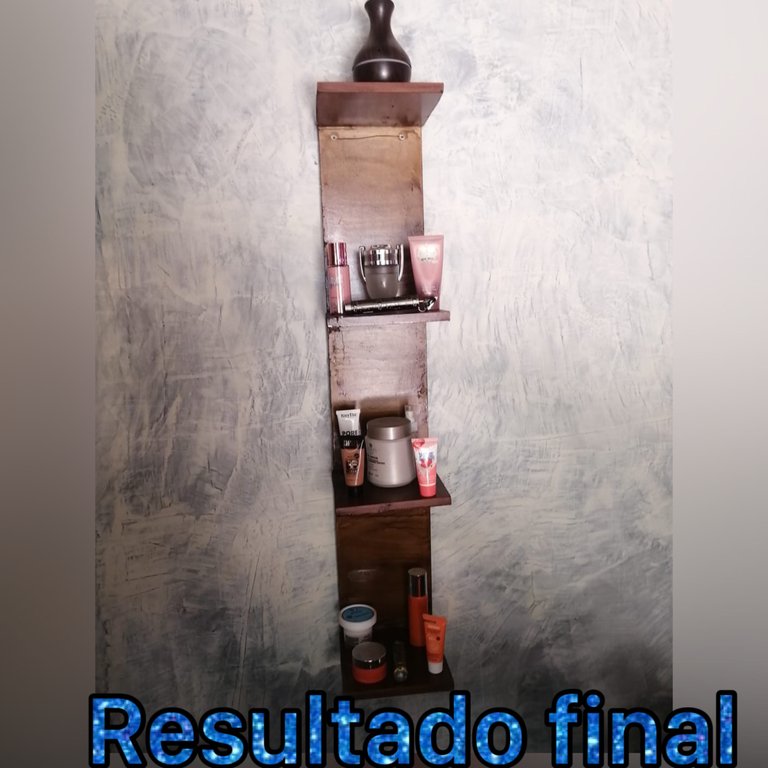
Tenemos que dejar un espacio considerando lo que queremos organizar en la repisa así que pidan con una colonia o cremas para que le quede mejor
Now we will file a little bit the wood already cut and then with the drill and screws we will glue the wood previously cut to a long wood that was the support of these little
We have to leave a space considering what we want to organize on the shelf so ask with a cologne or creams to make it fit better
Para finalizar pasaremos el barniz a él organizador y dejaremos secar bien para ya poder utilizarlo
Finally, apply the varnish to the organizer and let it dry well before using it
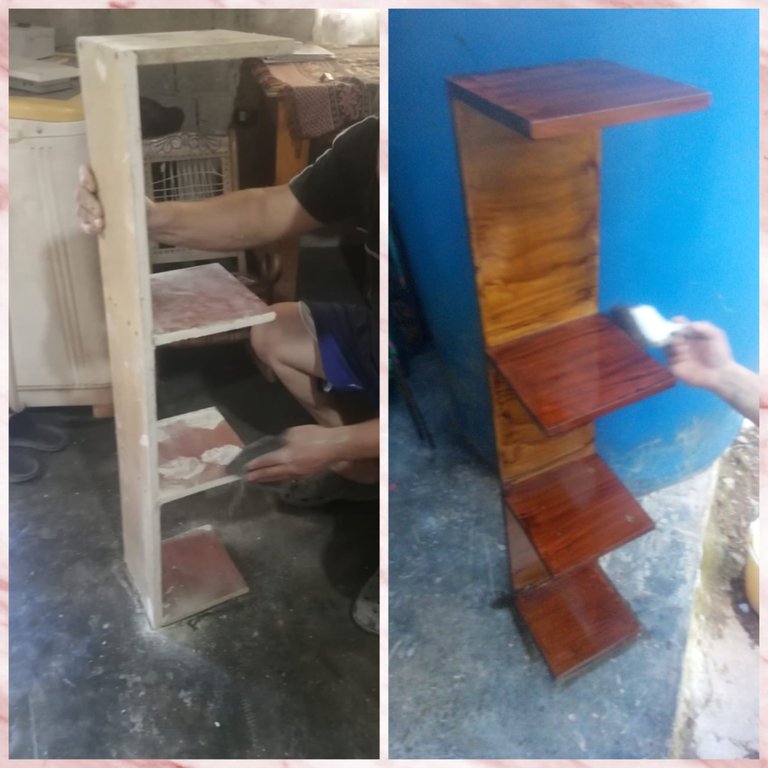
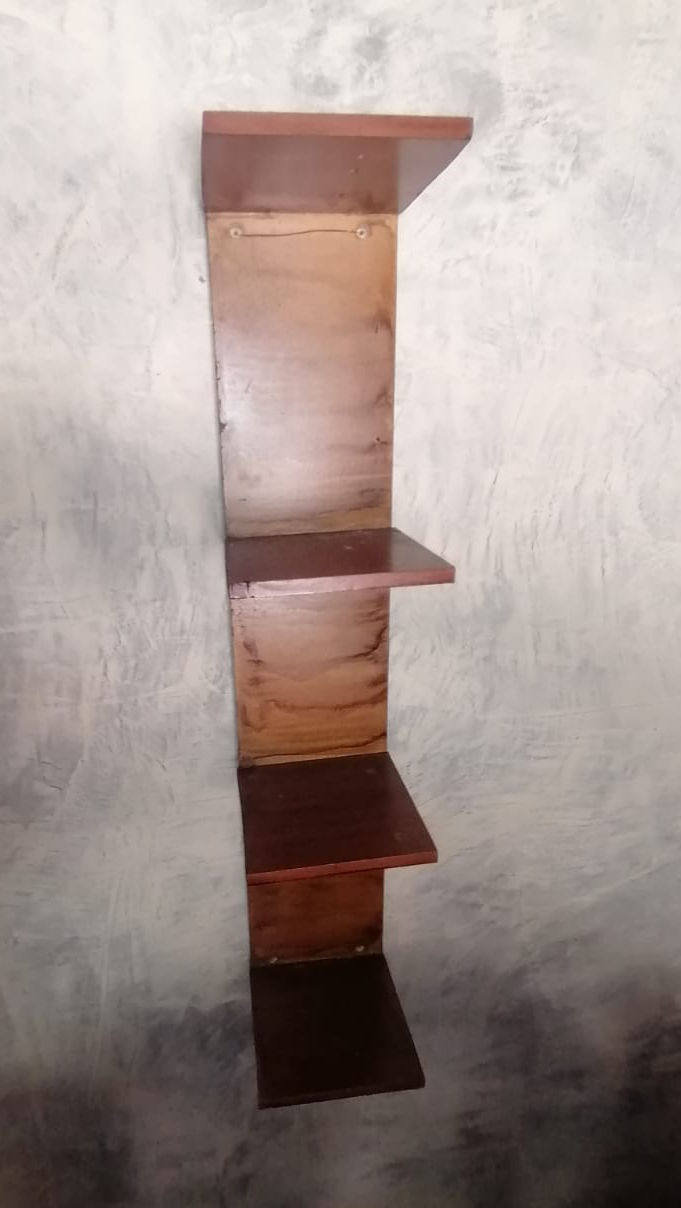
RESULTADO FINAL
FINAL RESULT
ESPERO Y LES HALLA GUSTADO MI TRABAJO AMIGOS ME DISCULPO SI ALGUNAS FOTOS SON BORROSAS ES QUE MI HIJA DE 7 AÑOS ERA LA QUE ME ESTABA TOMANDO LAS FOTOS PERO BUENO LA INTENCIÓN ES LA QUE VALE ASÍ QUE ESPERO QUE LO PUEDAN PONER EN PRÁCTICA EN LA CASA SIN MÁS NADA QUE DECIR HASTA LA PRÓXIMA OPORTUNIDAD AMIGOS Y QUE DIOS LOS BENDIGA SIEMPRE
I HOPE YOU LIKED MY WORK AND I APOLOGIZE IF SOME OF THE PICTURES ARE BLURRY BECAUSE MY 7 YEAR OLD DAUGHTER WAS THE ONE TAKING THE PICTURES BUT WELL THE INTENTION IS WHAT COUNTS SO I HOPE YOU CAN PUT IT INTO PRACTICE AT HOME WITHOUT ANYTHING ELSE TO SAY UNTIL THE NEXT OPPORTUNITY FRIENDS AND MAY GOD BLESS YOU ALWAYS


