Multiuso De Unicornio
Unicorn Multipurpose
Buenas un cordial saludos a todos los integrantes de la comunidad de HIVE, Despues de unos largos dias he decidido regresar con un precioso diseño de Unicornio cual le podemos dar varios usos, desde servilletero, cartera, caja de regalo, Organizador.
Good greetings to all the members of the HIVE community, After a few long days I have decided to come back with a beautiful Unicorn design which can be used as a napkin holder, wallet, gift box, organiser.
Los materiales:
Materials:
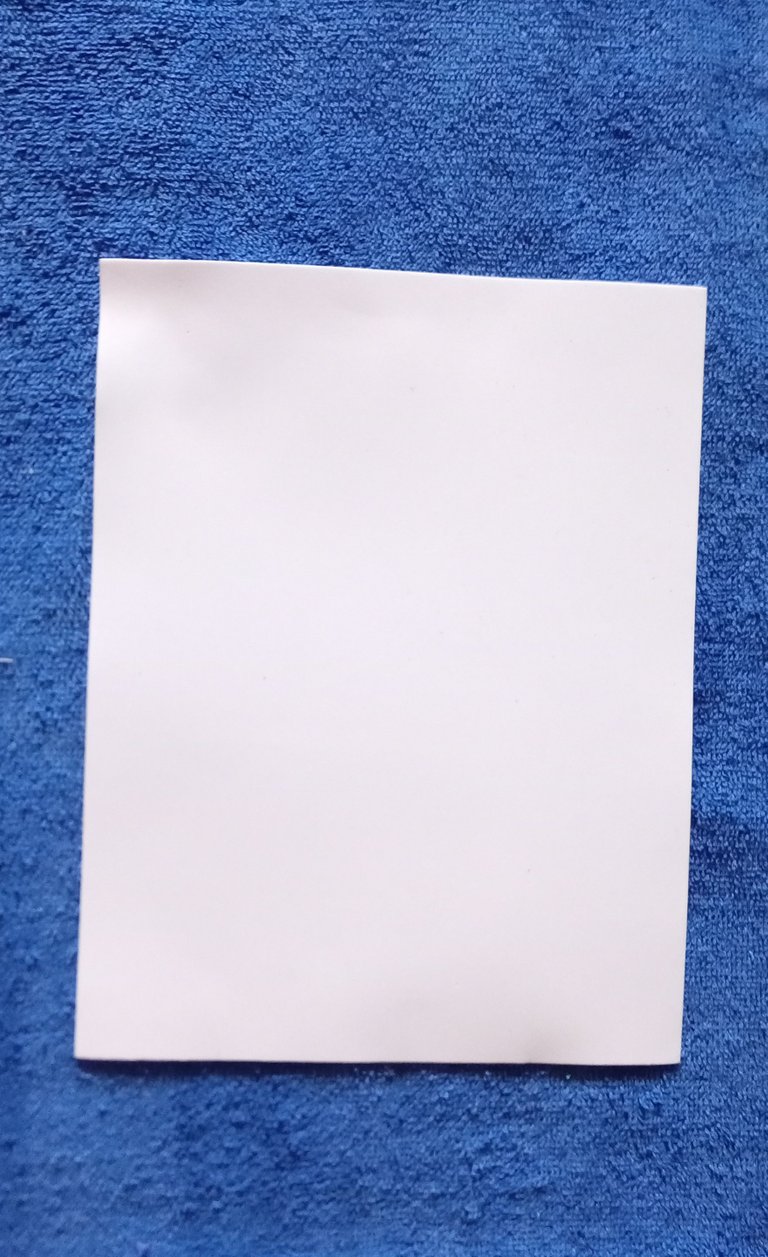
- Una lamina de foami blanca tipo carta.
- A sheet of white foami card.
- Recortes de foami unicolores.
- Unicoloured foami cut-outs.
- Un pedazo de cartón.
- A piece of cardboard.
- Sombras naranja o roja.
- Shades of orange or red.
- Un marcador Negro punta fina.
- Black fine tip marker.
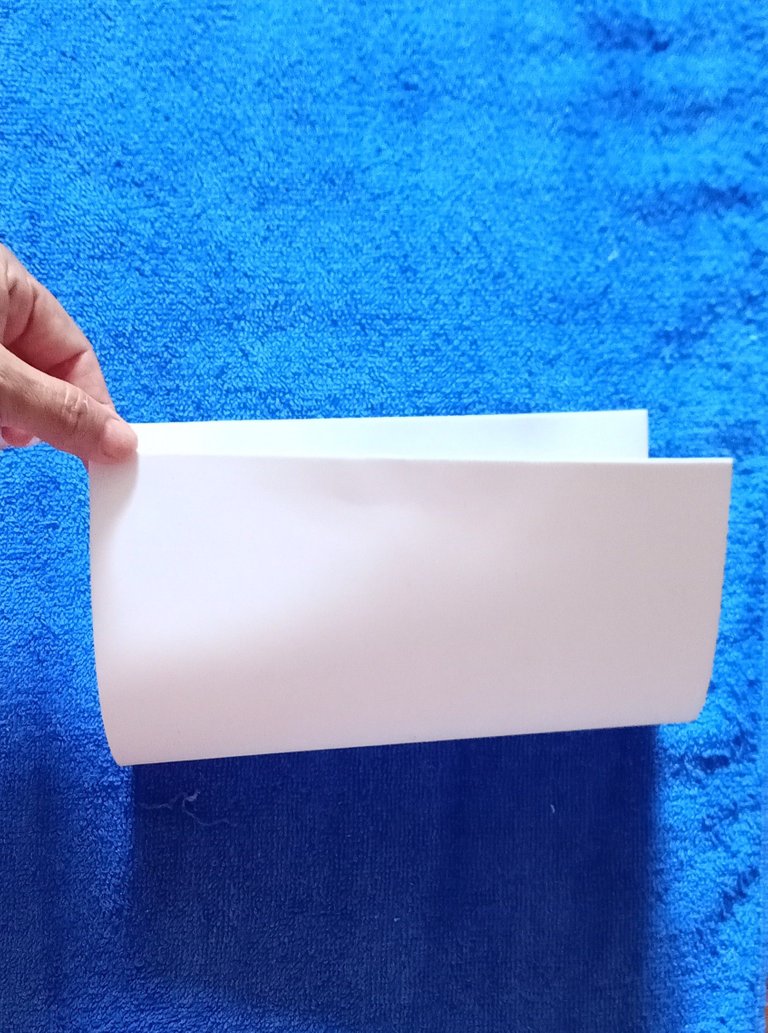
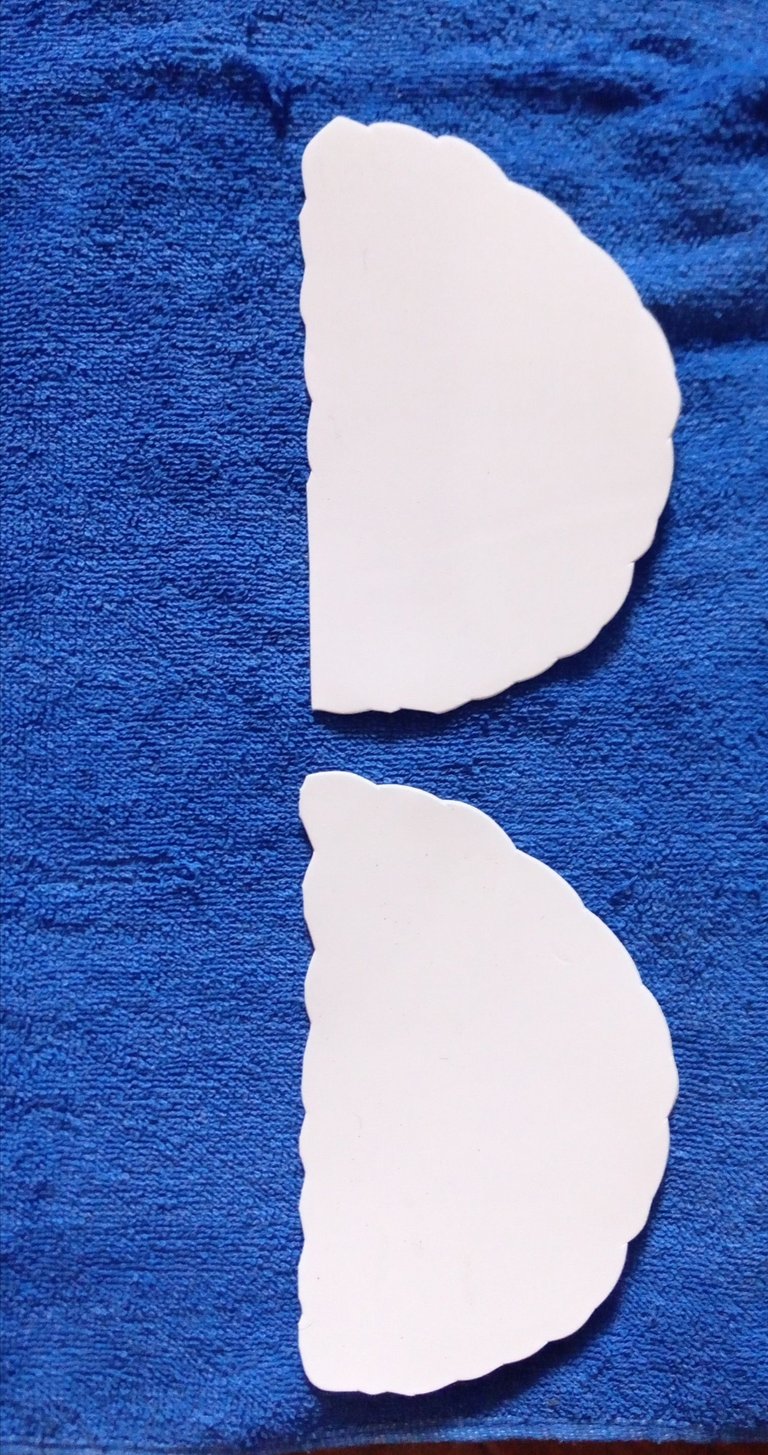
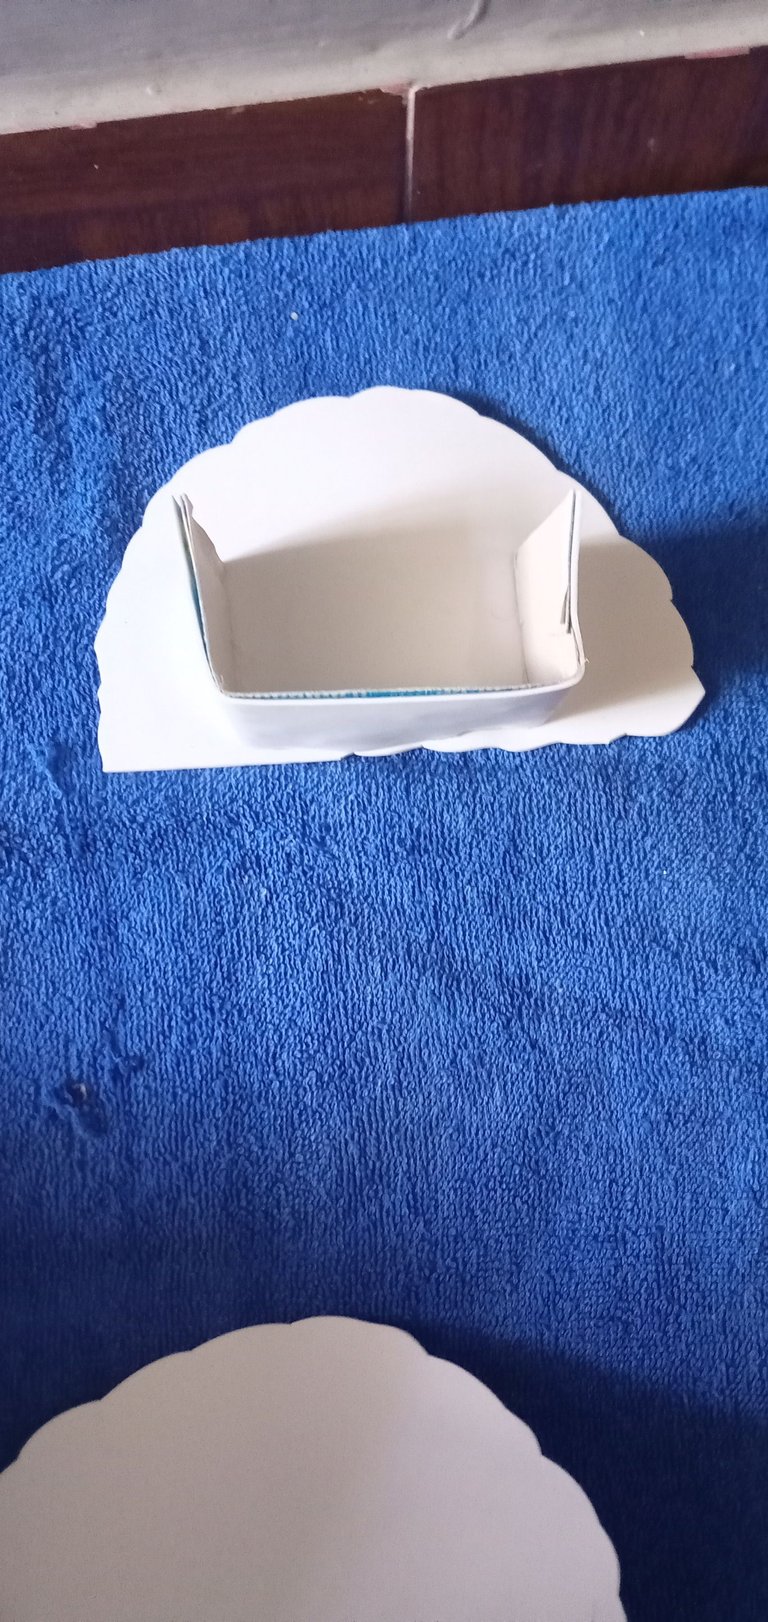
Para la realización de mi caja de unicornio lo primero es doblar el foami por la mitad en partes iguales, luego marco mi nube y corto con la tijera.
To make my unicorn box the first thing to do is to fold the foami in half in equal parts, then I mark my cloud and cut it with the scissors.
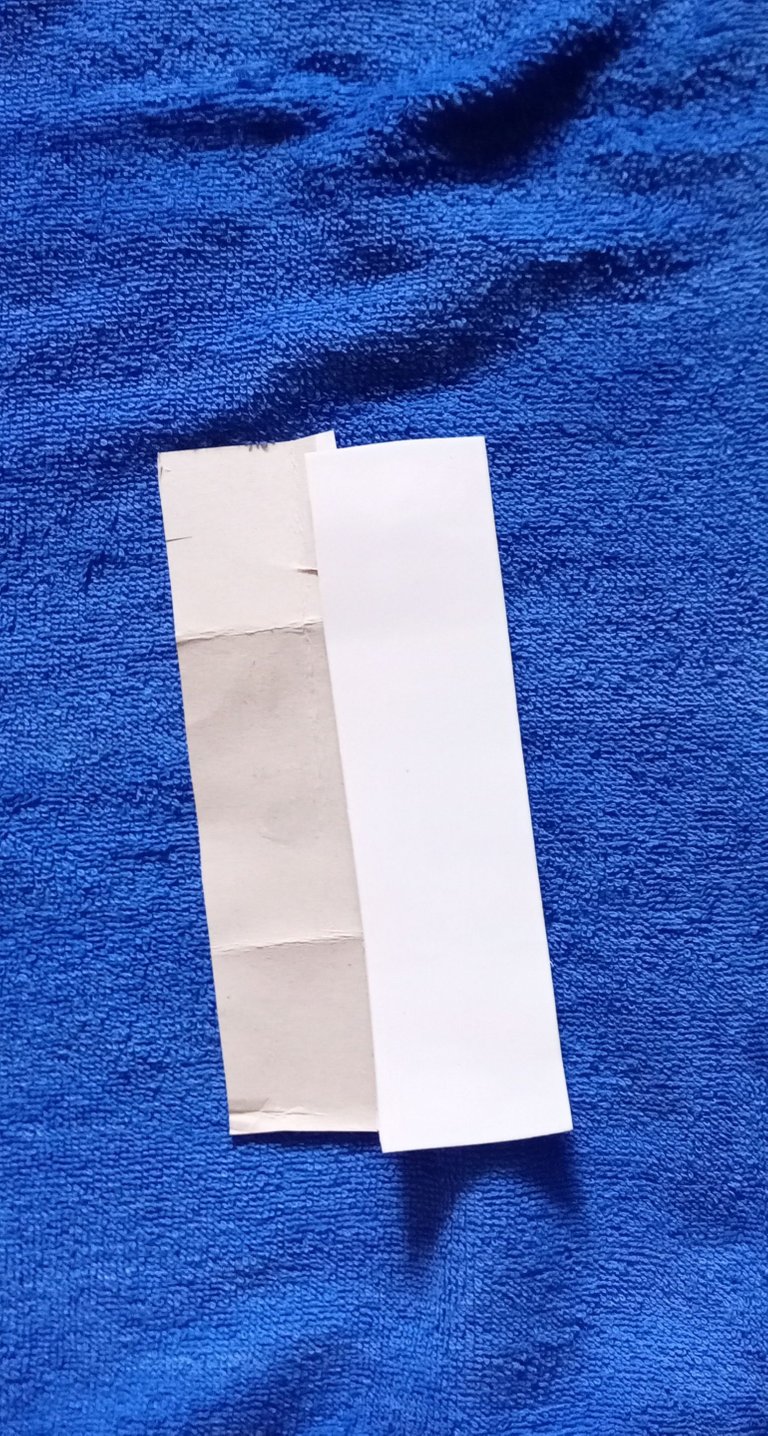
Una vez ya obtenida mis dos caras, corto un rectángulo de 5 cm de ancho por 10 cm de largo, luego pego sobre el cartón, marco con la regla 3cm y doblo de ambas puntas e resto lo dejo de base y procedo a pegarlo de mis dos caras, por la parte trasera y delantera de las caras.
Once I have obtained my two sides, I cut a rectangle of 5 cm wide by 10 cm long, then I glue it on the cardboard, mark with the ruler 3 cm and fold both ends and leave the rest as a base and proceed to glue it on my two sides, on the back and on the front of the sides.
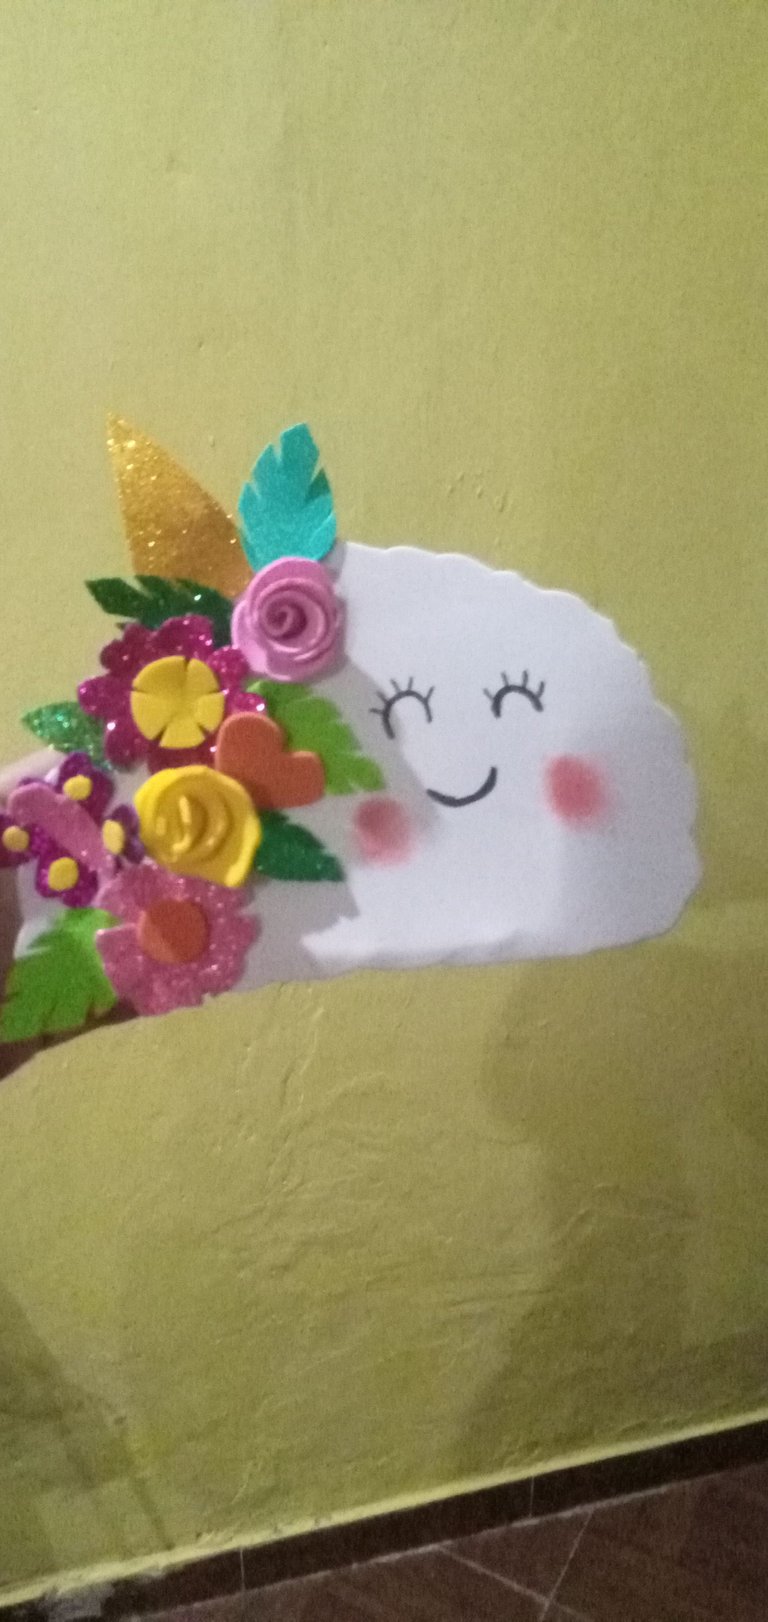
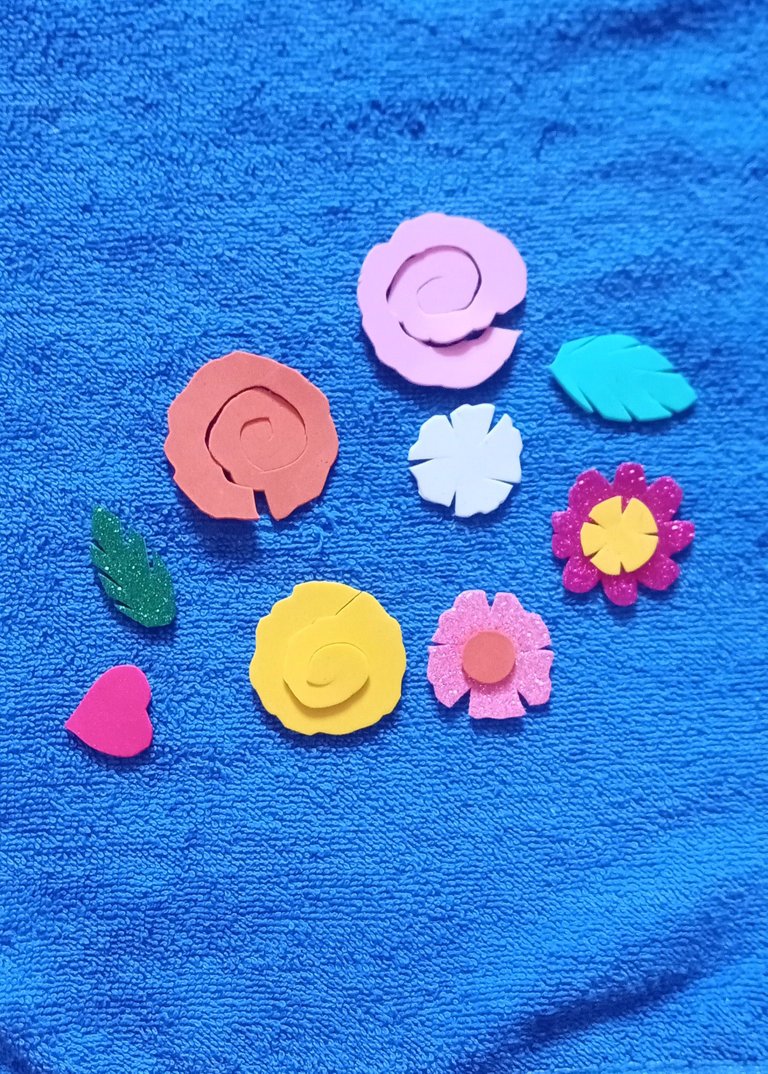
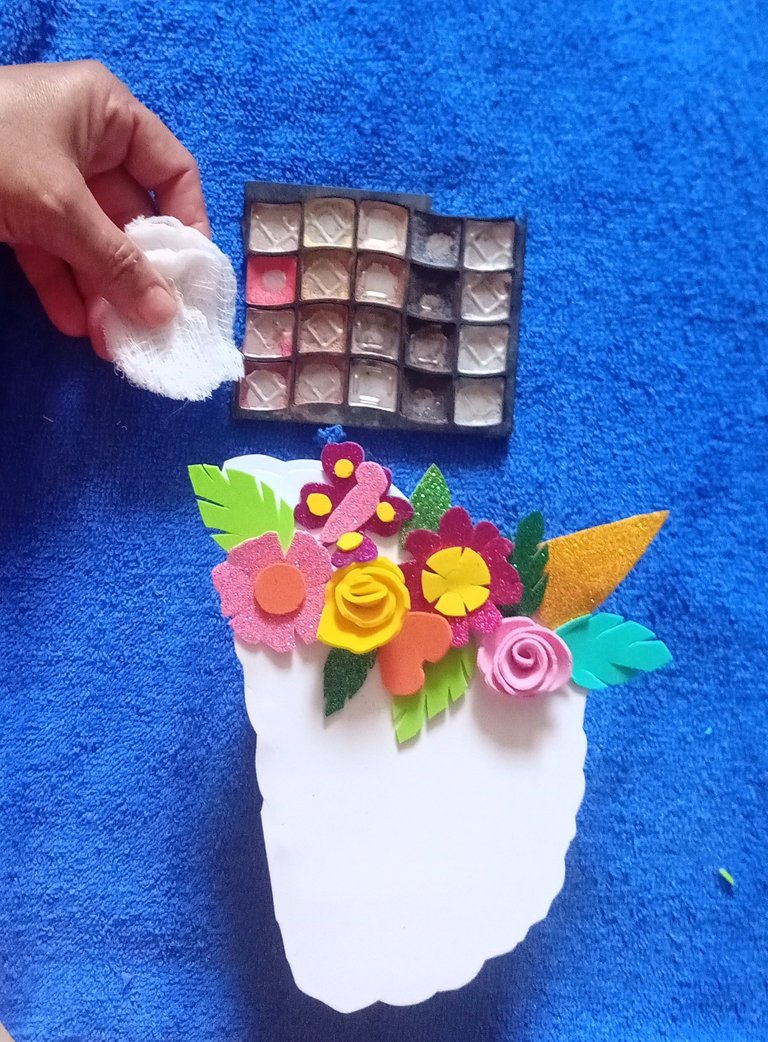
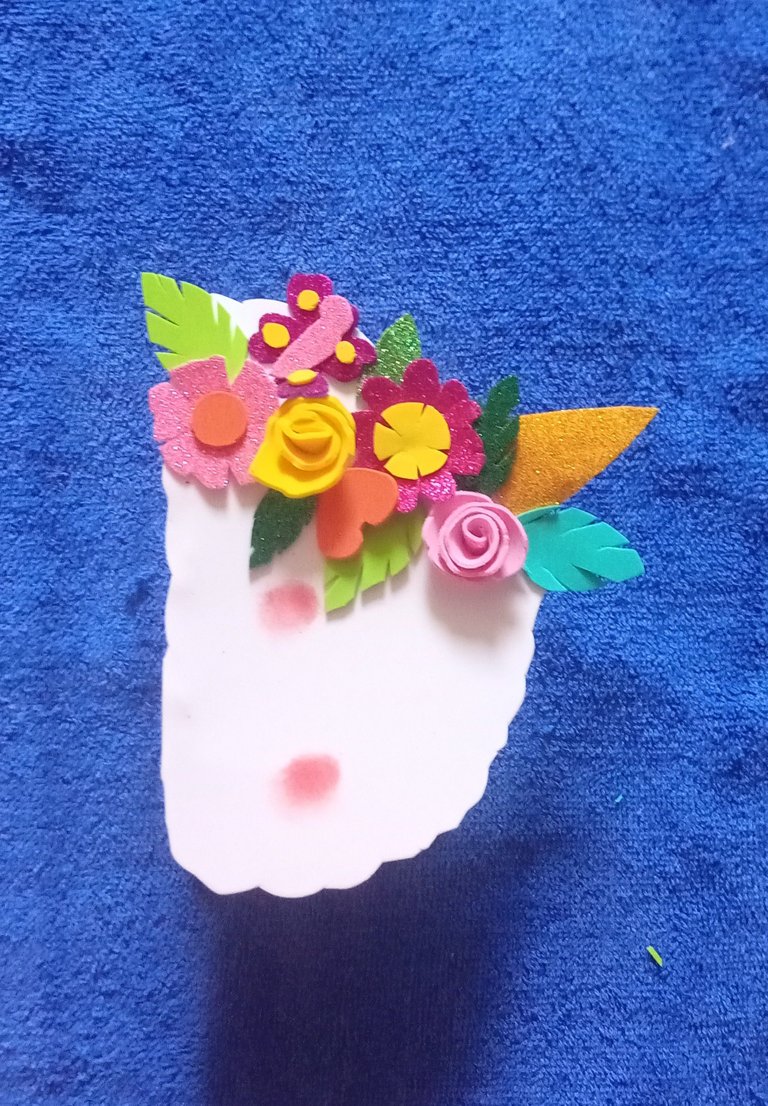
Ahora ya pegado y elaborada mi base, decidí recortar de los retazos de foami las flores, hojas y el cono de unicornio, pego y relleno.
Now that I had glued and made my base, I decided to cut out the flowers, leaves and the unicorn cone from the foami scraps, glued and stuffed them.

Una vez pegadas mis flores y el cono , paso a pintar con sombras sus cachetitos.
Once my flowers and the cone are glued, I paint the little cheeks with shadows.
Luego de pintar sus cachetes, marco sus ojitos y pestañas con el marcador negro y trazo su nariz.
After painting her cheeks, I marked her eyes and eyelashes with the black marker and traced her nose.
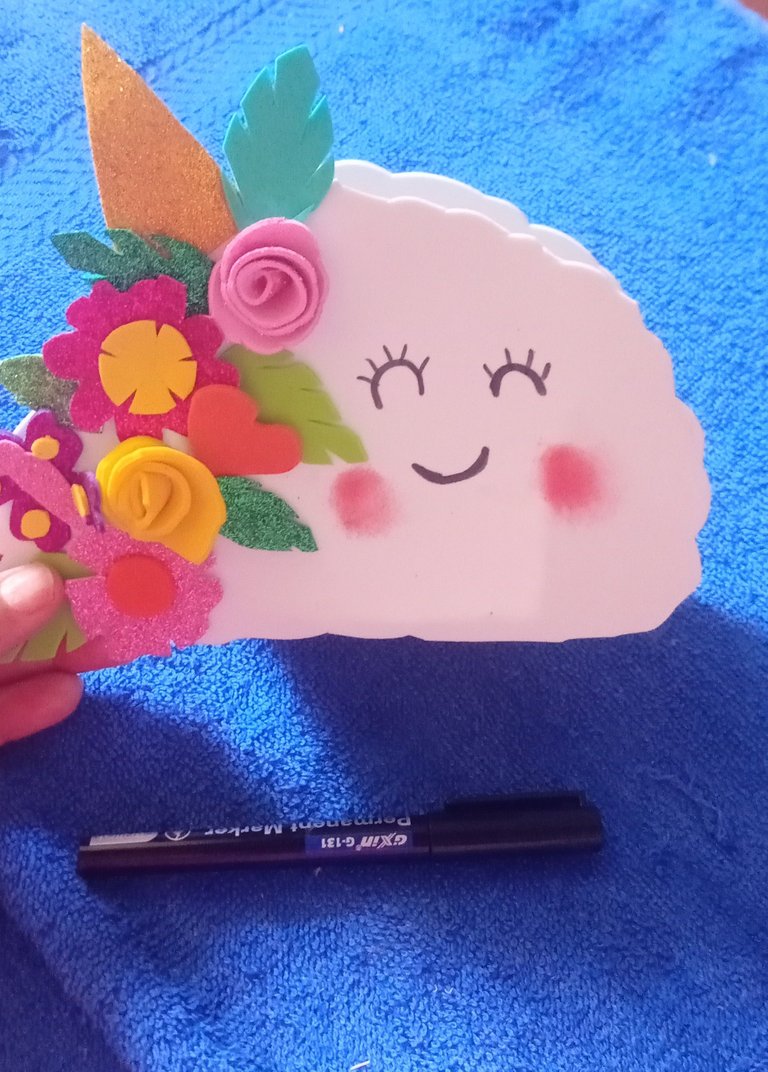
Algo muy practico y sencillo para regalar y decorar cualquier superficie de las princesas.
Something very practical and simple to give as a gift and decorate any princess surface.
Recuerda no olvidar votar y seguirme.
Remember to vote and follow me.