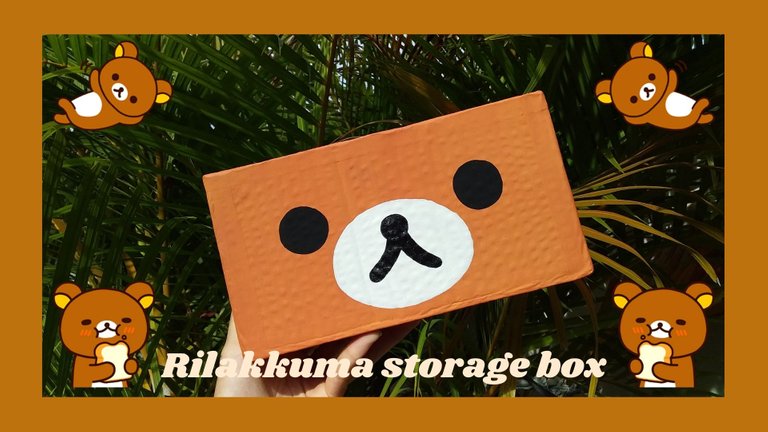
💛💛Bienvenidos | Welcome💛💛
Saluditos, gente linda de hive, espero que se encuentren muy bien. El día de hoy traigo para ustedes un tutorial donde aprenderán a hacer una linda caja organizadora de Rilakkuma, ideal para guardar tus productos de aseo personal, maquillaje o alguna otra cosita que tengas por ahí y no sabes donde guardarla.🐻💛 Espero que les guste mucho.
Ahora sin más, comencemos.
Greetings, beautiful people of hive, I hope you are very well. Today I bring for you a tutorial where you will learn how to make a nice Rilakkuma organizer box, ideal for storing your toiletries, makeup or any other little thing you have around and do not know where to keep it.🐻💛 I hope you like it very much.
Now without further ado, let's get started.
Materiales | Materials:
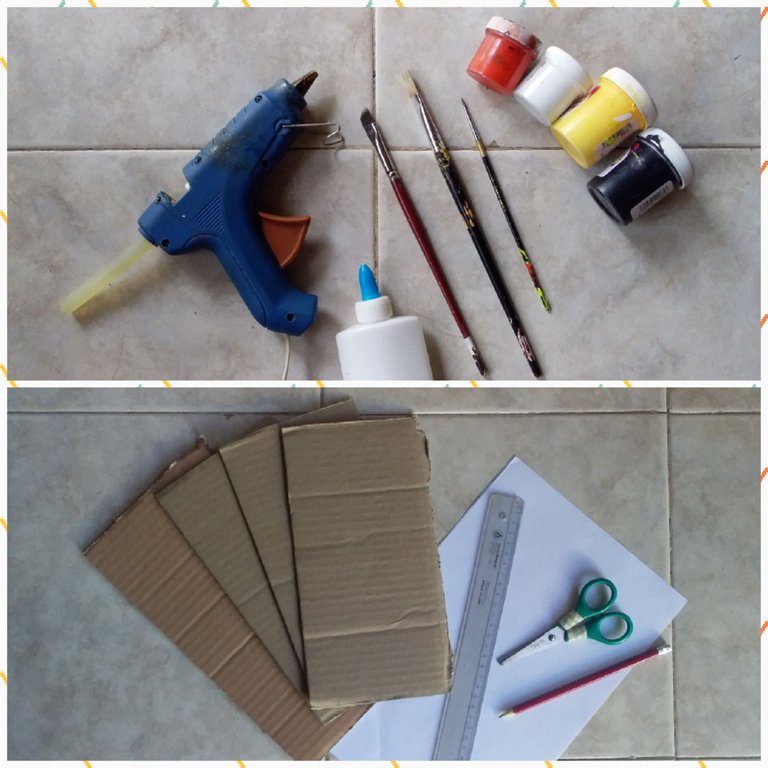
| Pega escolar | Pega caliente | Pinturas |
|---|---|---|
| Pinceles | Lápiz | Regla |
| Tijeras | Hojas de papel | Cartón |
| School glue | Hot glue | Paints |
|---|---|---|
| Brushes | Pencil | Ruler |
| Scissors | Sheets of paper | Cardboard |
Proceso | Process
Paso 1 | Step 1
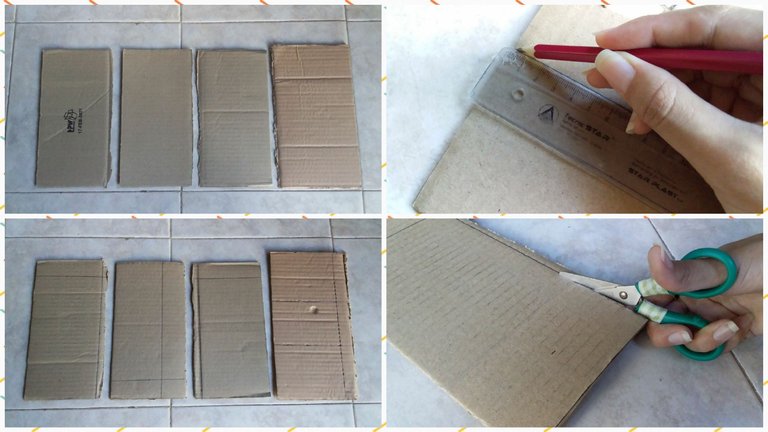
Primero tomaremos el cartón y con un lápiz y una regla, marcaremos las medidas que queramos que tenga nuestra caja, luego cortaremos.
First we will take the cardboard and with a pencil and a ruler, we will mark the measures we want our box to have, then we will cut.
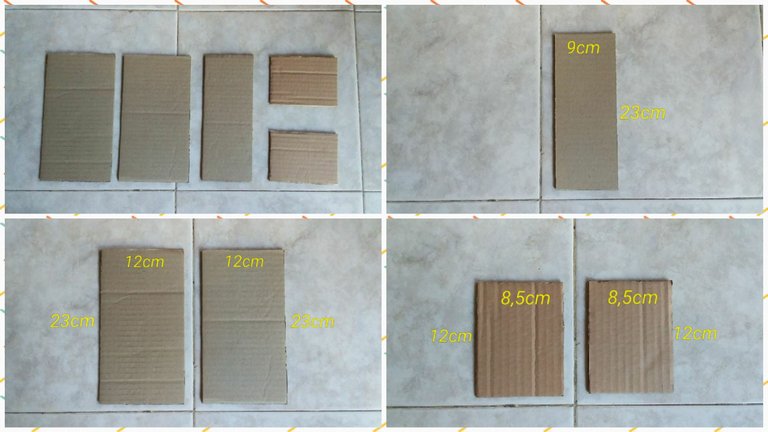
En total debe haber 5 piezas. 1 para la base, 2 para la parte delantera y trasera y otras 2 para los laterales.
💛🐻En las fotografías se muestra un ejemplo con las medidas que utilicé🐻💛
In total there should be 5 pieces. 1 for the base, 2 for the front and back and another 2 for the sides.
💛🐻In the pictures is an example with the measures that I used🐻💛
Paso 2 | Step 2
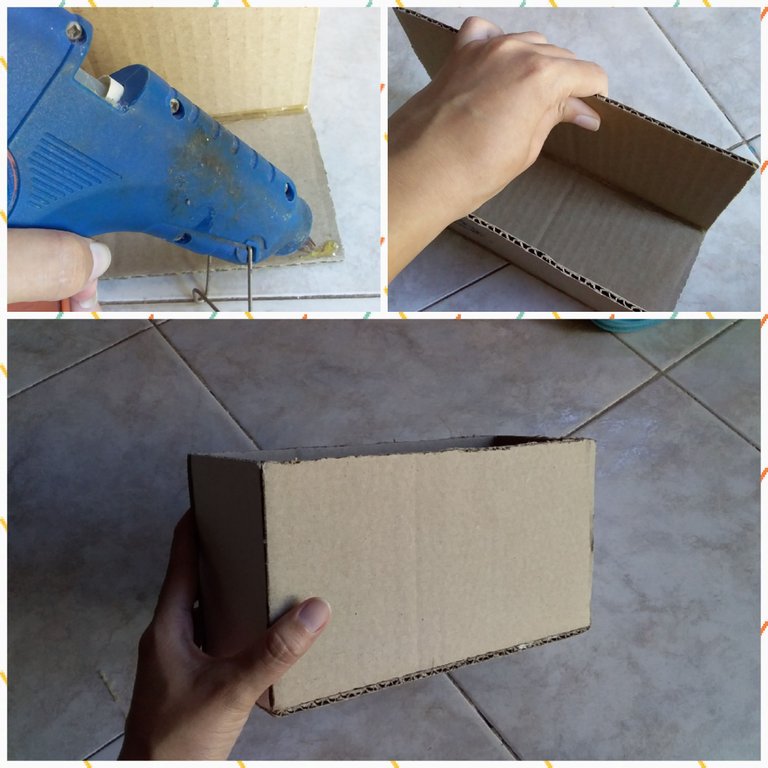
El siguiente paso es unir todas las piezas sobre la base con pega caliente.
The next step is to join all the pieces on the base with hot glue.
Paso 3 | Step 3
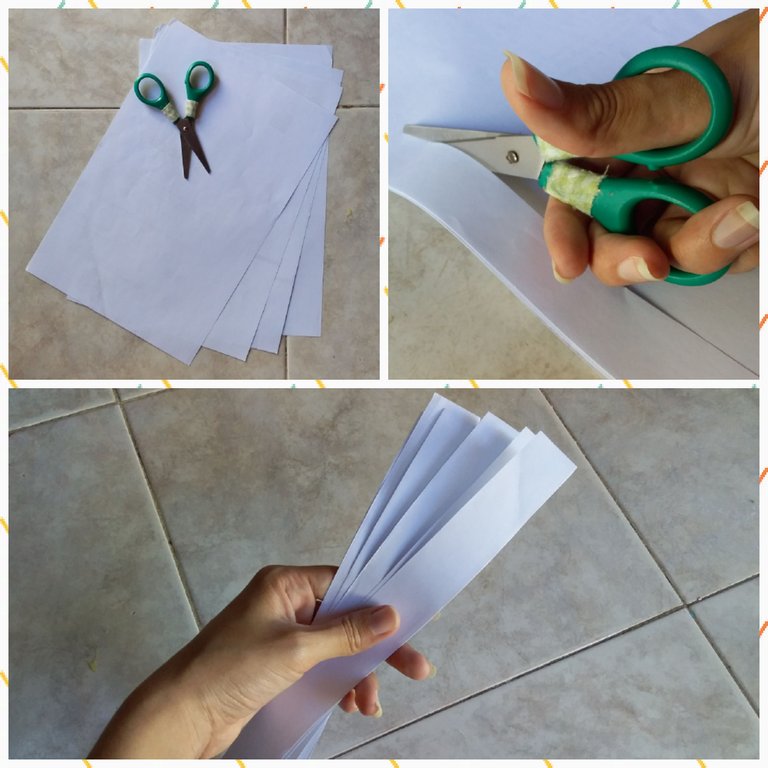
Tomaremos las hojas de papel y las cortaremos en tiras largas.
We will take the sheets of paper and cut them into long strips.
Paso 4 | Step 4
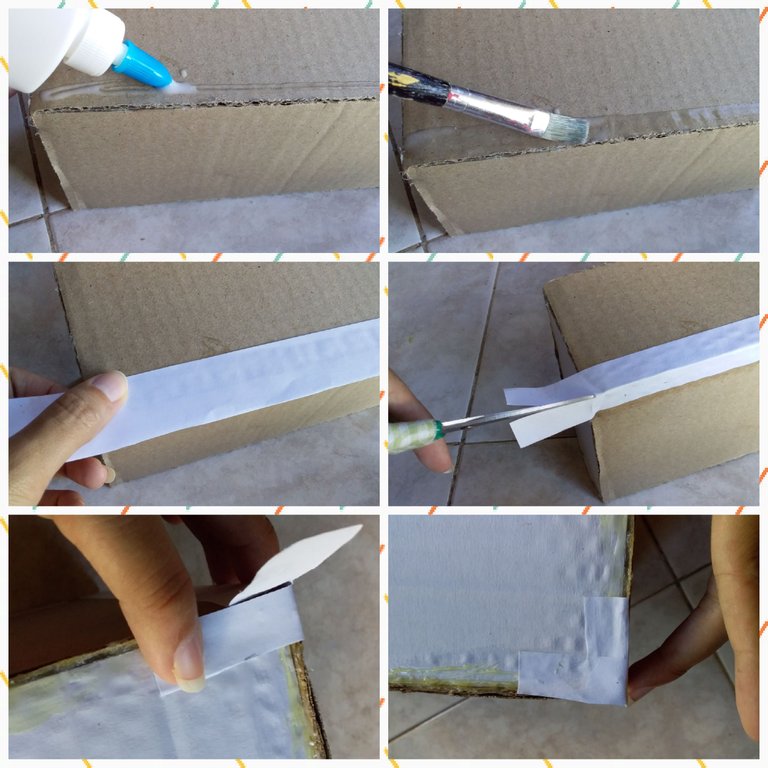
Pegaremos las tiras en los bordes de la caja con pega escolar. Al llegar a las esquinas, haremos un corte en medio y terminaremos de pegar en forma cruzada (como se muestra en las fotos).
Glue the strips to the edges of the box with school glue. When we reach the corners, we will make a cut in the middle and finish gluing crosswise (as shown in the photos).
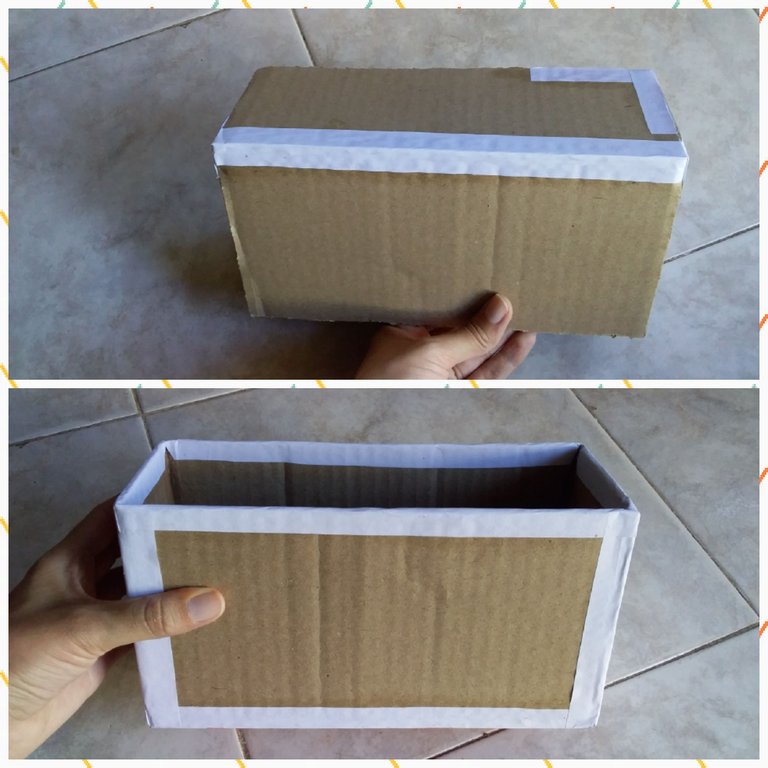
Continuaremos con este proceso hasta que todos los bordes estén terminados.
We will continue this process until all the edges are finished.
Paso 5 | Step 5
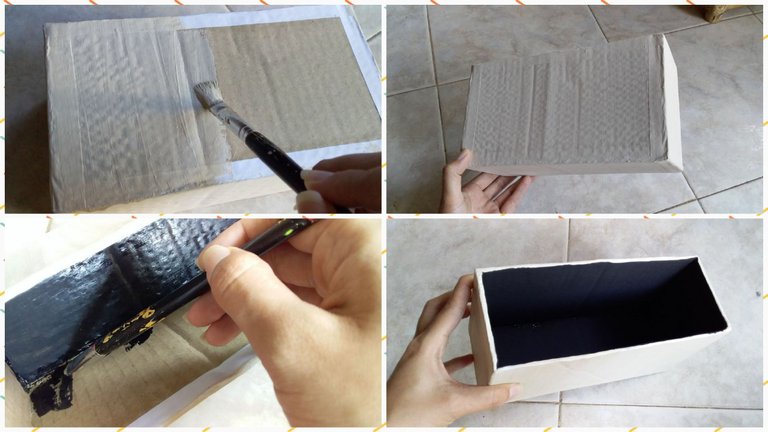
Pintaremos el exterior con pintura blanca y para el interior usaremos pintura negra.
We will paint the exterior with white paint and for the interior we will use black paint.
Paso 6 | Step 6
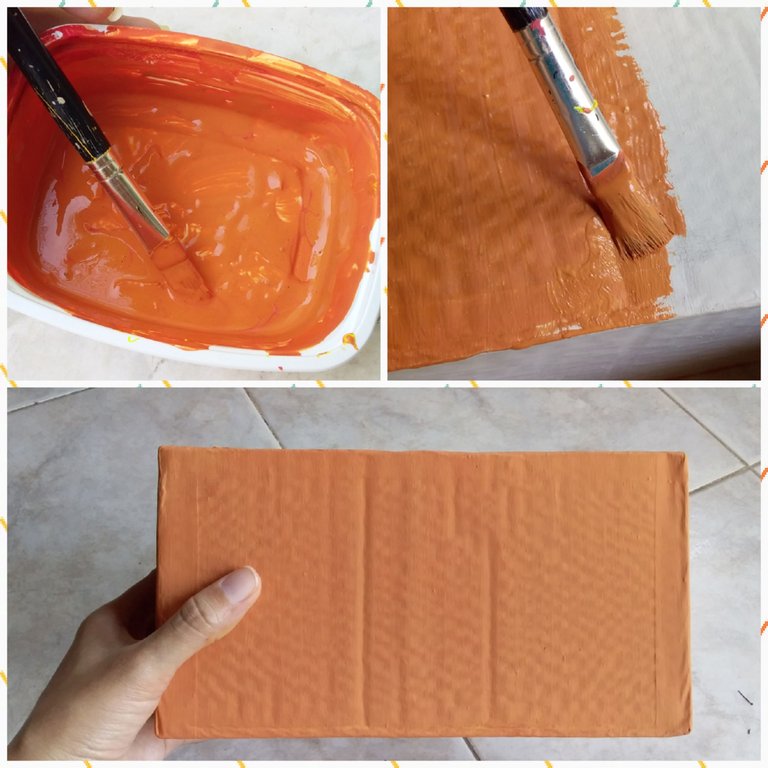
Para obtener un tono más parecido al de Rilakkuma, mezclaremos pintura naranja con amarillo y un puntito de negro. Una vez con el tono deseado, pintaremos todo el exterior.
To obtain a tone more similar to that of Rilakkuma, we will mix orange paint with yellow and a little bit of black. Once we have the desired tone, we will paint the entire exterior.
Paso 7 | Step 7
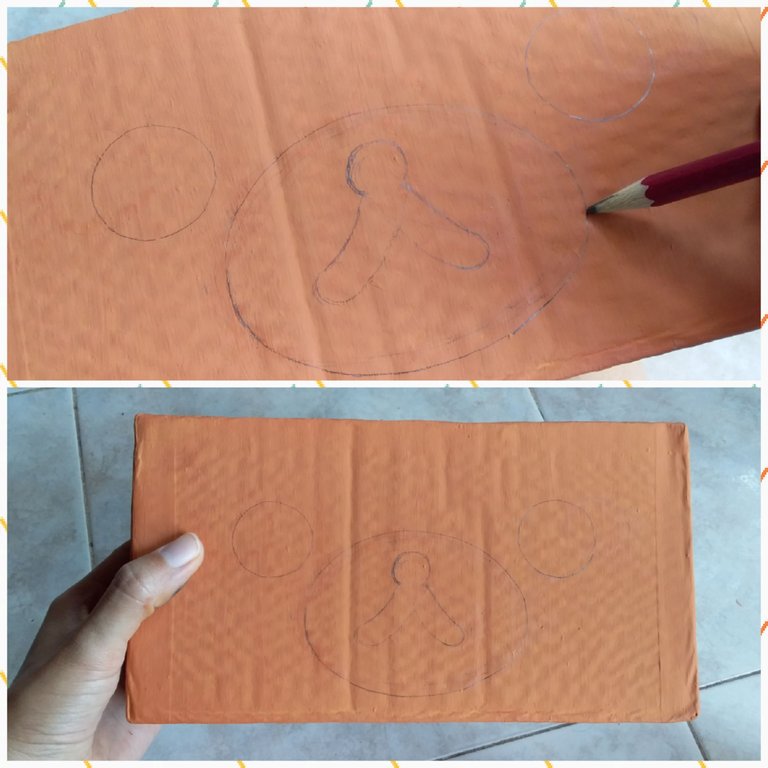
Dibujaremos la carita de Rilakkuma con lápiz.
We will draw Rilakkuma's face with pencil.
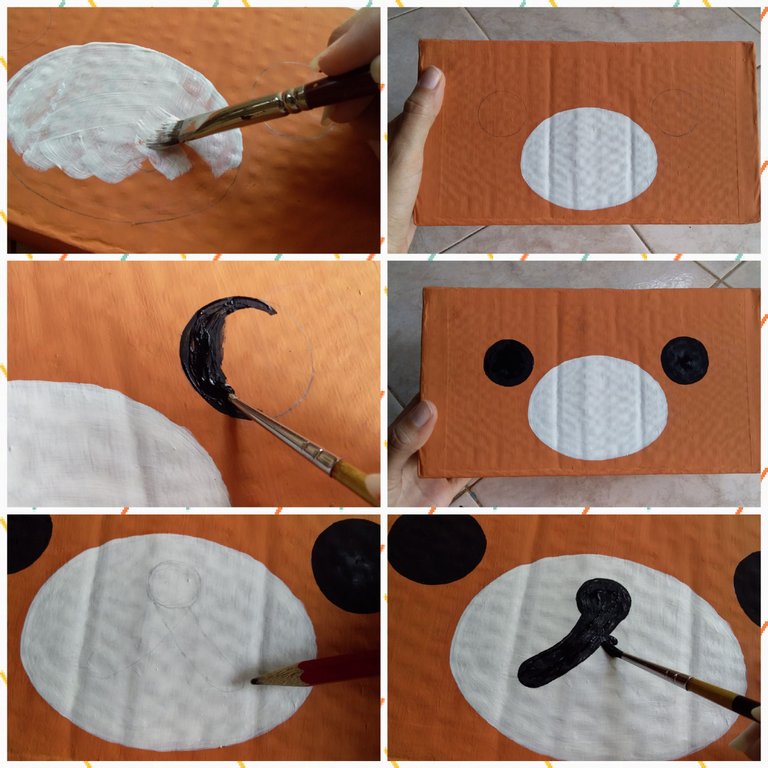
Y luego la pintaremos.
And then we will paint it.
🐻Resultado | Result🐻
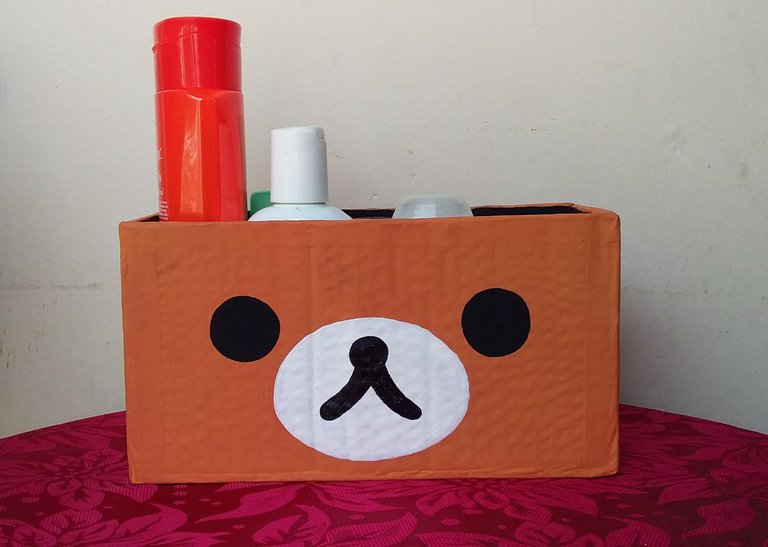
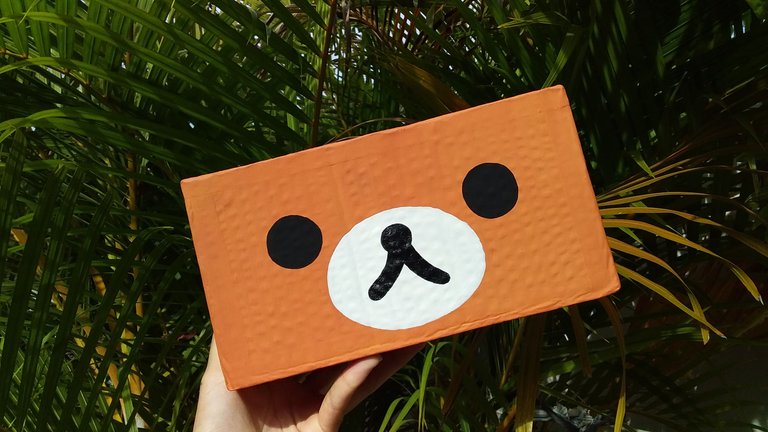
Finalmente estos son los resultados de nuestra linda caja organizadora, espero les haya gustado un montón.
Muchas gracias por leerme.💛🐻
Finally these are the results of our cute storage box, I hope you liked it a lot.
Thank you very much for reading me.💛🐻


