¡Hola, Hivers!
Espero que se encuentren bien.
Siempre resalto de mi misma que las manualidades no son mi fuerte, es incluso gracioso el hech de que al recortar algún papel con tijeras no quedan tan agradable el resultado, pero si hay algo que desde pequeña me gustaba hacer ya que me resultaba muy fácil: los barcos de papel. La mayoría sabe hacer barcos de papel jajaja, pero a mi me emocionaba el hecho de que algo así pudiera quedarme bien.
A lo que quiero llegar con esto es que hace un tiempo navegaba por Pinterest y me encontré con diversos tutoriales de Origami, de animales más que todo y sin dudar me puse a intentar a ver si me salían, ¡y así fue! Con bastante práctica aprendí a hacer unos animalitos muy bonitos, y el día de hoy les quiero mostrar cómo hacer una mariposa
¡Comencemos!
Hello, Hivers!
I hope you are feeling well.
I always emphasize about myself that crafts are not my forte, it is even funny the fact that when I cut out some paper with scissors the result is not so nice, but there is something that since I was little I liked to do because it was very easy for me: paper boats. Most people know how to make paper boats hahaha, but I was excited about the fact that something like this could look good.
What I'm getting at here is that a while back I was surfing Pimterest and I came across several Origami tutorials, mostly about animals, and without hesitation I started to try to see if I could make them, and I did! With a lot of practice I learned how to make some very cute animals, and today I want to show you how to make a butterfly.
Let's get started!

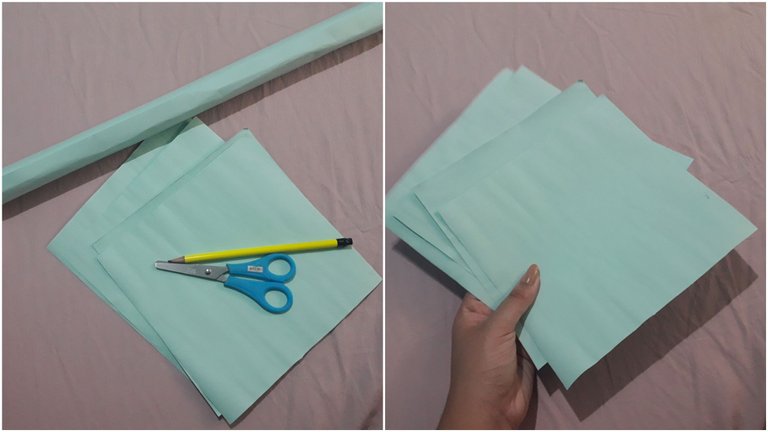
Los materiales que use fueron un papel más duro que el común pero no era cartulina como tal, necesitaba que cada trozo fuera cuadrado entonces también use tijeras, regla y lápiz para crear mis cuadros. Pero para hacer la figura solo fui doblando el papel, sin usar estos otros materiales, ya que de eso se trata el Origami.
The materials I used were a harder paper than the common one but it wasn't cardboard as such, I needed each piece to be square so I also used scissors, ruler and pencil to create my squares. But to make the figure I just folded the paper, without using these other materials, since that's what Origami is all about.

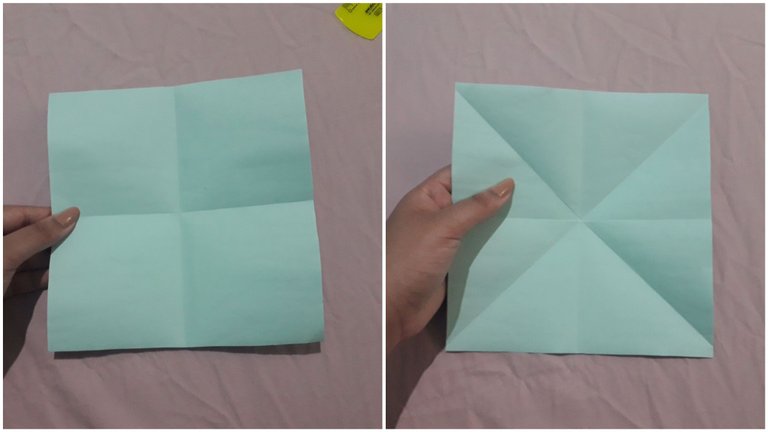
Comencé doblado el papel por la mitad, juntando la parte de arriba con la de abajo, luego lo abrí nuevamente y junto un laro con el otro, hasta que se marcaran las líneas y el centro de mi hoja. Luego hice lo mismo con las esquinas, como se muestra en la imagen.
I started by folding the paper in half, joining the top with the bottom, then I opened it again and joined one side with the other, until the lines and the center of my sheet were marked. Then I did the same with the corners, as shown in the picture.

Luego procedí a doblar el papel como se aprecia en el GIF.
Una vez doblado y que obtuvimos esta forma triangular, procedemos a tomar las esquinas inferiores de la capa superior del triángulo, y las juntamos en el centro formando un diamante.
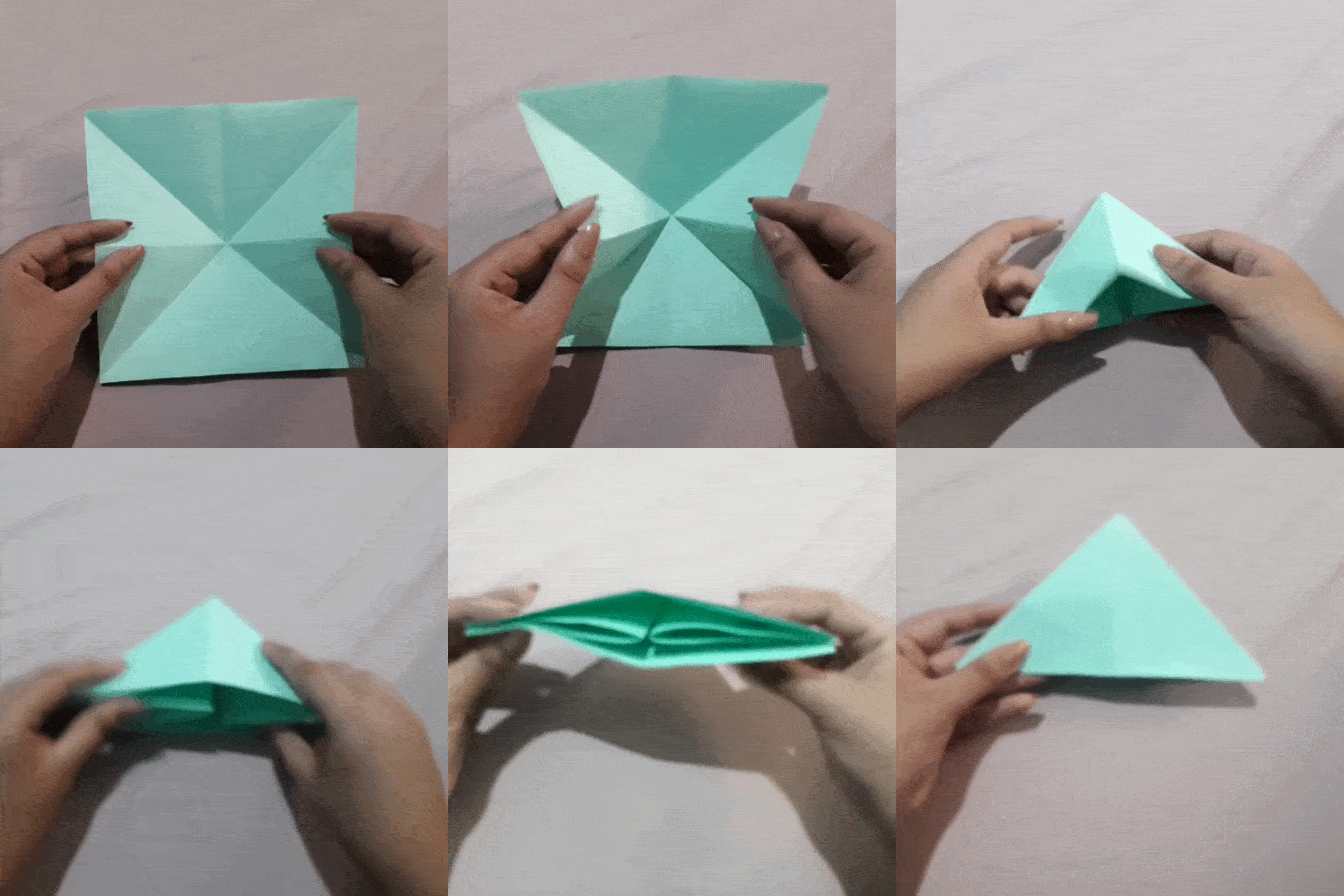
Then I proceeded to fold the paper as shown in the GIF.
Once folded and we obtained this triangular shape, we proceed to take the bottom corners of the top layer of the triangle, and join them in the center forming a diamond.


Volteamos nuestro triángulo, y la punta inferior la subimos, de esta forma. Asegurándonos de que a los lados se marque este pequeño agujero, para dar la ilusión de las alas de la mariposa.
Y por últimos doblamos a la mitad.

We flip our triangle, and the bottom tip we raise it, in this way. Making sure that on the sides we mark this small hole, to give the illusion of the butterfly's wings.
And finally we fold it in half.
.
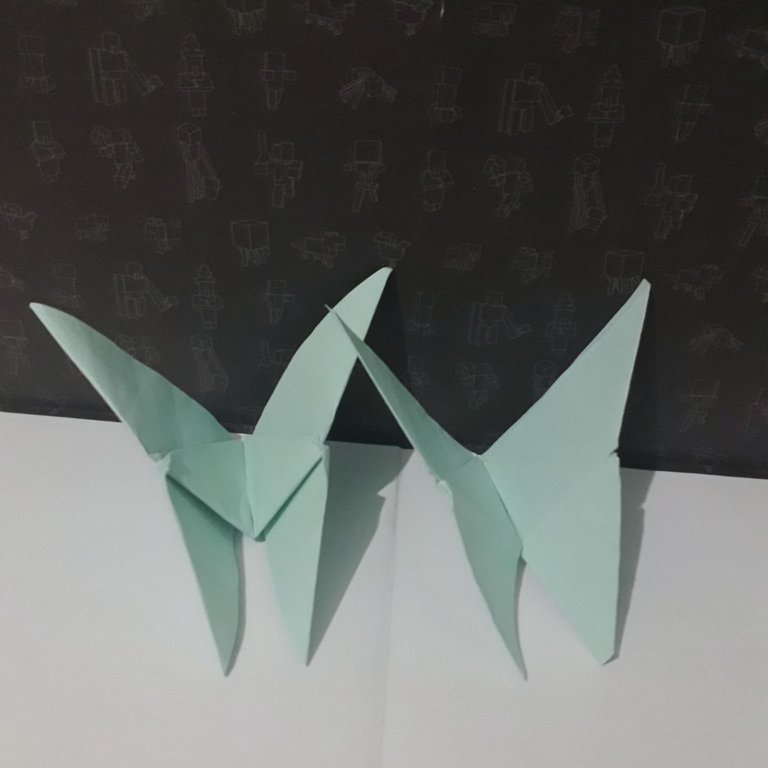

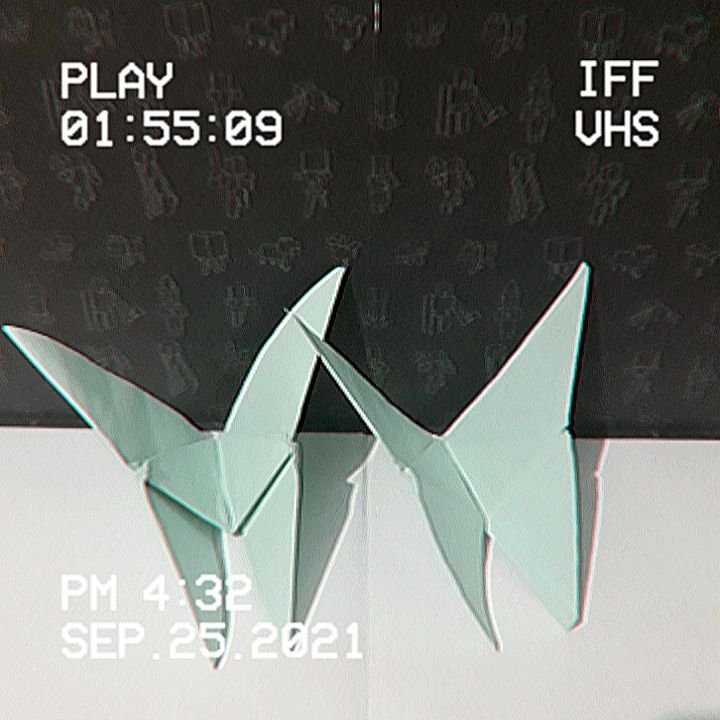
Y este fue el resultado, quedan muy bonitas, yo usé un papel que ya tenía pero quiero comprar otros en colores más bonitos y hacer más para que las mariposas resalten.
Espero les haya gustado y se animen a intentarlo.
¡Muchas gracias por leer!
And this was the result, they look very nice, I used a paper that I already had but I want to buy others in nicer colors and make more so that the butterflies stand out.
I hope you liked it and I encourage you to try it.
Thank you very much for reading!
Fotos editadas en PicsArt | Photos edited in PicsArt
Gifs hechos en Online Converter | Gifs made in Online Converter
Traducción Deepl | Translation Deepl


