Quiero mandar un saludo al @equipodelta, espero estén disfrutando de las hermosas creaciones mostradas, estoy totalmente agradecida de participar en este concurso de esta bella comunidad #hivediy.
I want to send a shout out to @equipodelta, I hope you are enjoying the beautiful creations shown, I am totally grateful to participate in this contest of this beautiful #hivediy community.


Para estas fechas decembrinas seria un buen detalle sorprender alguien con este porta cosmético, siento que le puse un toque personal con el corazón fucsia en el centro y la forma de flor en los laterales, me encanta la combinación de colores, todo fue hecho con material que tenia en casa, pero resaltaría que tiene de base una botella de plástico.
For this holiday season it would be a nice detail to surprise someone with this cosmetic holder, I feel that I put a personal touch with the fuchsia heart in the center and the flower shape on the sides, I love the combination of colors, everything was made with material that I had at home, but I would highlight that it has a plastic bottle as a base.
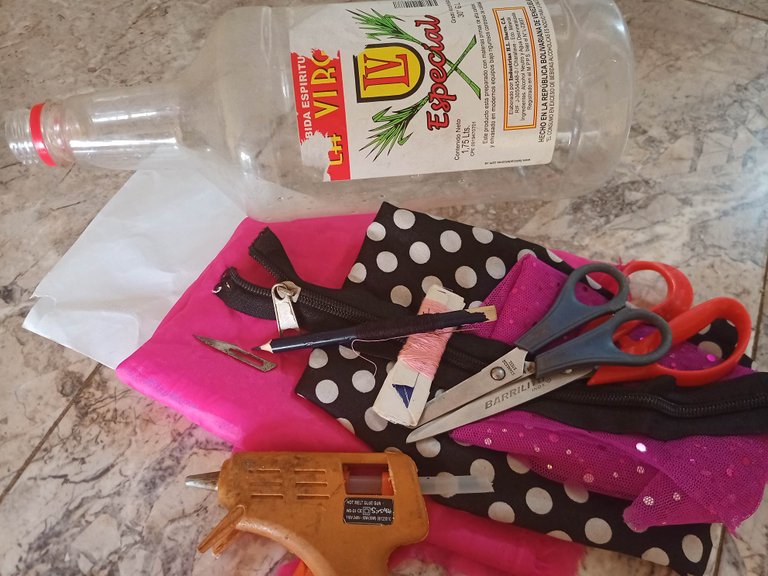
- 1 Botella de plástico vacía de licor
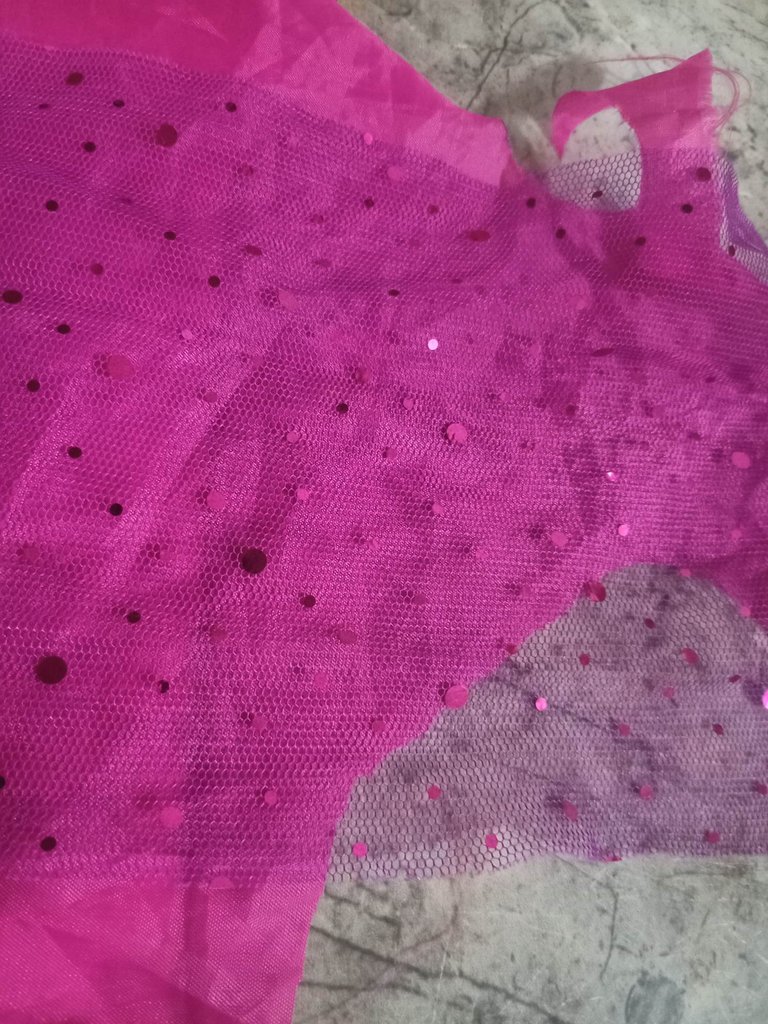
- 3 Retazo de tela (fondo fucsia, negro con punto, trasparente con brillos)
- 1 Cierre negro
- 2 Hilo (negro y rosa)
- 1 Aguja
- 1 Pistola de silicon
- 1 Barra de silicon pequeña
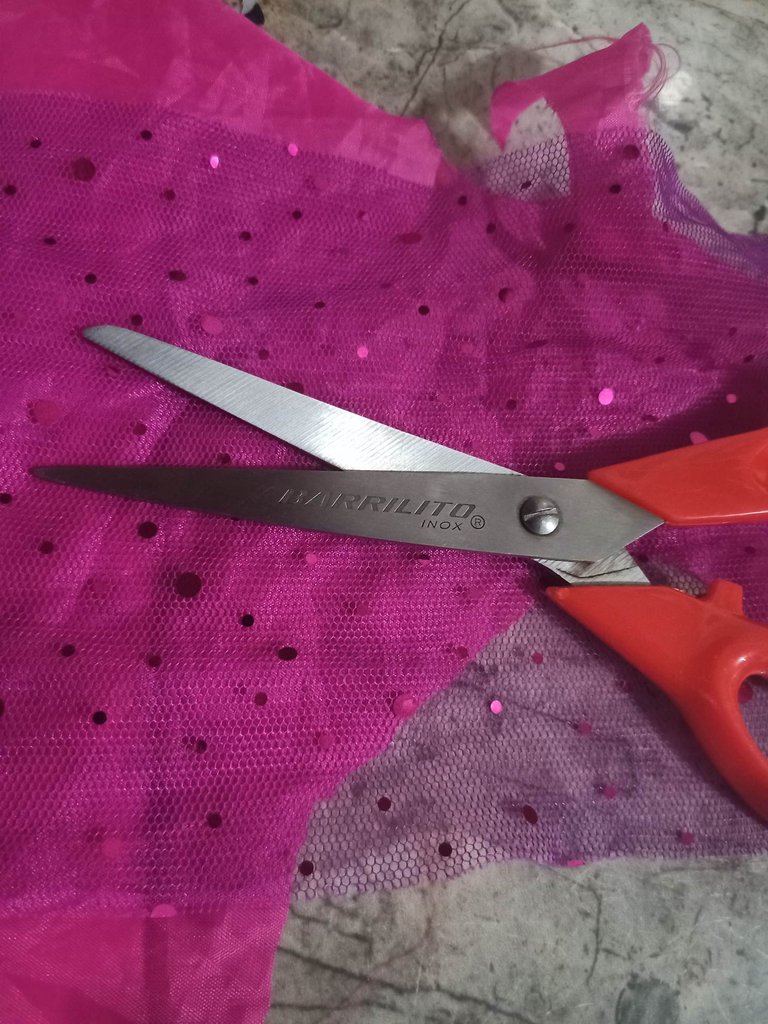
- 2 Tijera (papel y tela)
- 1 Bisturí # 11
- 1 Lápiz color
- 1 Hoja reciclable
- 1 Empty plastic bottle of liquor
- 3 Piece of cloth (fuchsia background, black with dot, transparent with glitter)
- 1 Black zipper
- 2 Thread (black and pink)
- 1 needle
- 1 Silicone gun
- 1 small silicone stick
- 2 Scissors (paper and fabric)
- 1 Scalpel # 11
- 1 Colored pencil
- 1 Recyclable sheet
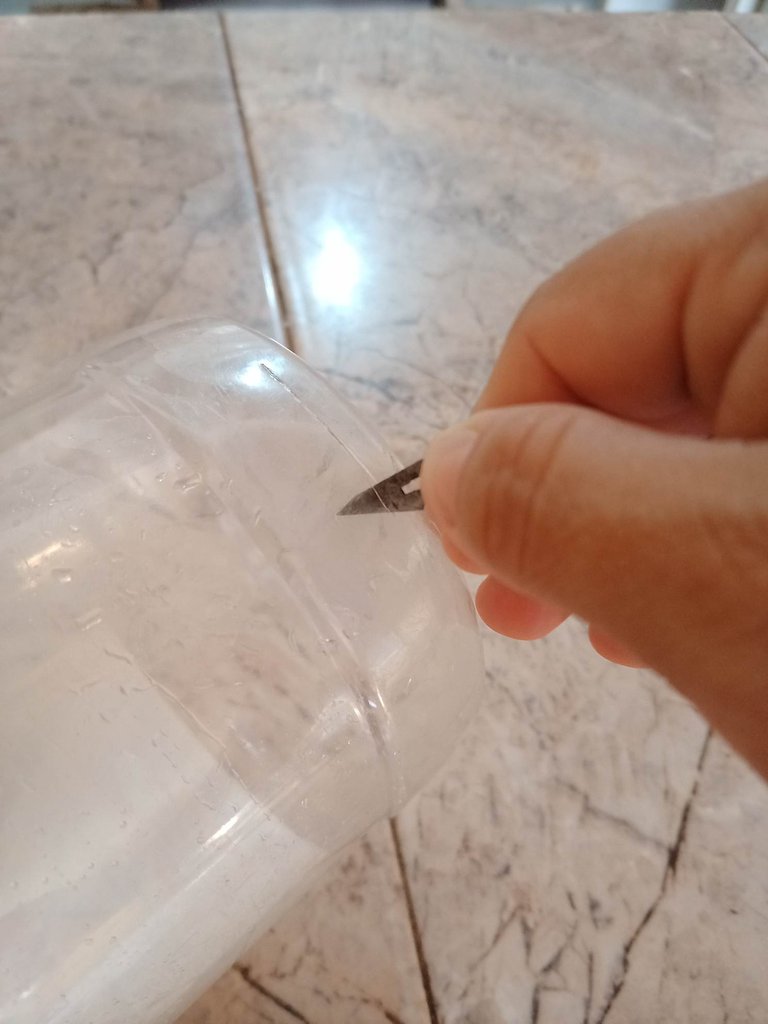
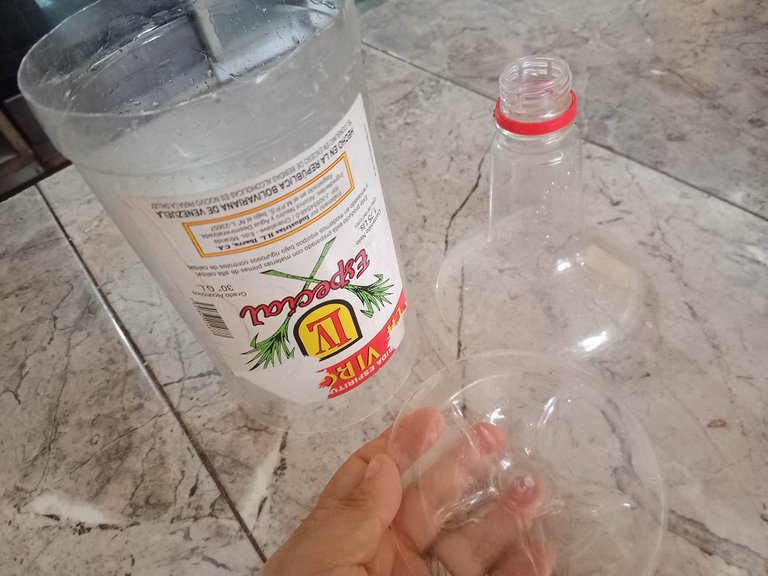
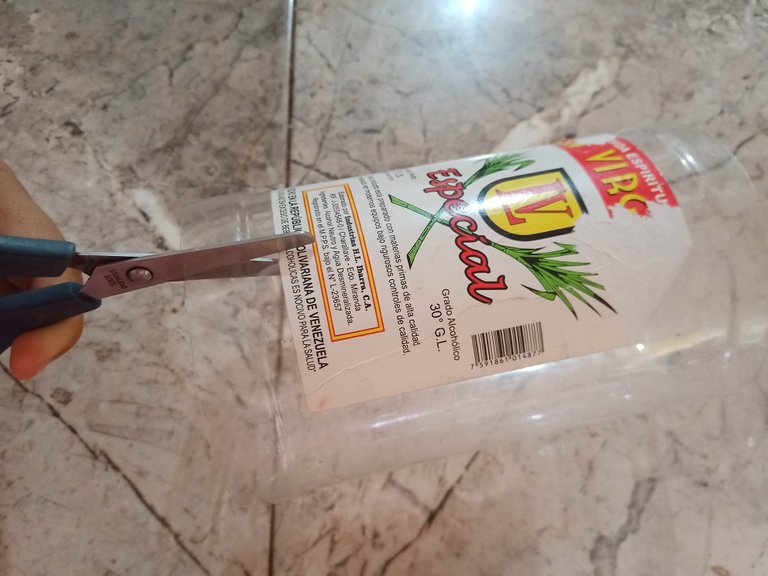
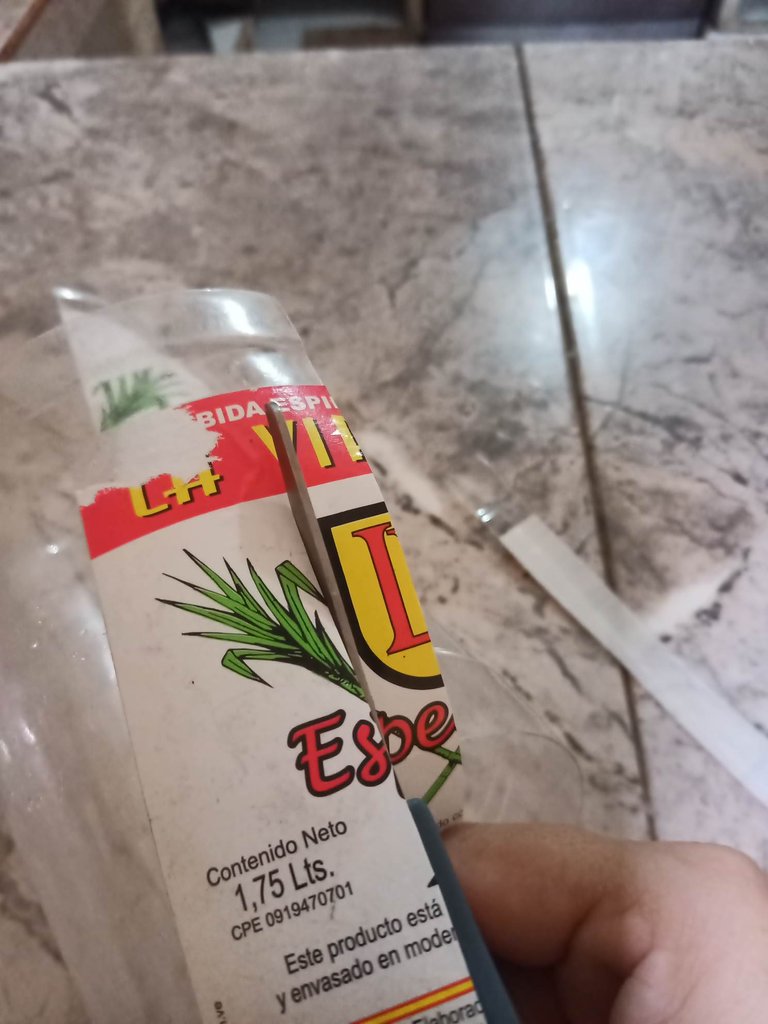
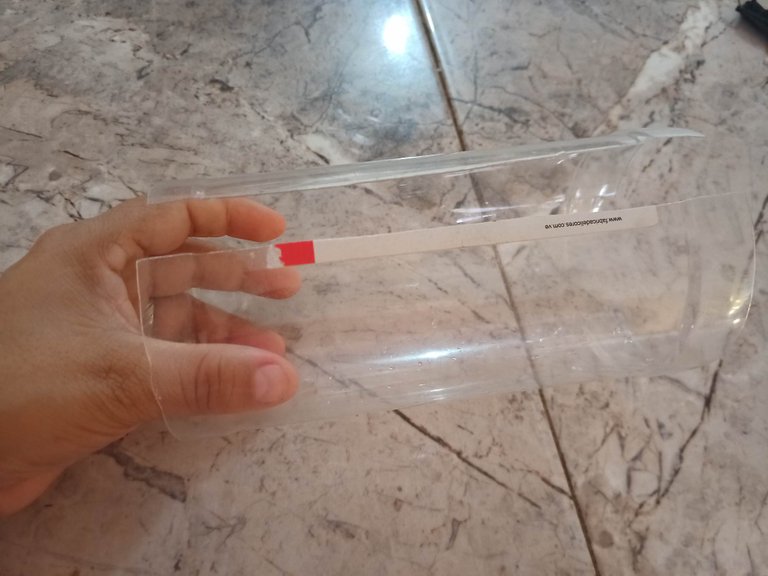
Con el bisturí # 11 cortas la base y la parte de arriba de la botella vacía de licor, luego con la tijera de papel buscas un punto medio, cortando por la mitad para luego quitarle de ambos lado 2 cm, que seria donde se colocarías el cierre negro.
With the #11 scalpel you cut the base and the top of the empty liquor bottle, then with the paper scissors you look for a middle point, cutting it in half and then remove 2 cm from both sides, which would be where you would place the black closure.
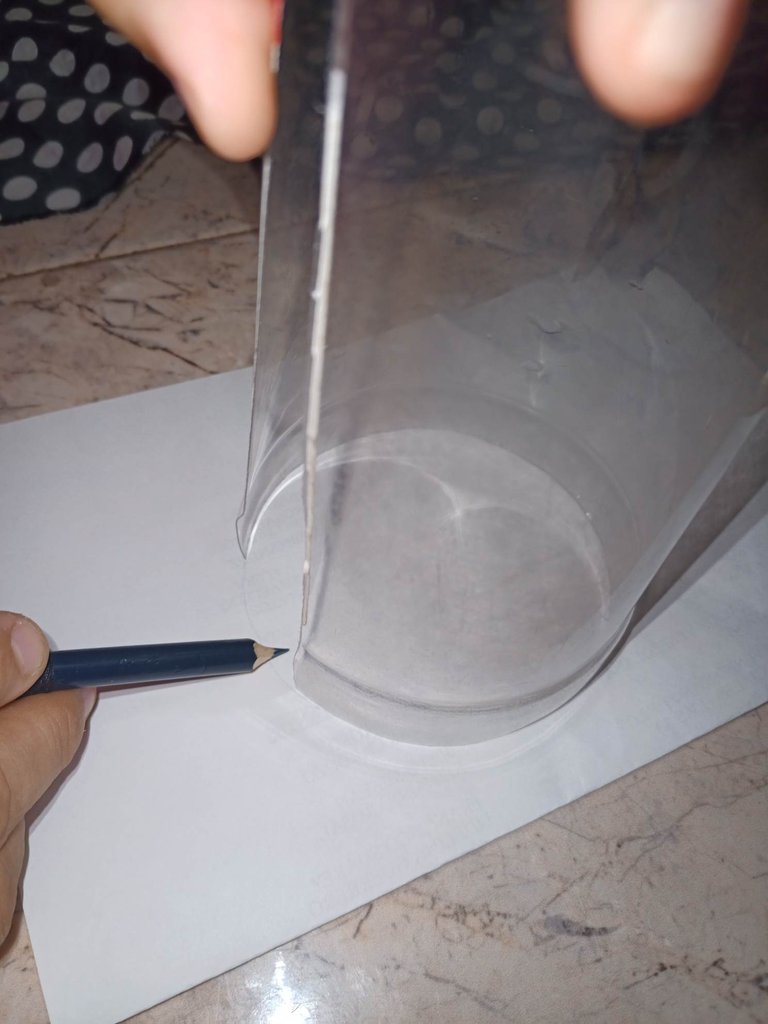
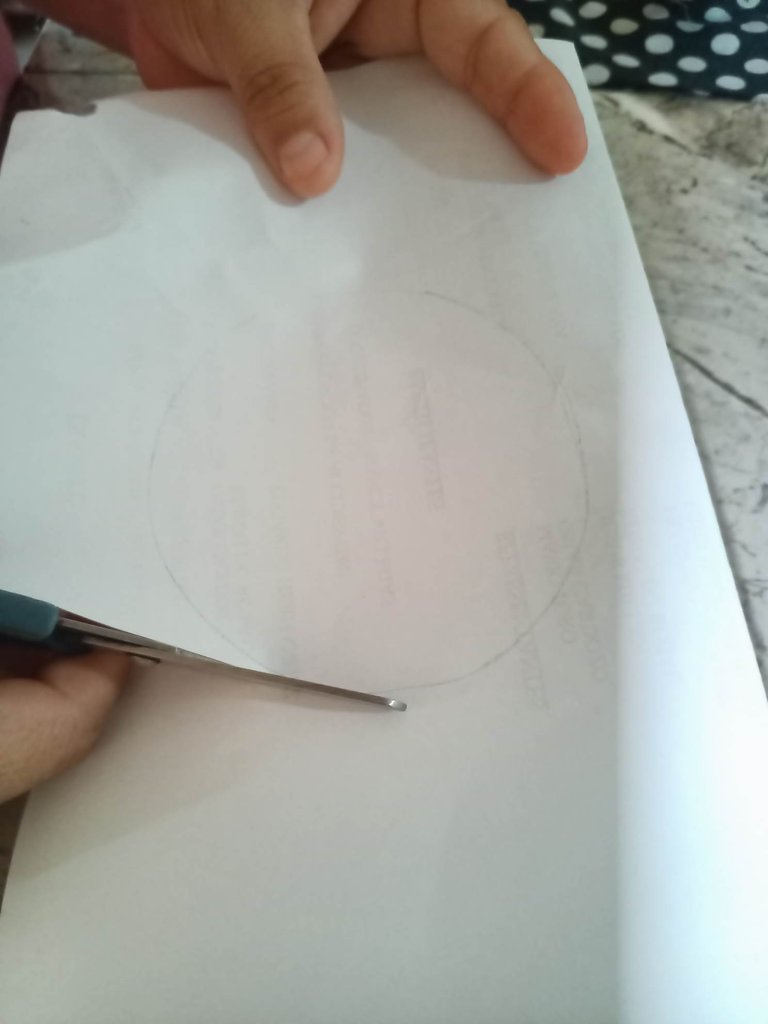
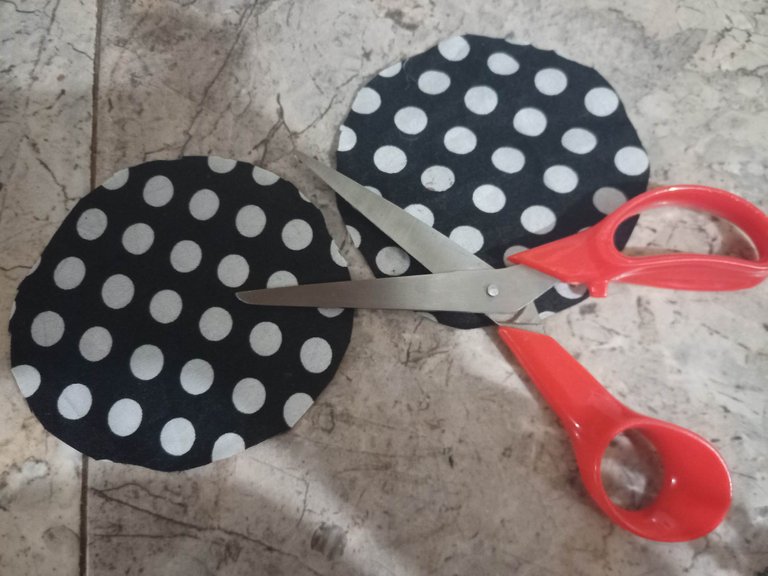
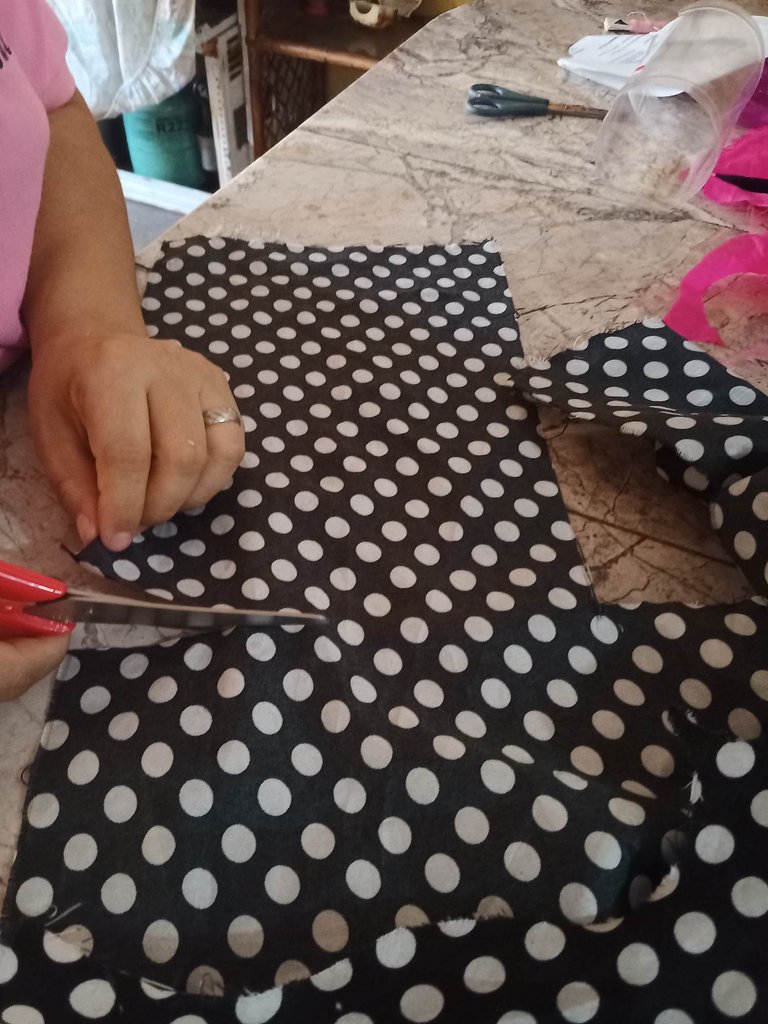
Tomas la circunferencia de la botella de plástico picada, la colocas sobre el papel reciclable para sacar un patrón circular, recortas verificando que sea la medida correcta, procedes a cortar con la tijera la tela, sacando dos moldes de la tela negra con puntos blancos.
Take the circumference of the chopped plastic bottle, place it on the recyclable paper to make a circular pattern, cut it out verifying that it is the correct size, proceed to cut the fabric with the scissors, taking out two molds of the black fabric with white dots.
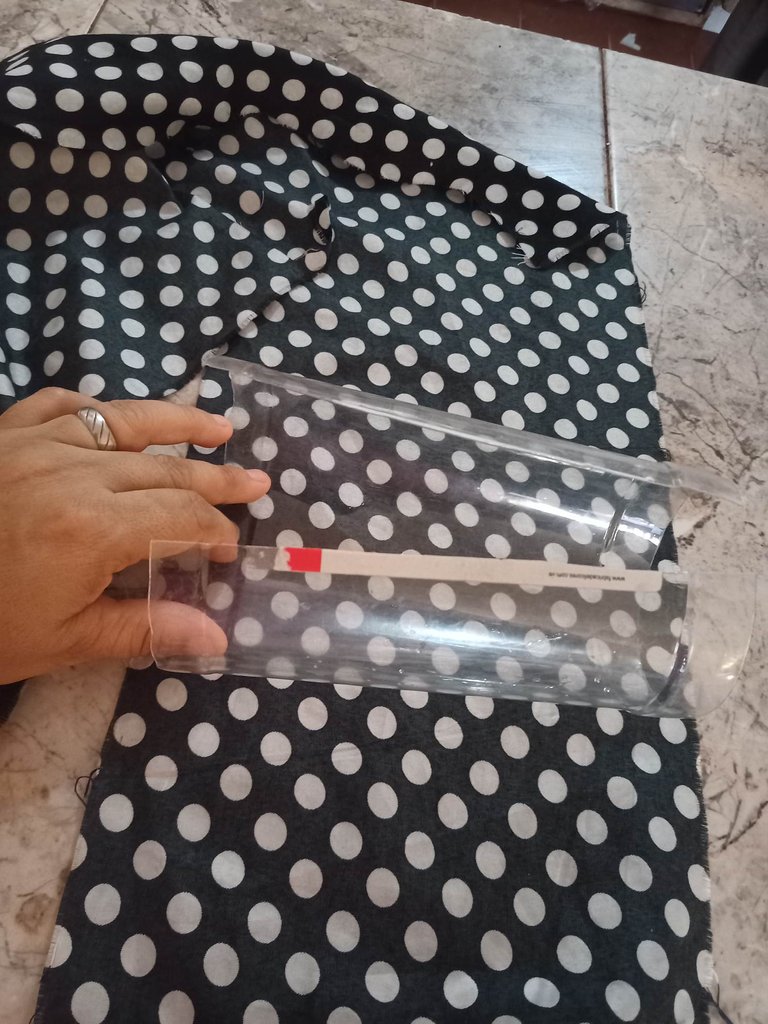
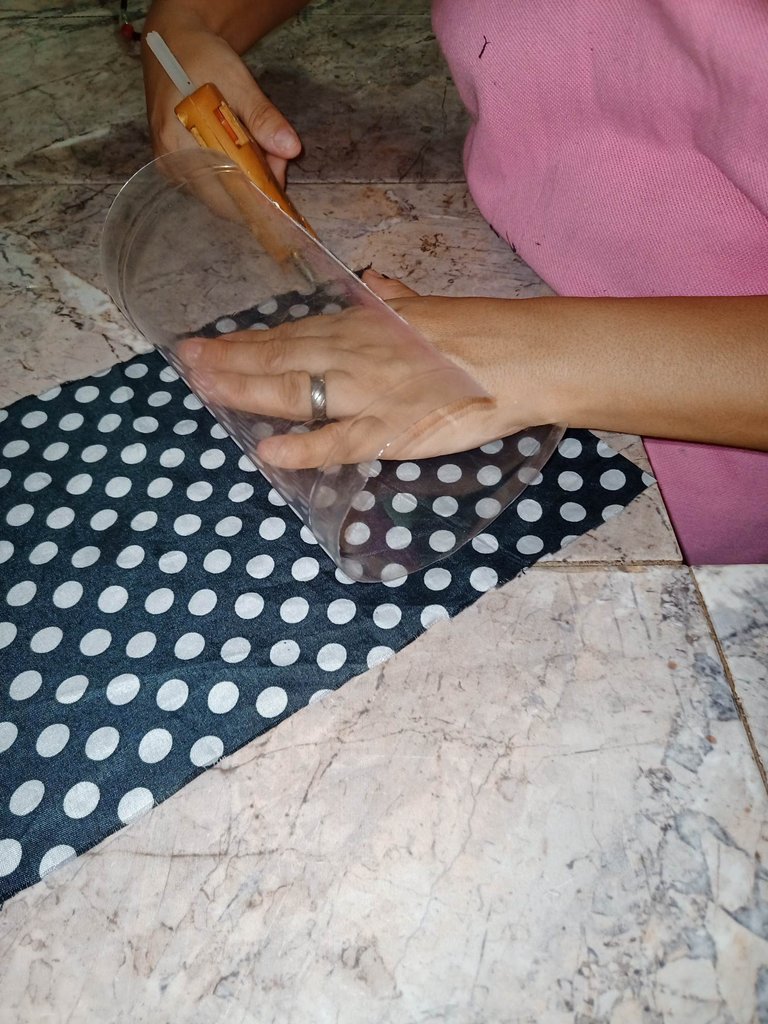
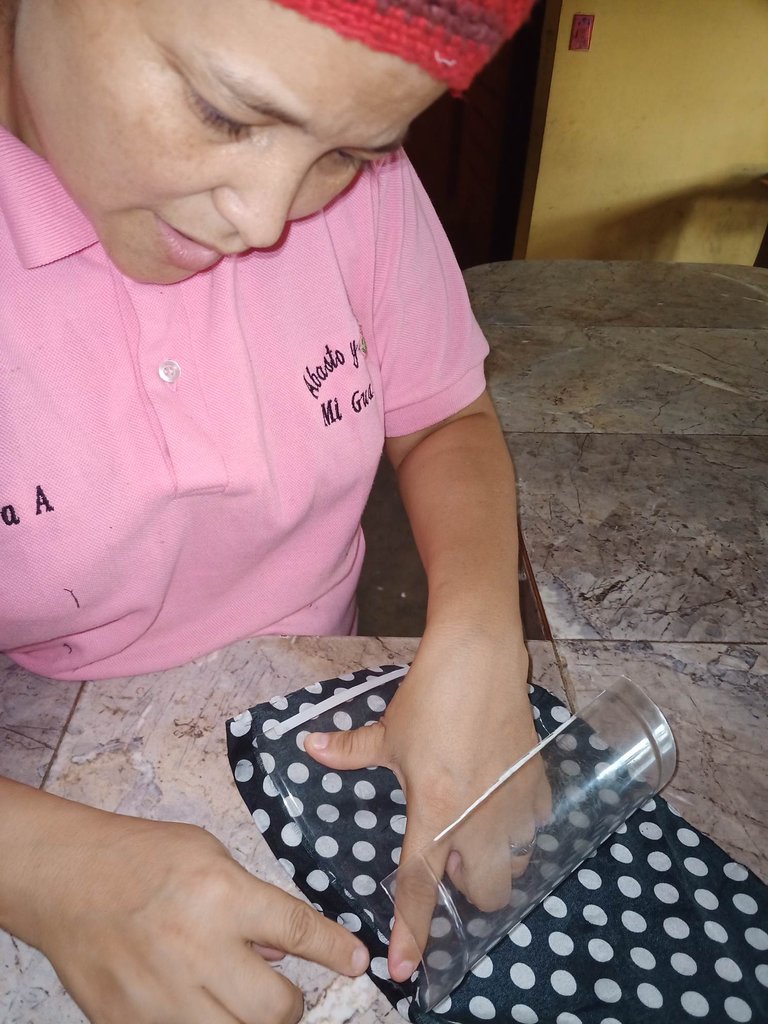
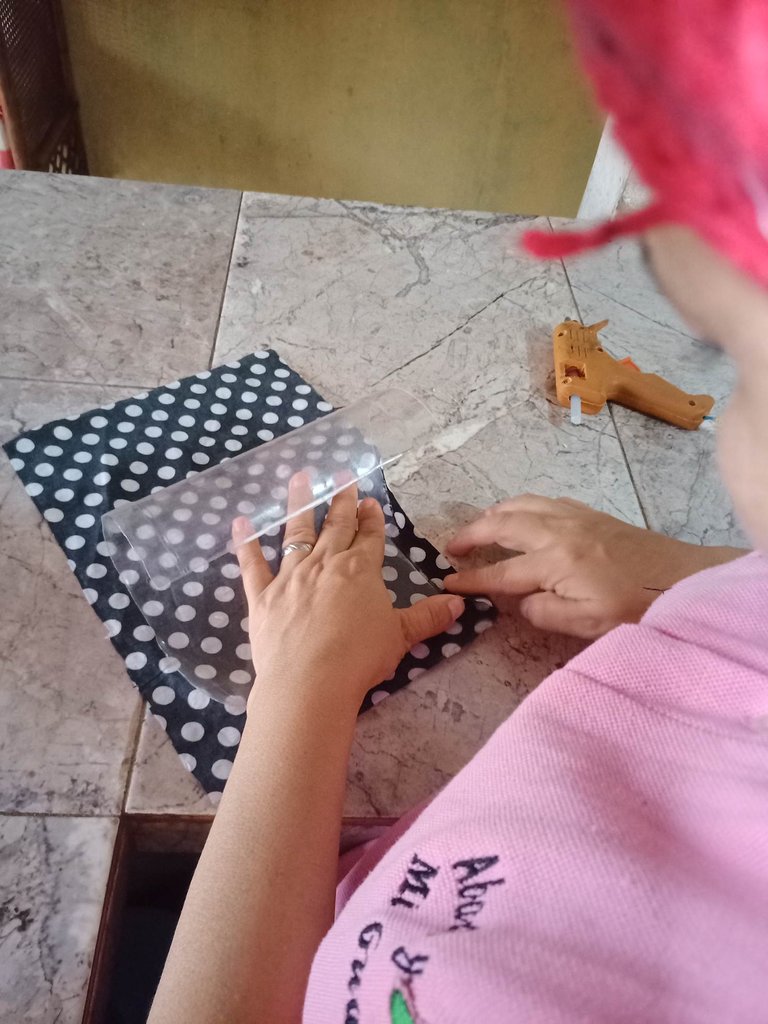
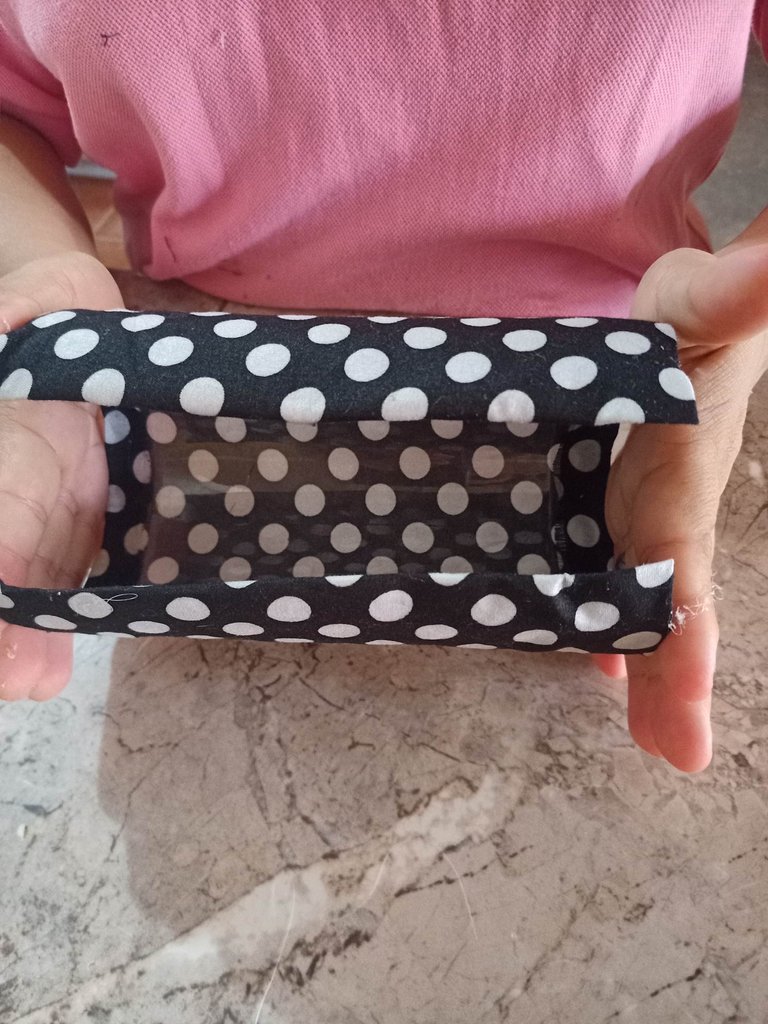
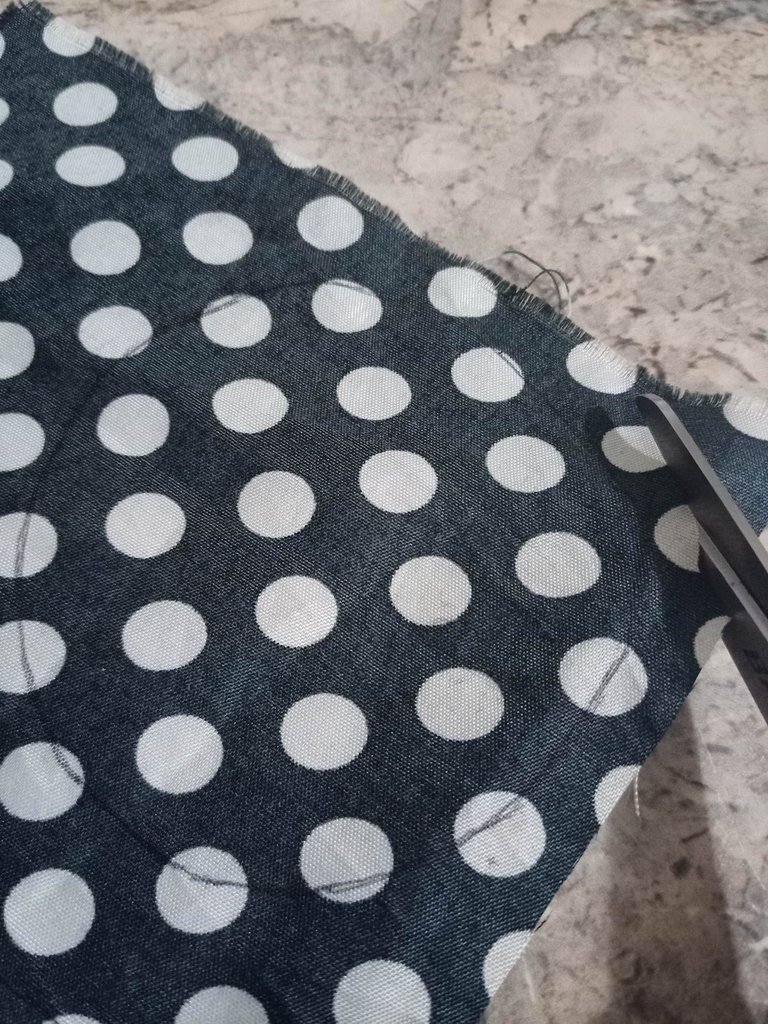
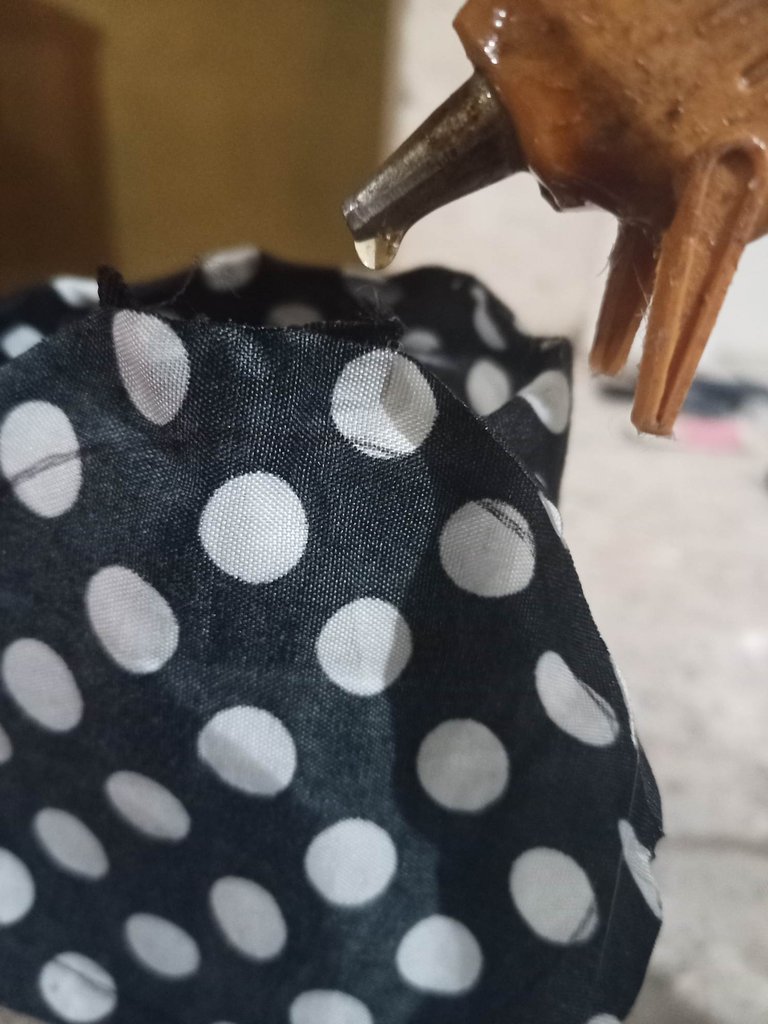
Tomas el plástico cortado y colocas encima de la tela negra de puntos blancos para saber el diámetro que la tela debe cubrir, luego cortas para proceder a pegar los bordes con la pistola de silicon como se puede apreciar en la imagen, cuando ya este totalmente cubierto pasas al siguiente paso.
Take the cut plastic and place it on top of the black fabric with white dots to know the diameter that the fabric should cover, then cut it to proceed to glue the edges with the silicone gun as shown in the picture, when it is completely covered you go to the next step.
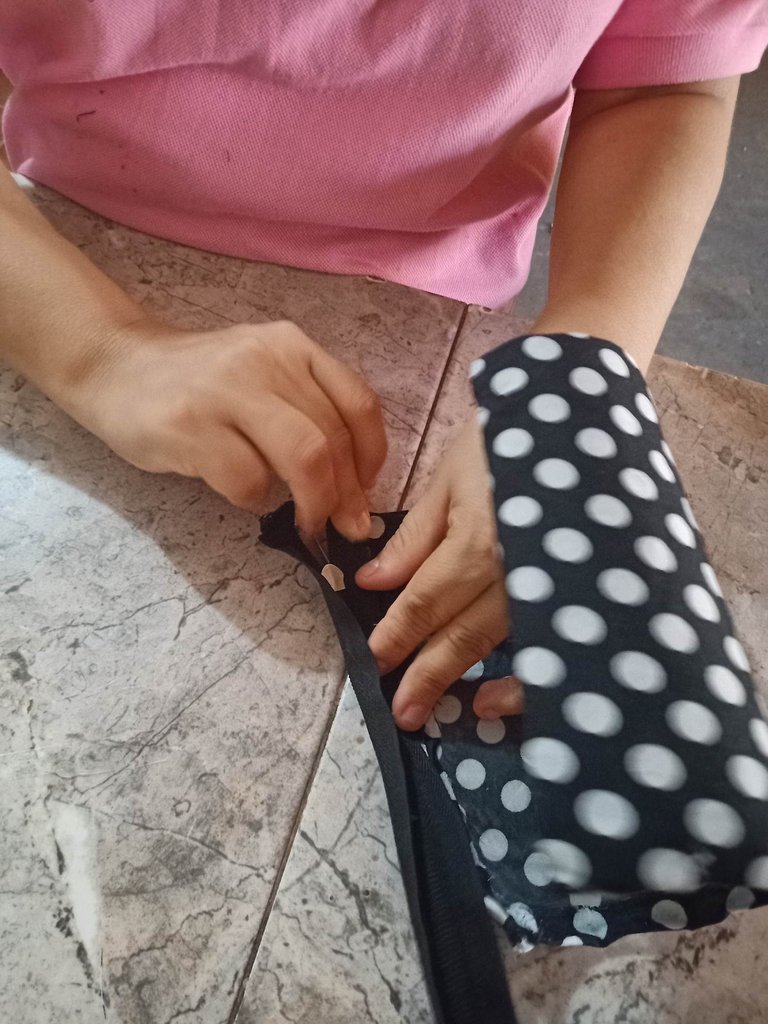
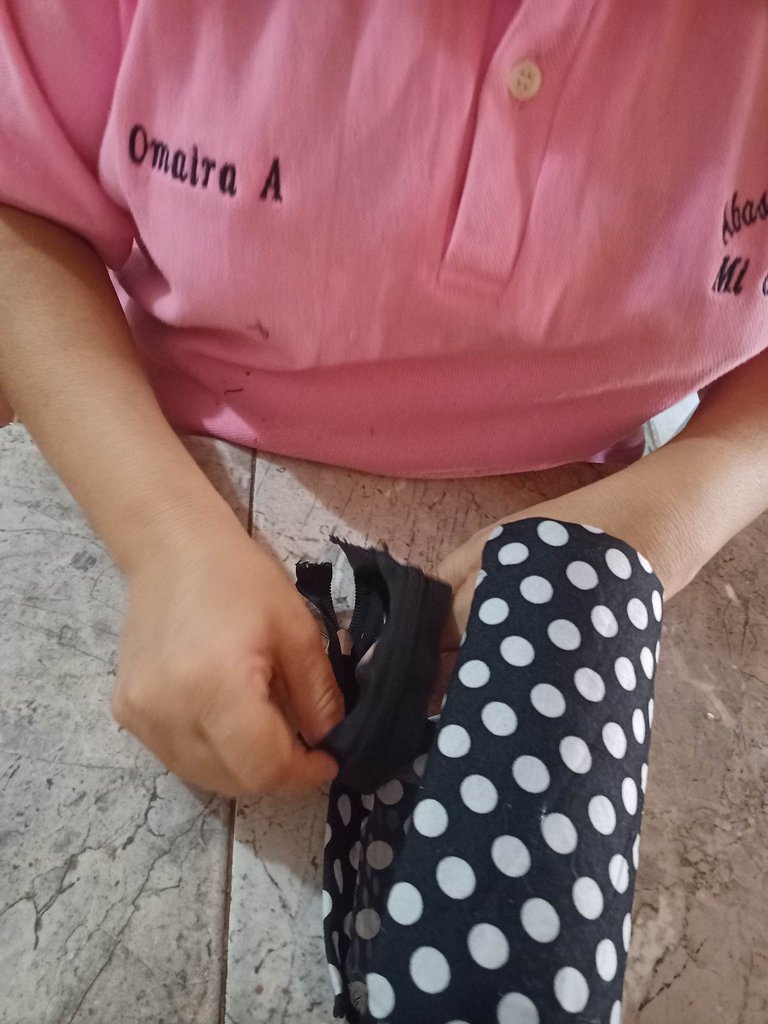
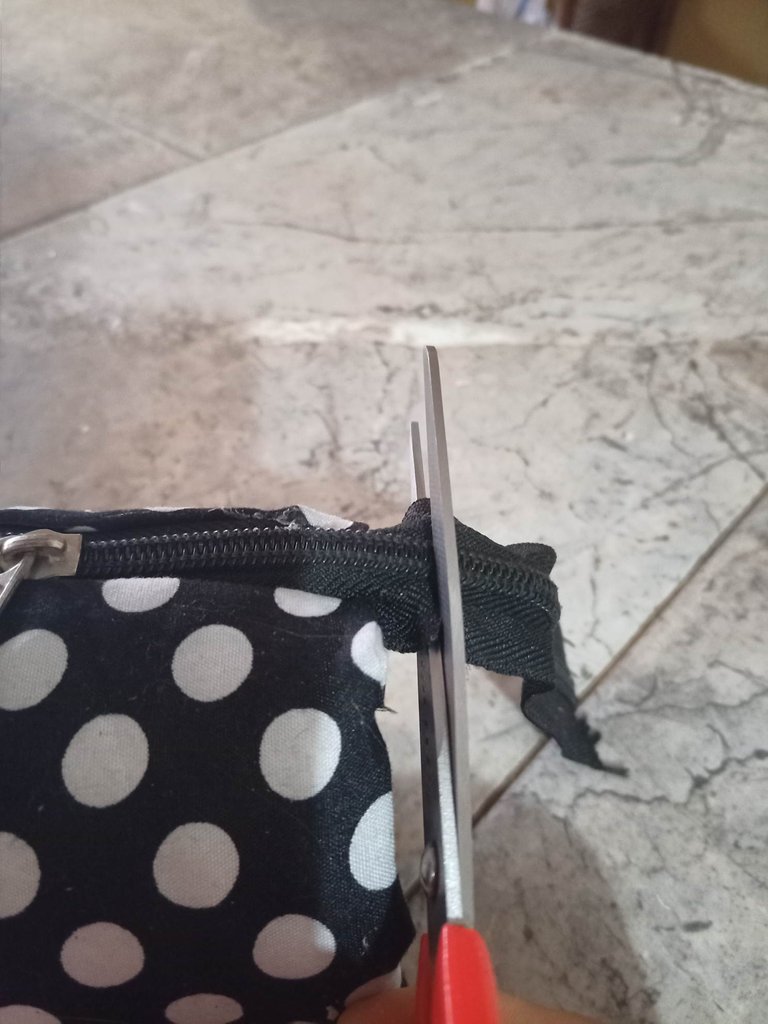
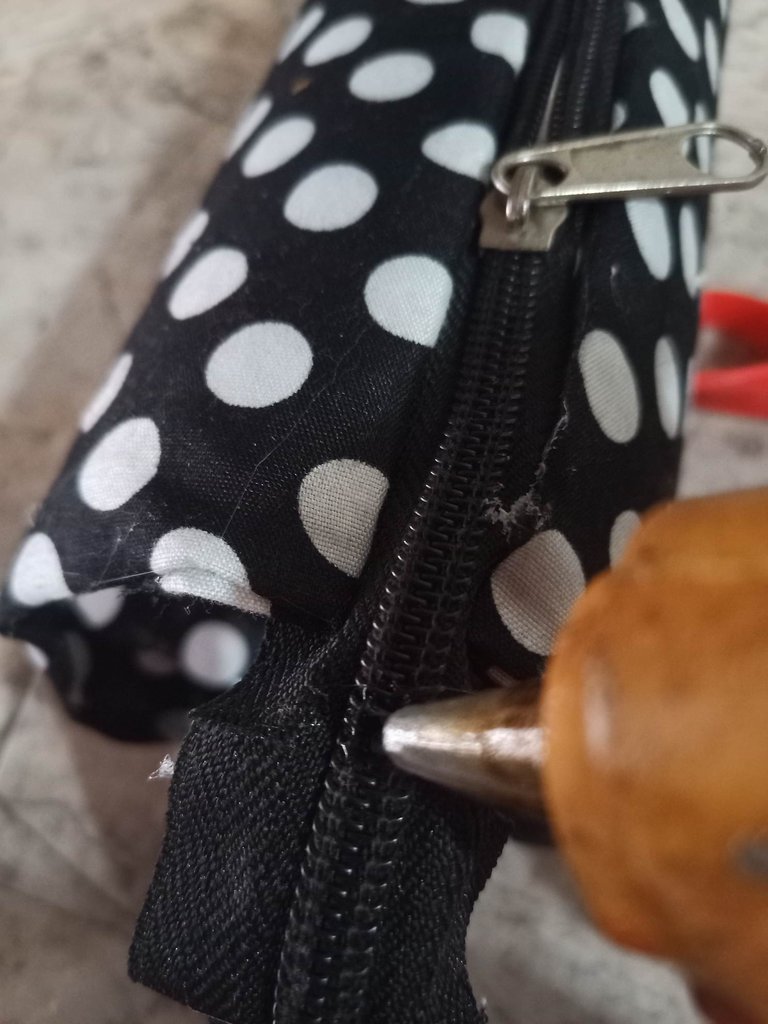
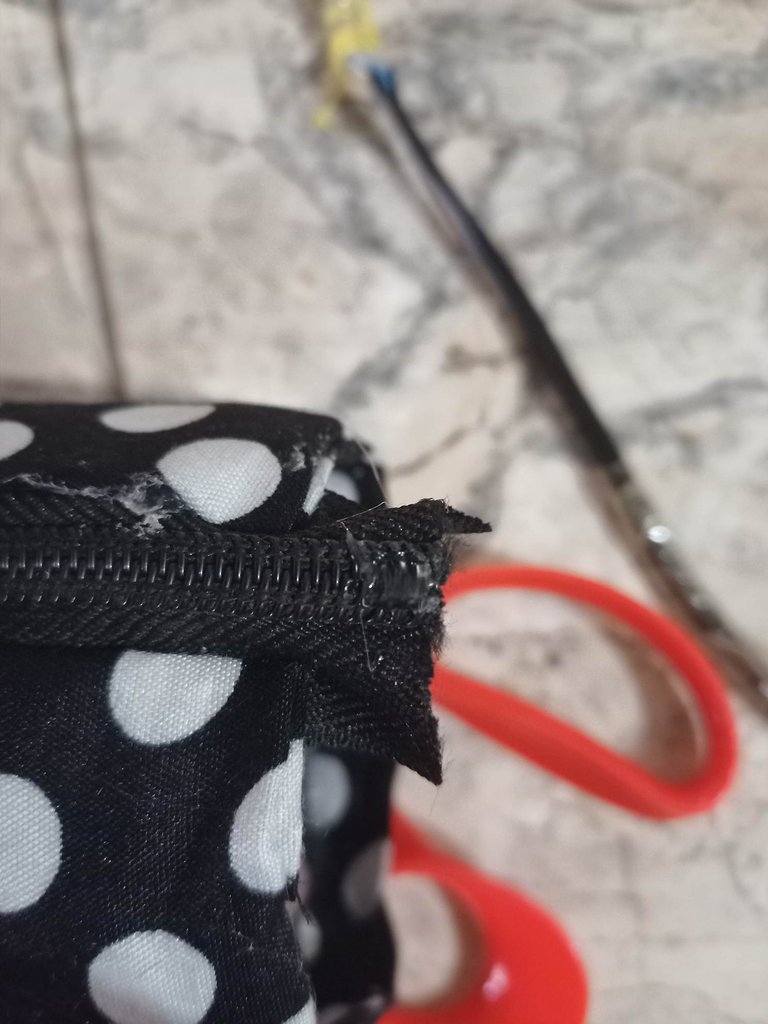
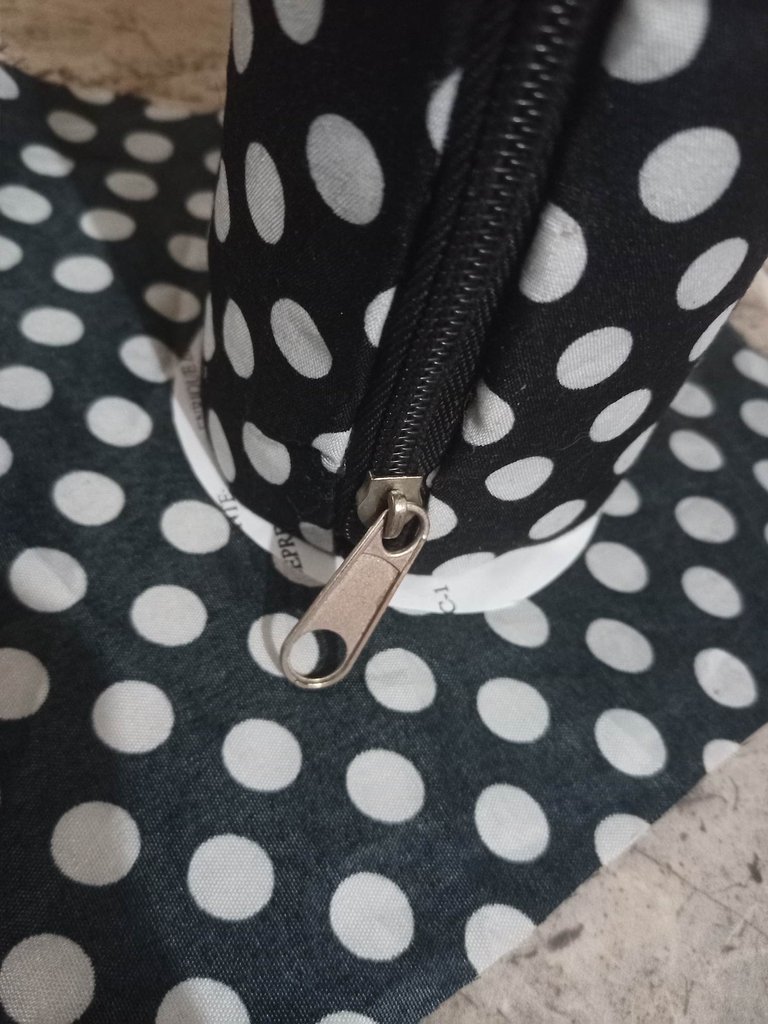
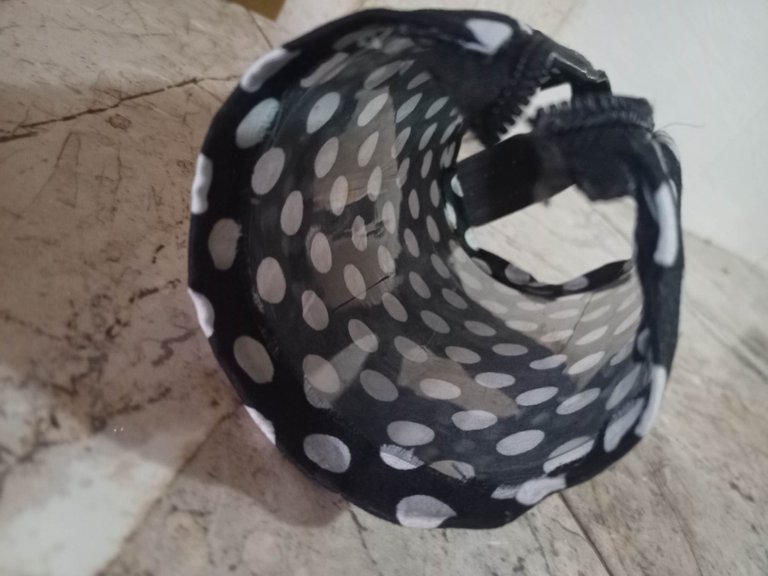
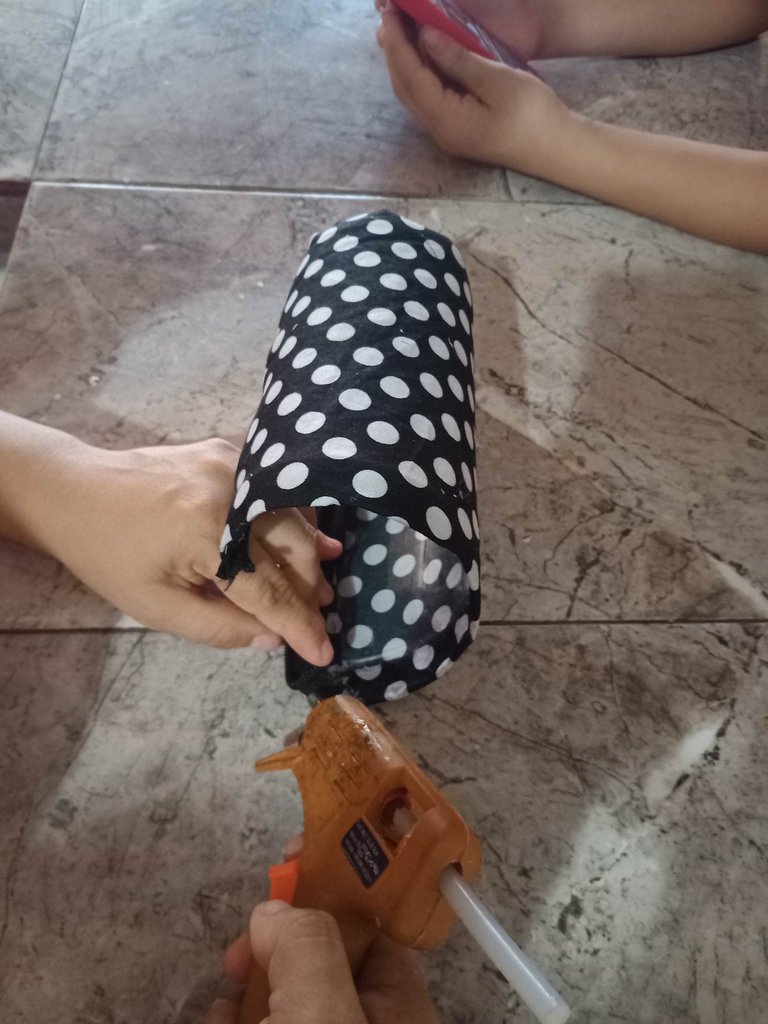
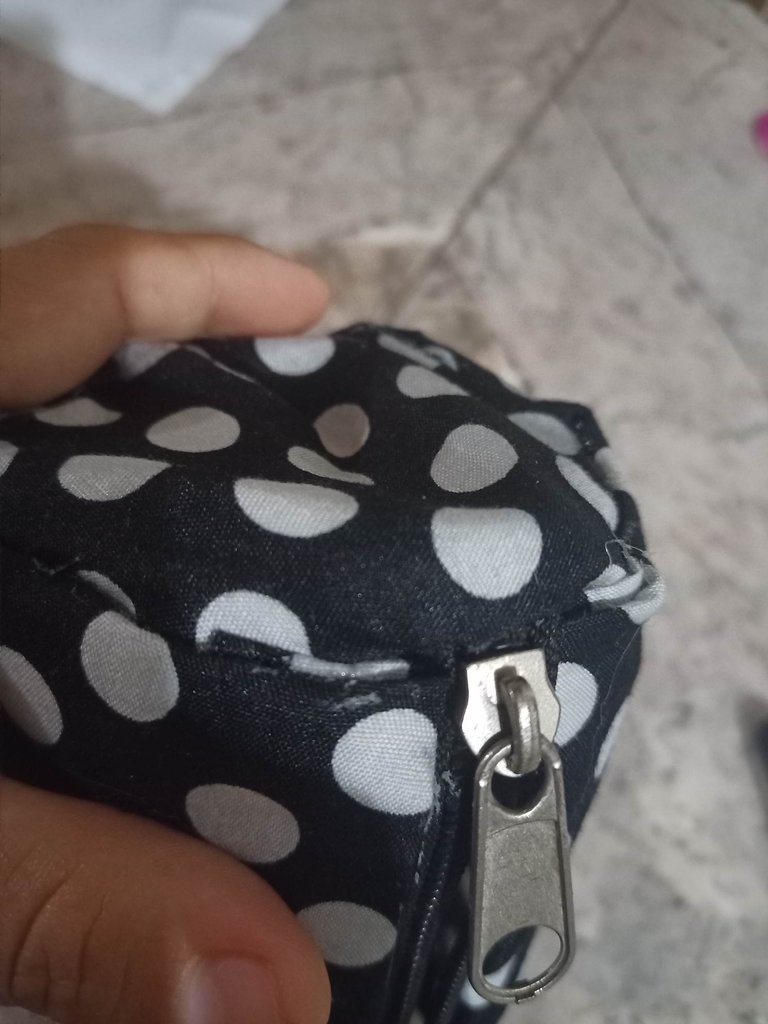
Procedes a pegar el cierre negro con silicon caliente para unir la circunferencia, cuando ya este totalmente pegado procedes a recortar el cierre sobrante y luego en las puntas agregas un poco de silicon caliente para sellas las puntas de ambos lados.
Proceed to glue the black zipper with hot glue to join the circumference, when it is completely glued proceed to trim the excess zipper and then add a little hot glue to seal the ends of both sides.
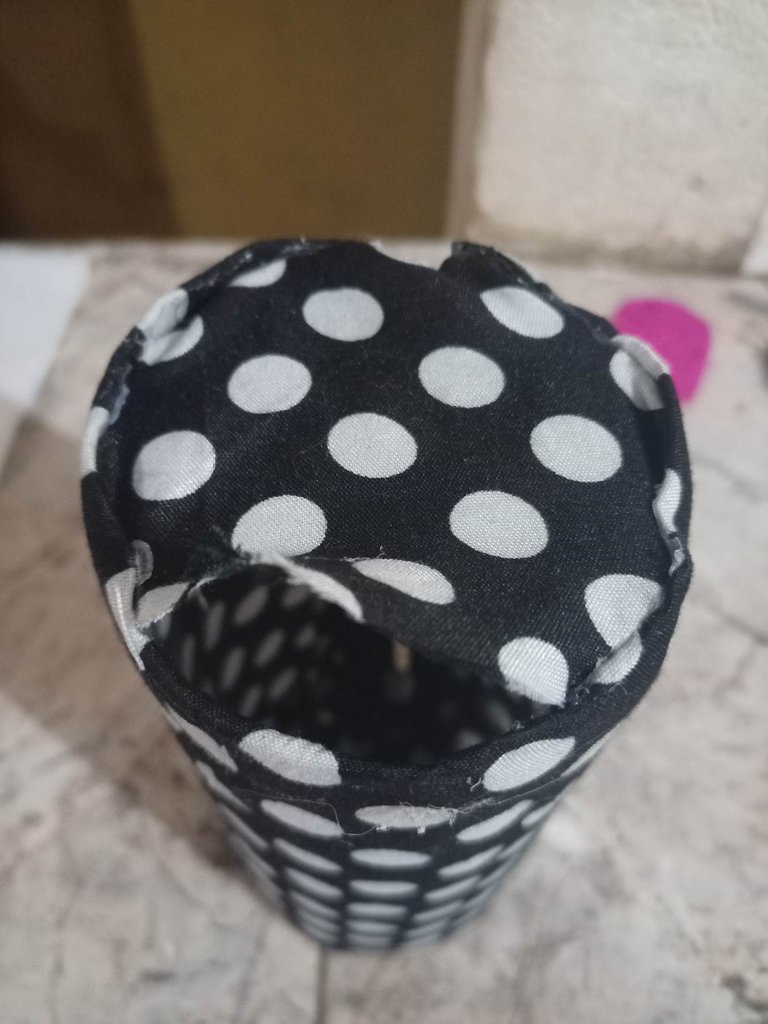

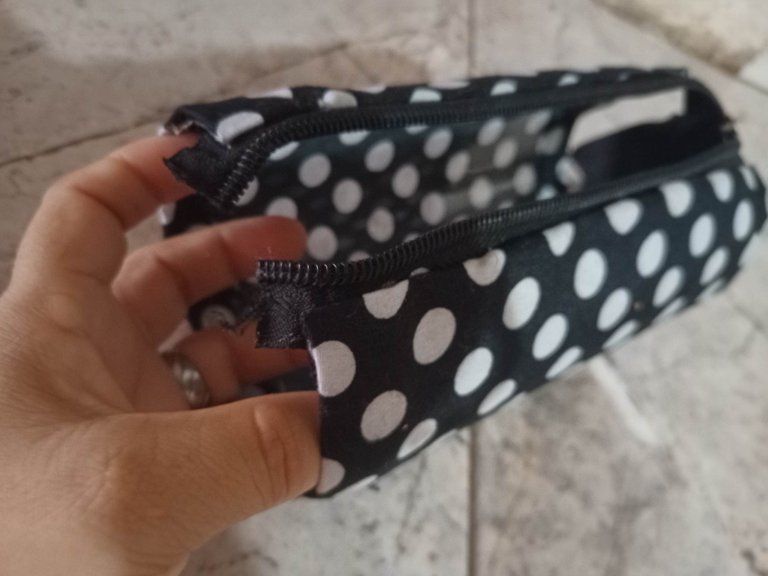
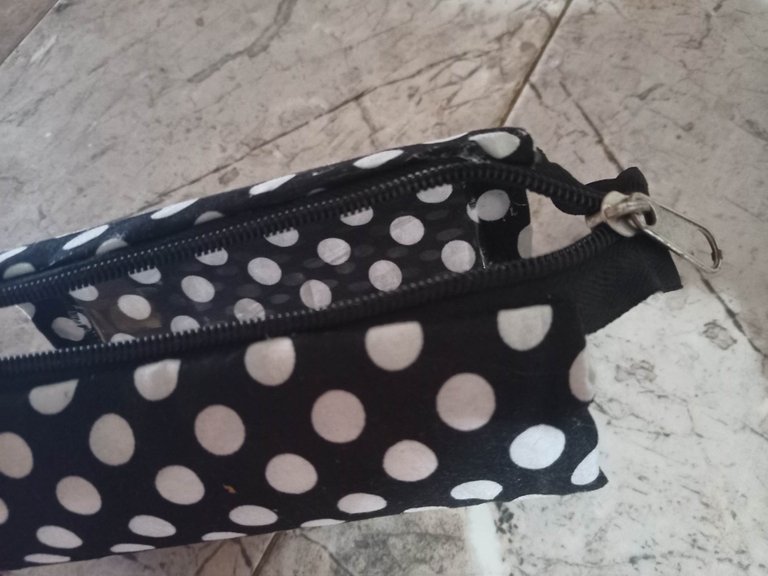
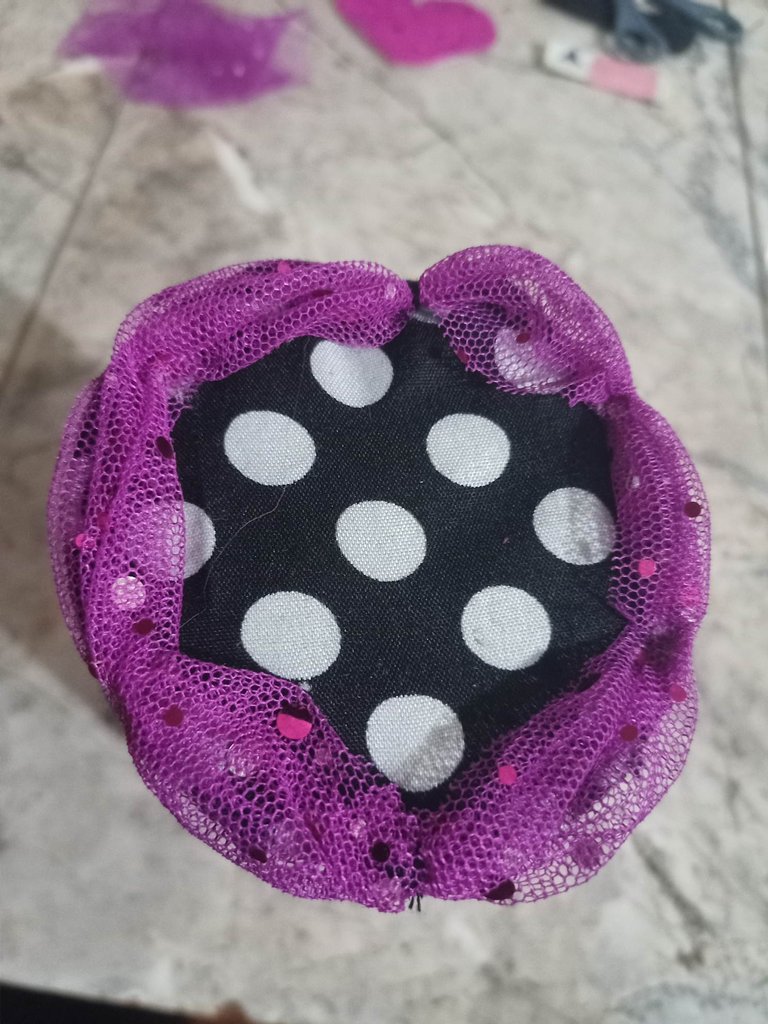
Con los dos patrones circulares que sacaste al inicio, procedes a pegas con silicon los laterales del porta cosmético, cuidando la estética del acabado y el cierre.
With the two circular patterns that you took out at the beginning, you proceed to glue the sides of the cosmetic holder with silicone, taking care of the aesthetics of the finish and the closure.
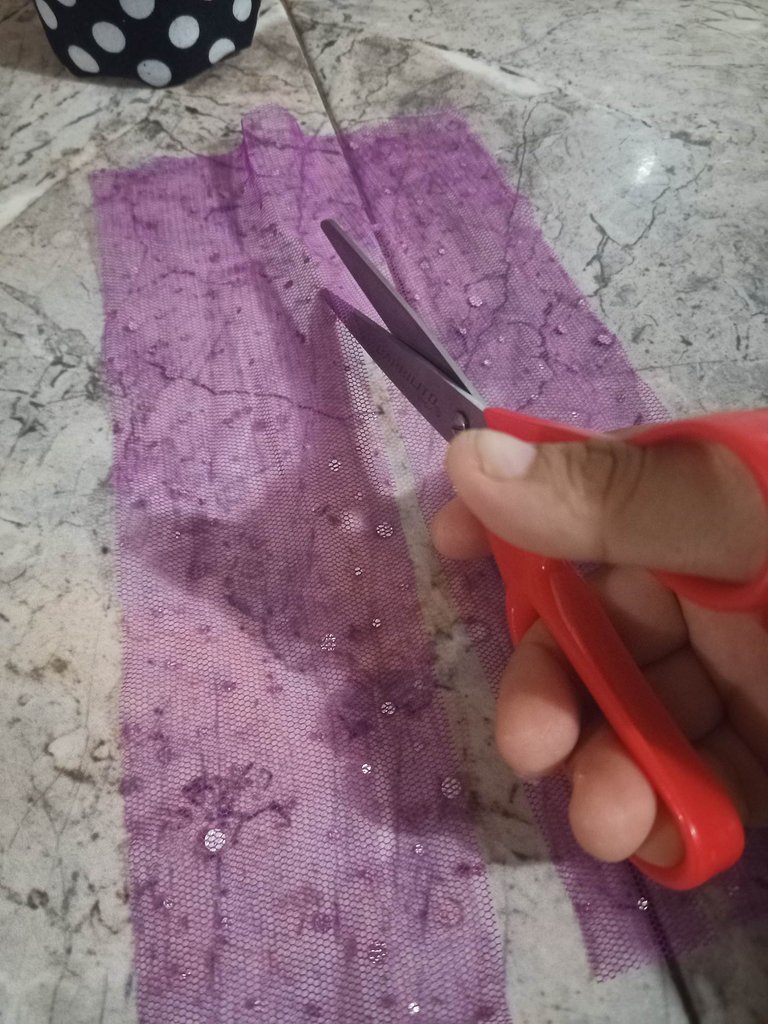

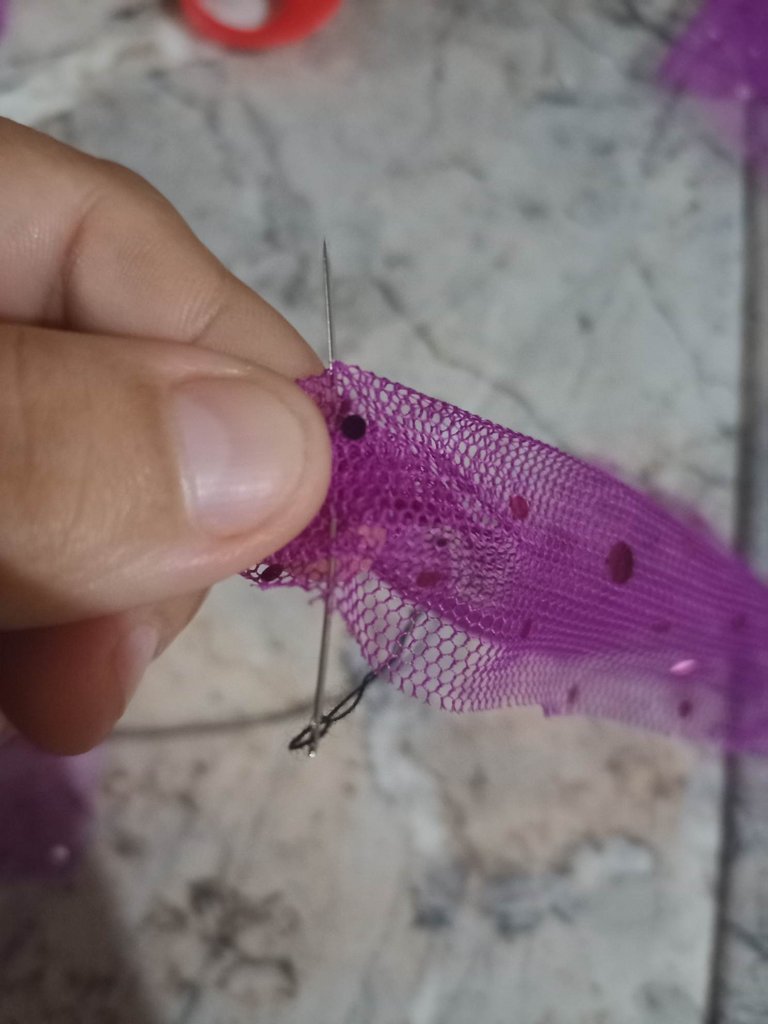
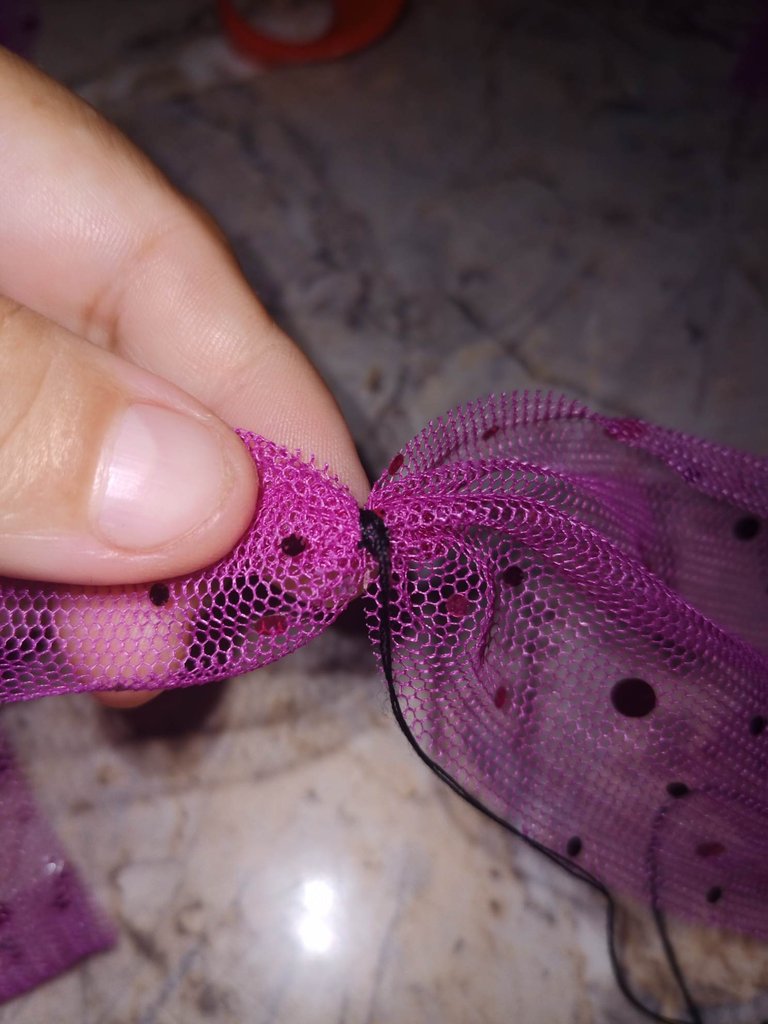
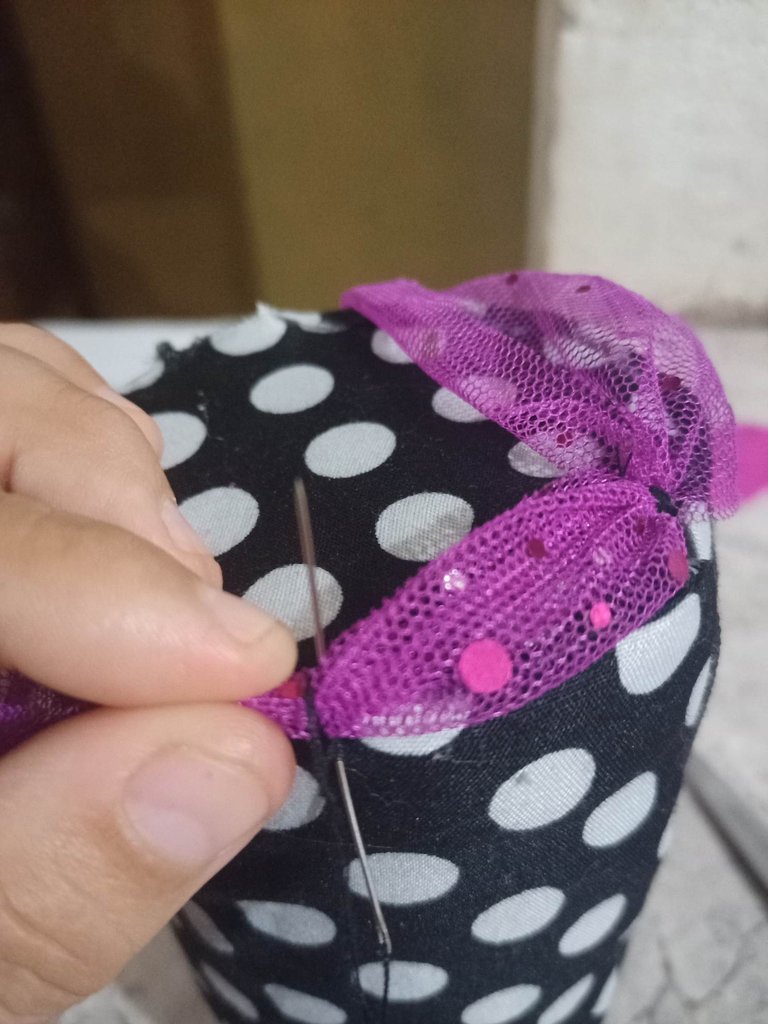
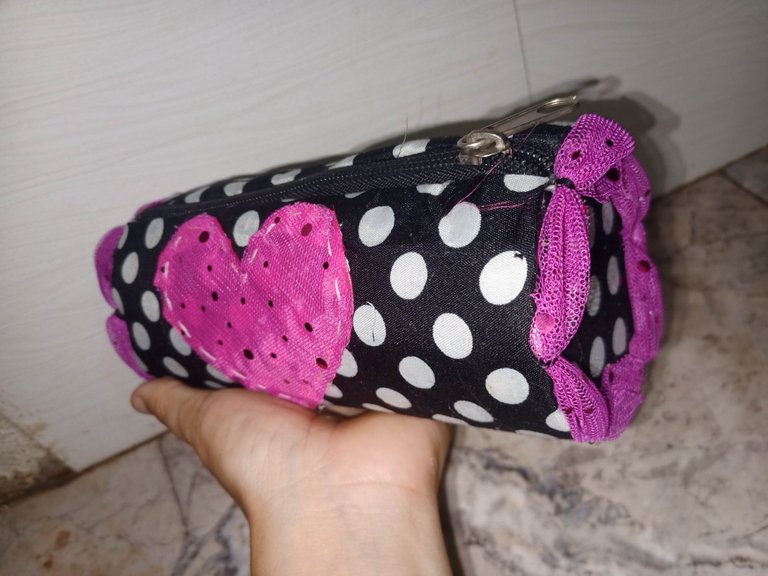
Recortas 12 cm x 8 cm de la tela transparente fucsia con brillantes por la mitad, luego insertas el hilo negro en la aguja para fruncir y atar la tela como se ve en la imagen, después colocas unas puntadas para sujetarla alrededor de los laterales dándole una silueta de flor.
Cut 12 cm x 8 cm of the transparent fuchsia fabric with rhinestones in half, then insert the black thread in the needle to gather and tie the fabric as shown in the image, then place a few stitches to hold it around the sides giving it a flower silhouette.
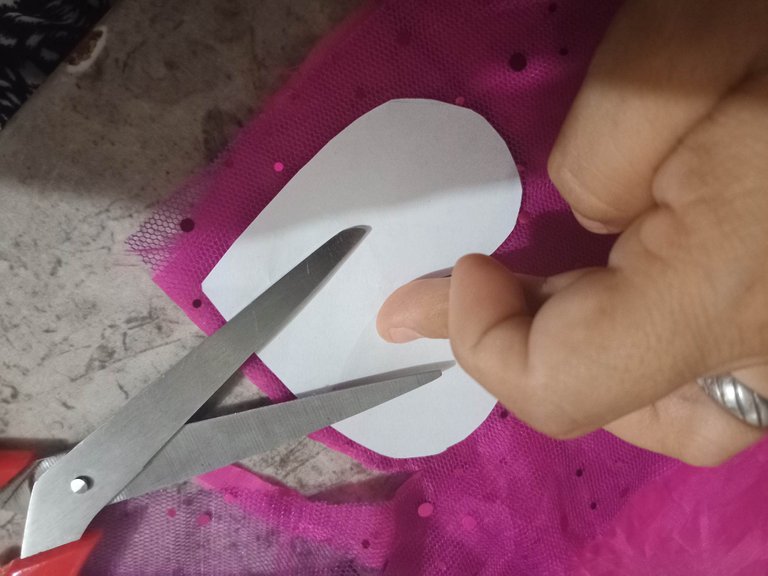
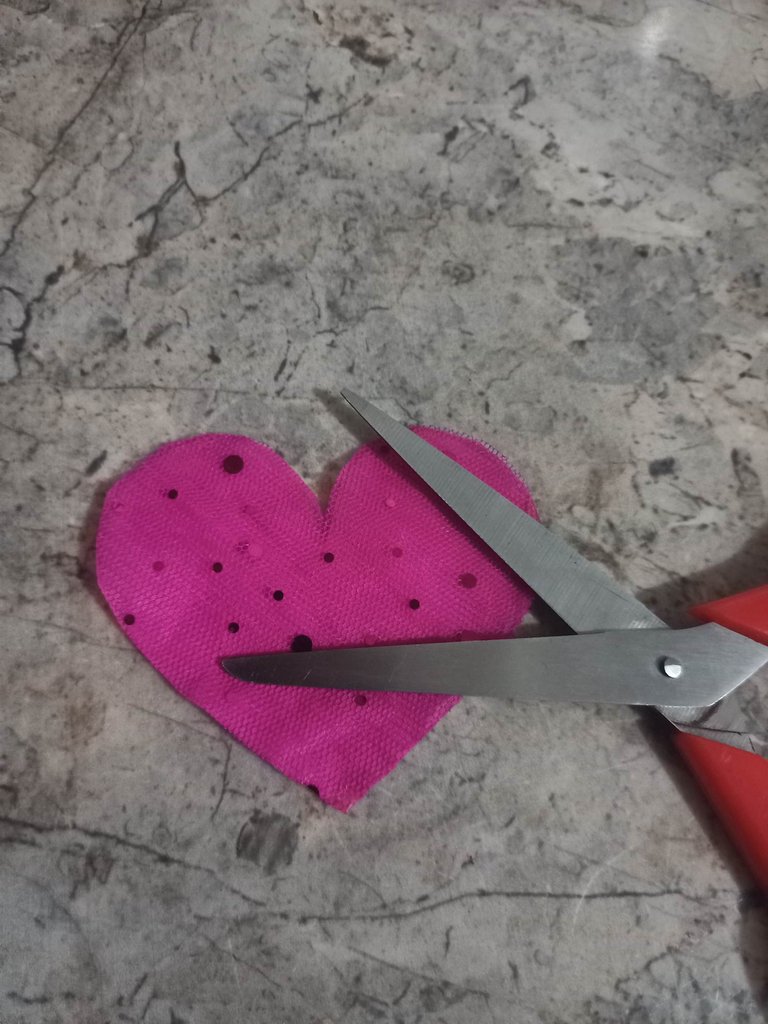
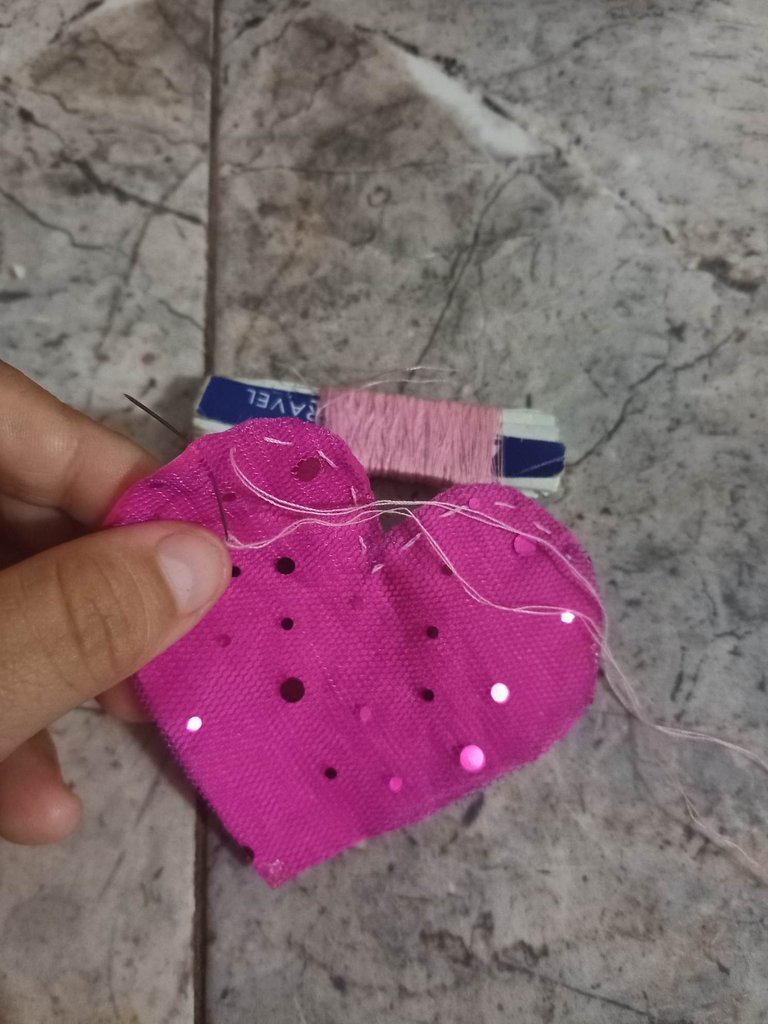
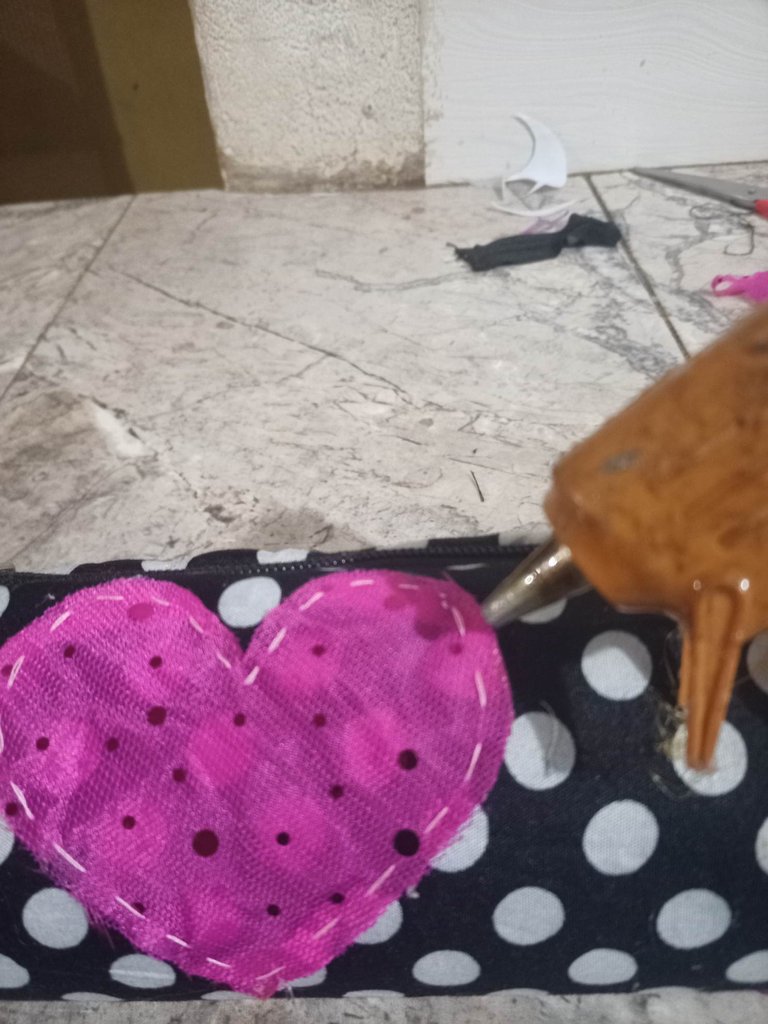
Colocas las dos telas fucsia una sobre al otra, para luego recortar un patrón previamente sacado de forma de corazón y con el hilo rosado insertas en la aguja, luego procedes a cocer el borde como puntos suspensivos y culminas pegando en el porta cosmético.
Place the two fuchsia fabrics one on top of the other, then cut out a previously drawn heart-shaped pattern and insert the pink thread into the needle, then proceed to stitch the edge as suspensory stitches and finish by gluing on the cosmetic holder.
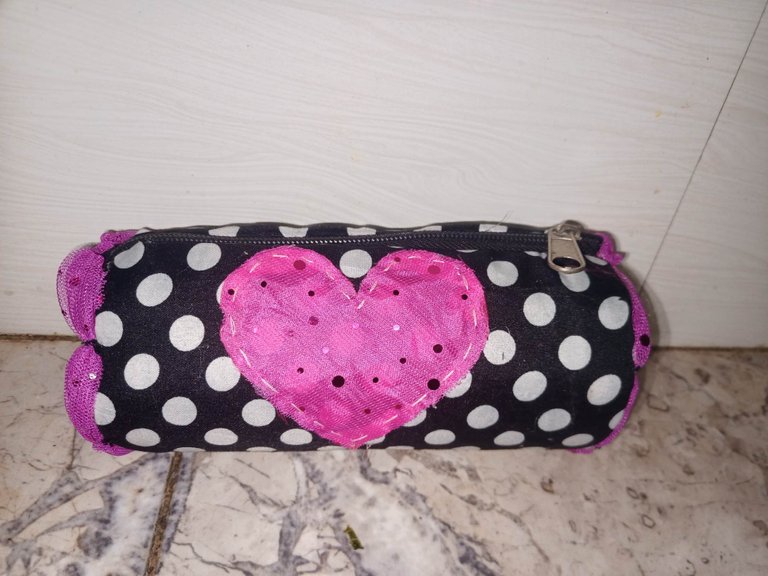
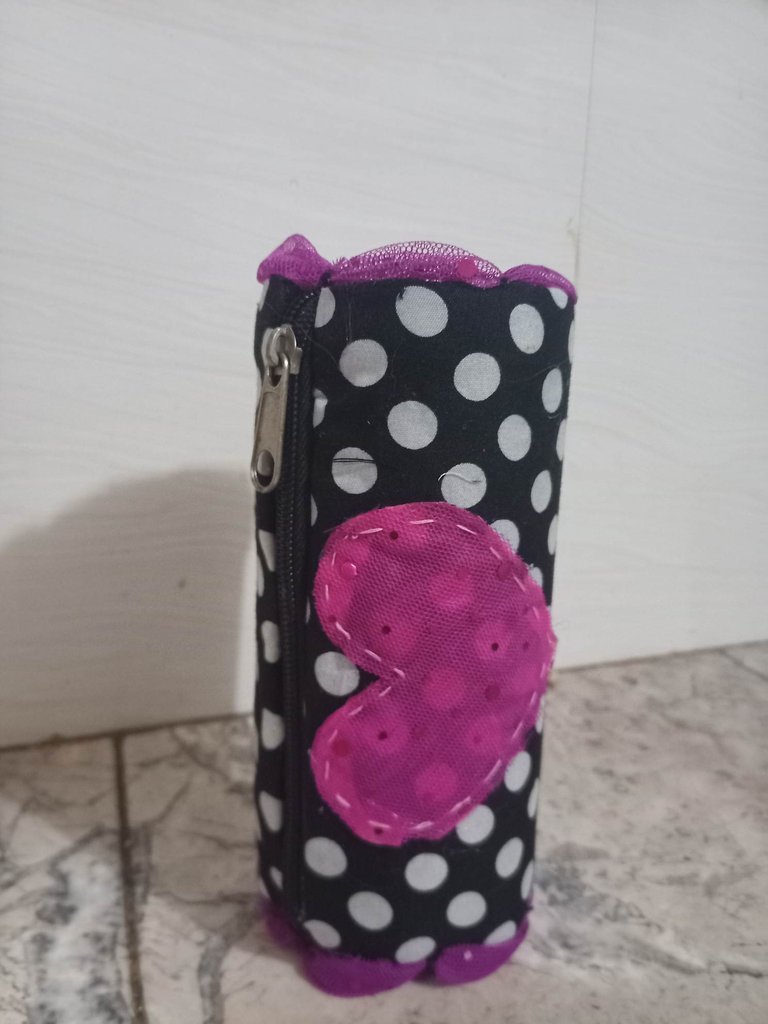
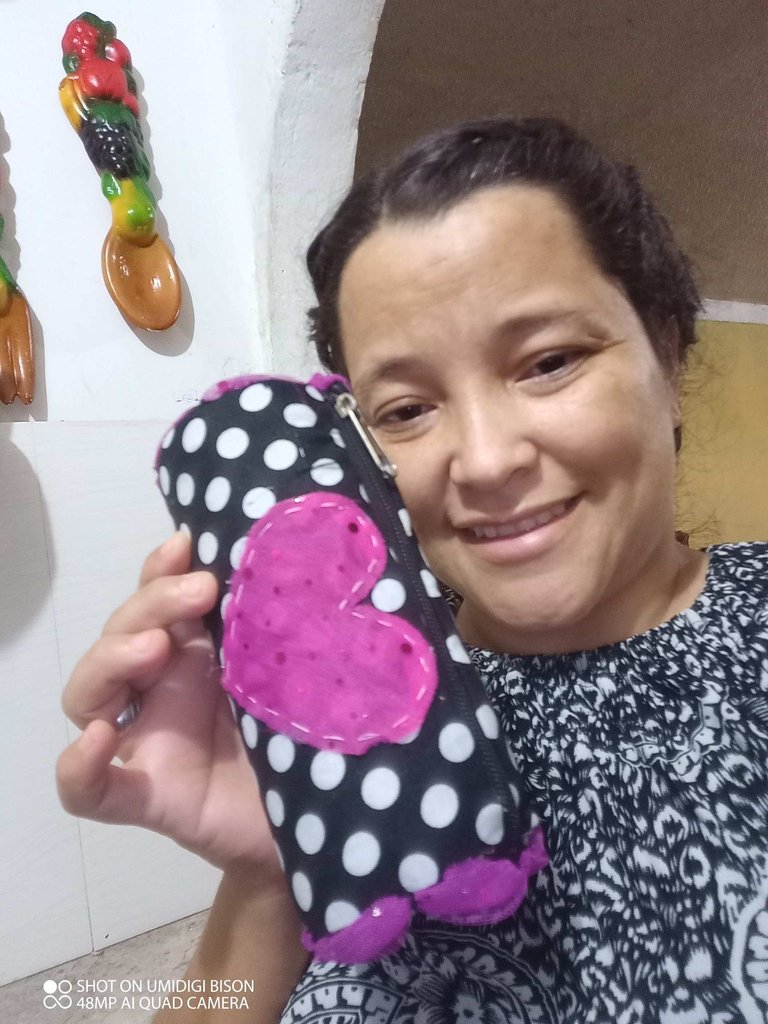
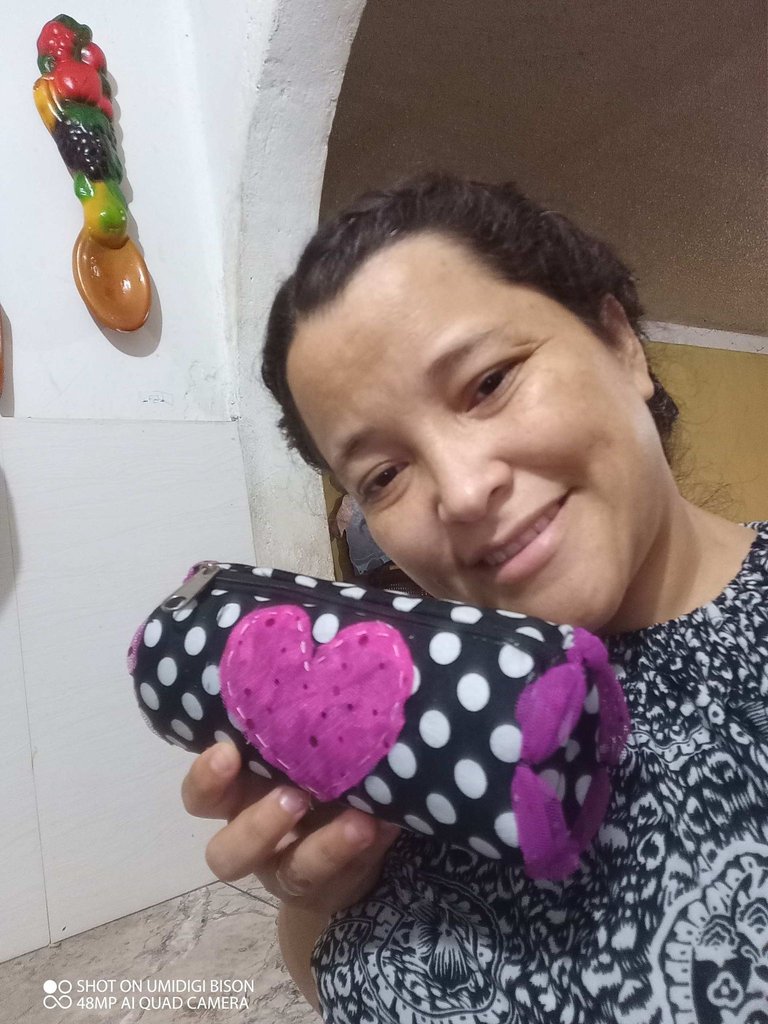
Quede totalmente encantada con este porta cosmético, por el toque personal que le dio el corazón que representaría el amor con que lo hice, espero le gusten igual que a mi.
I was totally enchanted with this cosmetic holder, for the personal touch that gave the heart that would represent the love with which I made it, I hope you like it as much as I do.
All photos are my property
I invite @mariana30 and @nubra11