"Smart storage: A shelf for my supplies" [ENG-ESP]

in #hive-130560last year
Greetings dearest friends of the Hive DIY community, welcome to my post once again, I'm Nitsu and I want to bring another small progress in the work area I'm doing in my house.
Saludos queridísimos amigos de la comunidad de Hive DIY, bienvenidos a mi post una vez más, soy Nitsu y quiero traer otro pequeño avance en la zona de trabajo que estoy haciendo en mi casa.
20230109_200524.png

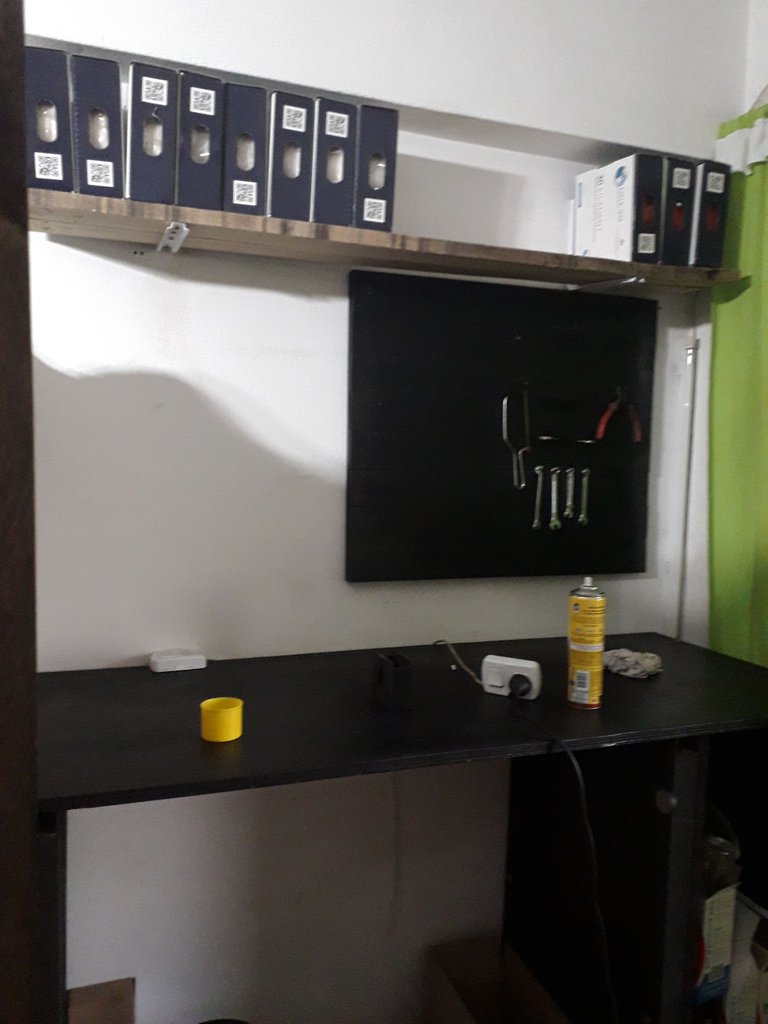
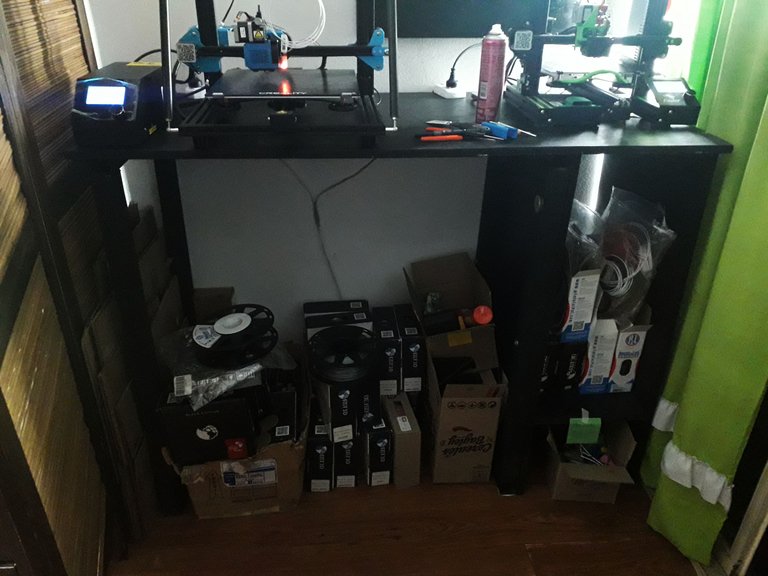
In other opportunities I have already shared here the project I have to improve and optimize my work space, I live in an apartment and I have a limited space in my living room where I have three 3D printers and a laser engraver, as you can imagine they occupy a lot of space so every centimeter counts. This without mentioning the tools, spare parts, waste box, etc.
Ya en otras oportunidades he podido compartir por aquí el proyecto que tengo para ir mejorando y optimizando mi espacio de trabajo, vivo en un departamento y cuento con un limitado espacio en mi living donde tengo tres impresoras 3D y una grabadora laser, como se imaginaran ocupan mucho lugar así que cada centímetro cuenta. Esto sin mencionar las herramientas, repuestos, caja de residuos, etc.
20221217_091731.jpg

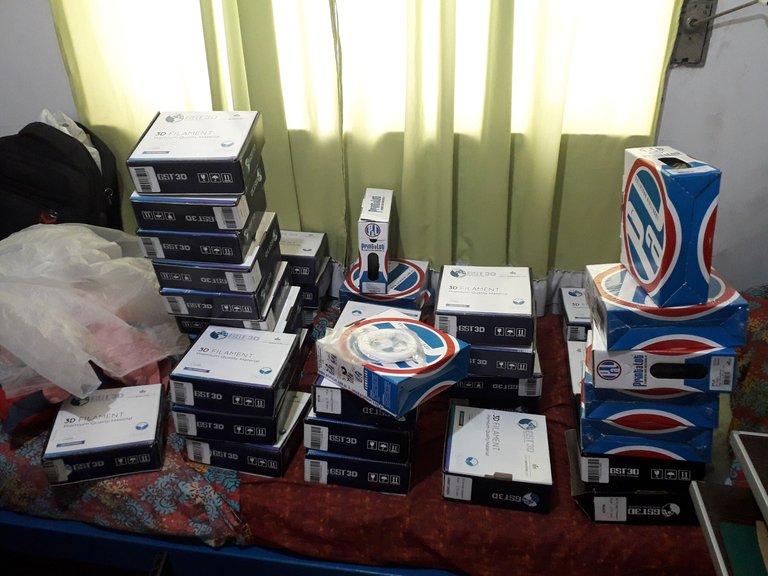
A few months ago I got my last used printer along with 45 kilograms of filament from a person who had started a venture but for personal reasons wanted to sell everything, so I saw that opportunity and took it, the problem then was to place in my house all those rolls of material and the best thing I could think of was to create a shelf on my machines to place the rolls that came in, thus clear my room and other nooks of my house of filament and managed to have much of the material in my work area for use at any time.
Hace algunos meses conseguí mi ultima impresora usada junto a 45 kilogramos de filamento por parte de una persona que había comenzado un emprendimiento pero por motivos personales quería vender todo, así que vi esa oportunidad y la tome, el problema después fue colocar en mi casa todos esos rollos de material y lo mejor que se me ocurrió fue crear un estante sobre mis maquinas para ir colocando los rollos que entraran, de esta forma despeje mi cuarto y otros recovecos de mi casa de filamento y logre tener gran parte del material en mi zona de trabajo para usarlo en cualquier momento.
20230109_181140.jpg.png 20230109_181149.png
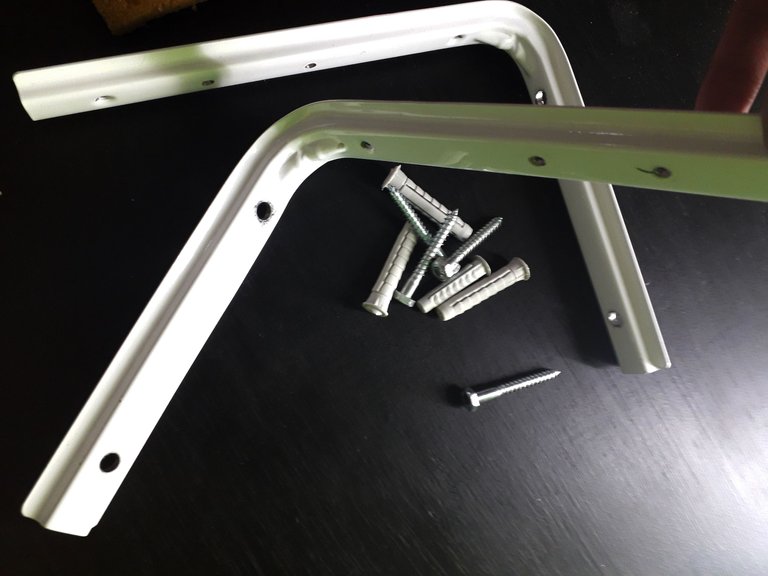
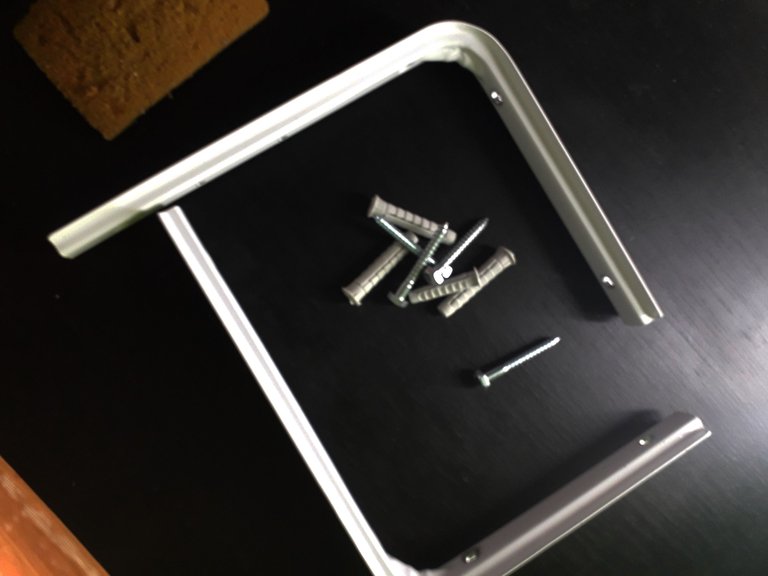
So roughly speaking the requirements for this job were to have a space (shelf) that would support as much weight as possible, that would fit as many rolls as possible and that was resistant, because if the shelf gave way or a simple box fell down that would go directly on my machines and it could be a very big problem for me. After getting the wood, dowels, screws and brackets I started.
Así que a grandes rasgos los requisitos para este trabajo eran tener un espacio (Repisa) que soportara la mayor cantidad posible de peso, que entrara todos los rollos posibles y que fuera resistente, debido a que si la estantería cedía o una simple caja se cayera eso iría directamente sobre mis máquinas y podría ser un problema muy grande para mí. Tras conseguir la madera, los tarugos, tornillos y ménsulas comencé.
20230109_192342.png

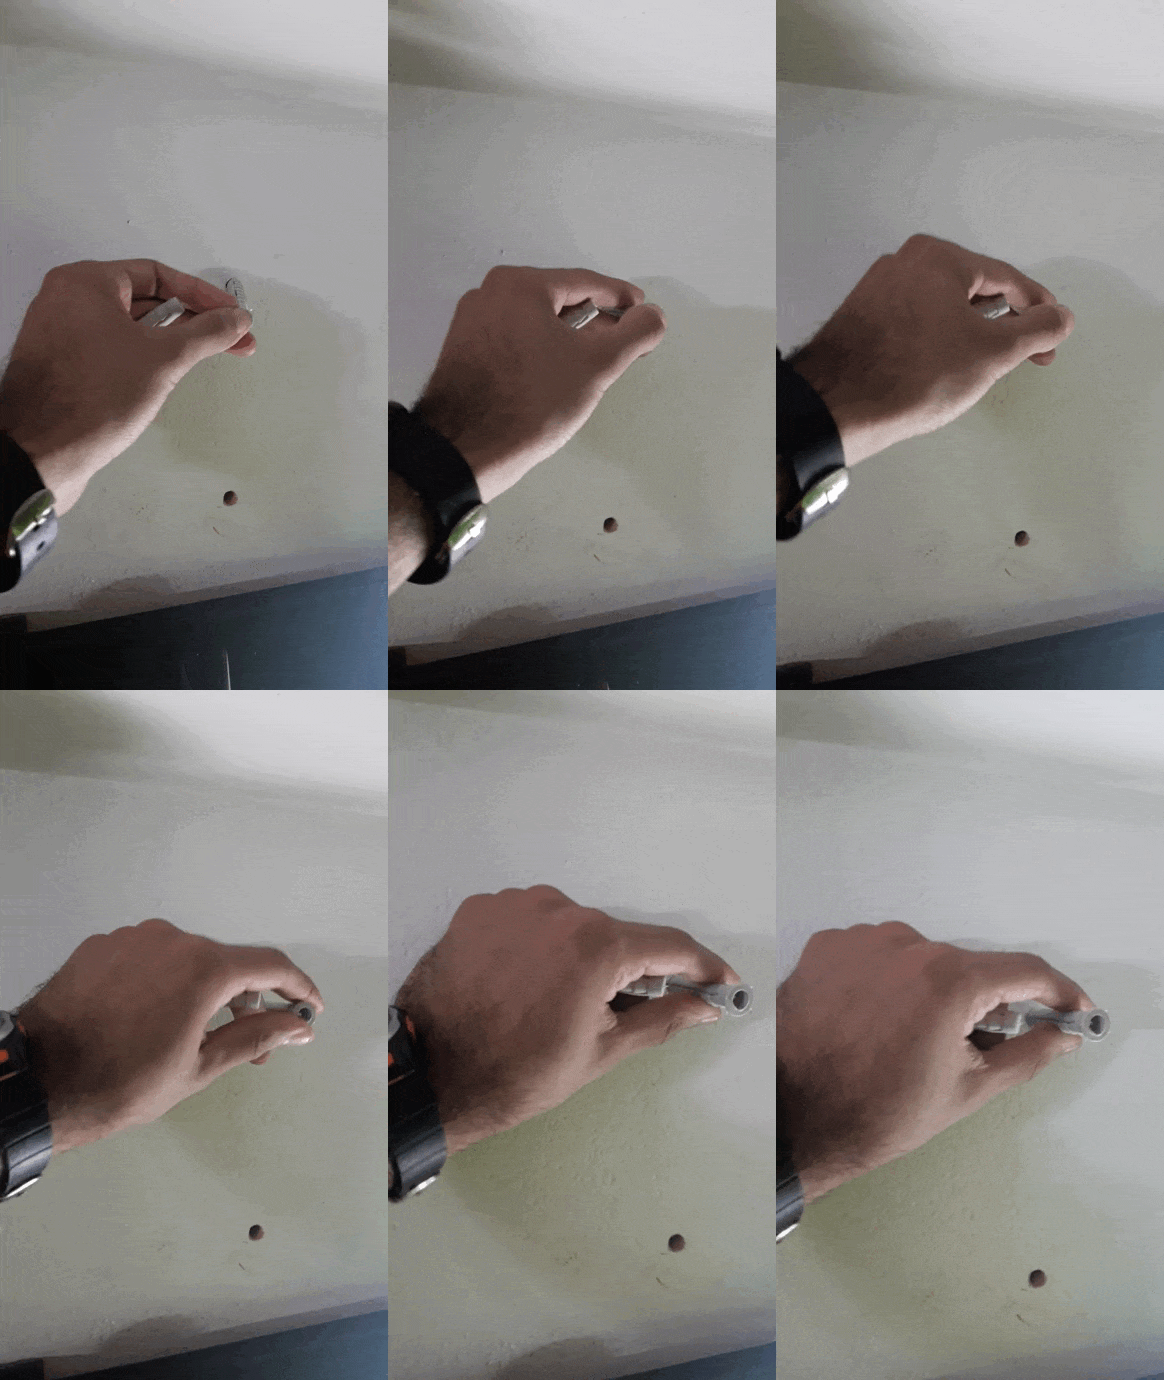
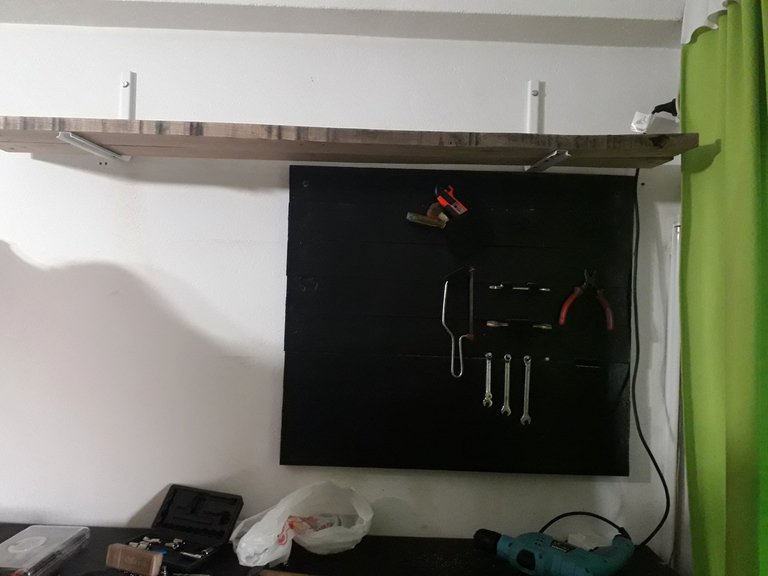
I recovered the wooden boards from a pallet at my work, then in a hardware store I got the 25cm brackets and also bought the dowels and number 8 screws to be sure that all this would resist well on the wall. First I checked the space I had, did some tests and placed the brackets marking with a pen where I needed to make the holes, I borrowed my father's drill and made the holes I needed.
Las tablas de madera las recupere de un palet en mi trabajo, luego en una ferretería conseguí las ménsulas de 25cm y también compre los tarugos y tornillos del número 8 para estar seguro de que todo esto resistiría bien en la pared. Primero me fije con el espacio con el que contaba, hice unas pruebas y ubique las ménsulas marcando con lapicera donde necesitaba hacer los agujeros, tome prestado el taladro de mi padre y realice los agujeros que necesitaba.
20230109_181203.gif20230109_183504.gif
At first I thought about painting the wooden boards but first I didn't have any paint and second it wasn't something super necessary, my priority was really to have the shelf to accommodate everything better so I simply sanded the boards to remove all the splinters obtaining a smooth surface. To protect the wood I gave it a few coats of water based varnish, once they dried I took some socks to pierce the board and put them in place.
En un comienzo pensaba pintar las tablas de madera pero primero no contaba con pintura y segundo no era algo super necesario, realmente mi prioridad era tener el estante para acomodar todo mejor así que simplemente lije las tablas para retirar todas las astillas obteniendo una superficie suave. Para proteger la madera le di unas capas de barniz al agua, una vez se secaron tome algunas medias para agujerear la tabla y colocarlas en su lugar.
Something I also needed to do was to enlarge the holes of the bracket because they were too small and the number 8 screws would not pass, so with a small vise I fixed this piece and started to enlarge the holes with a bigger drill bit trying to cool the material with W40 to make the task easier.
Algo que también necesite hacer fue agrandar los agujeros de la ménsula debido a que eran muy chicas y los tornillos del numero 8 no pasaban, así que con una pequeña morsa con la que cuento fije esta pieza y comencé a agrandar los agujeros con una mecha mas grande procurando enfriar el material con W40 para facilitarme la tarea.
20230109_193824.png

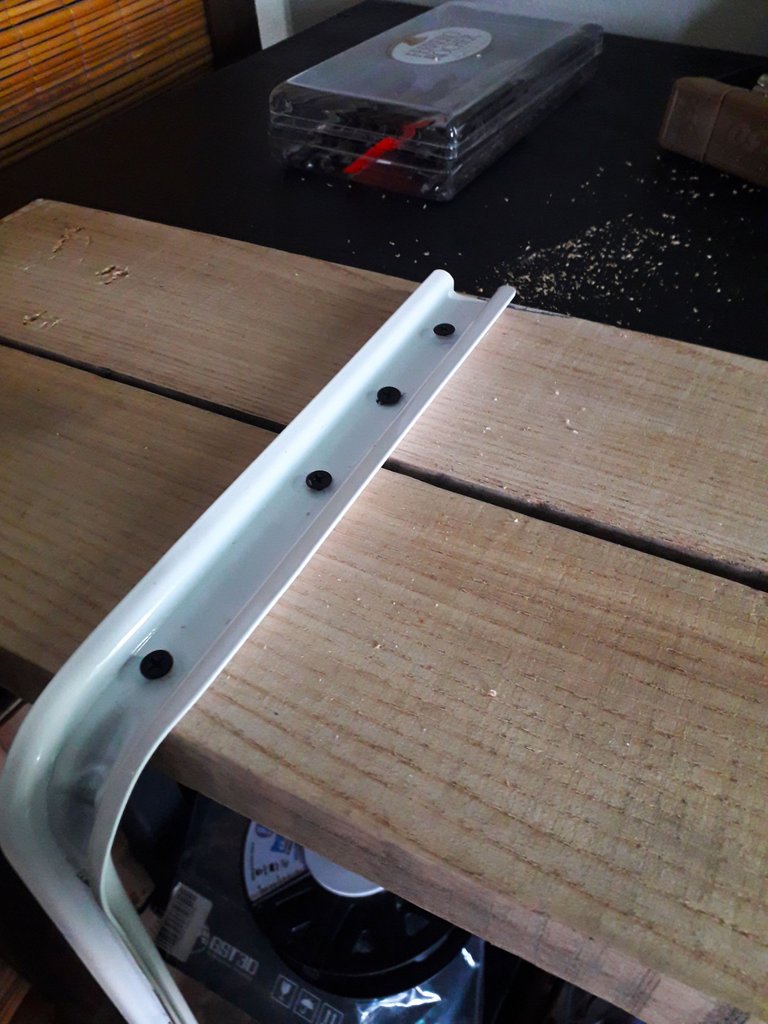
I needed to place the brackets on the wall to be sure that the shelf was straight and after checking I took it out again to adjust the boards with some black self-tapping screws. At first I was putting the screws into the board manually but then I helped myself a little with the drill because otherwise the force I had to use to screw them in was too much, I had to be careful when drilling these holes because I didn't have a wood bit and when using the wall bit it tends to get stuck when drilling into wood.
Necesité colocar las ménsulas en la pared para estar seguro de que el estante había quedado recto y tras verificar lo volví a sacar para ajustar las tablas con unos tornillos autorroscantes negros. Al principio fui colocando los tornillos a la tabla manualmente pero luego me ayudé un poco con el taladro porque sino la fuerza que tenia que hacer para enroscarlos era demasiada, tuve que tener cuidado al hacer estos agujeros porque no contaba con una mecha para madera y al usar la mecha para pared esta tiende a trabarse al agujerear madera.
20230109_195448.png 20230109_200533.png
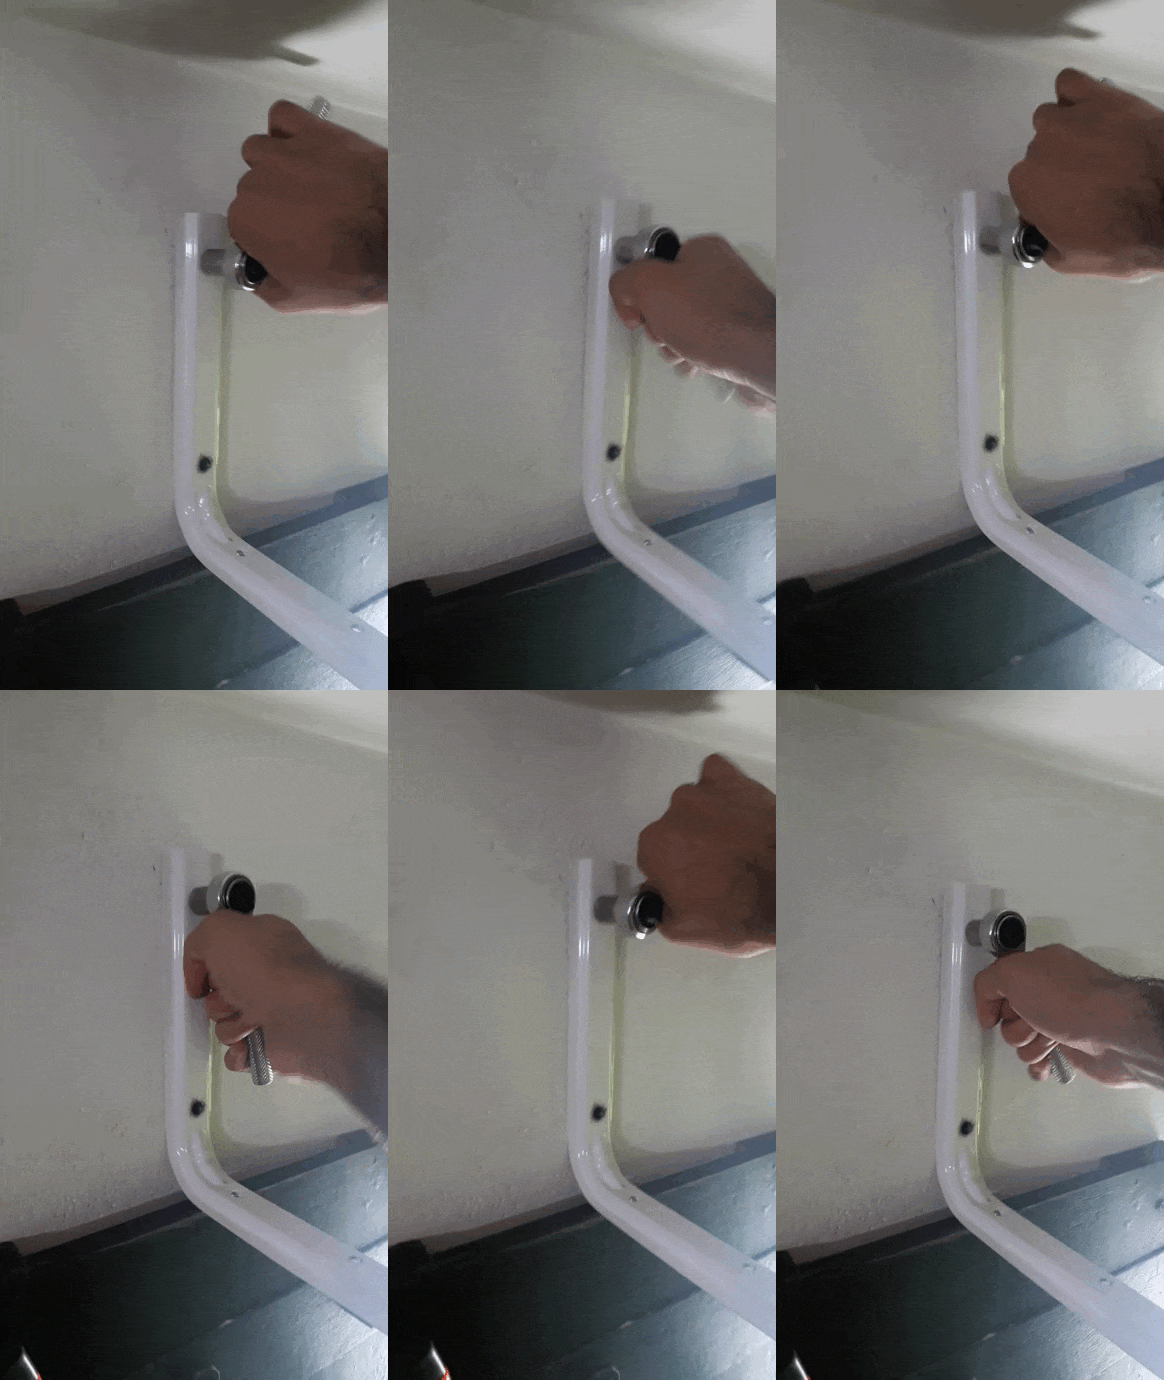
I needed my father's help to put all this shelf up, because otherwise it would be impossible to keep all this in position and screw it in place. Once I was able to place it and adjust two screws a little I could continue with my work alone, I climbed on the desk and with a wrench with a wrench I was adjusting little by little each one. Why is it necessary to adjust the screws at the same time? Because if you adjust completely one it is likely that you can not adjust the other or they are wrong so I recommend adjusting a little one and then the other, the problem I had in this case was that my ratchet wrench not being of quality was not useful to make force, and when I made the final adjustments my tool broke and I had to finish my work with a normal wrench which was a little more uncomfortable.
Para subir todo este estante necesite ayuda de mi padre, porque si no mantener todo esto en su posición y atornillarlo iba a ser imposible. Una vez pude ubicarlo y ajustan un poco dos tornillos ya podía continuar con mi labor solo, me subí sobre el escritorio y con una llave con crique fui ajustando de a poco cada uno ¿Por qué es necesario ajustar los tornillos a la vez? Porque si ajustas completamente uno es probable que no puedas ajustar el otro o queden mal así que recomiendo ir ajustando un poco uno y luego el otro, el problema que tuve en este caso fue que mi llave con crique al no ser de calidad no servía para hacer fuerza, y cuando hice los ajustes finales mi herramienta se rompió y tuve que terminar mi labor con una llave normal lo cual fue un poco más incómodo.

20230109_200524.png

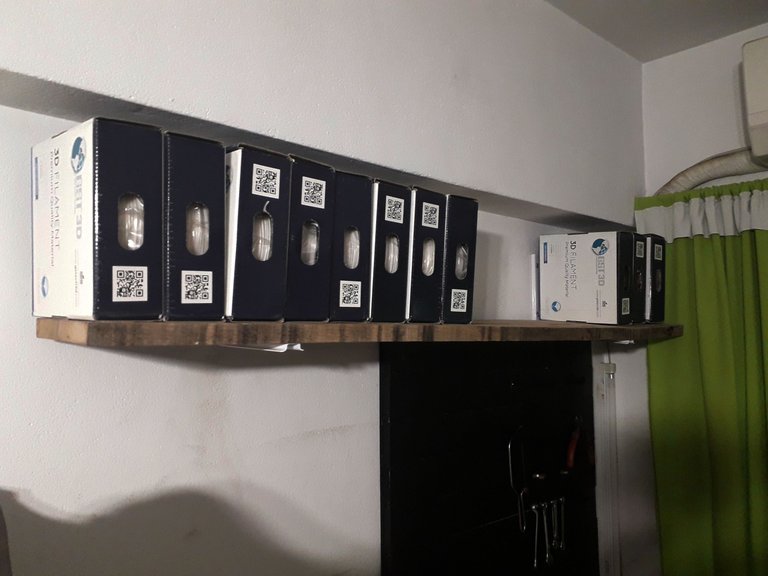
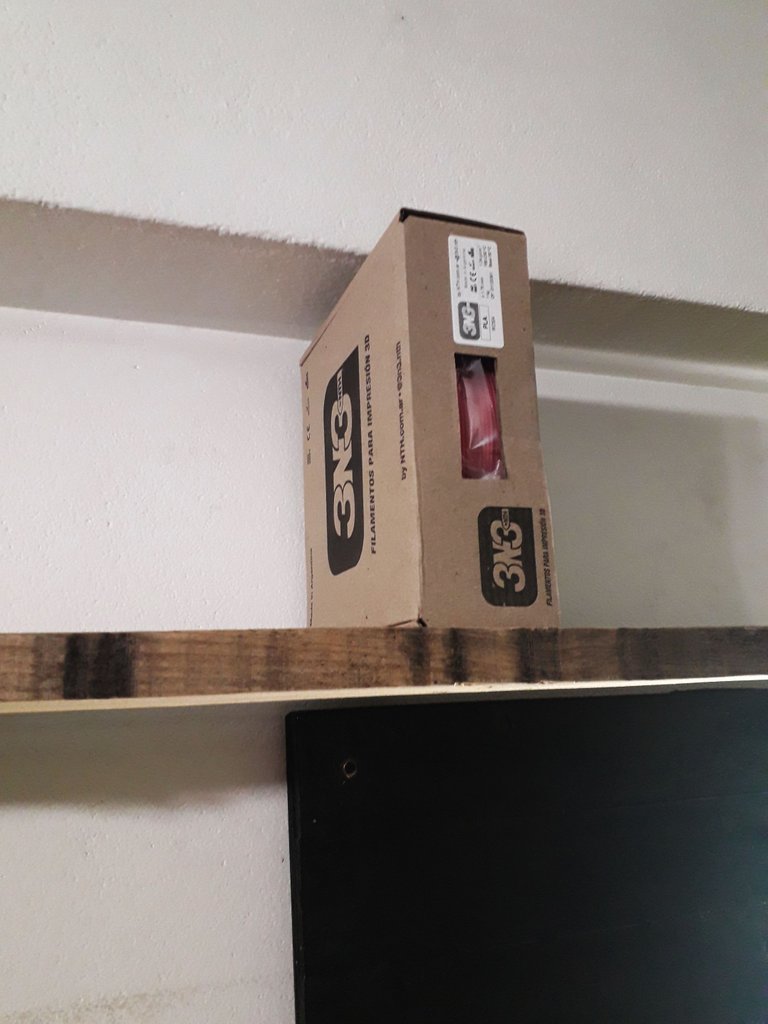
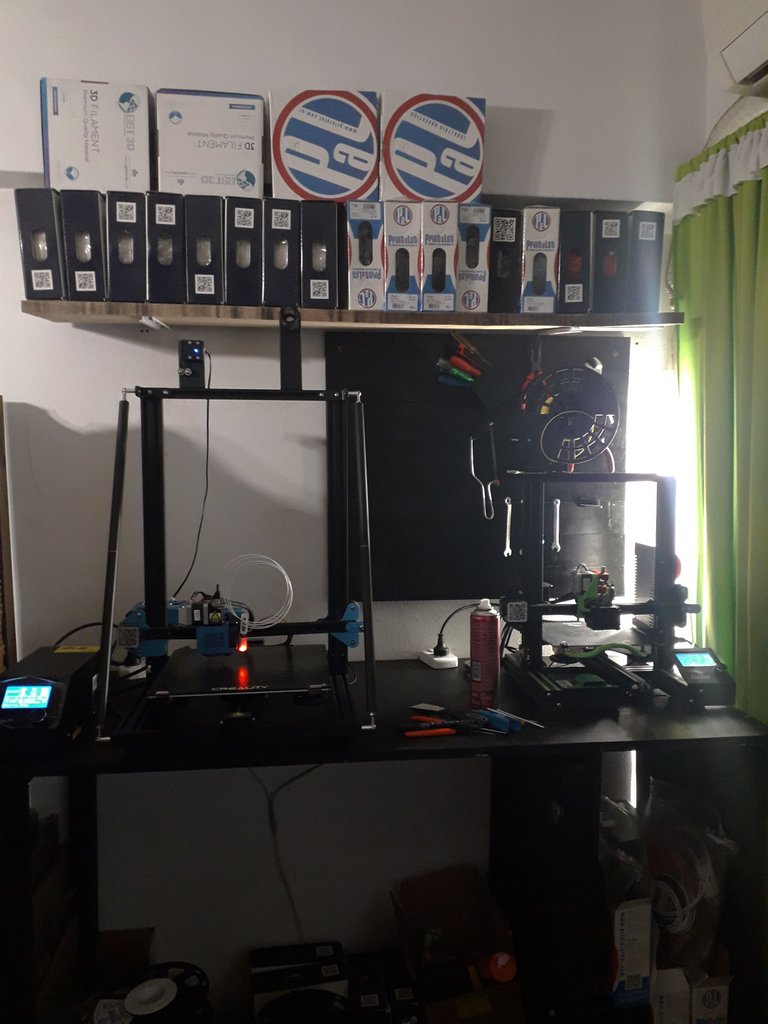
But well, the main work was ready; I did a little force to see if the shelf was fixed in place and when I saw that everything seemed to be correct I was placing the rolls and arranging them on top of my machines to fill it completely, there were quite a few rolls of filament that did not fit, but the fact of being able to have most of my work material in place saves me a lot of time and improves my quality when I am working.
Pero bueno, el trabajo principal ya estaba listo; hice un poco de fuerza para ver si el estante estaba fijo en su lugar y cuando vi que todo parecía estar correcto fui colocando los rollos y acomodándolos en la parte de arriba de mis máquinas hasta llenarlo completamente, es más hubo bastantes rollos de filamento que no entraron, pero el hecho de poder tener la gran mayoría de mi material de trabajo en su lugar me ahorra mucho tiempo además de mejorar mi calidad a la hora de estar trabajando.
20230109_205850.png

20230109_205840.png

What did you think of my little progress? I am very happy to share with you all these things and always welcome a comment or some advice, it has been several weeks and with the weight has been noticed that the shelf gave a little, but it is normal to have so much weight.
¿Qué les pareció mi pequeño avance? Me alegra mucho poder compartir con ustedes todas estas cosas y siempre es bienvenido un comentario o algún consejo, han pasado varias semanas y con el peso se ha notado que el estante cedió un poco, pero es algo normal al tener tanto peso.

END.png

My 3D printing works @nit_3dprinting

Mis trabajos de impresión 3D @nit_3dprinting
Translated by DeepL
Traducido con DeepL
All images are my own
Todas las imágenes son de mi autoría

My last post "Creativity in Industrial Design". [ENG-ESP]
Mi último post "Creativity in Industrial Design". [ENG-ESP]

Sort:  

Very nice job on your shelf my friend!
I'm pretty sure you could make anything you set your mind to!

Hey Nitsu, thanks for reblogs and the tip! I appreciate that and I'd really like to give something back. Maybe I could 3D model something for you? I can do functional things as well. Oh and nice shelf, looks really solid. Always interesting to see you upgrading your workshop.

Uhhhh me interesa jaja de paso podrías monetizar cualquier cosa que hagas, en serio por ese lado me encanta todo lo que haces pero si tengo que darte ideas o gustos propios te diria Halo, Hollowknight, mitología en general o cualquier criatura tan original como las que ya has hecho ❤️

Mythological themes always interest me, but if you like Hollow Knight, maybe I could sculpt main Hollow Knight character for you?

Me encantaría, la verdad me convenciste jajaja ❤️

I am always happy to have a reason to make something :)

Hola. Me parece excelente tu avance. Me gusta la madera con su color original, así que me alegro que no la hayas pintado. Pronto tendrás todo un espacio de trabajo muy cómodo.

Siii menos mal que ya cuento con un espacio mucho más optimizado, me ahorro mucho tiempo al tener las cosas ordenadas ya que hay días en el mes donde me caen muchos pedidos y es esencial que tenga todo a mano.
Gracias por pasarte y seguir mis avances @creacioneslelys

Congratulations @nitsuga12! You have completed the following achievement on the Hive blockchain And have been rewarded with New badge(s)

You published more than 300 posts.
Your next target is to reach 350 posts.

You can view your badges on your board and compare yourself to others in the Ranking
If you no longer want to receive notifications, reply to this comment with the word STOP

To support your work, I also upvoted your post!

Check out our last posts:

HiveBuzz Women's World Cup Contest - Collect Badges and Prizes - Thousands of HIVE, Tokens or NFTs to be won!

Me encanta ver tus avances y la forma cómo vas ordenado, organizando y dando personalidad a tu área de trabajo.

Es verdad, ese pequeño espacio va tomando su personalidad única jajaja
En algún momento debo mejorar mi tablero de herramientas para poder liberar un poco de espacio del cajón y de paso ya tengo esas herramientas más a mano