"Creative Recycling: Building a Tool Drawer." [ENG-ESP]

in #hive-130560last year
Greetings dear friends of Hive DIY, welcome to my post once again, how are your projects and ideas going? I hope to hear from you very soon here in the community, today I want to share with you another stage I achieved in my project.
Saludos queridísimos amigos de Hive DIY, bienvenidos a mi post una vez más ¿Cómo van sus proyectos e ideas? Espero poder saber de ellos muy pronto aquí en la comunidad, hoy quiero compartirles otra etapa que logre de mi proyecto.
WhatsApp Image 2023-02-26 at 19.02.20.png

A few months ago I remember sharing here a very big and significant project for me, I started to design a piece of furniture for the limited work space I have at home, for those who do not know I have a 3D printing business and I live in an apartment so all my tools are in the living room of my house so it was necessary to greatly optimize my work area.
Hace unos cuantos meses recuerdo haber compartido aquí un proyecto muy grande y significativo para mí, comencé a diseñar un mueble para el acotado espacio de trabajo con el que cuento en mi casa, para los que no saben tengo un emprendimiento de impresión 3D y vivo en un departamento así que todas mis herramientas las tengo en el living de mi casa por eso era necesario optimizar enormemente mi zona de trabajo.
Being on vacation I could start to arrange everything better and finally put together the drawer that I needed so much for this piece of furniture because I had many spare parts, pieces and tools lying around. It was not easy, although it may seem so since I made the drawer with recycled materials and I did not have much experience when it came to calculating and placing the slides, but with patience everything was possible, so without further ado I will begin to tell you how I made it.
Al estar de vacaciones pude empezar a acomodar todo mejor y al fin armar el cajón que tanto necesitaba para este mueble debido a que tenía muchos repuestos, piezas y herramientas tiradas por ahí. No fue sencillo, aunque lo parezca ya que el cajón lo hice con materiales reciclados y no tenía mucha experiencia a la hora de calcular y colocar las correderas, pero con paciencia todo fue posible, así que si más rodeos comienzo a contarles como lo fabrique.
20230111_100758.png

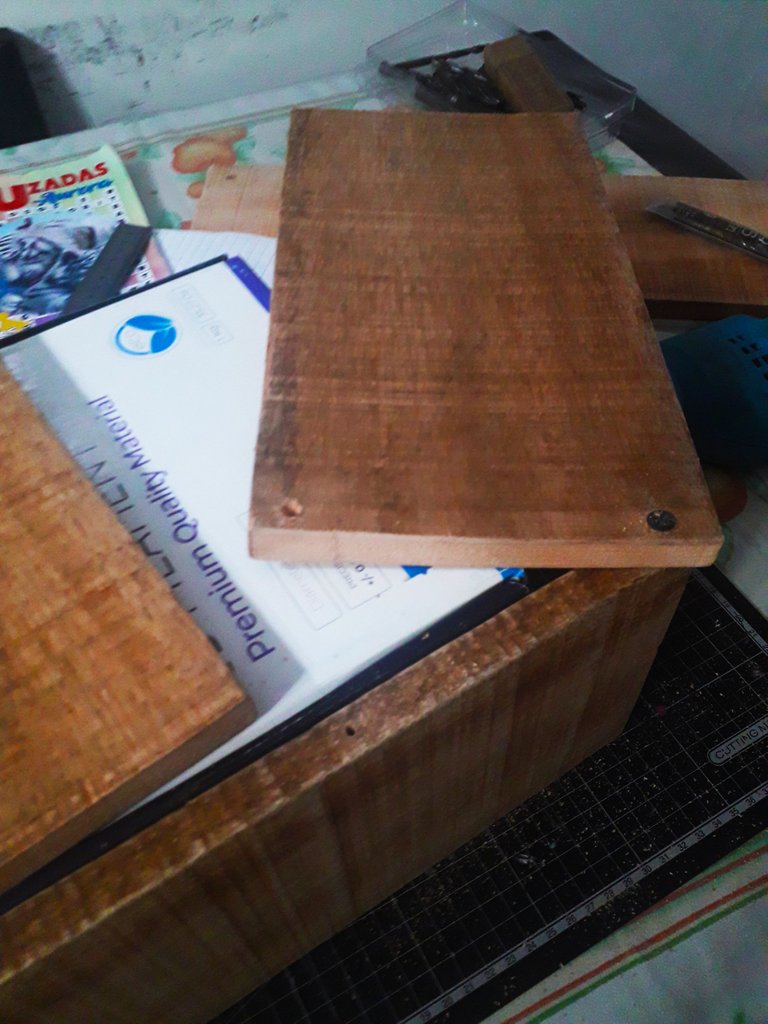
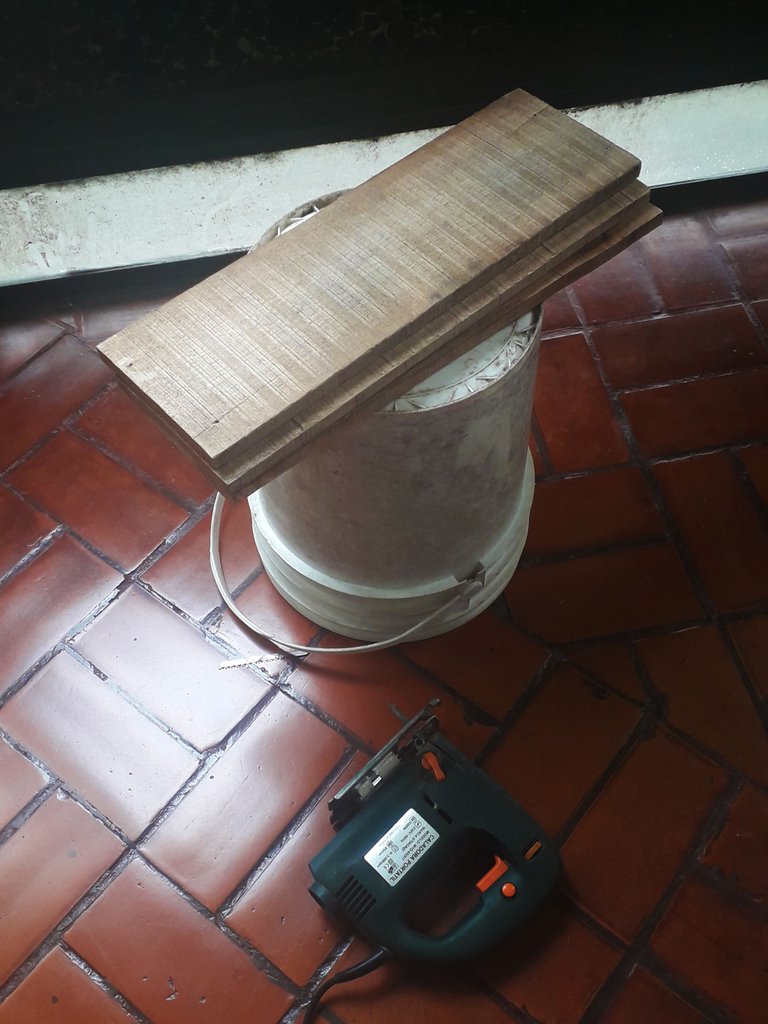
Once I selected the boards and verified that they were sanded, I took a sheet of paper and a pencil to make some calculations, at first I thought of making two drawers, but due to the lack of boards I only made one. I used 7 boards for the rectangle drawer, four for the sides and three for the bottom. I took some measurements and started cutting them with my electric jigsaw.
Una vez seleccione las tablas y verifique que estuvieran lijadas tome una hoja y una lapicera para hacer algunos cálculos, al principio pensaba hacer dos cajones, pero por falta de tablas solo fabrique uno. Utilice 7 tablas para el cajón rectángulos, cuatro para los laterales y tres para el fondo. Saqué algunas medidas y comencé a cortarlas con mi caladora eléctrica.
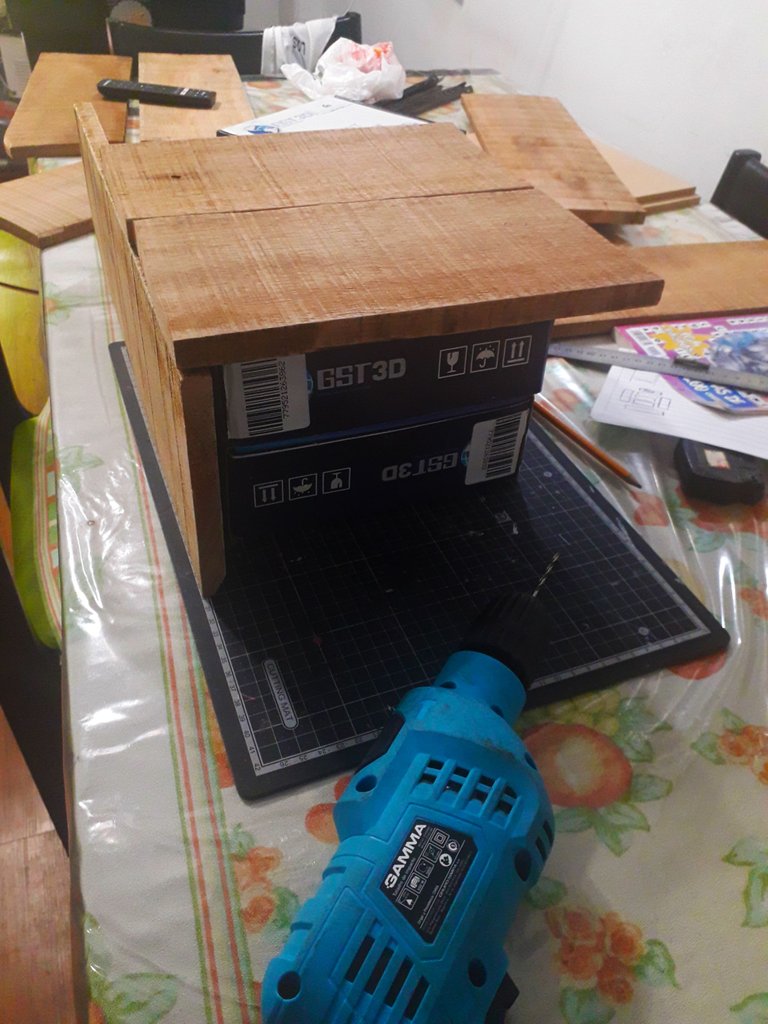
Once I had the necessary pieces I started to see which side of each board I used because some were very curved or had merely aesthetic defects, but like many here in the community we always try to look for perfection. After deciding I took the drill and started drilling through holes for the screws.
Una vez tenía las piezas necesarias empecé a ver qué cara de cada tabla usaba debido a que algunas estaban muy curvadas o tenían defectos meramente estéticos, pero como muchos aquí en la comunidad siempre intentamos buscar la perfección. Tras decidirme tomé el taladro y empecé a hacer los agujeros pasantes para los tornillos.
20230111_103912.png 20230111_104557.png
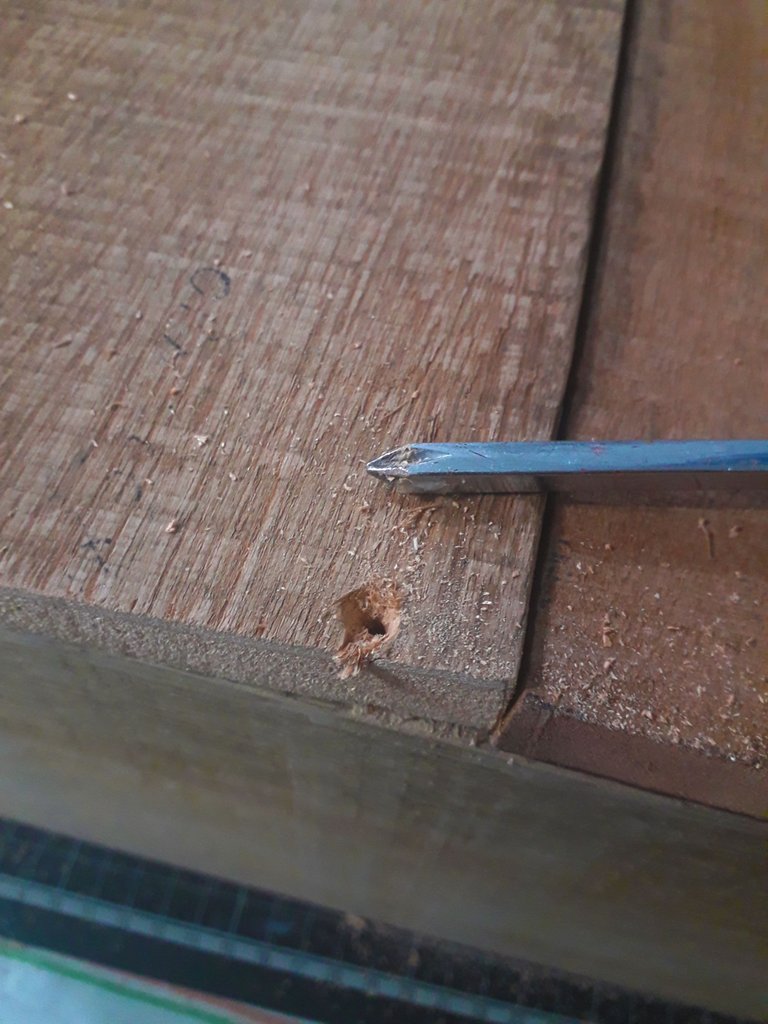
To join all the boards together I used self-tapping screws, I recommend using soap on the part where the screw threads because it is much easier to screw them in, this is a little trick my father taught me. Also before screwing them in I made a small countersink in the wood to hide the head of the screw and make it a little neater. I didn't really need it to be perfect, I needed it to be functional but the important thing is in the details.
Para unir todas las tablas use tornillos autorroscantes, recomiendo pasar jabón en la parte donde rosca el tornillo ya que es mucho más fácil atornillarlos, ese es un pequeño truco que me enseño mi padre. También antes de comenzar a atornillarlos genere un pequeño avellanado en la madera para ocultar la cabeza del tornillo y que quede un poco más prolijo. Realmente no era necesario que quede perfecto, necesitaba que sea funcional pero lo importante está en los detalles.
20230111_110700.png 20230111_120310.png
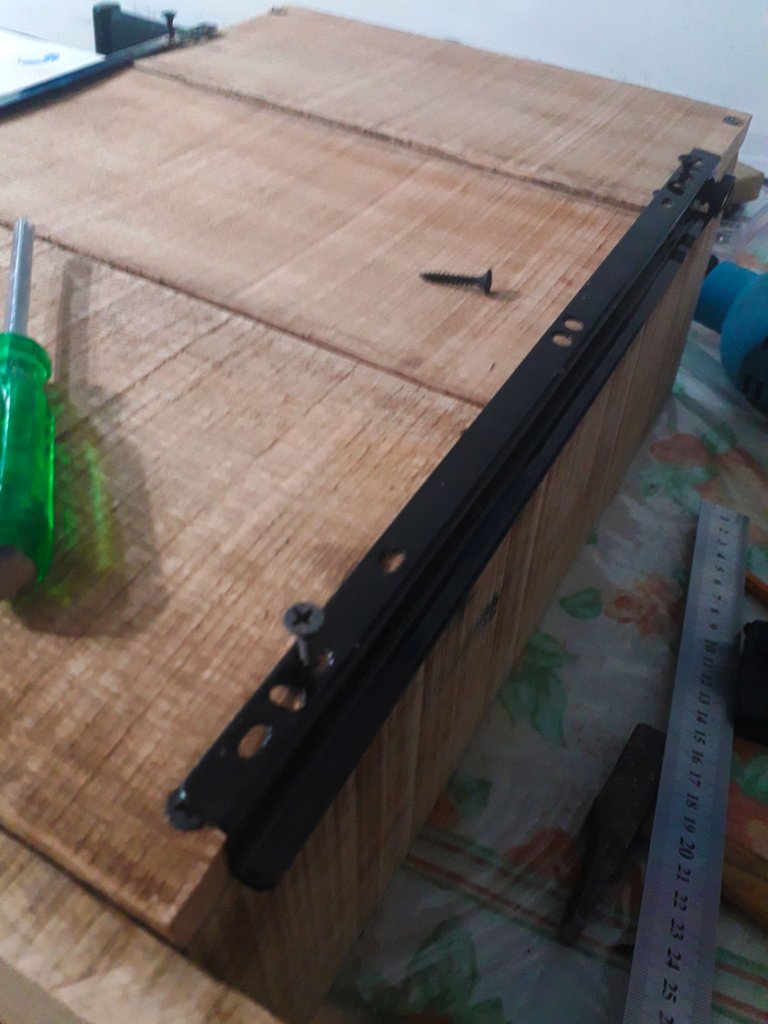
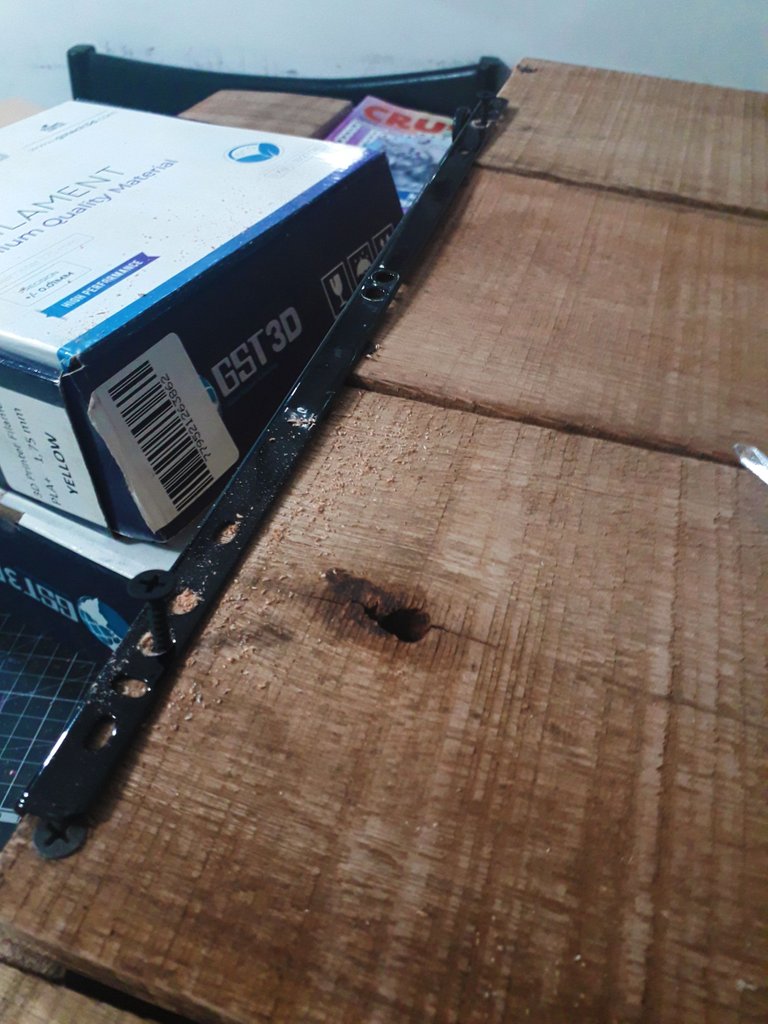
Once I had the whole structure of the drawer assembled I placed the guides, first I took some measurements to know where to place them since there is a whole technique for their correct placement, I watched some videos and asked my father, anyway, this was not enough because I placed them wrong, although with a little trial and error I was able to solve it.
Una vez tuve toda la estructura del cajón armado coloque las guías, primero tome algunas medidas para saber dónde colocarlas ya que hay toda una técnica para su correcta colocación, mire algunos videos y le pregunte a mi padre, de todas formas, esto no fue suficiente porque las ubique mal, aunque con un poco de prueba y error pude solucionarlo.
20230111_120313.png 20230111_130425.png

20230111_144410.png

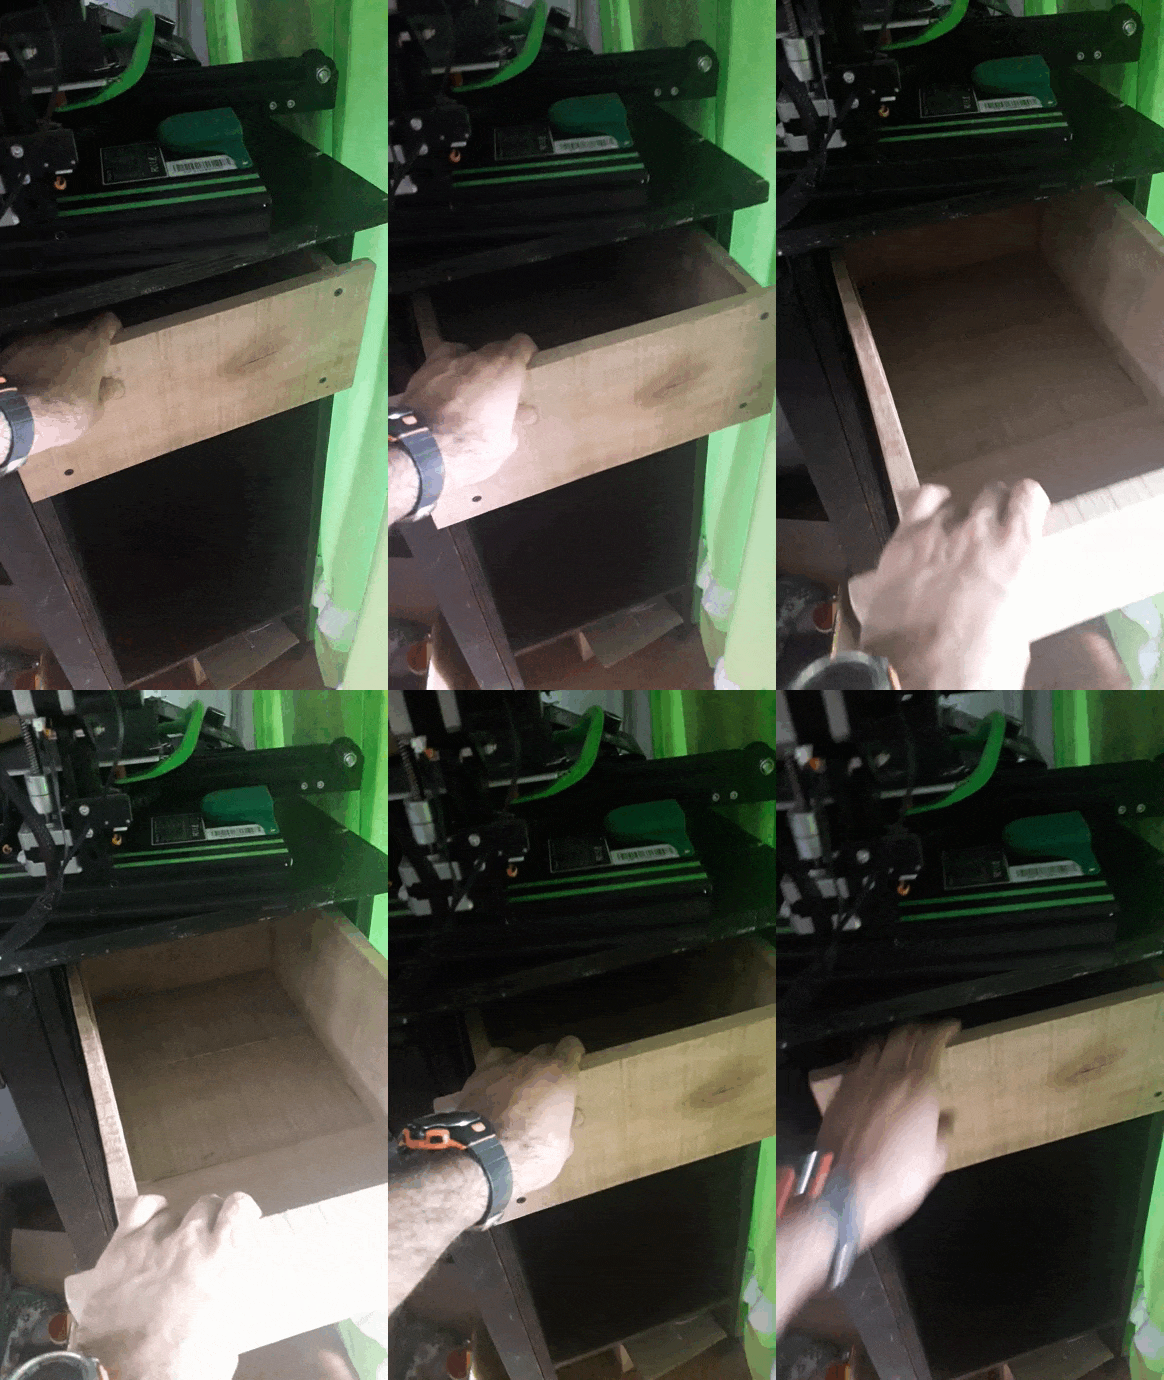
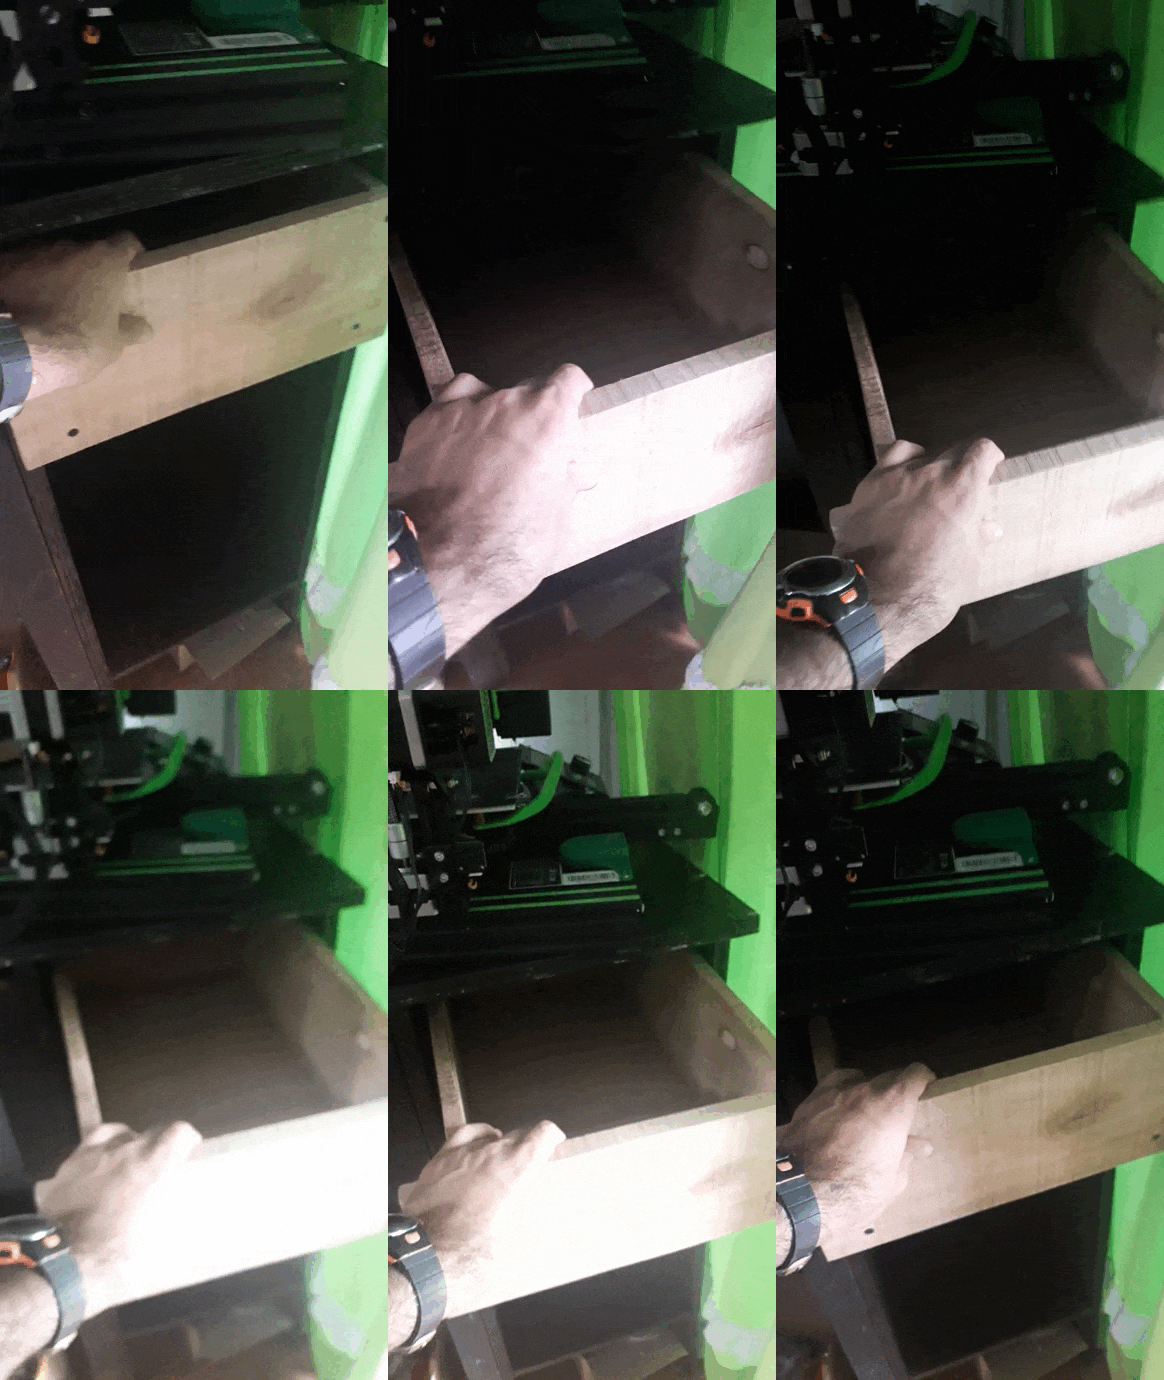
20230111_144356.gif20230111_144346.gif
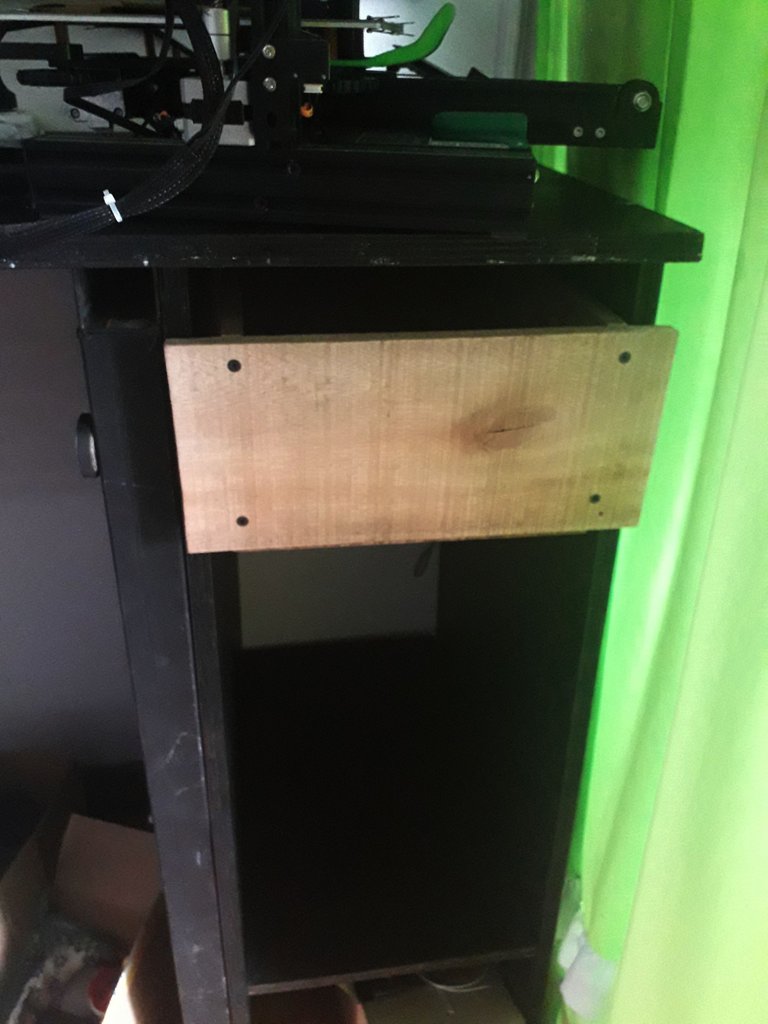
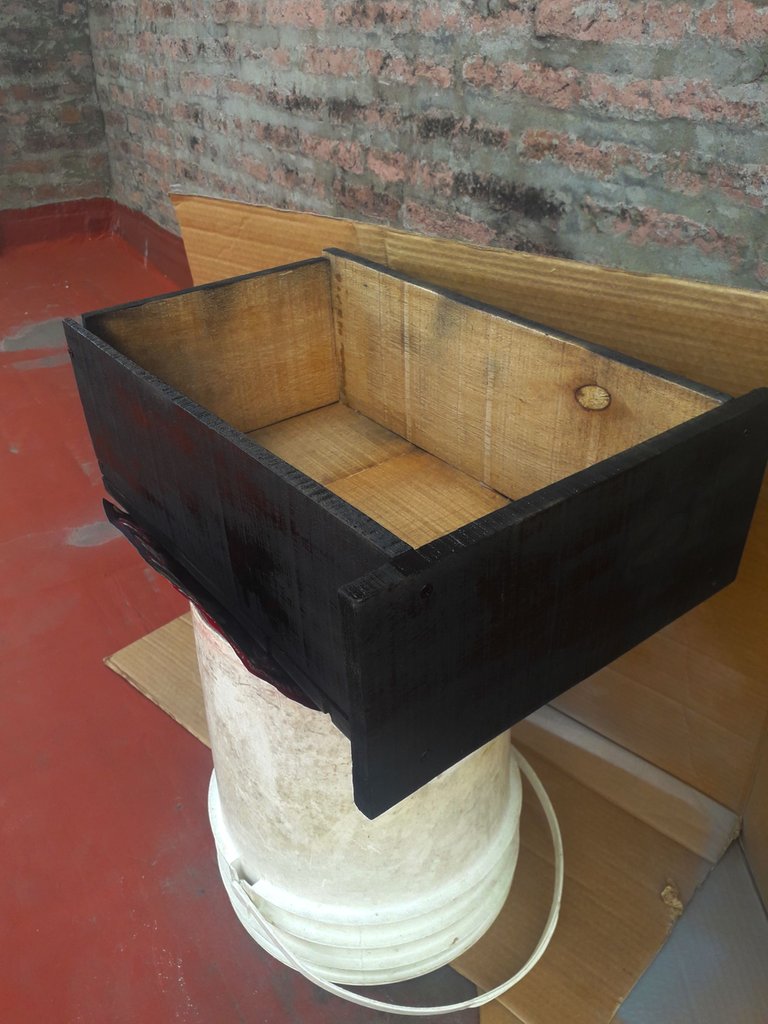
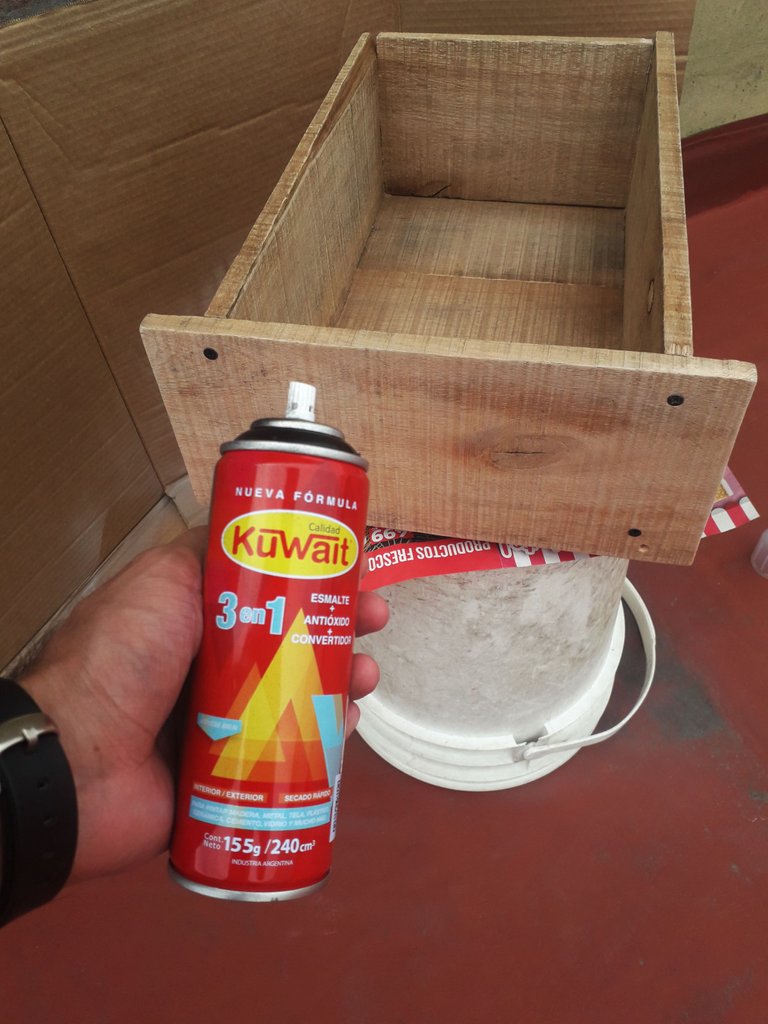
By this point I had a functional drawer, I may have struggled to get it to run correctly on the slide, but it did the job. So I removed the drawer, removed the slides and went to the roof of my building to paint. At first I was going to use a drill bit and canned paint to paint, but I made the mistake of leaving the paint on the balcony of my house causing it to dry so plan B was to use a black spray paint. I didn't have much left, but it was enough to coat everything.
Para este punto ya tenía un cajón funcional, tal vez me costaba que corriera correctamente en la guía, pero cumplía con lo necesario. Así que quite el cajón, retire las guías y fui a la terrada de mi edificio a pintar. En un comienzo iba a utilizar broca y pintura en lata para pintar, pero cometí el error de dejar la pintura en el balcón de mi casa provocando que se secara asi que el plan B era usar una pintura negra en aerosol. No me quedaba mucha, pero fue suficiente para recubrir todo.
20230112_143518.png 20230112_145042.png
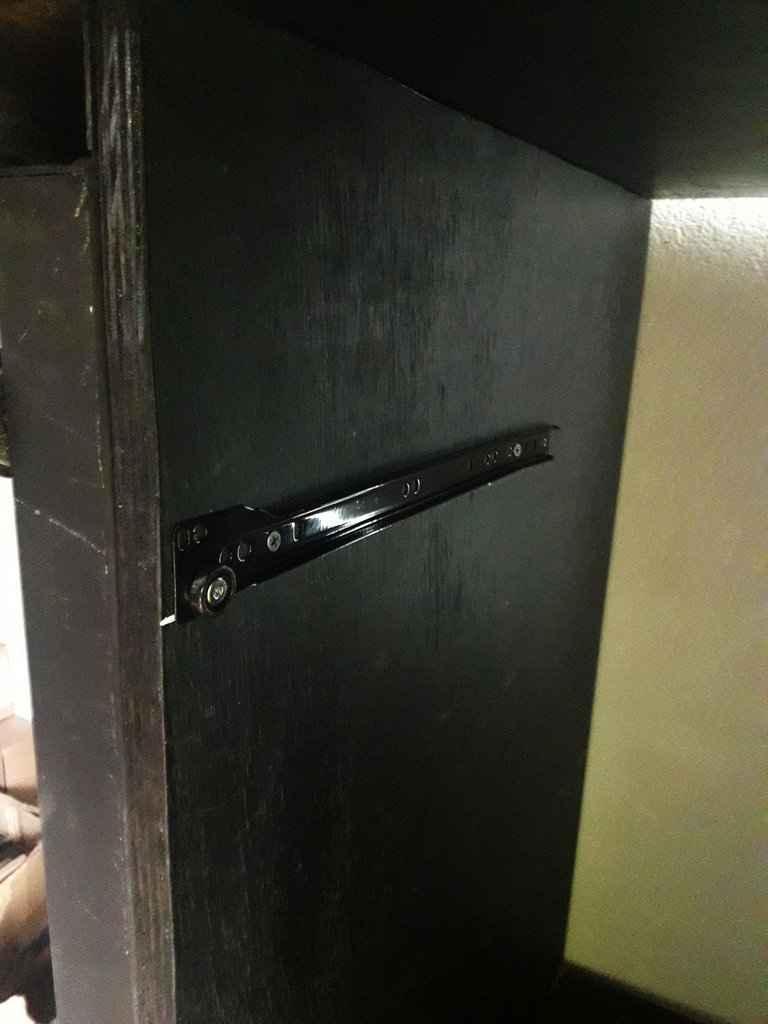
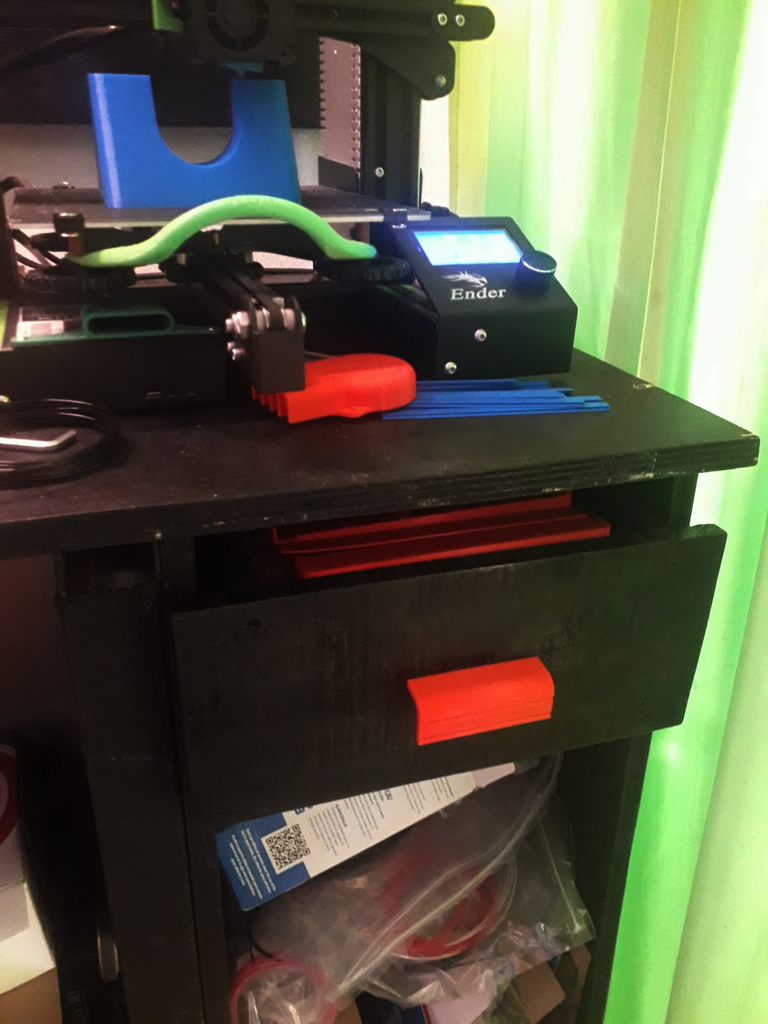
I waited for it to dry, sprayed a fixative to protect the paint and placed the guides, now I needed a handle for my drawer to be ready so I looked for a handle that I found interesting on the internet, downloaded its file and printed it in 3D to finally finish my work.
Espere a que secara, le rocié un fijador para proteger la pintura y coloque las guías, ahora necesitaba una manija para que mi cajón estuviera listo así que busque una manija que me pareciera interesante por internet, descargue su archivo y lo imprimir en 3D para finalmente culminar con mi trabajo.

WhatsApp Image 2023-02-26 at 19.02.20.png

What did you think? Maybe it is a short project that seems simple, but making a drawer, placing it and making it work I assure you it is not. I hope to be able to make the second drawer later, although this one is quite spacious. Thank you very much for reading and sharing with me my achievements, we are reading each other.
¿Qué les ha parecido? Tal vez es un proyecto corto que parece sencillo, pero hacer un cajón, colocarlo y que funcione les aseguro que no lo es. Espero más adelante poder hacer el segundo cajón aunque este es bastante espacioso. Muchísimas gracias por leer y compartir conmigo mis logros, nos estamos leyendo.

END.png

My 3D printing works @nit_3dprinting

Mis trabajos de impresión 3D @nit_3dprinting
Translated by DeepL
Traducido con DeepL
All images are my own
Todas las imágenes son de mi autoría

My last post "A Journey into the Light: Exploring the World of OMNO". [ENG-ESP]
Mi último post "A Journey into the Light: Exploring the World of OMNO". [ENG-ESP]

Sort:  

Congratulations @nitsuga12! You have completed the following achievement on the Hive blockchain And have been rewarded with New badge(s)

You got more than 2250 replies.
Your next target is to reach 2500 replies.

You can view your badges on your board and compare yourself to others in the Ranking
If you no longer want to receive notifications, reply to this comment with the word STOP

I'm a huge fan of recycling and am very happy to see you creating something with recycled material. I keep telling you, you're a magician my friend :D

Gracias @erikah leer tus comentarios y las buenas vibras que dejas siempre me alegran el dia. A veces uno no es tan ecologista por gusto sino porque quiere ahorrarse algo de dinero jajaja pero en mi caso es por ambas cosas.

You are leagues ahead of your peers. It makes me happy to see you recycling and building such a nice workspace.
I would be honored to meet you in person one day and exchange our insights with the things we do :)

Realmente tambien me gustaría conocerte son contadas con los dedos a las personas que aprecio muchísimo dentro de hive y la verdad que como contas las cosas que haces siento como si nos conociéramos de toda la vida

A proper manly work. That reminds me to get off my computer and get my place in order. It's been long overdue :/

JAJAJAS al menos para mi es esencial tener mi área de trabajo ordenada porque cuando empiezan a caer pedidos son muchos y esto me ayuda a saber donde tengo cada cosa y ahorrarme tiempos.