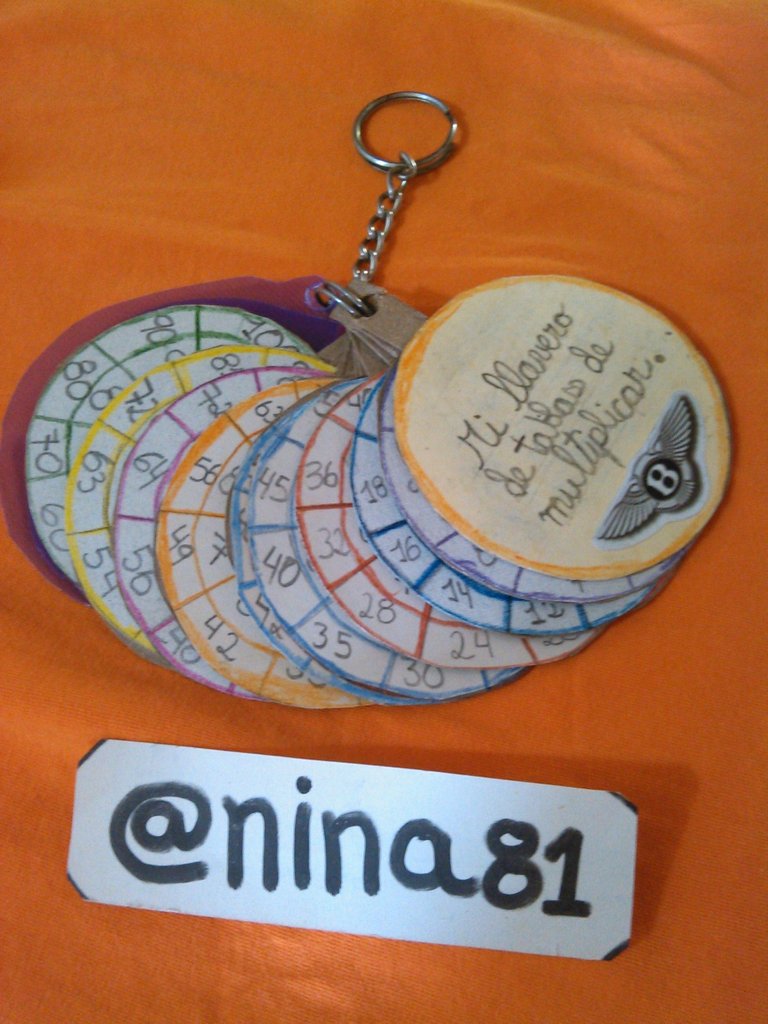
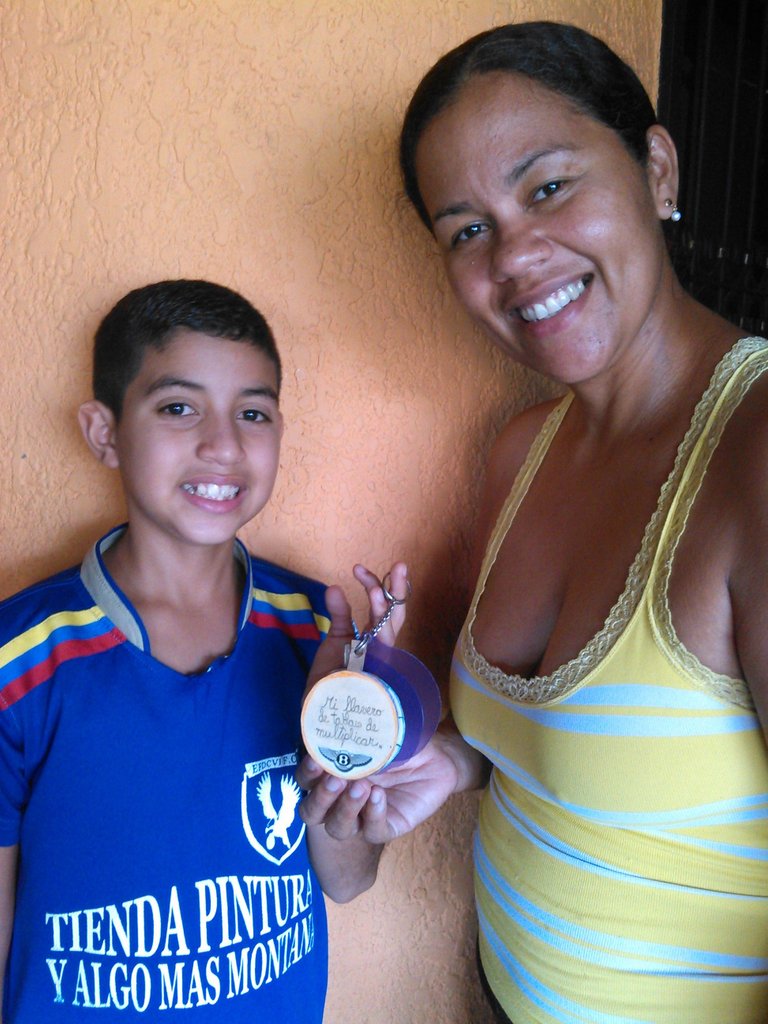
Hola amigos de Hive Diy, es un placer para mí saludarles, esta es mi primera publicación en esta comunidad, hoy les muestro la realización de un llavero con las tablas de multiplicar para mi hijo Sebastián, es una de sus actividades escolares y le entusiasmó hacerla. Utilizamos material reciclado, sin más preámbulos les comparto el paso a paso.
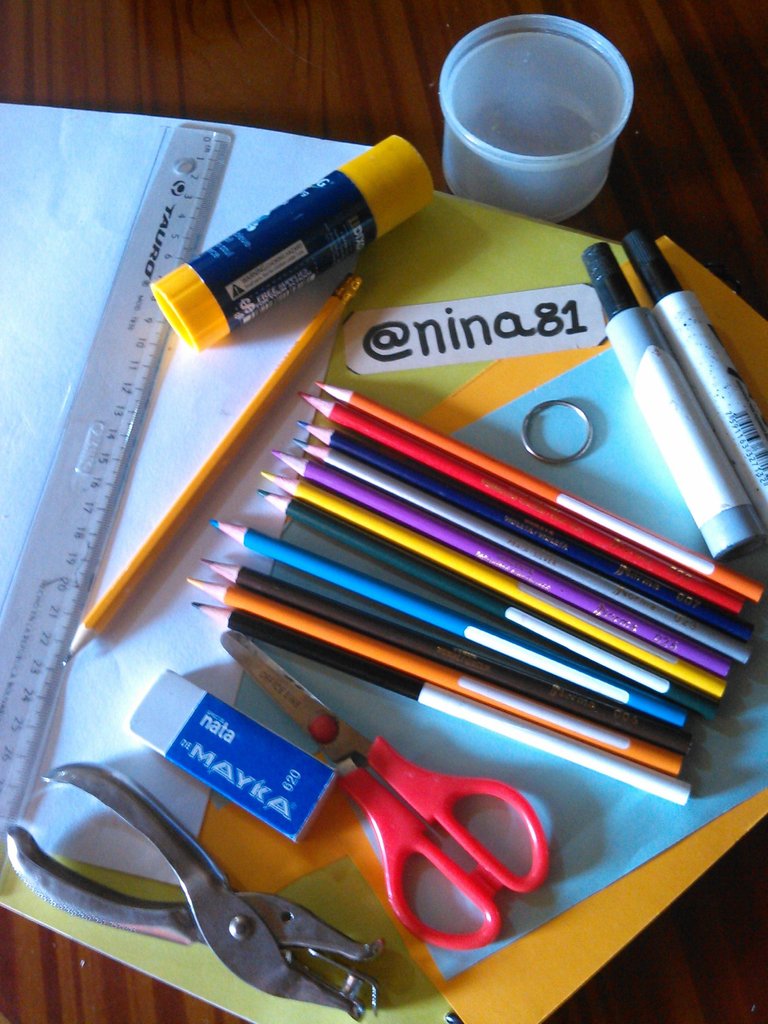
Materiales:
- Cartulina.
- Colores.
- Tijera.
- Marcadores.
- Pega de Barra.
- Regla.
- aro para llaves.
- Perforador.
Paso a Paso
Paso # 1:
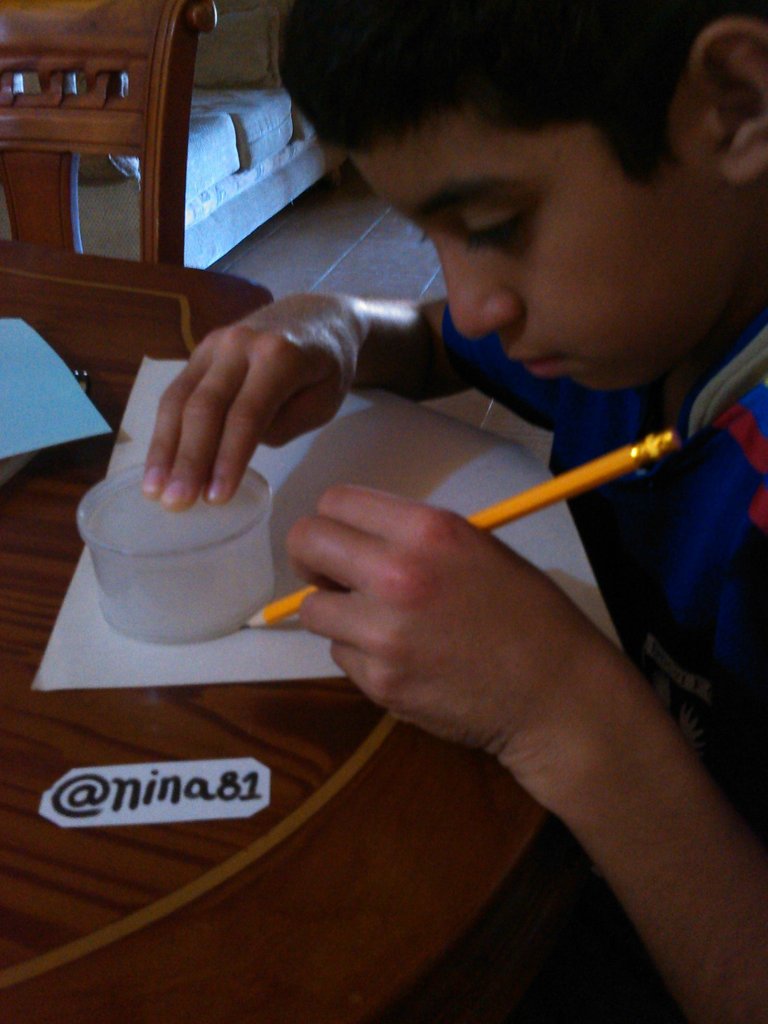
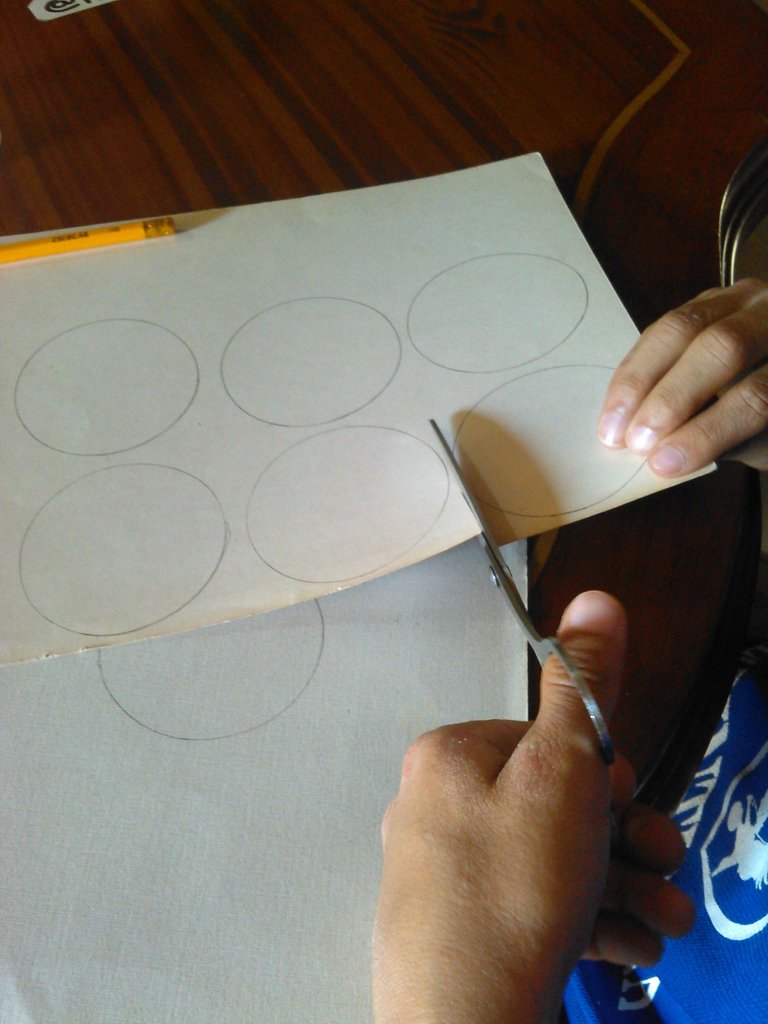
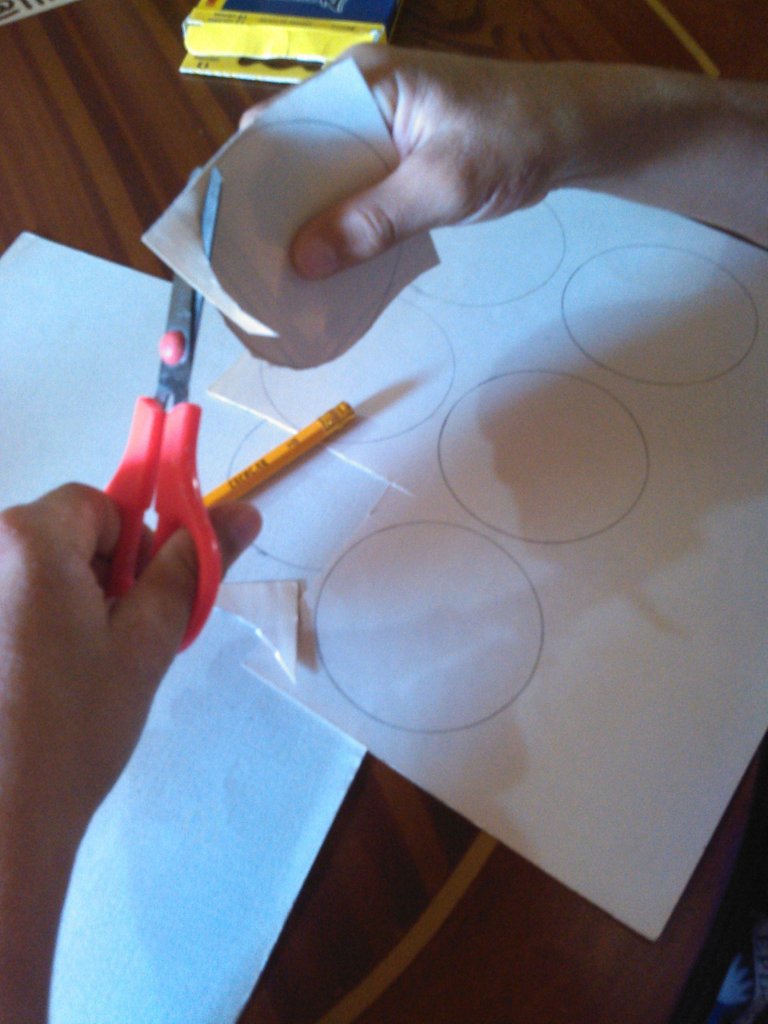
Dibujar un círculo de 7 cm de diámetro, para luego recortarla y de esta manera tener un molde o patrón.
Paso # 2:
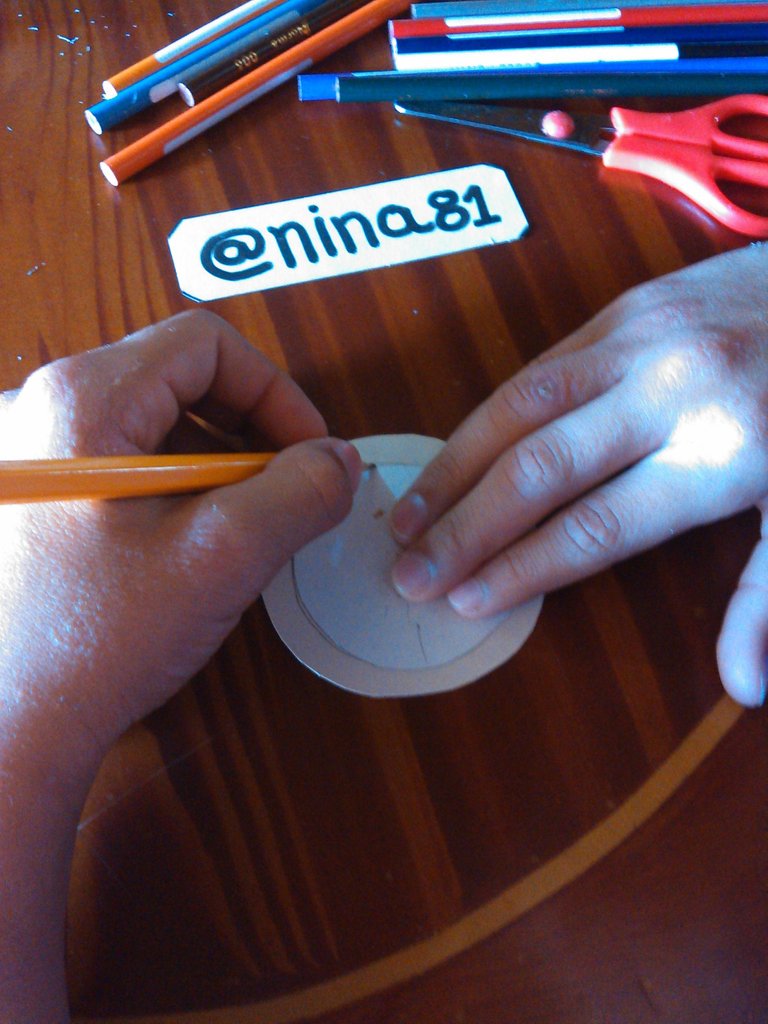
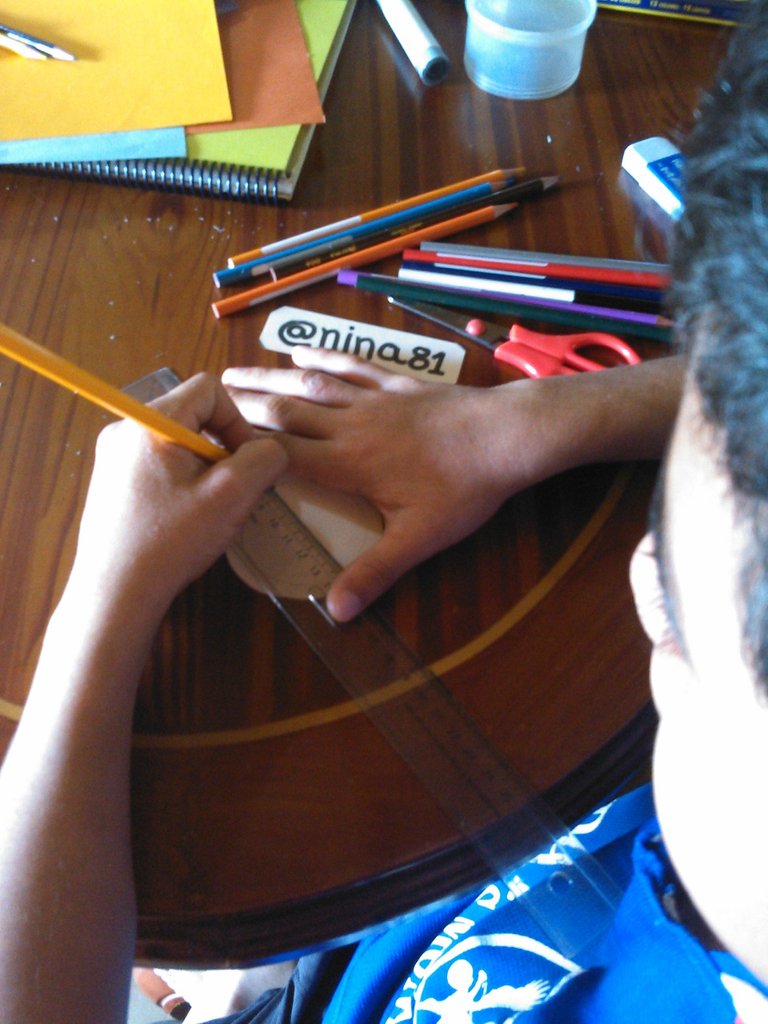
Con la ayuda de otro círculo de 5 cm de diámetro, marca en el círculo anterior. A continuación, divídelo en 10 partes con colores o marcadores.
Paso # 3:
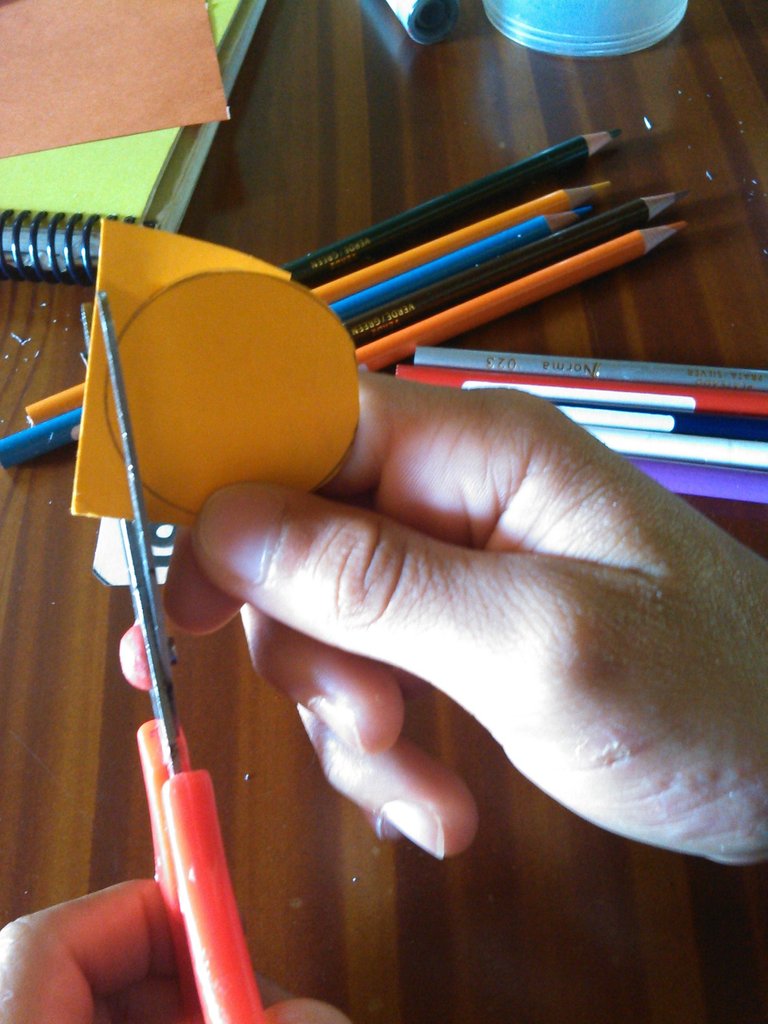
Se dibuja un círculo en la cartulina de color, de 3 cm de diámetro, se recorta y se pega encima de lo ya hecho.
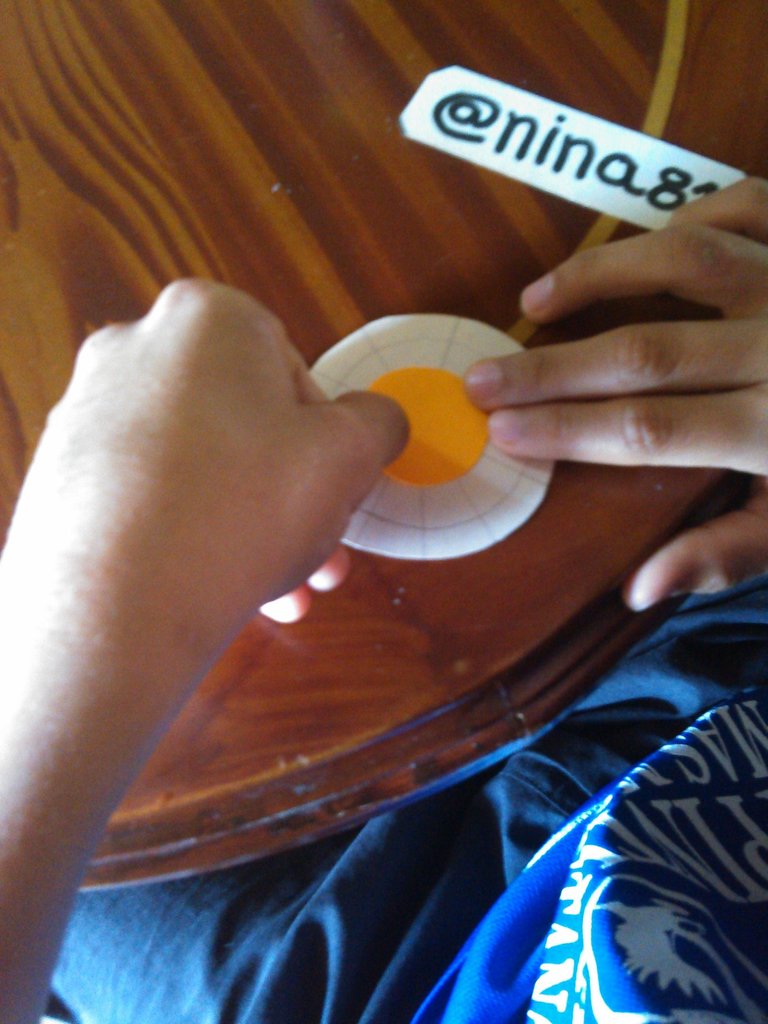
Paso # 4:
Una vez terminado, se escriben las tablas de multiplicar en cada uno de los círculos y se colocan en el llavero.
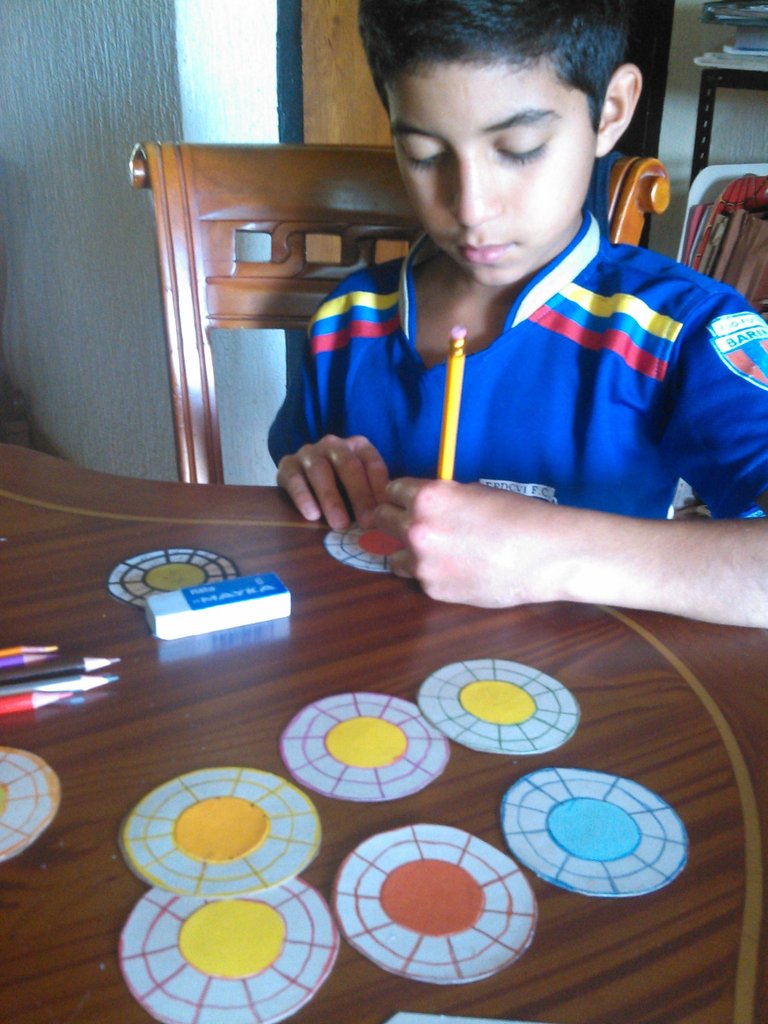
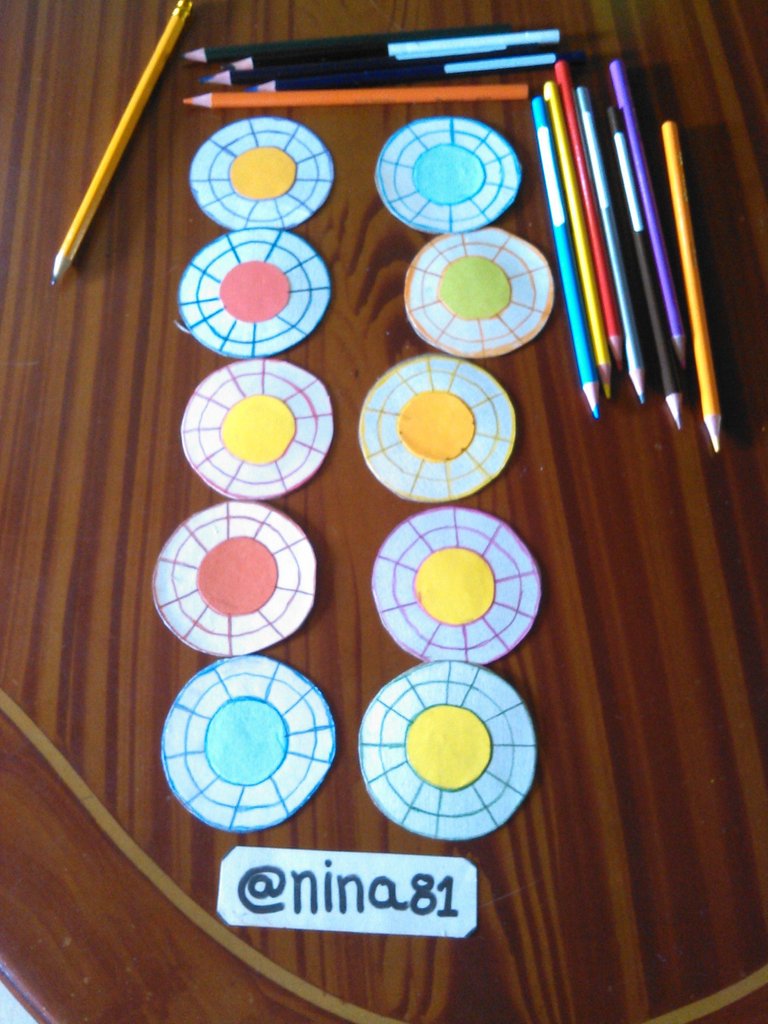
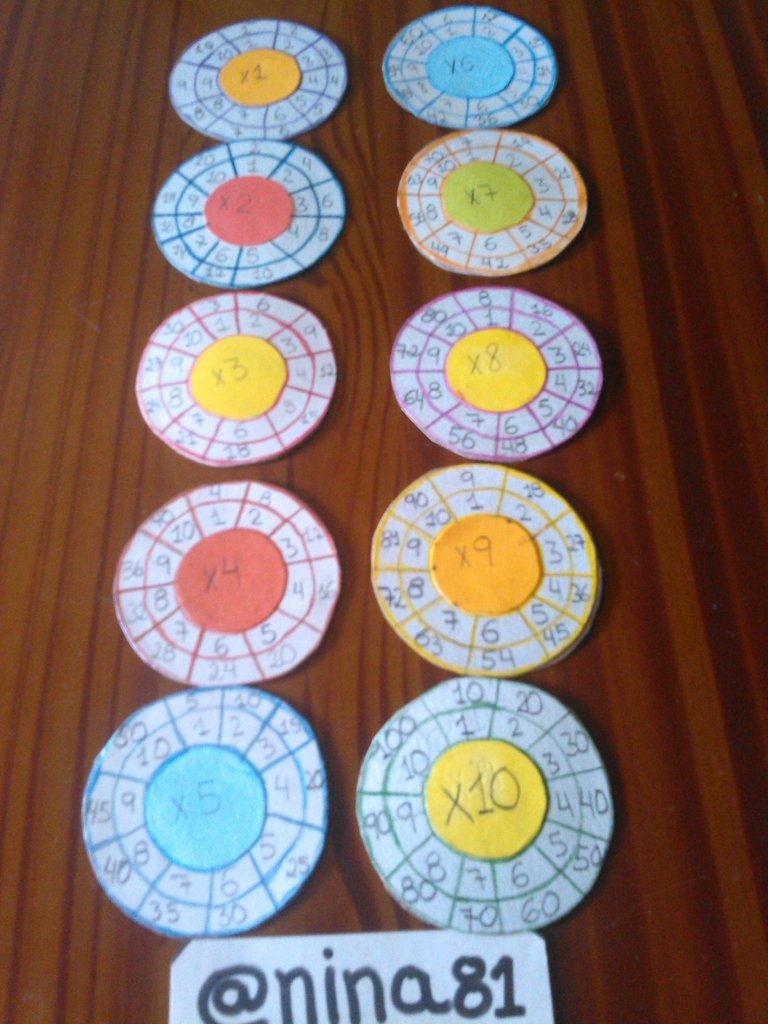
Resultado Final
Resultado Final

De esta forma tan sencilla y con materiales reutilizables hicimos el Llavero de las Tablas de Multiplicar, material que Sebastián utilizará en sus actividades escolares. Espero que le haya gustado tanto como a nosotros.
Las fotos son originales de @nina81
Traducido con Deel Translator.

English Version
Hello friends of Hive Diy, it is a pleasure for me to greet you, this is my first publication in this community, today I show you the realization of a keychain with the multiplication tables for my son Sebastian, and it is one of his school activities and he was excited to do it. We used recycled material, without further ado I share with you the step by step.

Materials:
- Cardboard.
- Colors.
- Scissors.
- Markers.
- Stick glue.
- Ruler.
- Key ring.
- Perforator.

Step by Step:
Step #1:
Draw a circle of 7 cm in diameter, and then cut it out to have a mold or pattern.


Step #2:
With the help of another circle of 5 cm in diameter, mark on the previous circle. Then divide it into 10 parts with colors or markers.


Step #3:
Draw a circle on the colored cardboard, 3 cm in diameter, then cut it out and glue it on top of what has already been done.


Step #4:
After completion, the multiplication tables are written in each of the circles and placed in the key ring.


Final result:
Final result:

In this simple way and with reusable materials we made the Multiplication Tables Keychain, material that Sebastian will use in his school activities. I hope he liked it as much as we did.

The photos are original by @nina81
Translated with Deel Translator.
