

¡¡Holis!!Mis queridísimos Hiver's Feliz noche del domingo 🌃...
¡¡Holis!! My dearest Hiver's Happy Sunday night 🌃...
This week was full of activities in the postgraduate degree that I just started, so studying again requires a lot of will. I want to show you how I made a very useful instrument when it comes to school presentations at different levels, the first time I have done it despite being a usual learning resource. I am referring to a paraban or in this case a mini paraban.
The paraban in education becomes an ally to develop a topic or several topics, with the purpose of facilitating the understanding of the content either by combining texts, images, statistics , without being overloaded with information. Follow me and I'll tell you how it was made...
Materiales - Materials
🔅Cartón reciclado de cajas - Recycled cardboard from boxes.
🔅1 Pliego de papel Bond - 1 sheet of Bond paper.
🔅Pega en barra - Stick on stick.
🔅Cinta plástica - Plastic tape.
🔅Foami azul - Blue foam.
🔅Tijeras - Scissors.
🔅Impresiones realizadas a computador - Computer prints.
🔅Marcadores finos y grueso - Thin and thick markers.
🔅 Hojas blancas - White sheets.
🔅Lápiz - Pencil.
🔅Regla - Ruler.
🔅Exacto - Exact.
Procedimiento - Procedure
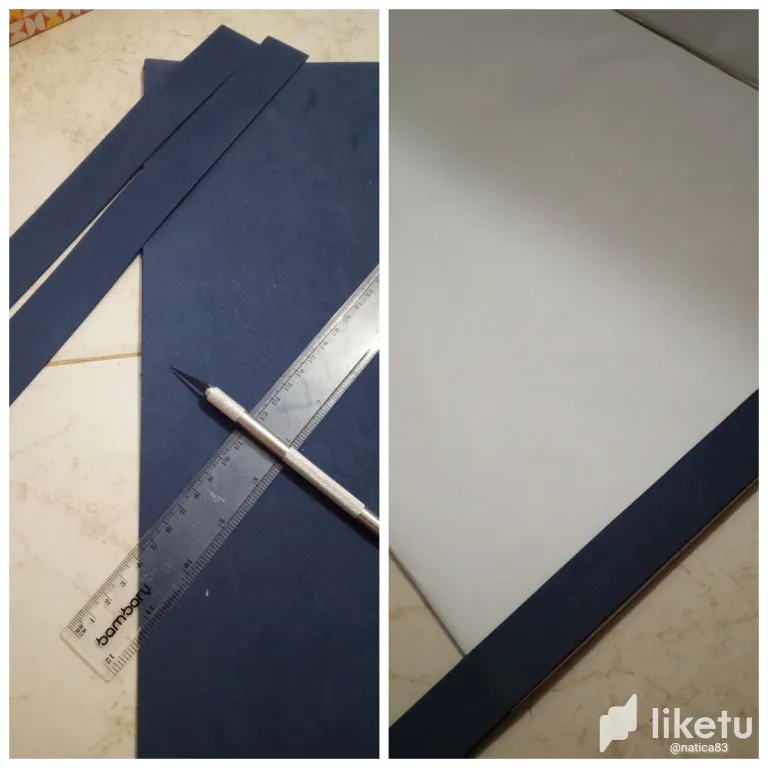
With the help of a cutting knife or scalpel, I cut out the parts that we will use from the cardboard box. The reference for this type of resource is 1.40 cm wide by 80 cm high, while the one you make is 70 cm wide by 60 cm high. As you will notice, it is a mini paraban, however the teacher left open the possibility of playing with the size on this occasion.
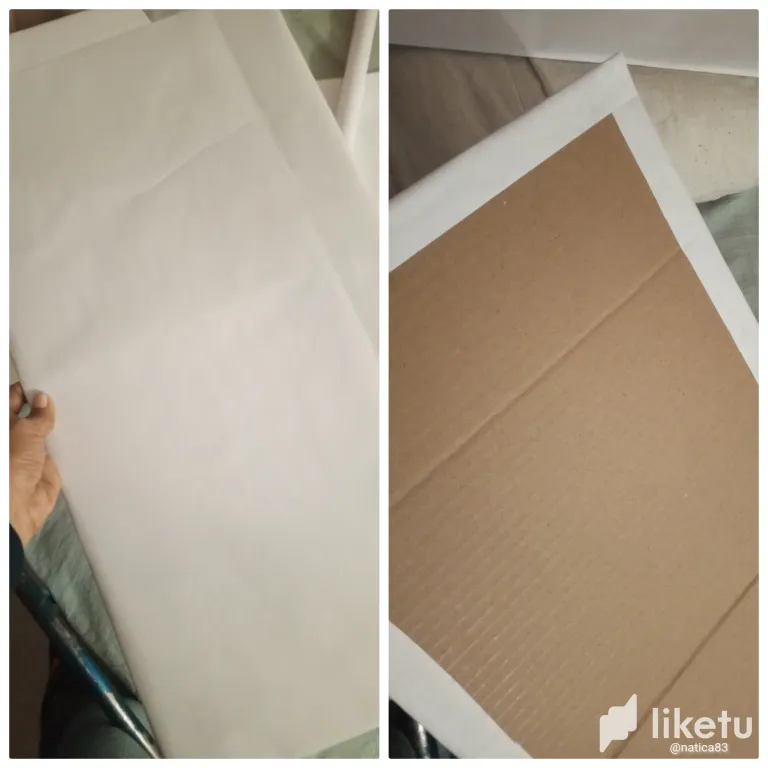
To join the two sides that I took out of the box, I used wide, well-reinforced plastic tape, and then covered it with Bond paper.
As we are in graduate classes, everything is oriented, even the measurements of the frames, the colors, everything. The frame I made is dark blue and 3 cm wide in foam. I did not place the entire souvenir, because the space would become smaller. I only placed it on the top and bottom.
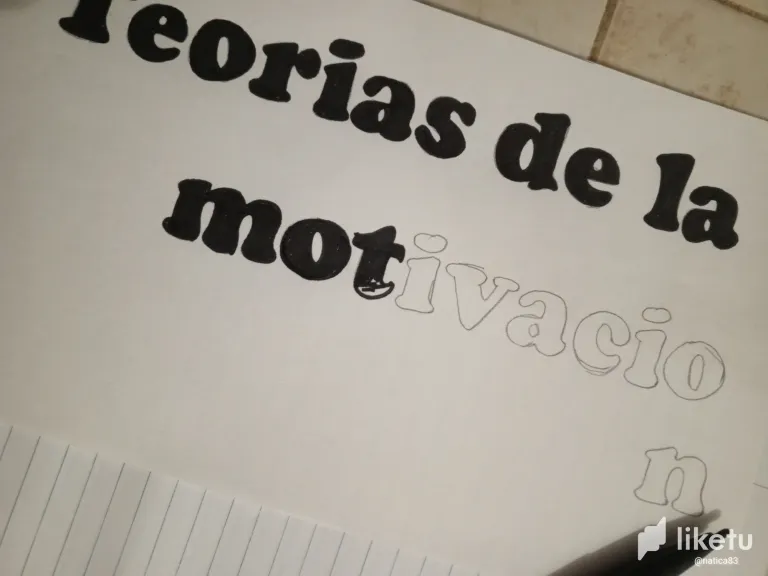
The letters of the title had to be black, they can be printed, however I made them on white sheets myself and then painted them with black marker and cut out the complete words.
To maintain order in the paraban space, I calculated the sizes of the images and subtitles and cropped them. To secure them I stuck them with double-sided tape.
To add keywords that would allow me to link the information without having to include too much text, I cut out boxes in blue foam 💙 and mounted sentences or words there.
The result was better than I expected for it being the first time I have made a poster of this type. I always recognize the ability of many teachers when it comes to doing work like this, even modern, beautiful, and endless crafts.
The parabans have new characteristics, now the binding words are hidden, springs and magic closures are used so as not to damage the cardboard and so that it can be used for other jobs, but we continue learning.
For now the presentation was very good, the professor offered good impressions about my work and that of most of the classmates, the paraban was not the largest or most modern, but It met the objective 🎯 and I am happy with the effort and the results.
Es todo por esté tutorial. Nos encontramos en un próximo trabajo 💙🎯⚙️...
That's all for this tutorial. We meet at an upcoming job 💙🎯⚙️...

Creditos - Credits

For the best experience view this post on Liketu