Tutorial Silabario mágico| Tutorial Magic Syllabary
Hola hivers! Espero estén muy bien hoy, quiero compartir con ustedes cómo realizar un Silabario mágico, este es un juego didáctico que he realizado para mí hija y que tiene como finalidad que aprenda a separar en silabas.
He combinado el Silabario tradicional con una pizarra mágica, para hacer que esté juego sea interactivo y fácil para los niños, si quieres saber como se hace acompáñame!
Hello hivers! I hope you are very well today, I want to share with you how to make a magical Syllabary, this is a didactic game that I have made for my daughter and its purpose is that she learns to separate into syllables.
I have combined the traditional Syllabary with a magic board, to make this game interactive and easy for children, if you want to know how to do it join me!
- Base de cartón ♻️ en mi caso tome el cartón que trae una sabana nueva.
- Cartulinas de colores y separadores
- Silicón líquido
- Hoja blancas
- Fundas transparentes
- Colores y marcadores
- Impresiones
- Foami
- Cardboard base ♻️ in my case I took the cardboard that comes with a new sheet.
- Colored cardboard and dividers
- Liquid silicone
- White sheet
- Transparent covers
- Colors and markers
- Prints
- Foami
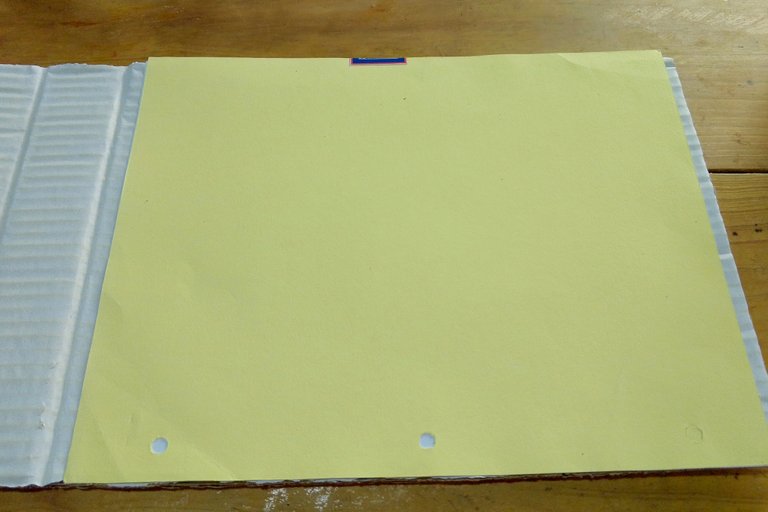
Iniciamos forrando con cartulina la base de la pizarra, este es un separador que estoy reutilizando y que casualmente es del mismo tamaño del cartón que he elegido.
We start by lining the base of the board with cardboard, this is a divider that I am reusing and that happens to be the same size as the cardboard I have chosen.
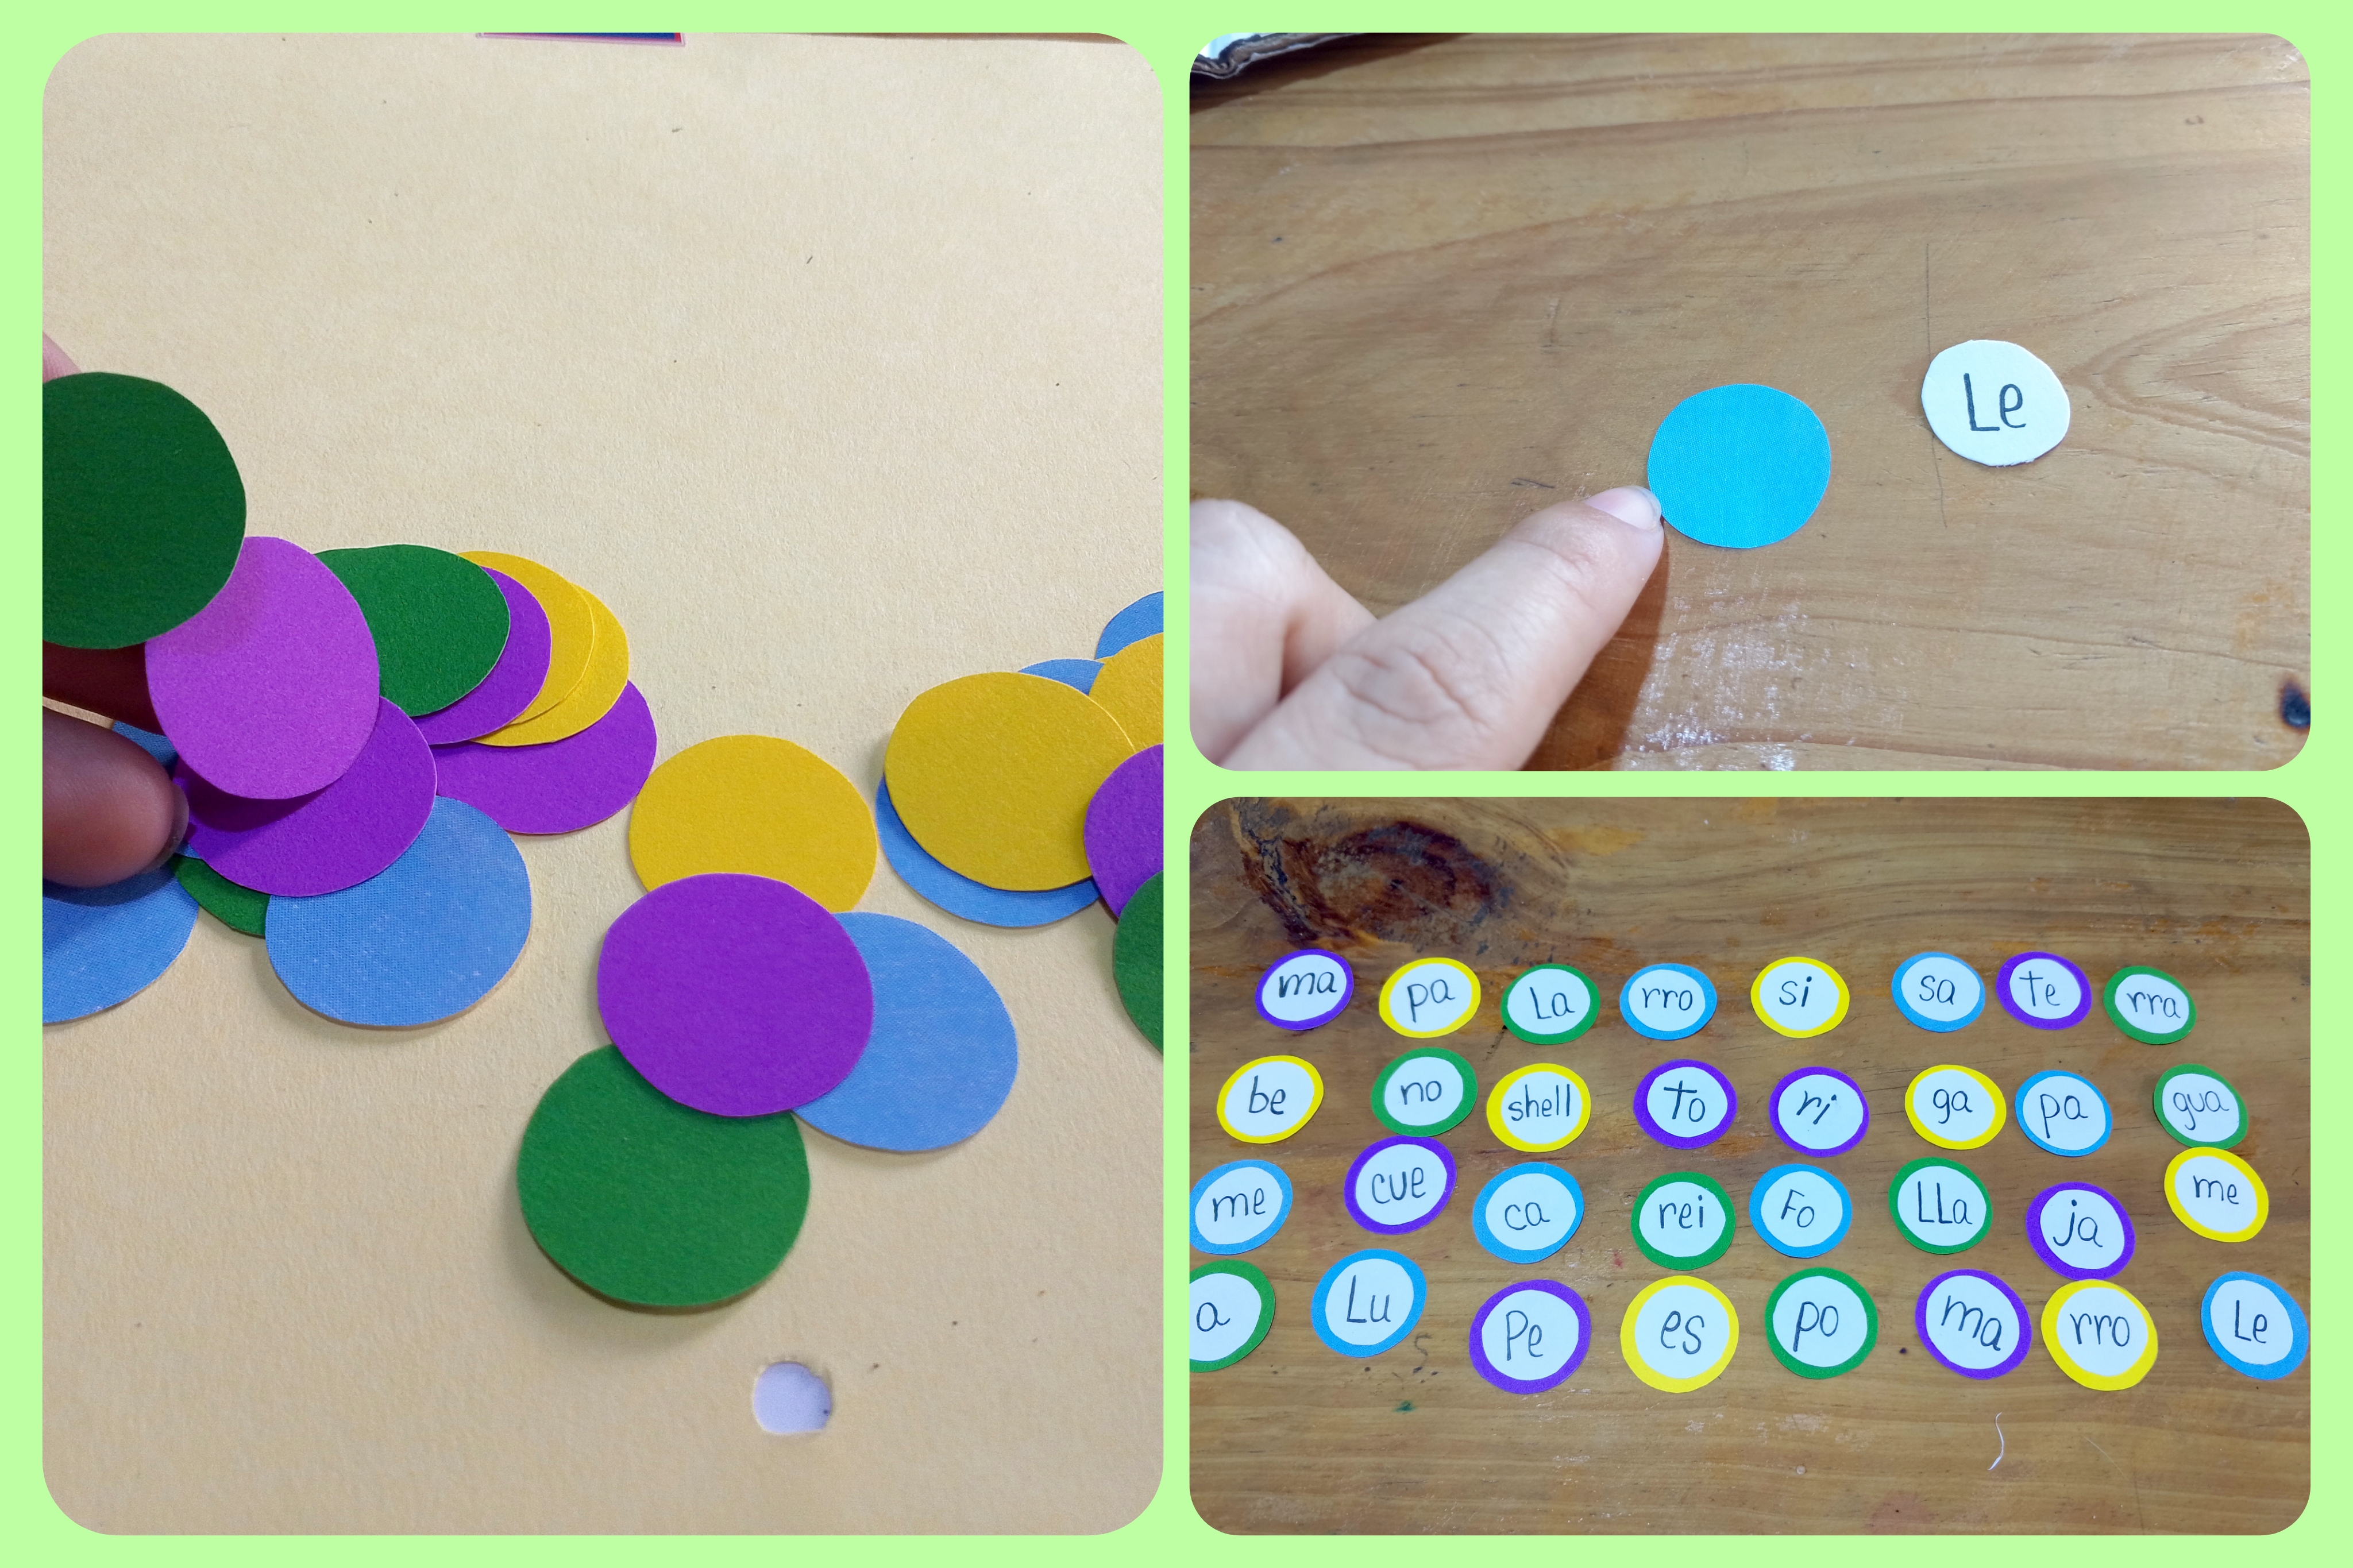
Hice una lista de 20 palabras, las separe en silabas para ver cuáles silabas iba a utilizar, imprimi las figuras de esas palabras que elegí en tamaño 4x4 cm.
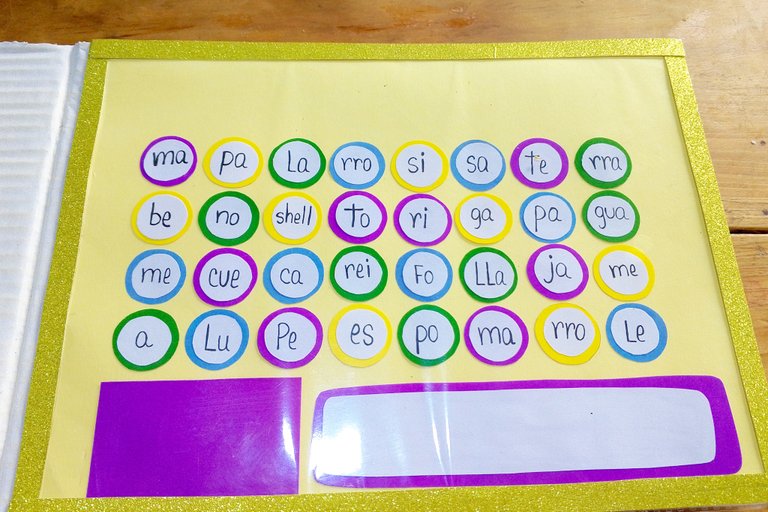
Seguidamente recorte círculos de colores y círculos blancos con un diámetro inferior, con marcador dibuje cada sílaba en los círculos blancos y pegué sobre los círculos de colores, debe verse asi como en la imagen a continuación
I made a list of 20 words, separated them into syllables to see which syllables I was going to use, printed the figures of those words I chose in size 4x4 cm.
Then I cut out colored circles and white circles with a smaller diameter, with a marker I drew each syllable in the white circles and glued them on the colored circles, it should look like the image below.
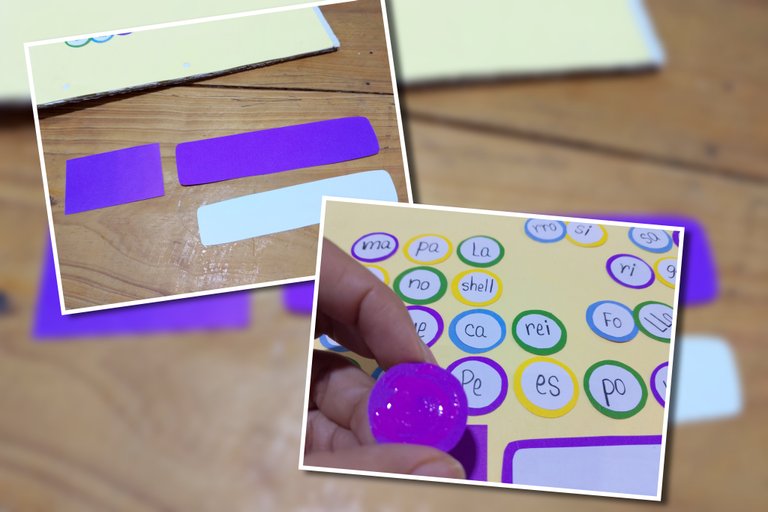
Recorte también una tira de cartulina morada (medidas 15 cm de ancho por 4 cm de largo) y otra con un diámetro menor en papel, estás delimitan el espacio para que se escriba la separación en silaba de la figura que se elija, también un rectángulo de 4 x 6 cm para colocar la figura.
Ubique los círculos en la base, dejando un espacio para el título arriba y abajo irían los rectángulos que acabo de recortar, pegue todo.
Also cut out a strip of purple cardboard (measuring 15 cm wide by 4 cm long) and another with a smaller diameter in paper, these delimit the space to write the syllable separation of the figure of your choice, also a rectangle of 4 x 6 cm to place the figure.
Place the circles on the base, leaving a space for the title above and below would be the rectangles that I just cut out, glue everything.
Coloque una funda transparente a la mitad del cartón, agregue silicón líquido para fijar bien, de este modo se puede utilizar marcador acrílico sobre la superficie, debe verse así:
Place a transparent cover on half of the cardboard, add liquid silicone to fix it well, this way you can use acrylic marker on the surface, it should look like this:

Recorte tiras de cartulina de 1 cm para crear un borde, pegue con silicón.
Agregue algunos detalles como el título que dice "separa en sílabas", impresiones a color, las cuales le coloque un foami en la base para darle un mejor acabado.
Cut 1 cm strips of cardboard to create a border, glue with silicone.
Add some details such as the title that says "separates in syllables", color prints, which I placed a foami on the base to give it a better finish.
Luego forre el resto del cartón con cartulina amarilla y hojas blancas, decore la portada con impresiones, colores y marcadores.
Then line the rest of the cardboard with yellow cardboard and white sheets, decorate the cover with prints, colors and markers.
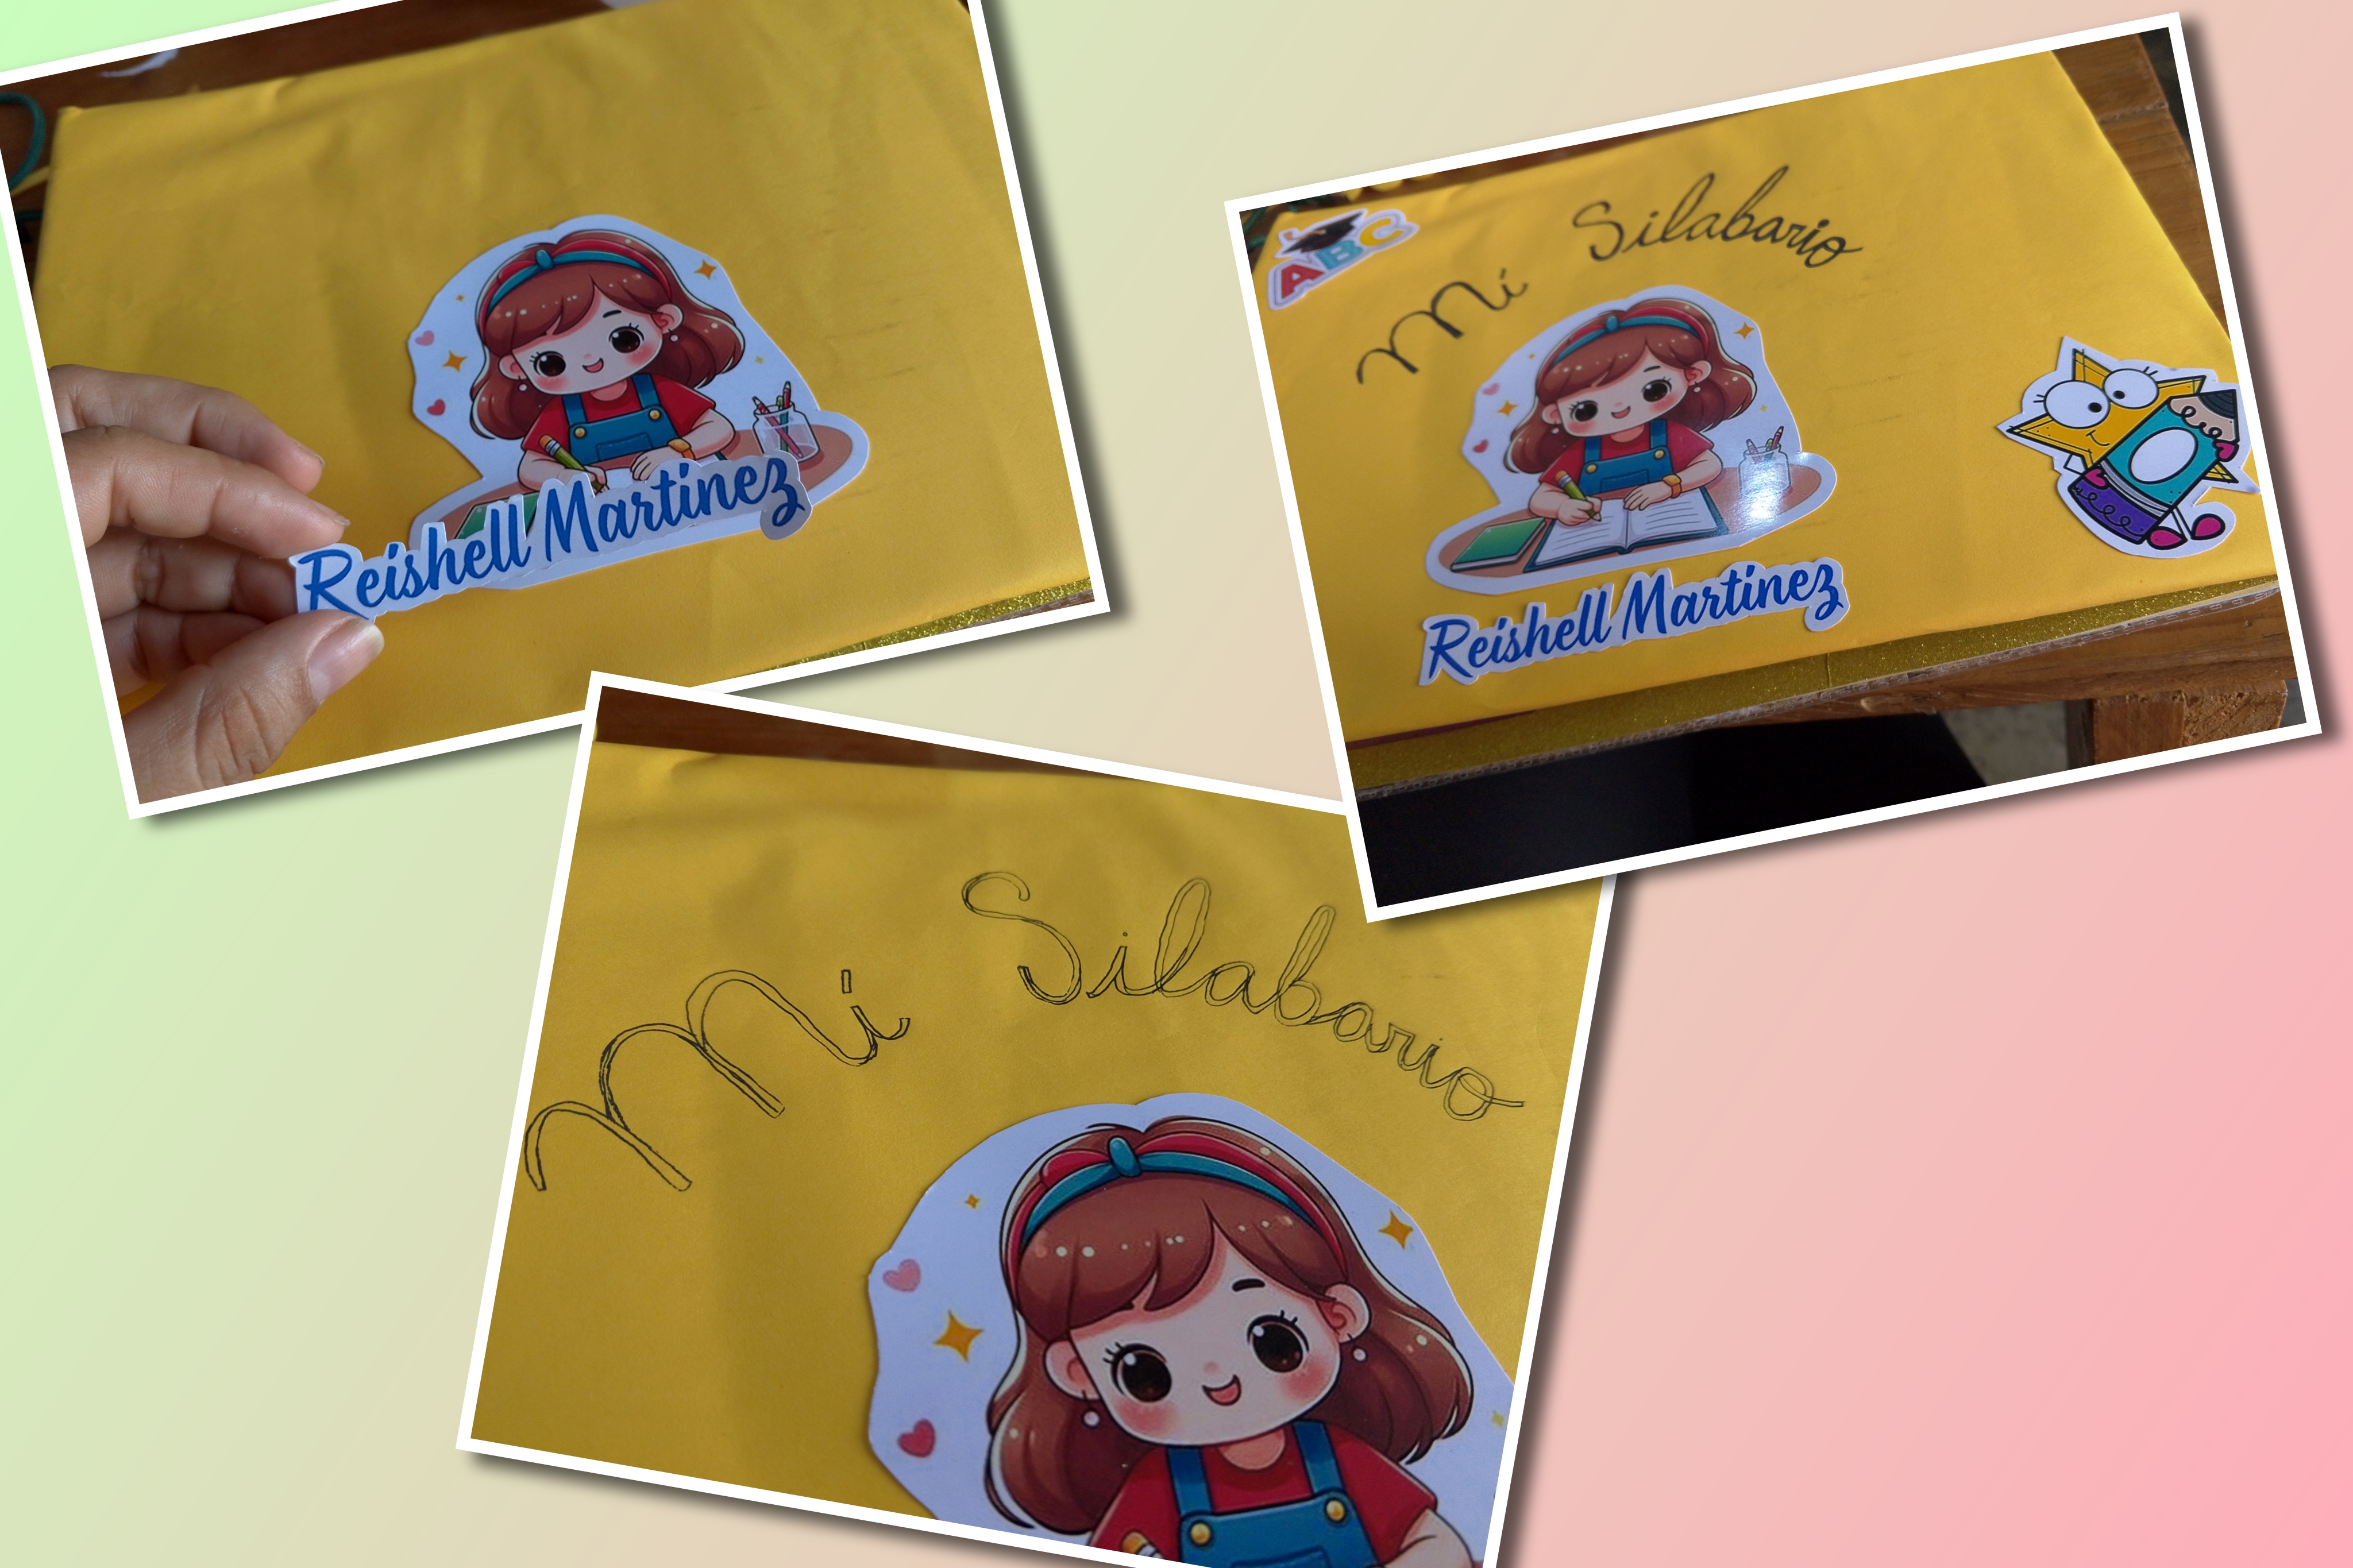
Una vez que tenía todo listo, coloque otra funda de papel transparente, de este modo todo el libro quedó forrado asi que se puede escribir sobre él con marcador acrílico para tener la función de una pizarra mágica casera.
Once I had everything ready, I put another transparent paper cover, this way the whole book was lined so you can write on it with acrylic marker to have the function of a homemade magic board.
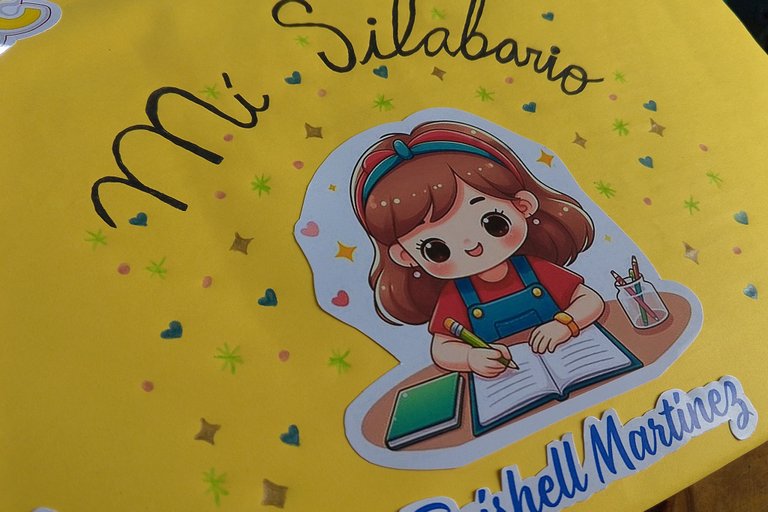
Para finalizar, con foami y funda transparente realice un espacio para colocar las tarjetas con la figuras de las palabras que se van a separar en silabas y también un espacio para colocar el marcador.
Finally, with foami and a transparent cover, make a space to place the cards with the figures of the words that are going to be separated into syllables and also a space to place the marker.
Mi hija quedó encantada con este Silabario mágico y se que es un juego didáctico muy útil para que aprenda a separar en silabas de una forma muy entretenida y divertida
My daughter was delighted with this magical syllabary and I know that it is a very useful educational game for her to learn to separate syllables in a very entertaining and fun way.

Original content for hiveblog, photos of my authorship, edited in the app incollage, Cover and gif created in the canva app. Infinix Hot 40i phone, Cantaura - Venezuela.
Separador Banner editado en Canva


