Hello Hivebloggers!
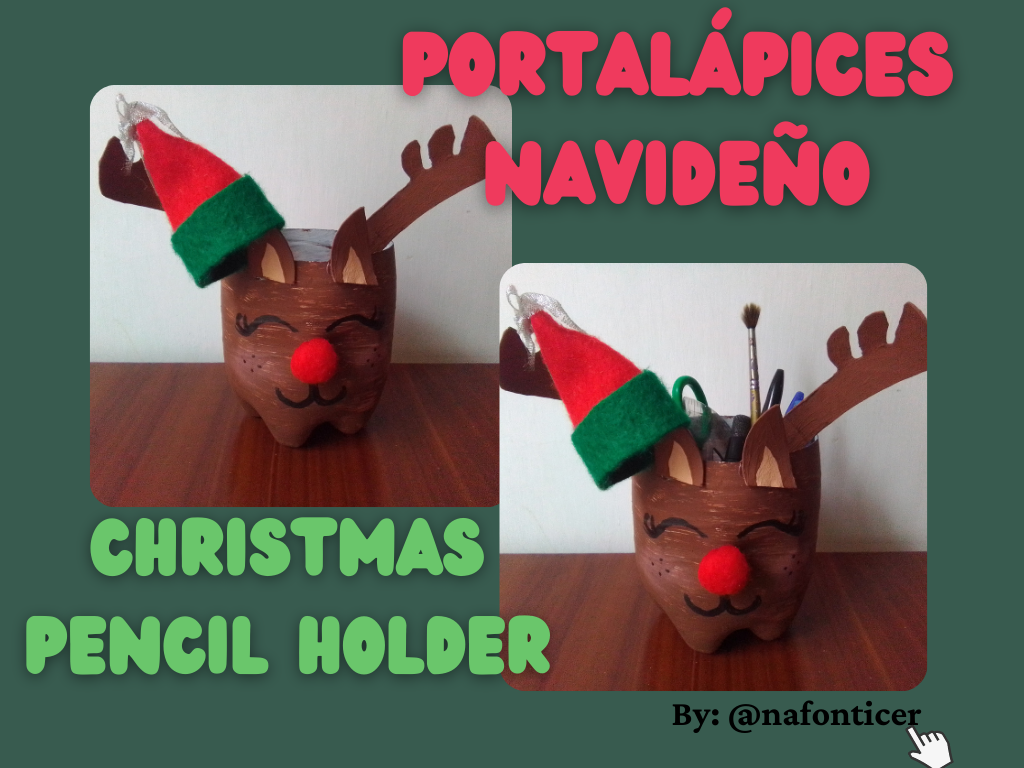
I'm excited to share with you this time a craft I made with scrap materials. I made it with a little help from my mom and my sister @dfonticer18. It is a Christmas Pencil Holder in the Shape of a Christmas Reindeer.
Materials I used:
🌟 1 soda bottle
🌟 Cold paint in white, brown and flesh colored paint
🌟 Foam rubber
🌟 2 cardboard toilet paper rolls
🌟 1 small piece of red felt
🌟 String
🌟 Black marker and pencil
🌟 Ruler
🌟 Silicone stick
🌟 Scissors
Elaboration:
🎄 The first thing I did was to remove the label from the soda bottle. Then I washed it inside and out to make sure it was completely clean.
🎄 With the help of a ruler and a marker I marked 10cm on the bottom of the bottle and, having the mark as a reference, I finished making a line around the bottle.
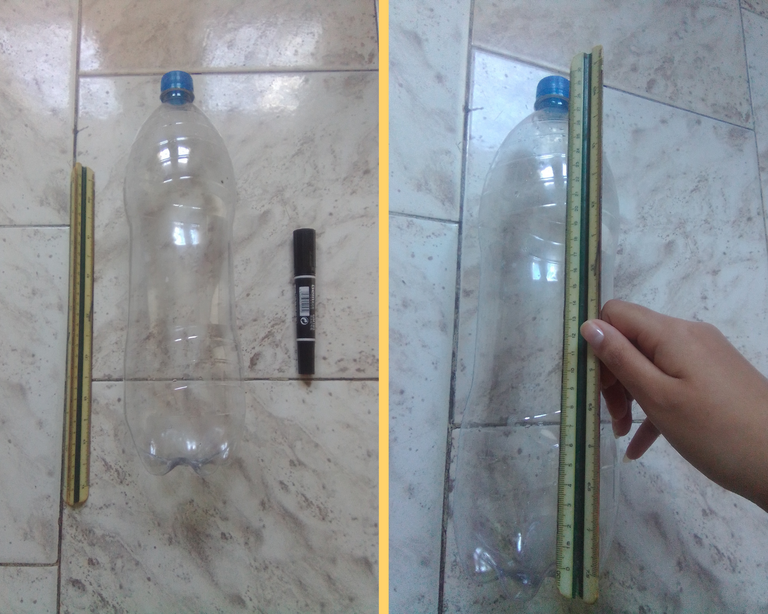
🎄 Then, my mom helped me cut out the bottle following the line I had previously made. With a razor or knife, a small hole is opened in the plastic and, from that hole, I continued cutting with scissors.
.png)
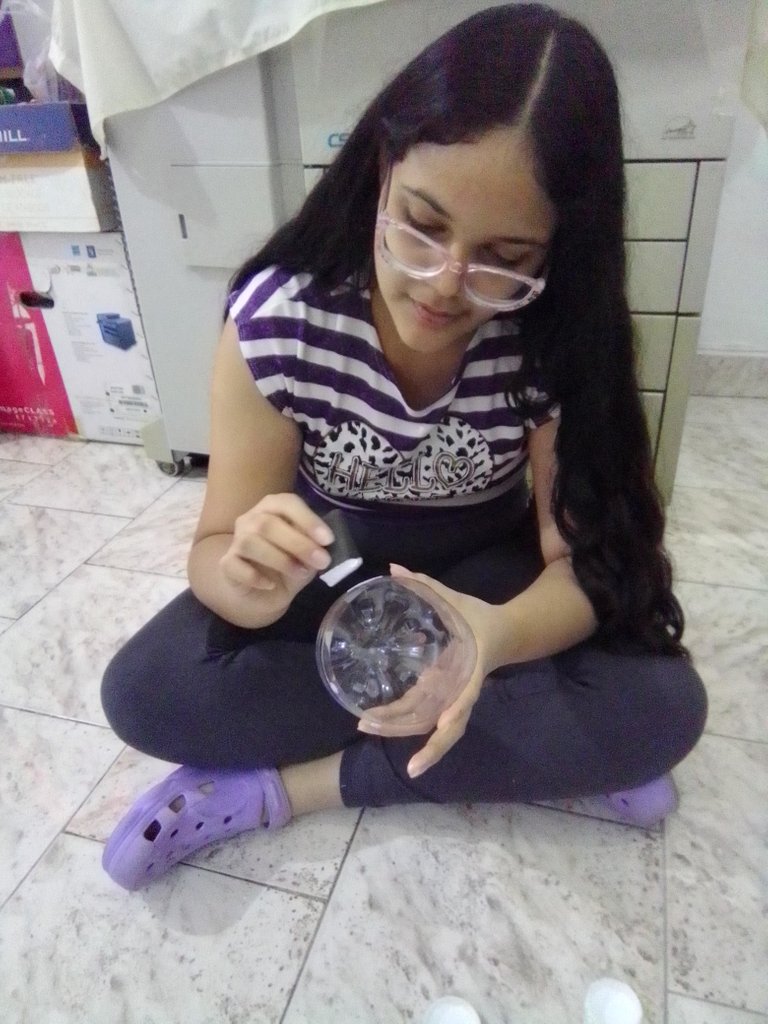
🎄 Once cut out, I began to paint the lower part, which is what I was going to use. As I did not have a good brush with which to paint the whole container, I did it with a little piece of foam rubber that I had. First I put a coat of white paint so that later it would be easier to paint with the brown.
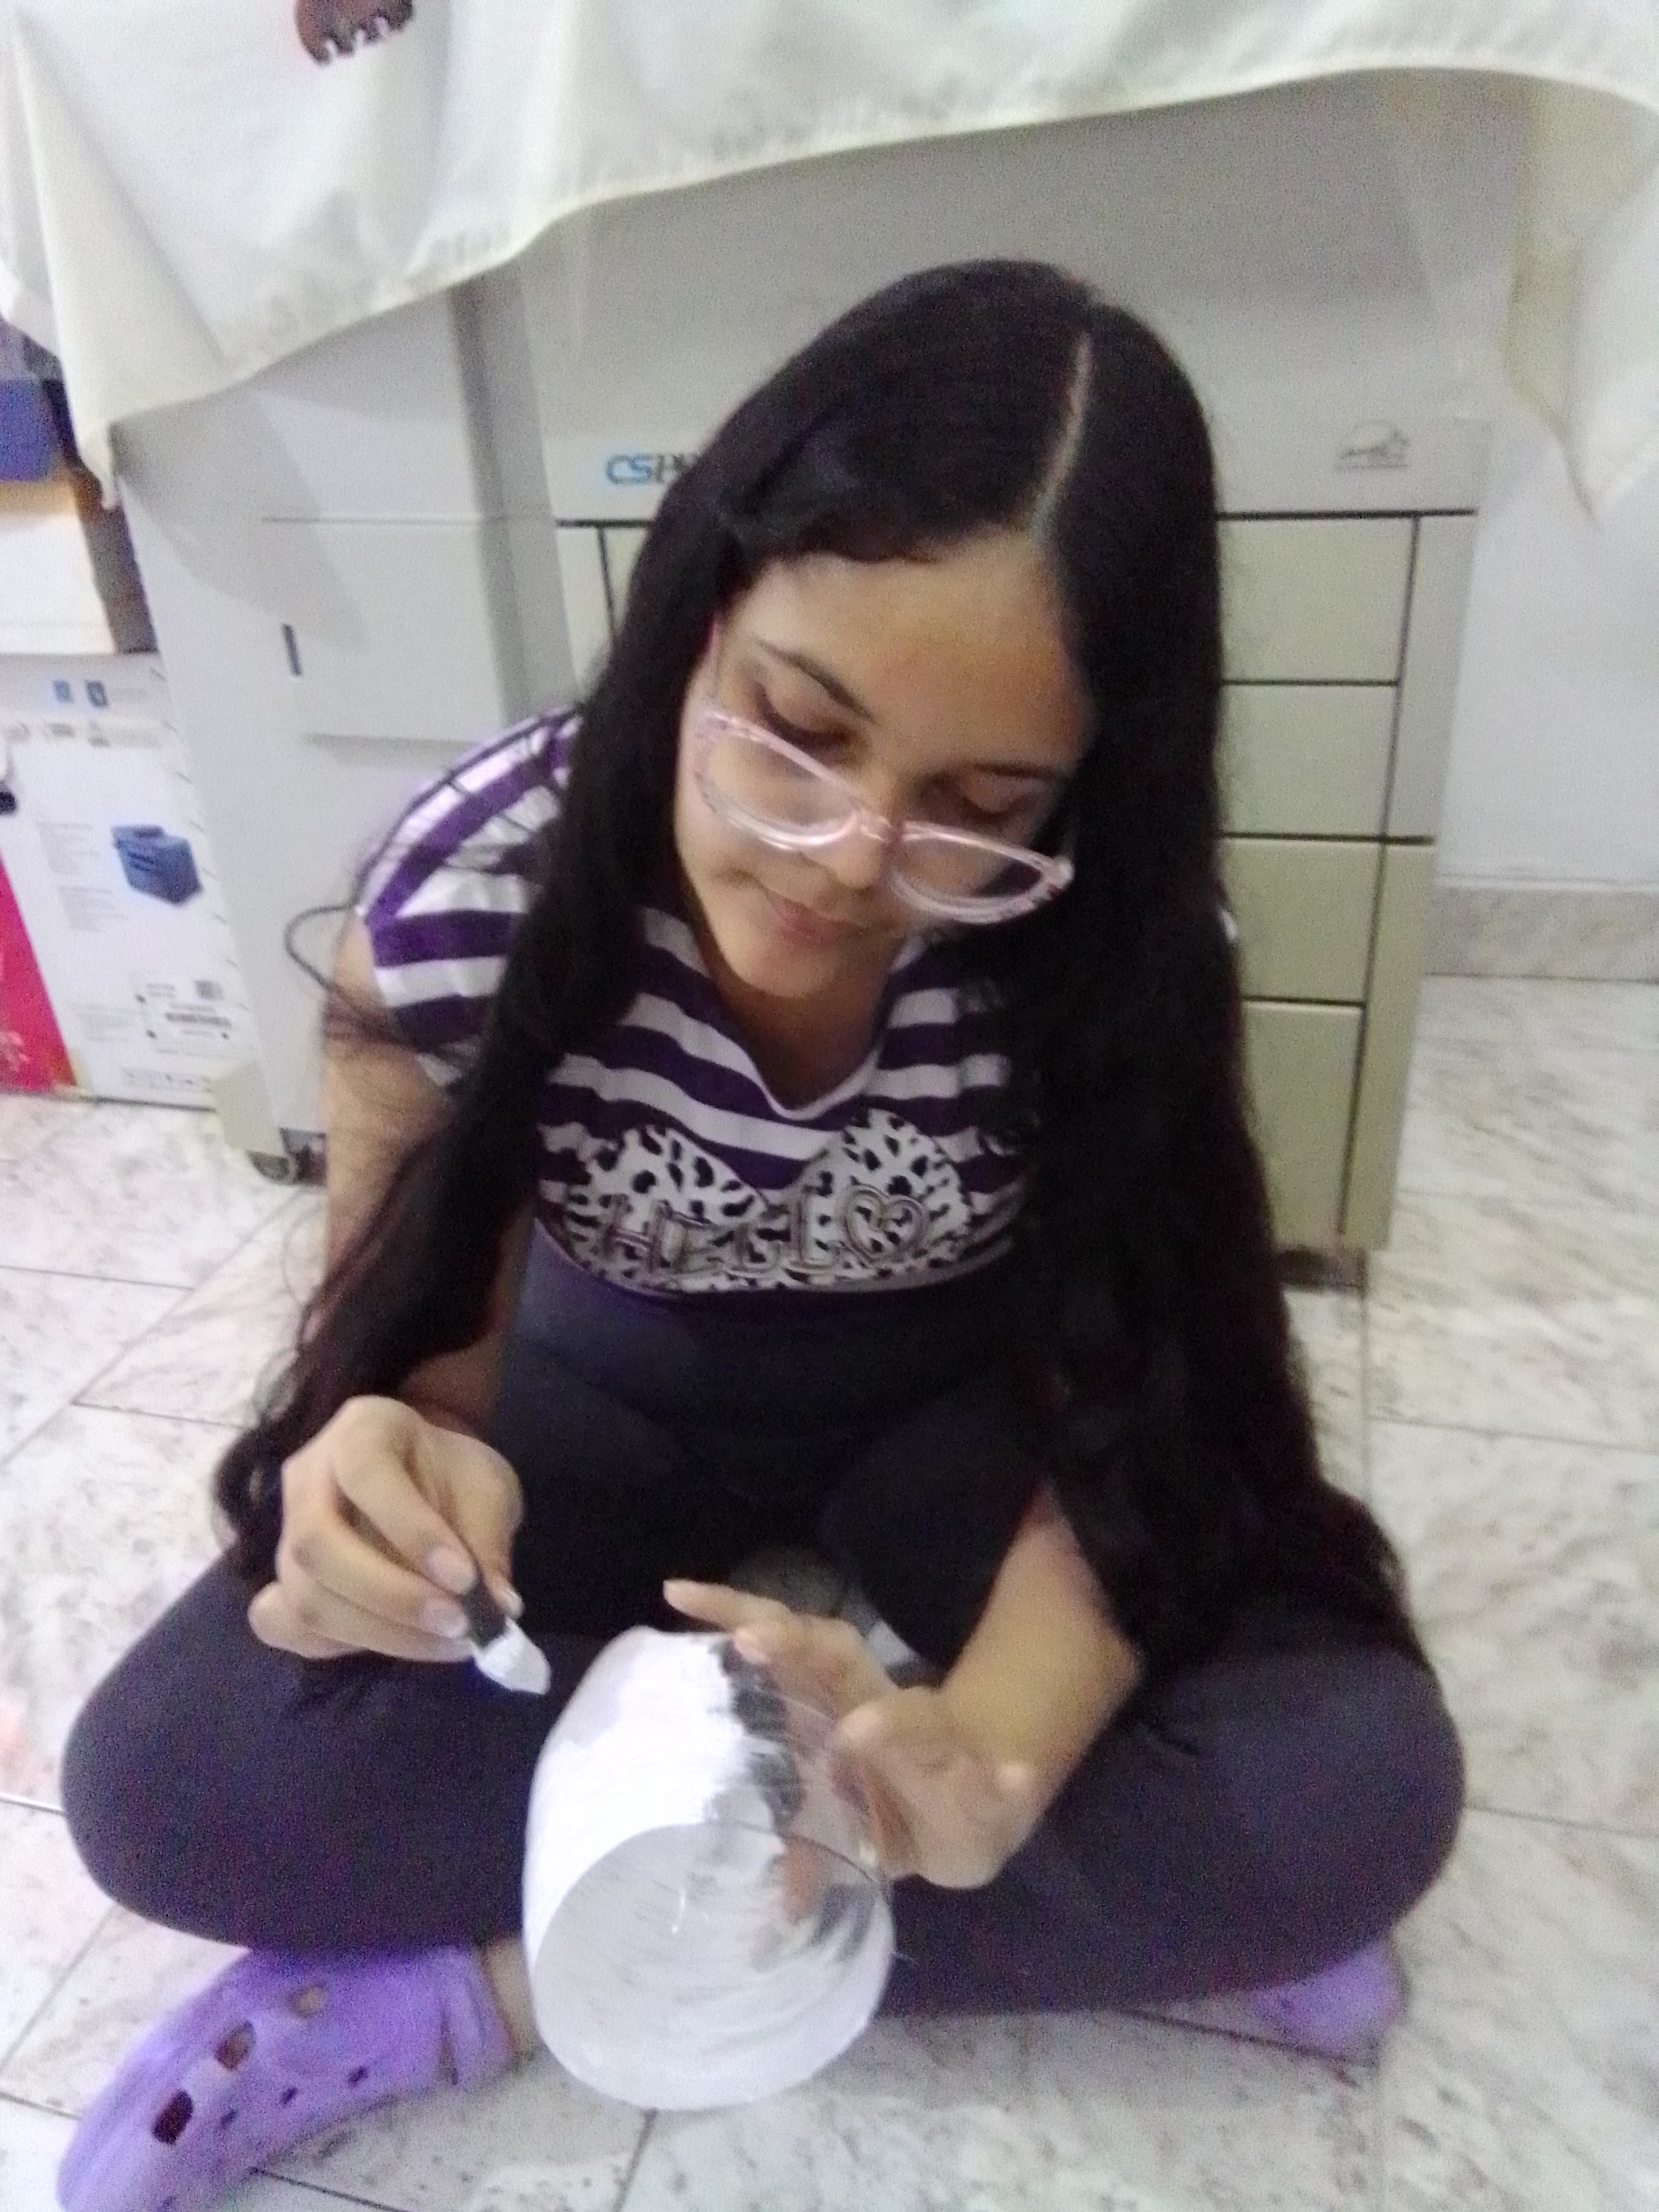
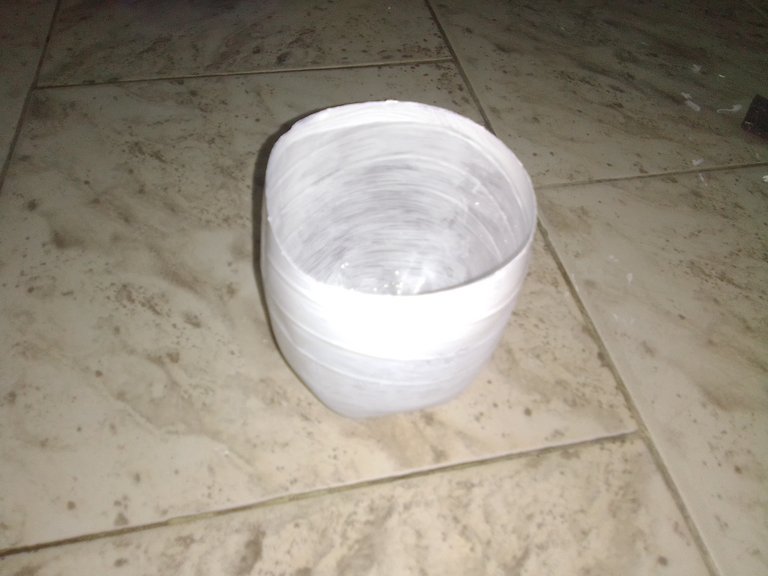
🎄 When the white paint was completely dry, I proceeded to paint the container with the brown paint. I did it horizontally and applied two coats of brown paint.
.png)
After it was dry from painting it both times, I realized that there were some bumps in the paint and it also looked mottled, but I didn't worry because it made the effect of the animal's fur.
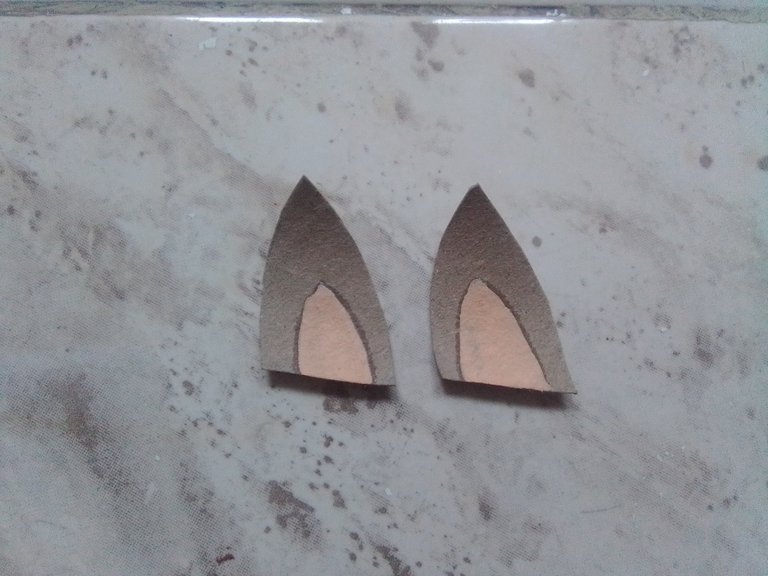
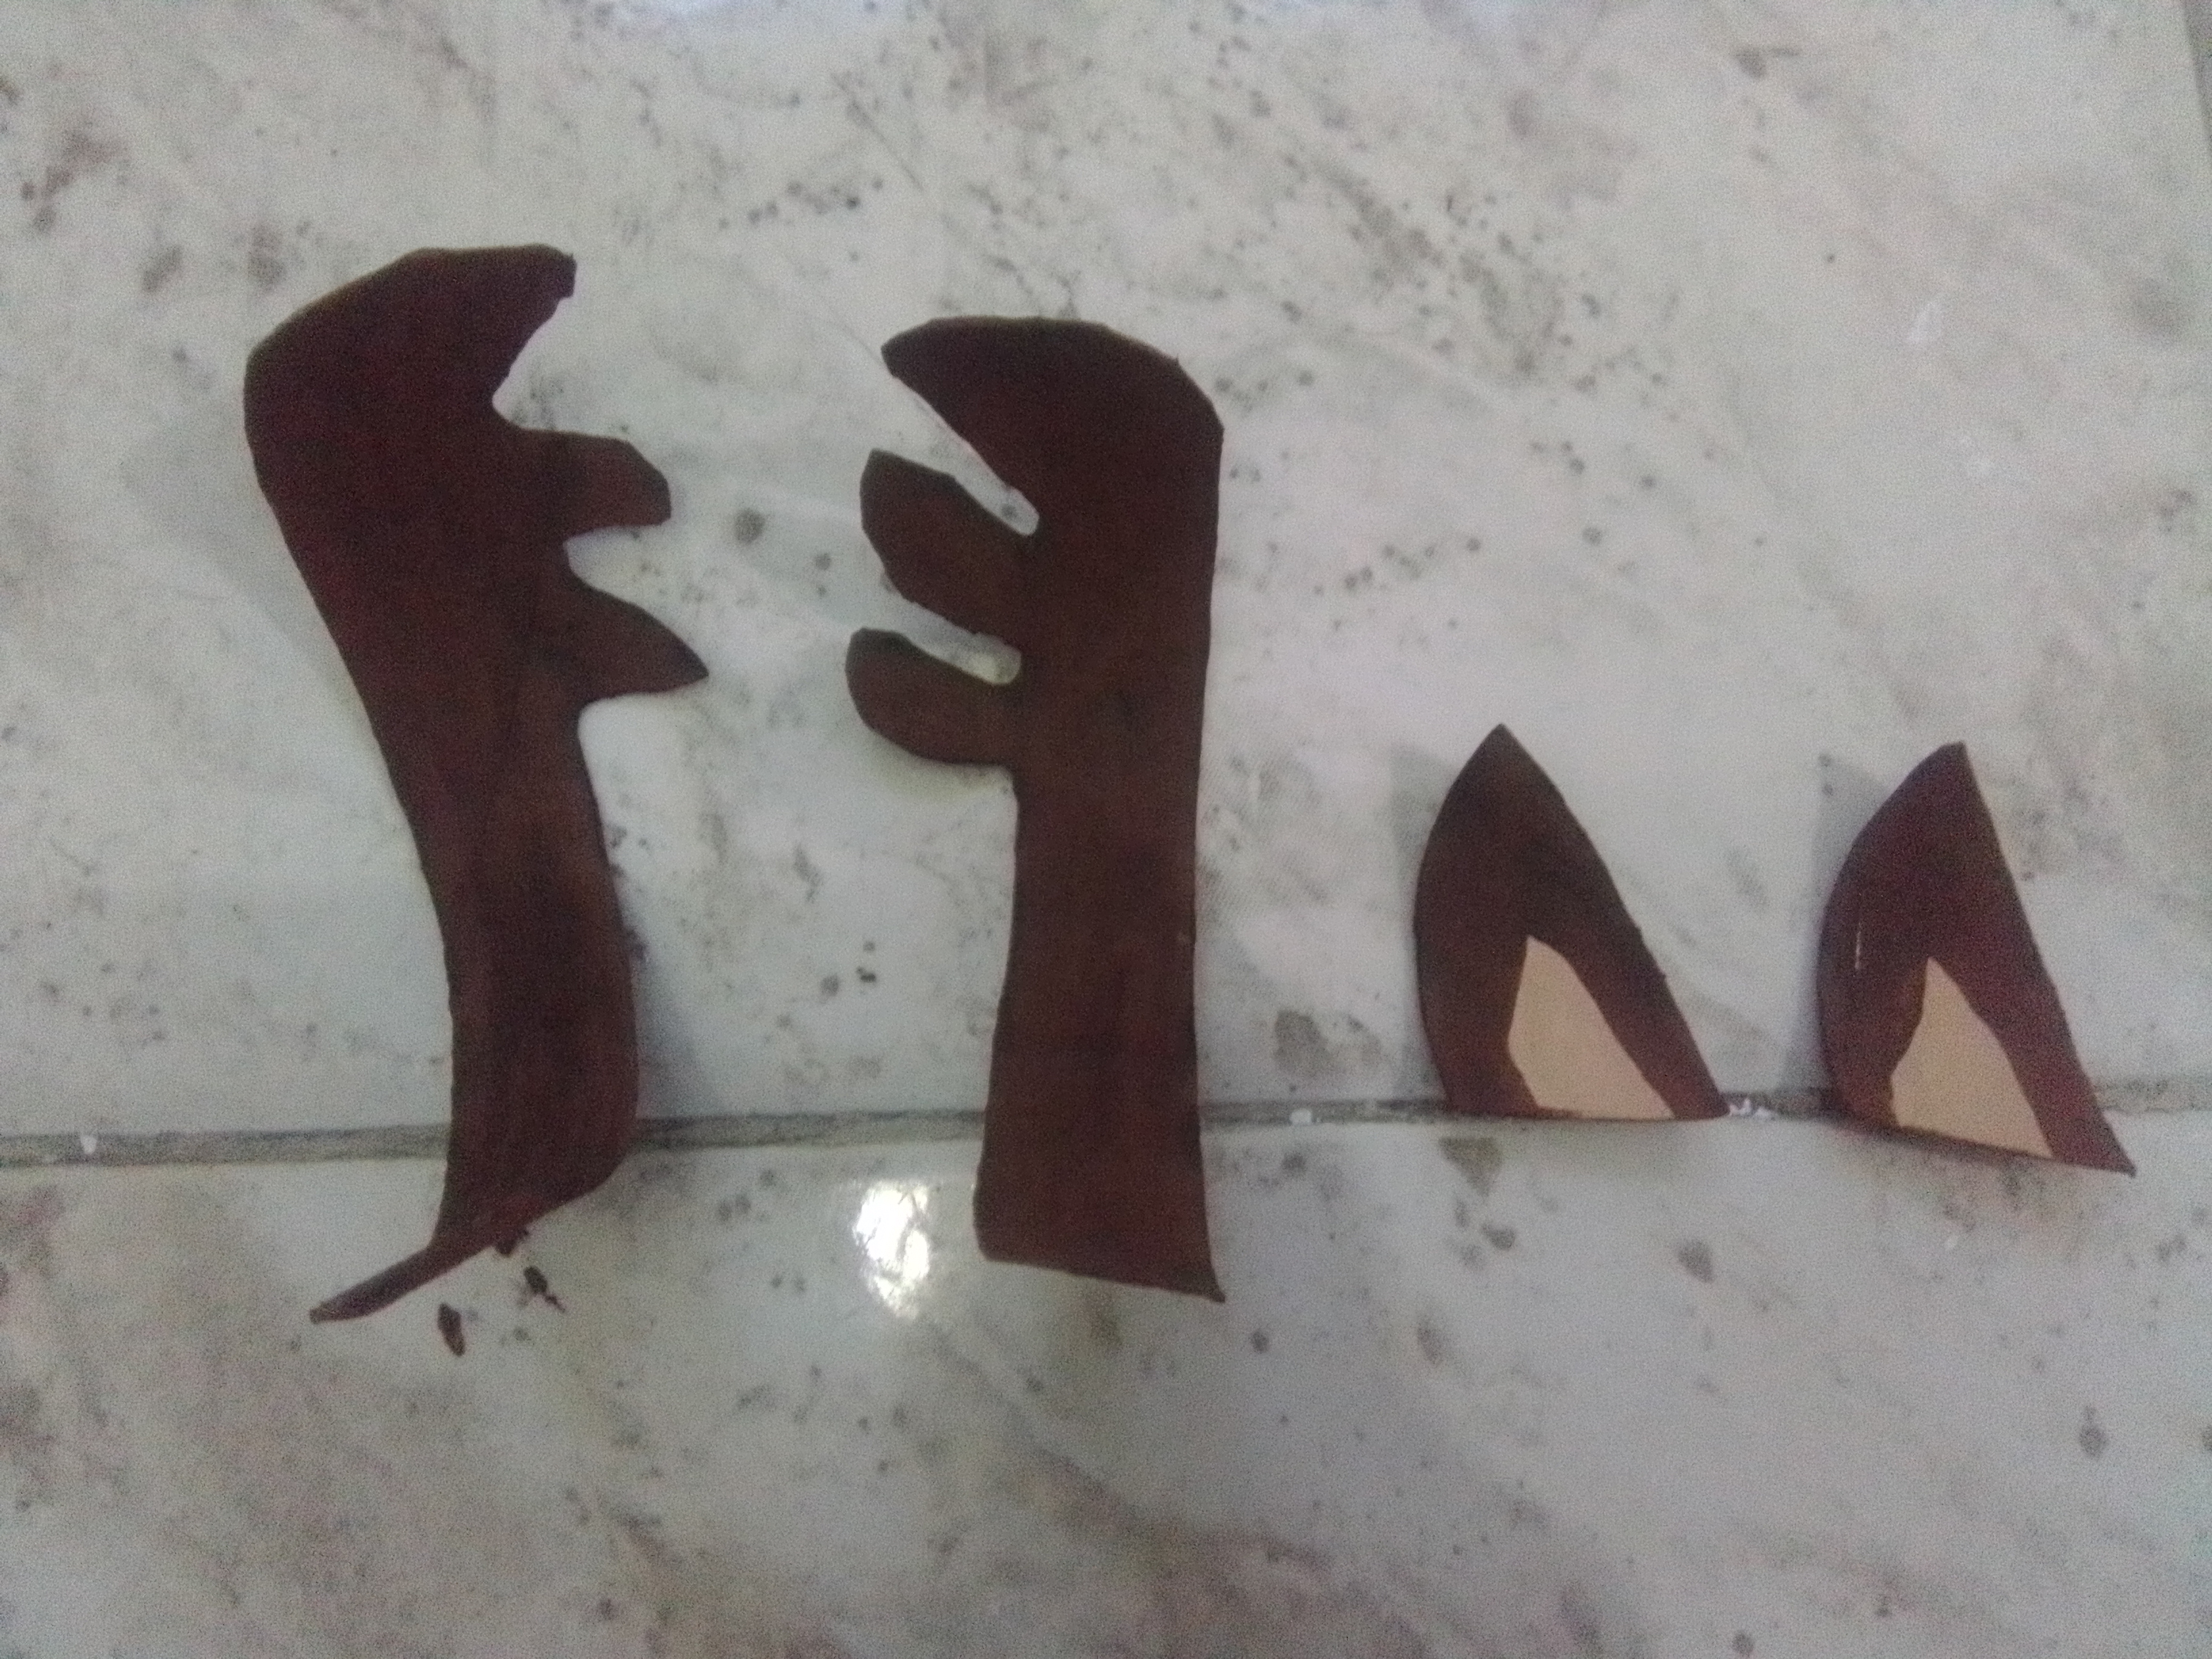
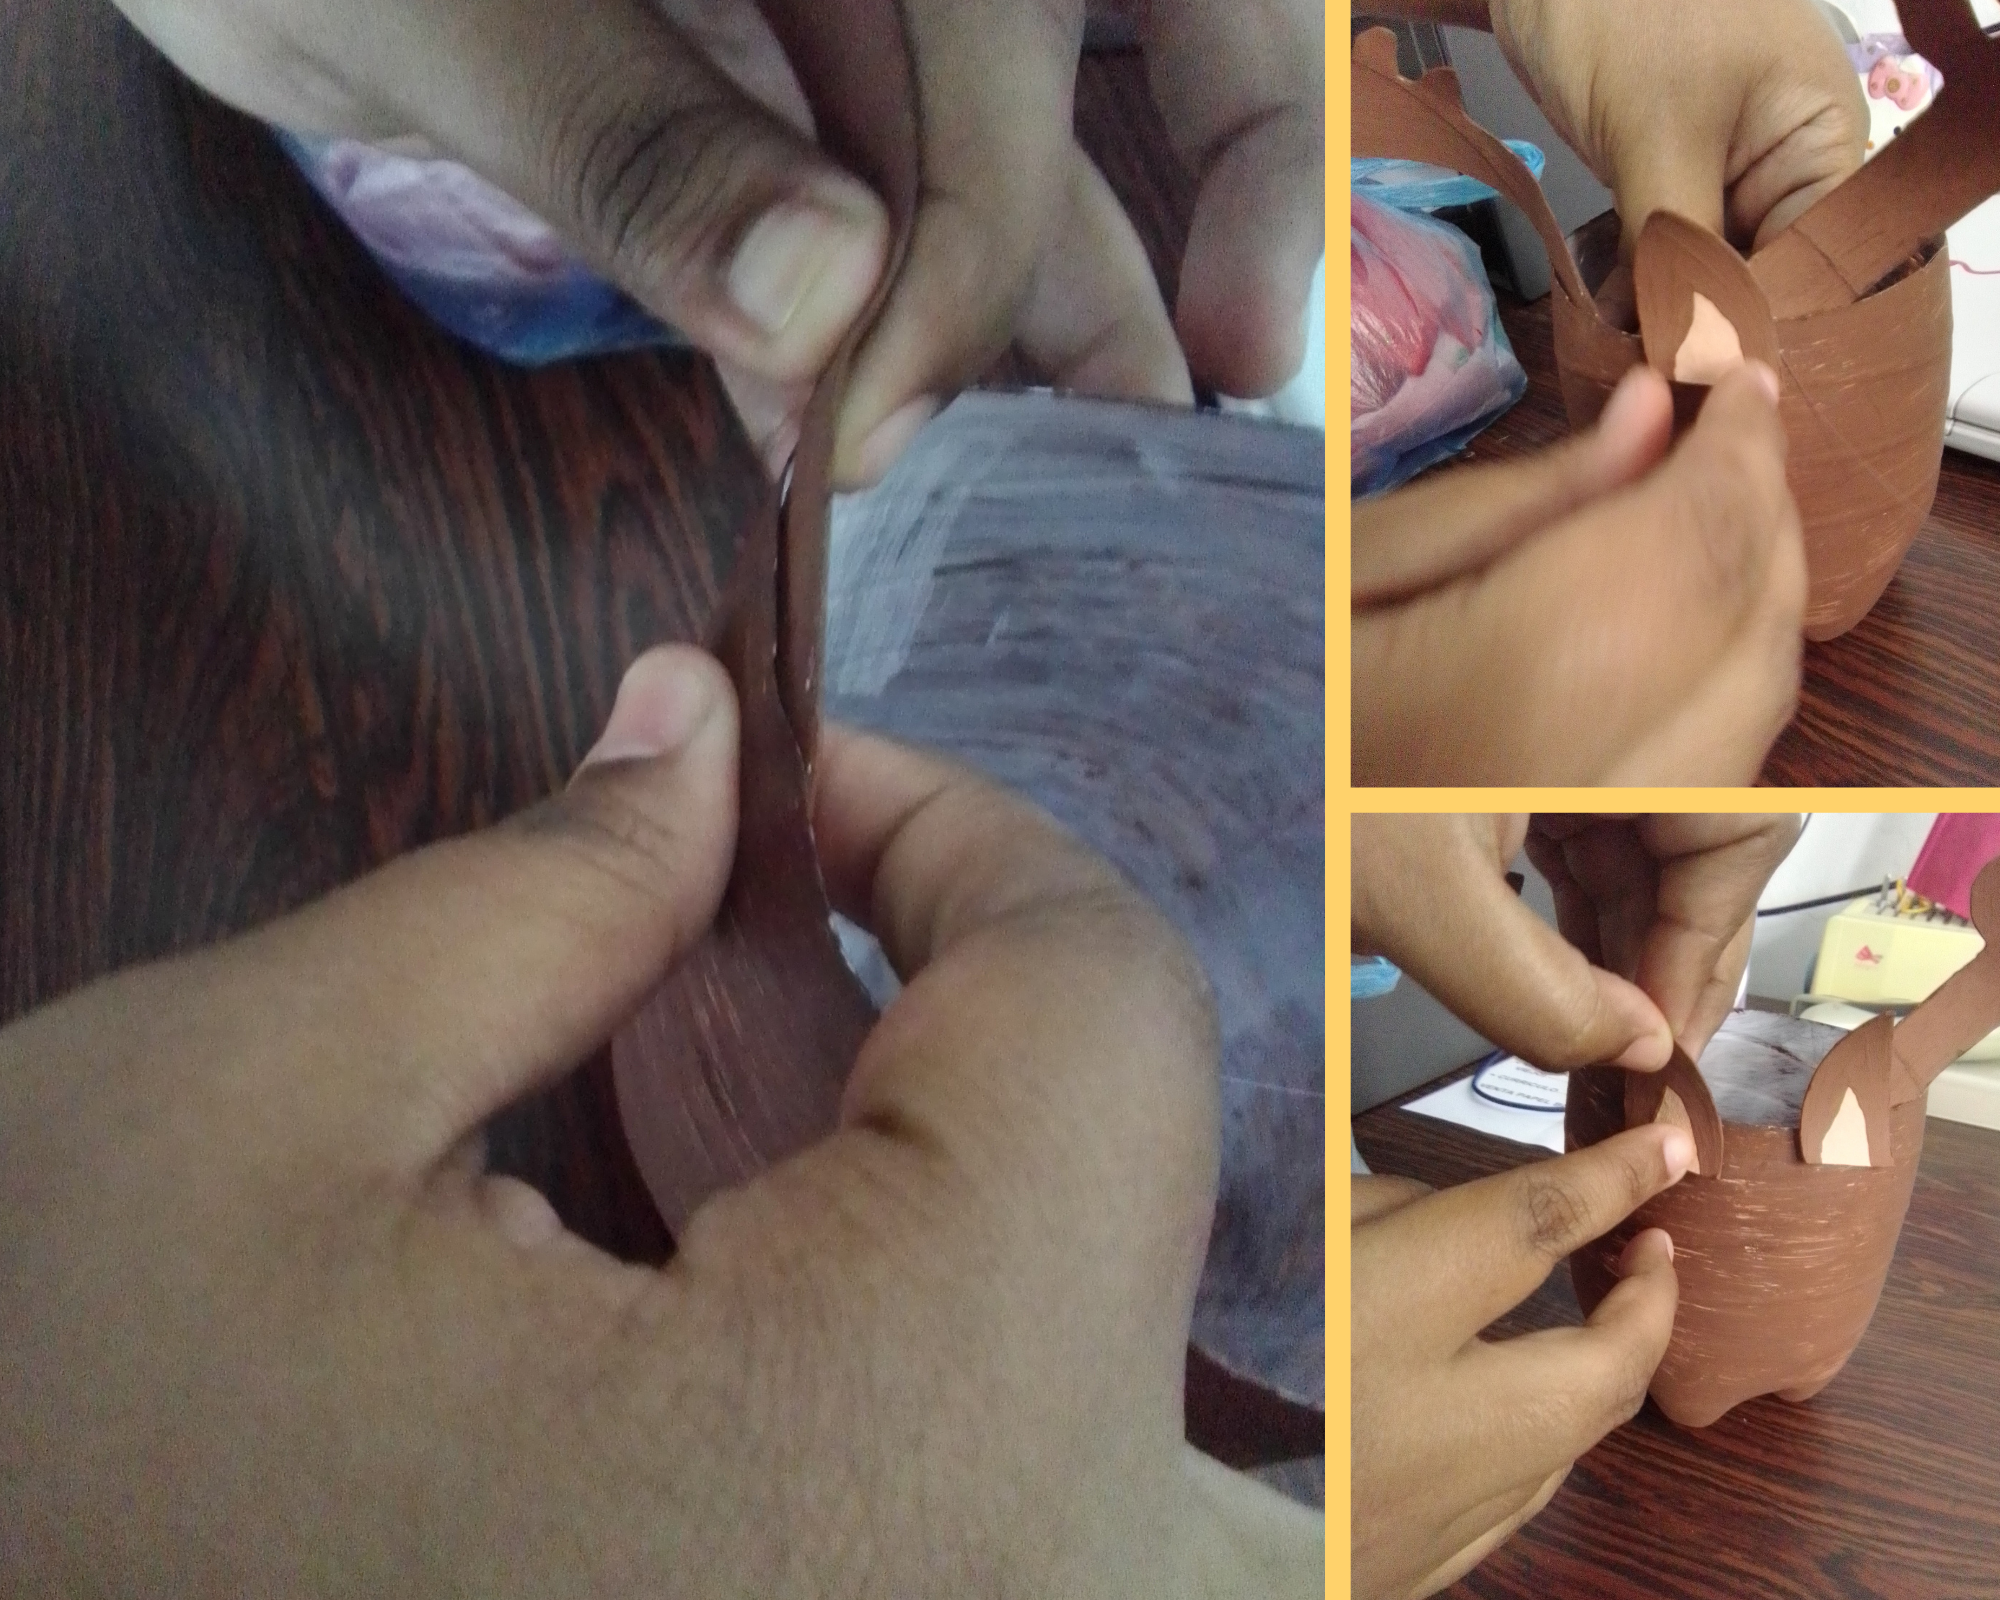
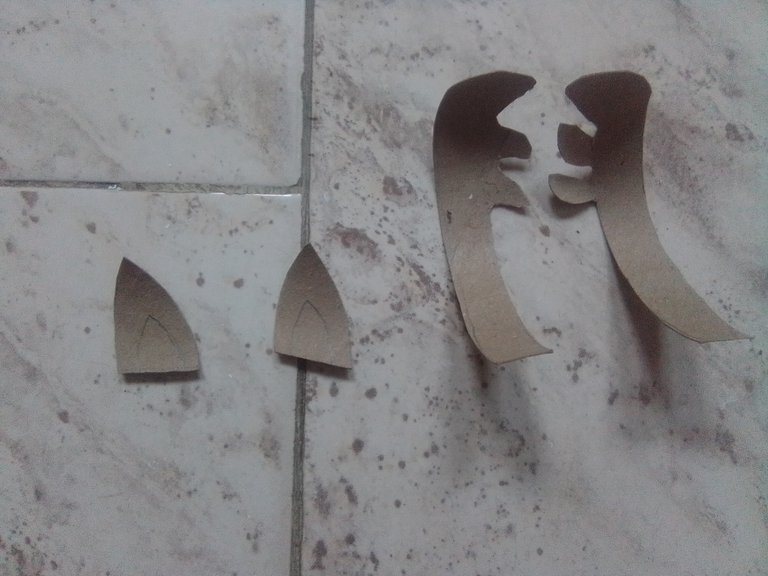
🎄 To make the reindeer's ears and antlers I used two rolls of cardboard toilet paper that I had saved. I cut both rolls in half (vertically) and, once they were cut I started to draw the ears on them and my sister helped me to make the antlers. When they are ready they are cut out.
.png)
🎄 Before painting the ears I drew two arches in the middle, and inside that I painted with flesh colored paint. The rest of the ear I painted brown, as well as the horns, which I painted entirely with brown.

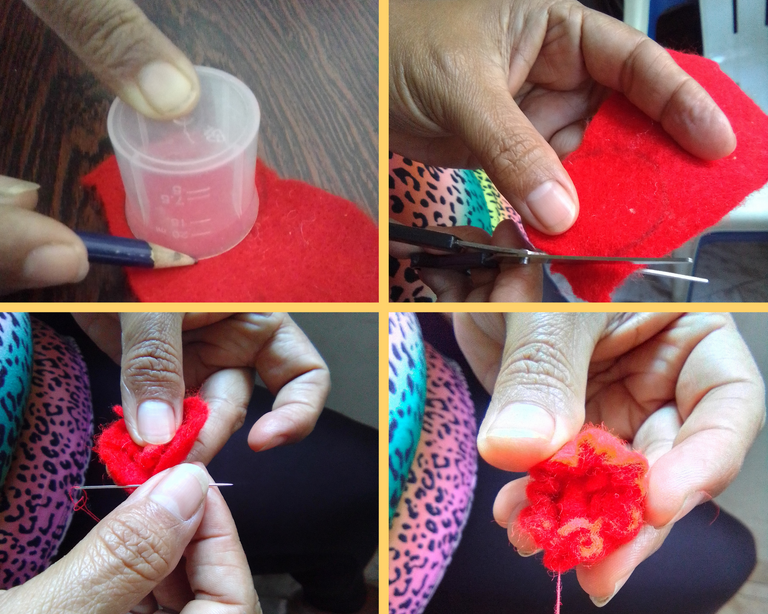
🎄 My mom helped me make the reindeer's red nose. To make it, she used small pieces of red felt. She started by marking a circle on the felt and then cutting it out with the scissors; once cut, she filled in the circle with a little more felt to make a bulge so it wouldn't be flabby. She sewed around the circle until it was closed and ready.
🎄 We began to assemble the parts of the reindeer. First we hot glued the antlers and then the ears just in front of the antlers.
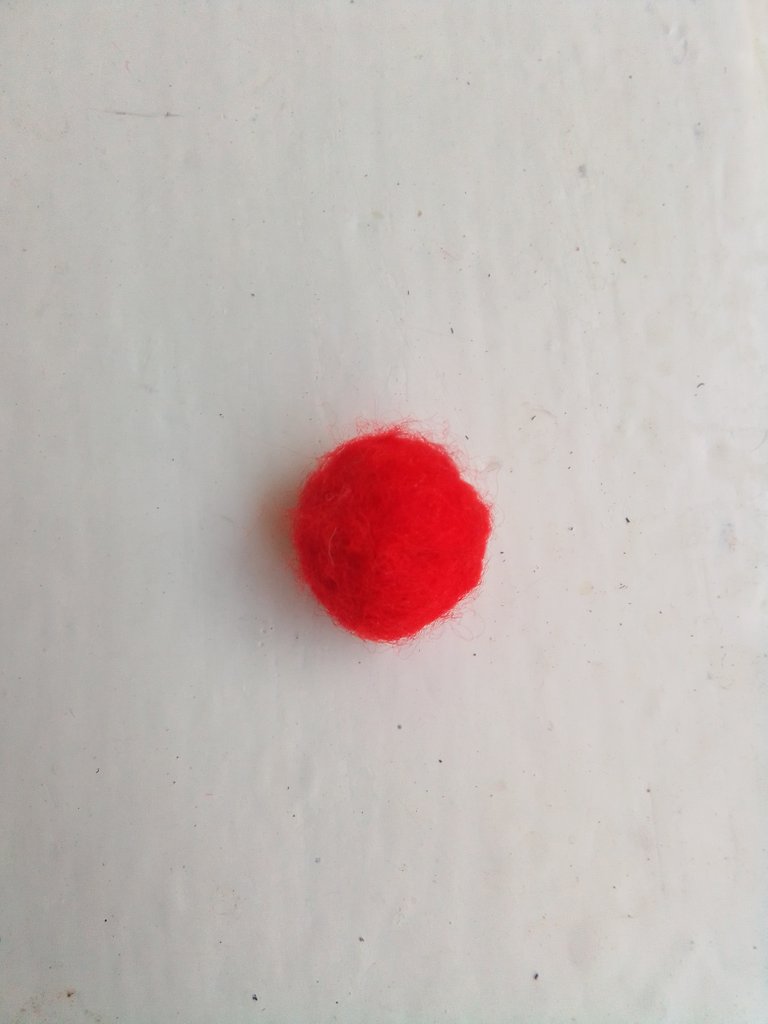
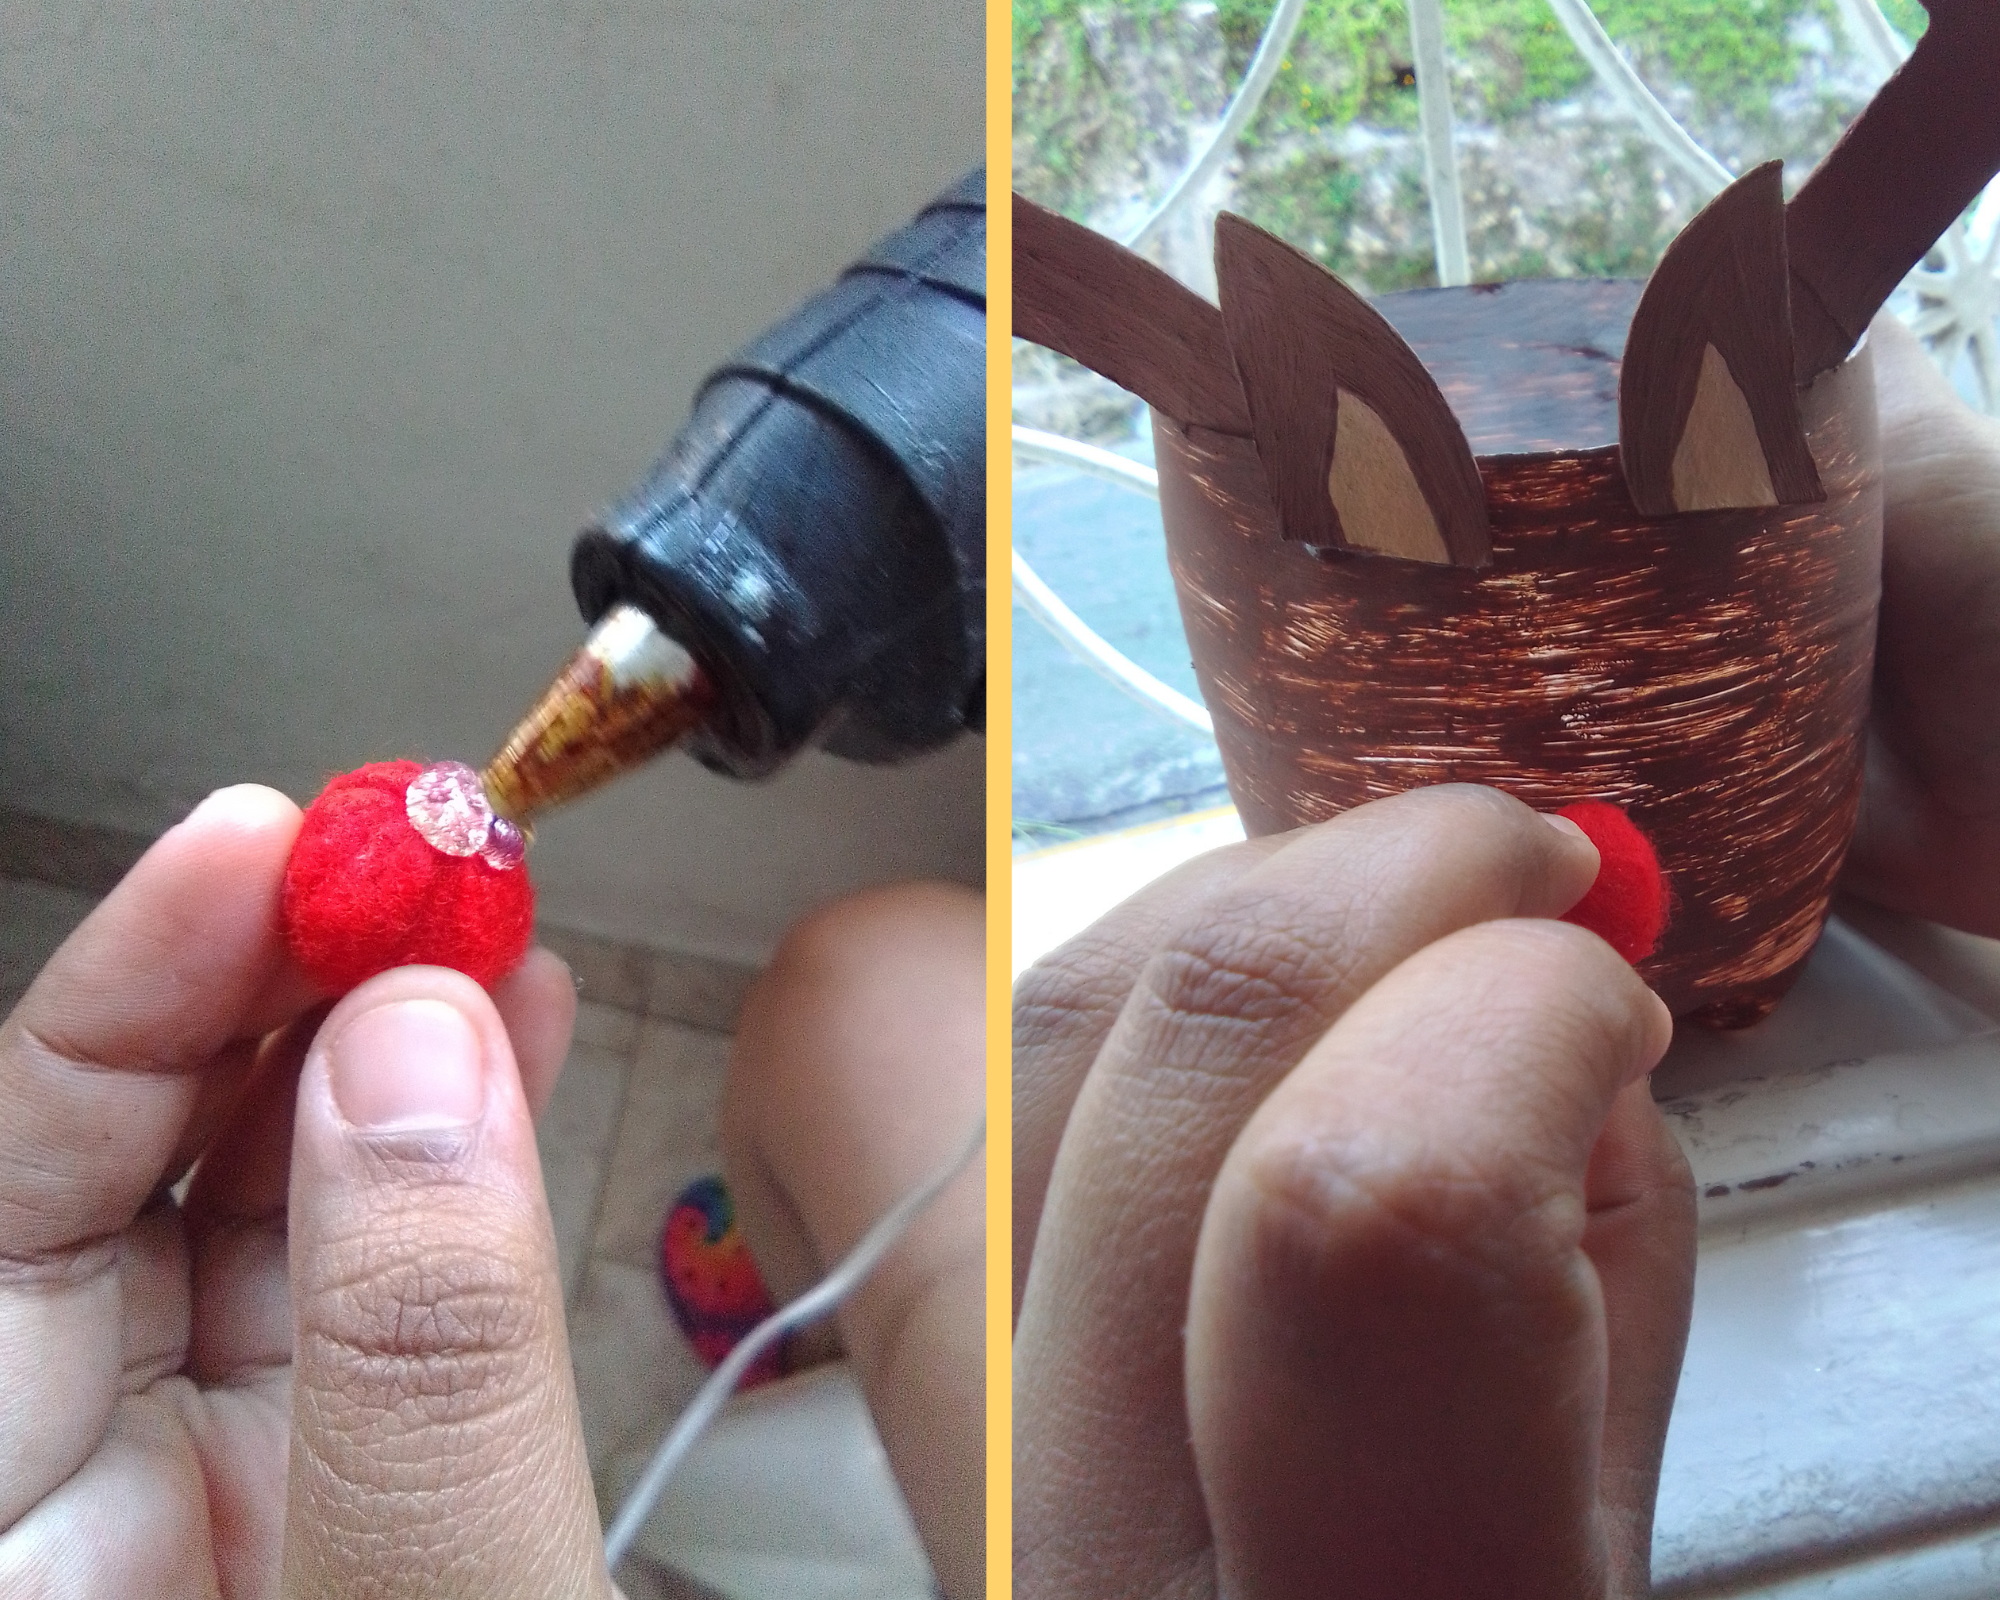
🎄 Then we glue the nose under the ears, but right in the middle of the container.
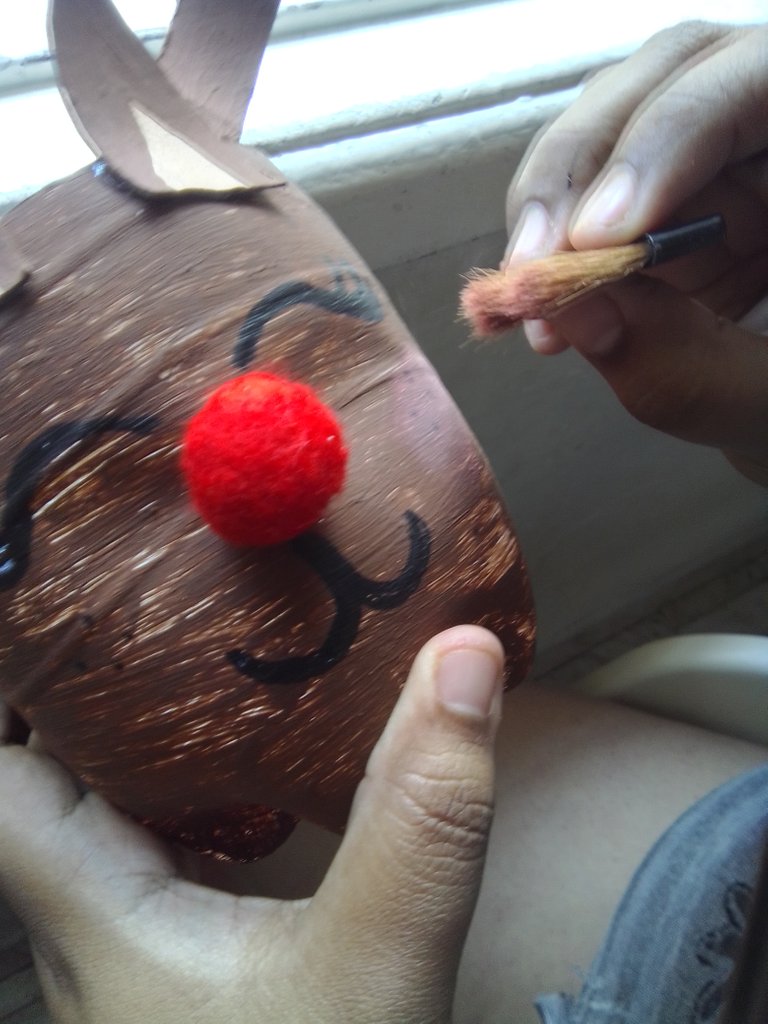
🎄 Once the nose was attached, my sister drew the reindeer's mouth and eyes with black marker.
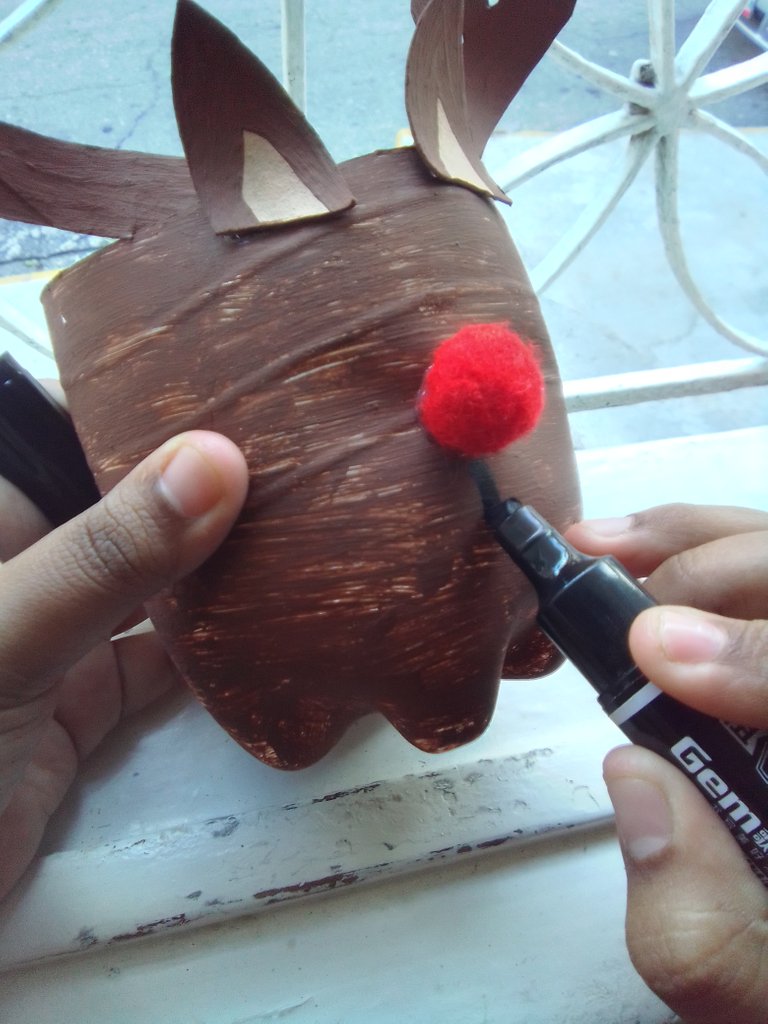

🎄 Since I wanted it to be a female reindeer, we drew some dots with the marker on the sides of the nose as cheeks, and painted it with pink blush.
🎄 To give it a final touch more Christmasy, I put a mini Christmas hat that I had already made on one of the horns.
At the end, I took off the hat and glued with silicone a ribbon I had from a shoe in the middle of the two ears.
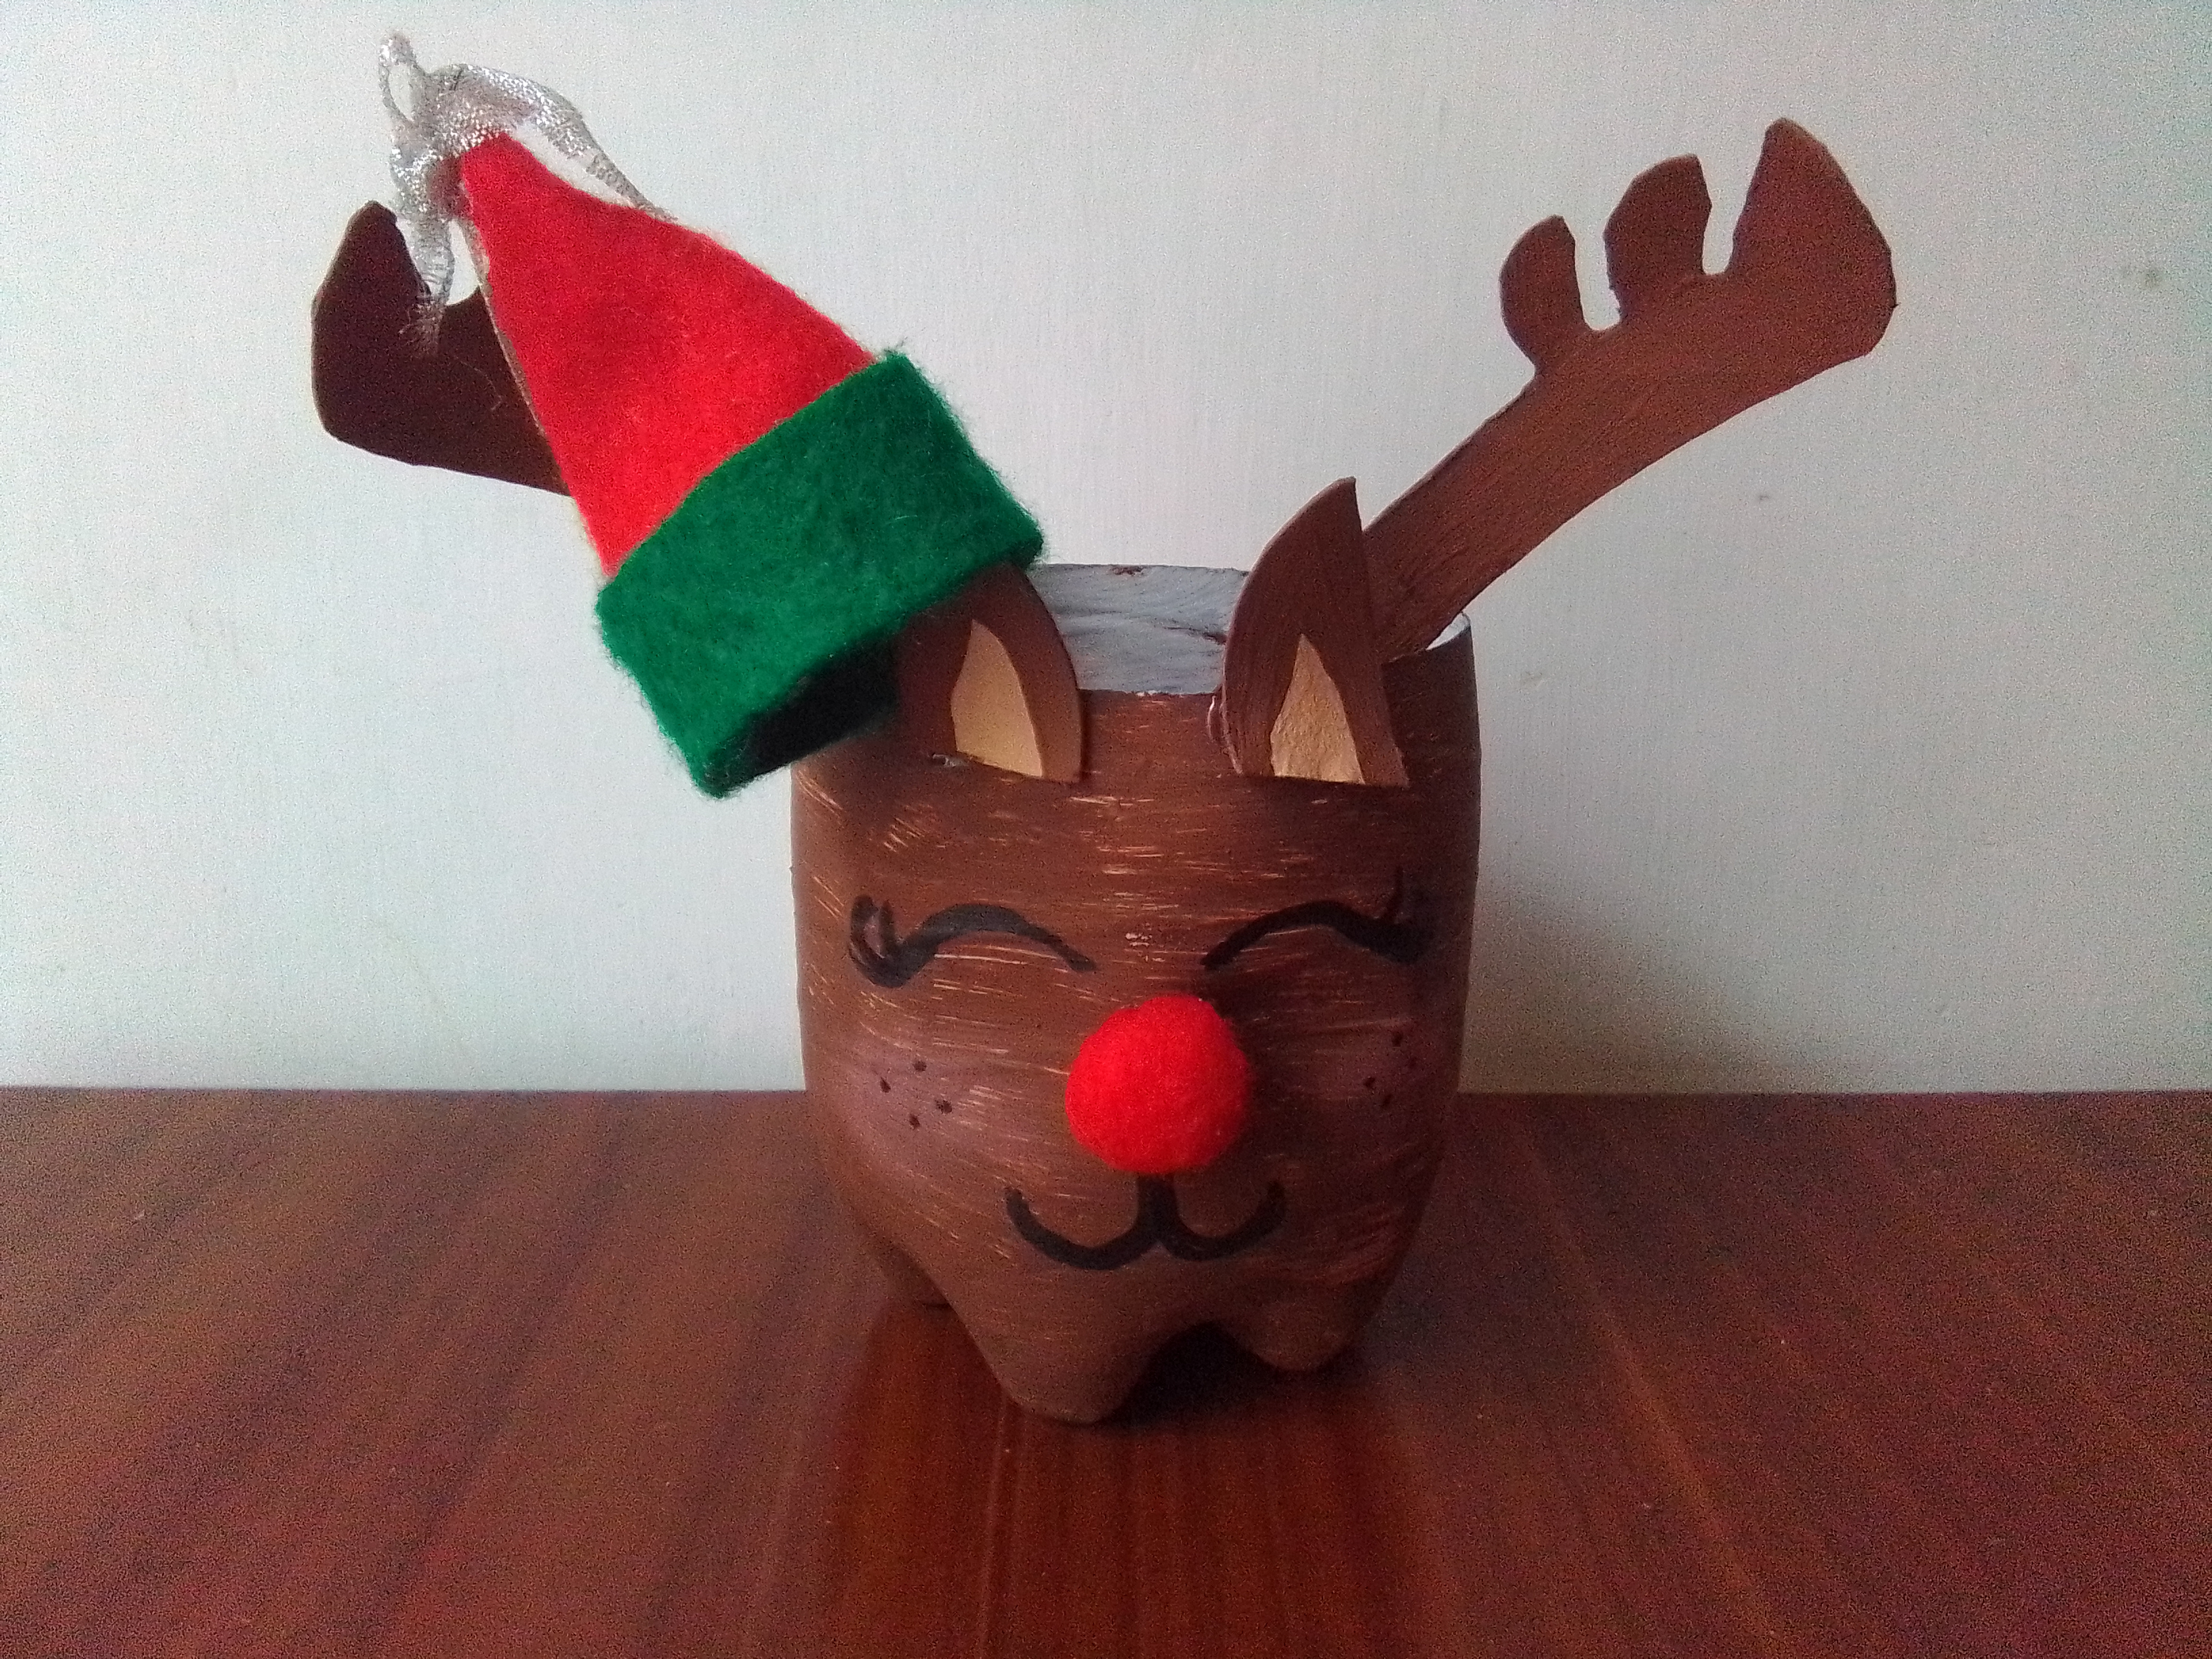
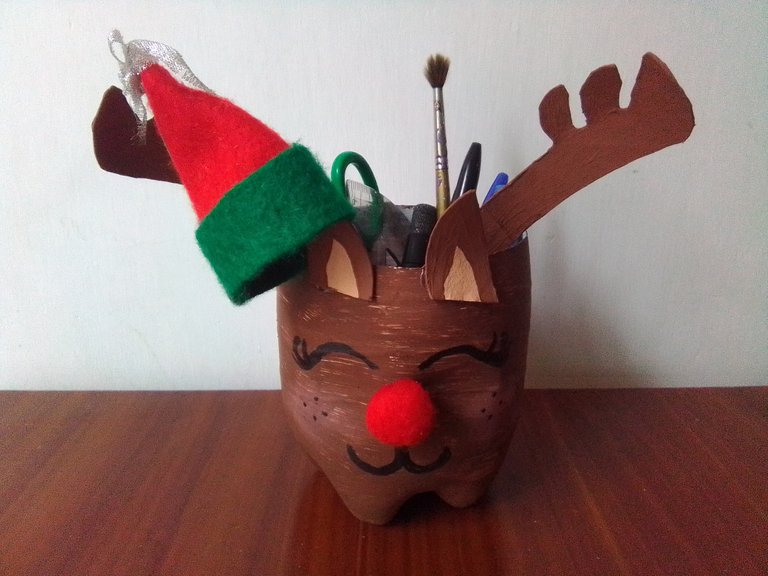

I really liked the result. It is a very cute and adorable pencil holder. Also, something that is very important, I used the plastic bottle to make the craft instead of throwing it away.
I hope you enjoyed reading it and when you have the opportunity to make it.
*Español:
¡Hola Hivebloggers!
Estoy emocionada de compartir con ustedes en esta oportunidad una manualidad que hice con materiales de provecho. La elaboré con un poco de ayuda de mi mamá y mi hermana @dfonticer18. Se trata de un Portalápices Navideño en Forma de Reno de Navidad.
Materiales que utilicé:
🌟1 botella de refresco
🌟Pintura al frío de color blanca, marrón y color carne
🌟Goma espuma
🌟2 rollos de cartón de papel higiénico
🌟1 trozo pequeño de fieltro rojo
🌟Hilo
🌟Marcador negro y lápiz
🌟Regla
🌟Silicón en barra
🌟Tijeras
Elaboración:
🎄 Lo primero que hice fue quitarle la etiqueta a la botella de refresco. Luego la lavé por dentro y por fuera para que quedase totalmente limpia.
🎄 Con la ayuda de una regla y un marcador marqué 10cm en la parte inferior de la botella y, ya teniendo la marca como referencia, terminé de hacer una raya alrededor de la botella.

🎄 Luego, mi mamá me ayudó a recortar la botella siguiendo la raya que anteriormente hice. Con una navaja o cuchillo se abre un huequito en el plástico y, a partir de ese hueco se sigue recortando con una tijera.
.png)
🎄 Una vez recortado, comencé a pintar la parte inferior que es la que iba a utilizar. Como no tenía un buen pincel con el qué pintar todo el envase, lo hice con un pedacito de goma espuma que tenía. Primero le puse una capa de pintura blanca para que luego se me hiciese más fácil pintar con el marrón.


🎄 Cuando ya está totalmente seca la pintura blanca, procedí a pintar el envase con la pintura marrón. Lo hice de forma horizontal y, le apliqué dos capas de pintura marrón.
.png)
Luego que estuvo seco de pintarlo las dos veces, me di cuenta que se veían algunos baches en la pintura y también se veía veteada, pero, no me preocupé porque hacía el efecto del pelaje del animal.
🎄 Para hacer las orejas y los cuernos del reno utilicé dos rollos de cartón de papel higiénico que tenía guardados. Corté ambos rollos por la mitad (verticalmente) y, una vez cortados comencé a dibujar en ellos las orejas y mi hermana me ayudó a hacer los cuernos. Cuando ya están listos se recortan.
.png)
🎄 Antes de pintar las orejas le dibujé dos arcos en medio, y dentro de eso pinté con pintura color carne. El resto de la oreja la pinté de color marrón, al igual que los cuernos, que los pinté en su totalidad con marrón.

🎄 Mi mamá me ayudó a hacer la nariz roja del reno. Para hacerla, utilizó pedacito de fieltro rojo. Comenzó marcando un circulo en el fieltro para después cortarlo con la tijera; una vez cortado, rellenó el círculo con un poco más de fieltro para hacer bulto y que no quedara flácida. Cosió alrededor del círculo hasta que se fue cerrando y quedó listo.


🎄 Empezamos a ensamblar las partes del reno. Primero pegamos con silicón caliente los cuernos y luego las orejas justo en frente de los cuernos.

🎄 Luego pegamos la nariz debajo de las orejas, pero justo en medio del envase.

🎄 Al ya estar unida la nariz, mi hermana dibujó la boca del reno y los ojos con marcador negro.
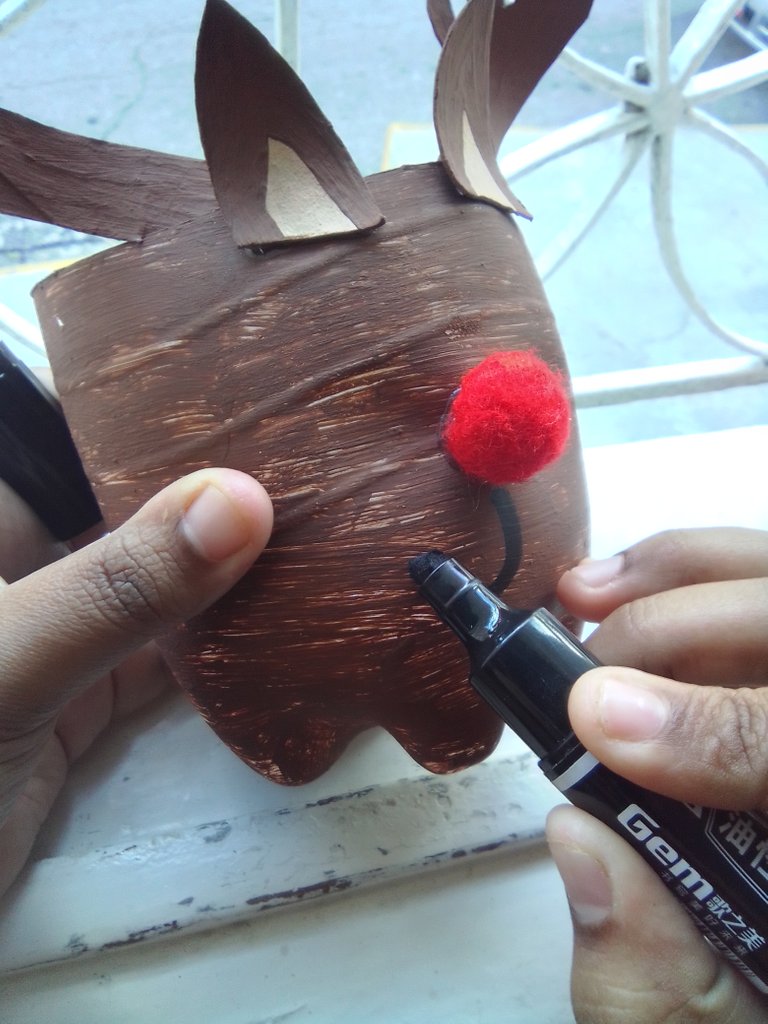

🎄 Como yo quería que fuese un reno hembra, le dibujamos unos puntitos con el marcador a los costados de la nariz a forma de mejillas, y se la pintamos con rubor rosado.

🎄 Para darle un toque final más navideño, le puse un mini gorro de navidad que ya tenía hecho en uno de los cuernos.
Al final, le quité el gorro y le pegué con silicón un lazo que tenía de un zapato en medio de las dos orejas.


Me gustó mucho cómo quedó el resultado. Es un portalápices muy lindo y adorable. Además, algo que es muy importante, aproveché la botella de plástico para hacer la manualidad en vez de botarla a la basura.


