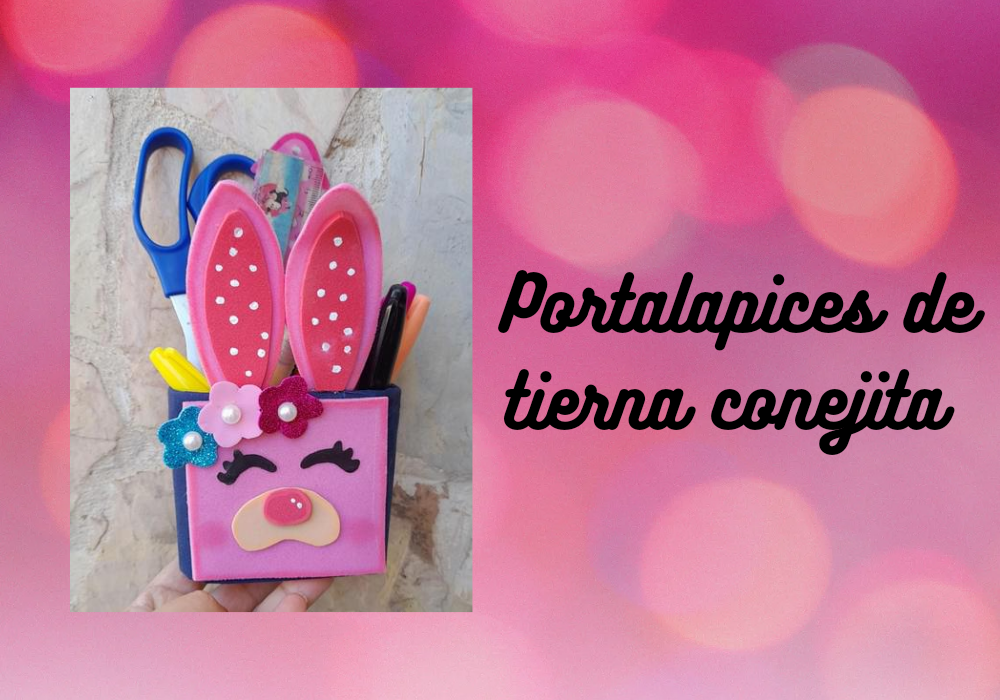
Buenas noches a todos los que me leen especialmente a todos lo que forman parte de esta bella comunidad de Hivediy, encantada una vez más de compartir con ustedes, ya los extrañaba, se que todos me entienden cuando les digo que es maravillloso cuando uno se sienta en la mesa para pensar que hacer, como todo lo demás se te olvida y sólo estas concentrado en tu proyecto y la satisfacción que te da cuando ves el resultado final, es por eso que me complace mostrarle esta manualidad que aparte de útil nos permite ayudar al ambiente ya que usamos material reciclable, sin más que decir comencemos.
Good evening to all those who read me, especially to all those who are part of this beautiful Hivediy community, once again delighted to share with you, I already missed it, I know that everyone understands me when I tell them that it is wonderful when one sits at the table to think about what to do, like everything else you forget and you are only focused on your project and the satisfaction it gives you when you see the final result, that is why I am pleased to show you this craft that, apart from being useful, allows us to help to the environment since we use recyclable material, without further ado let's start
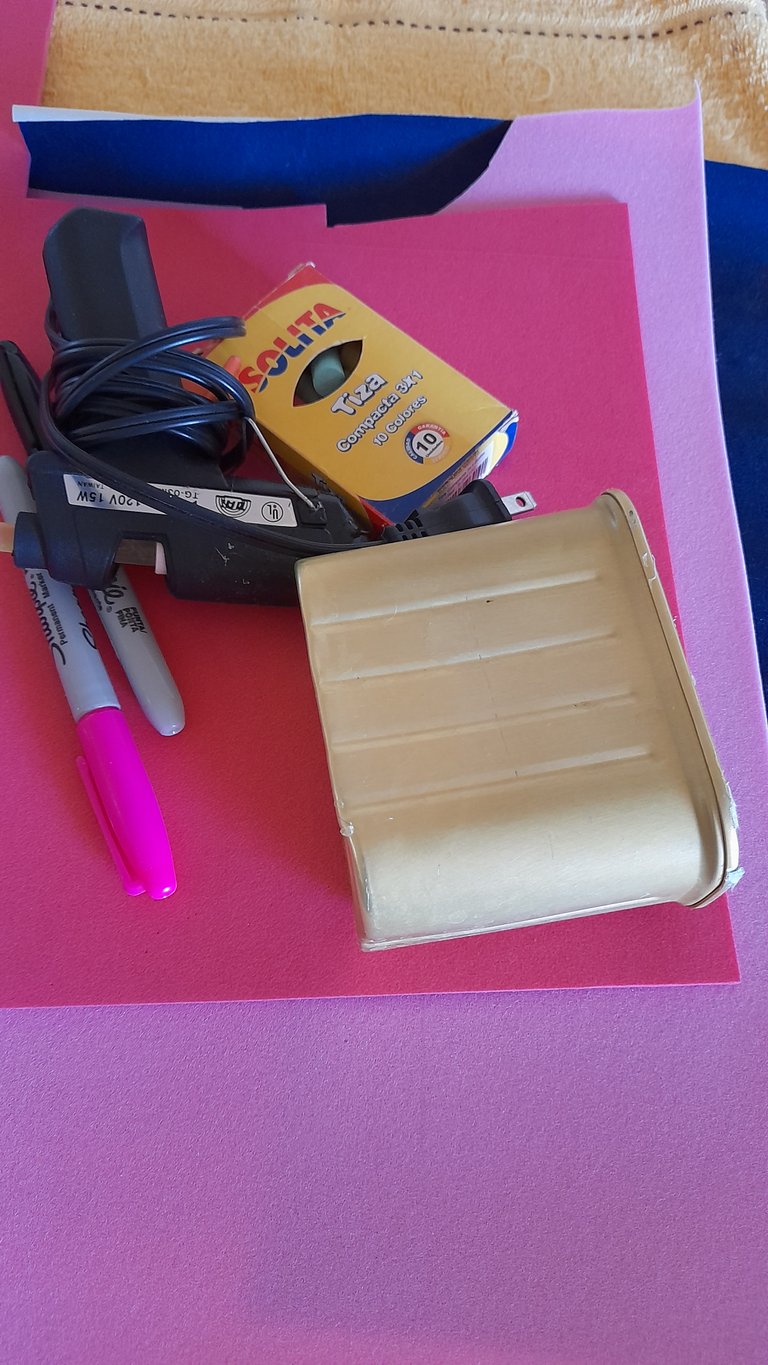
Materiales necesarios:
- Una lata
- Foami rosado, fuscia, color carne y negro
- Pintura blanca
- Tiza rosada y amarilla
- Tijera
- Perlas de bisutería
- Barra y pistola de silicon.
Necessary materials:
- A tin
- Pink, fuscia, flesh color and black foami
- White paint
- Pink and yellow chalk
- Scissor
- Costume jewelry pearls
- Bar and silicone gun.
Procedimiento paso a paso:
Step by step procedure:
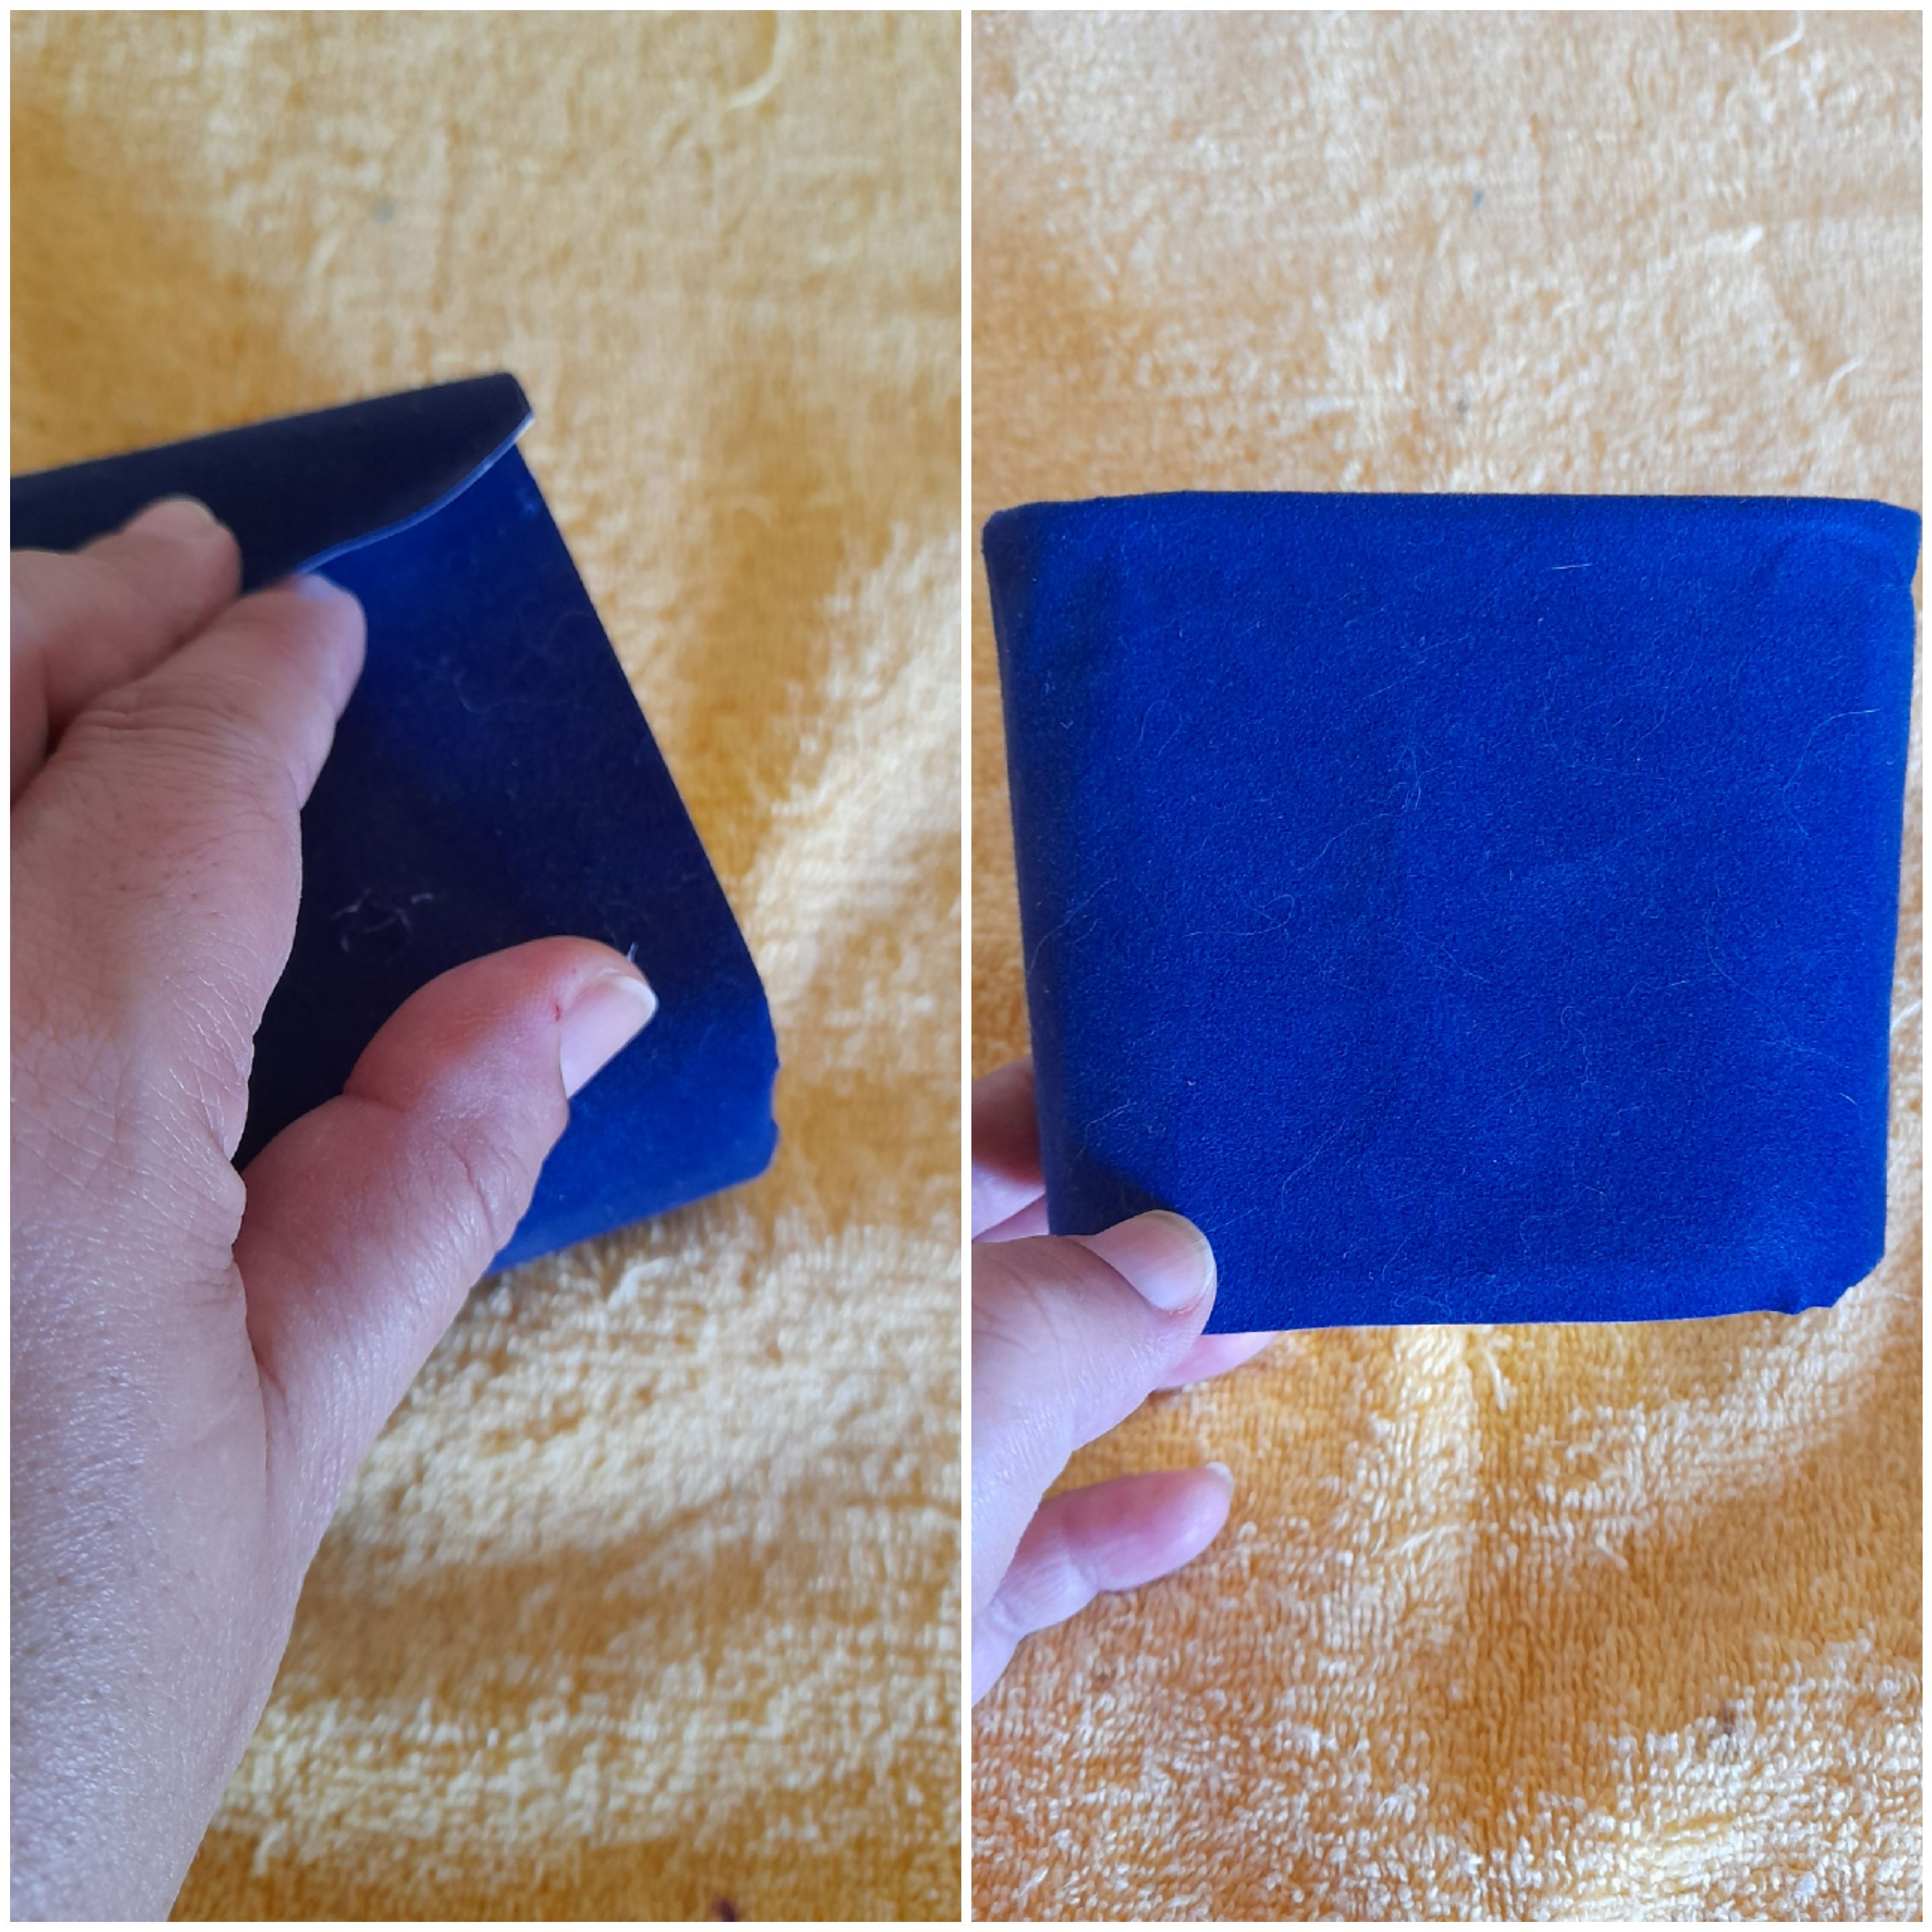
Lo primero que debemos hacer es forrar la lata con el foami negro.
The first thing we must do is line the can with the black foami.
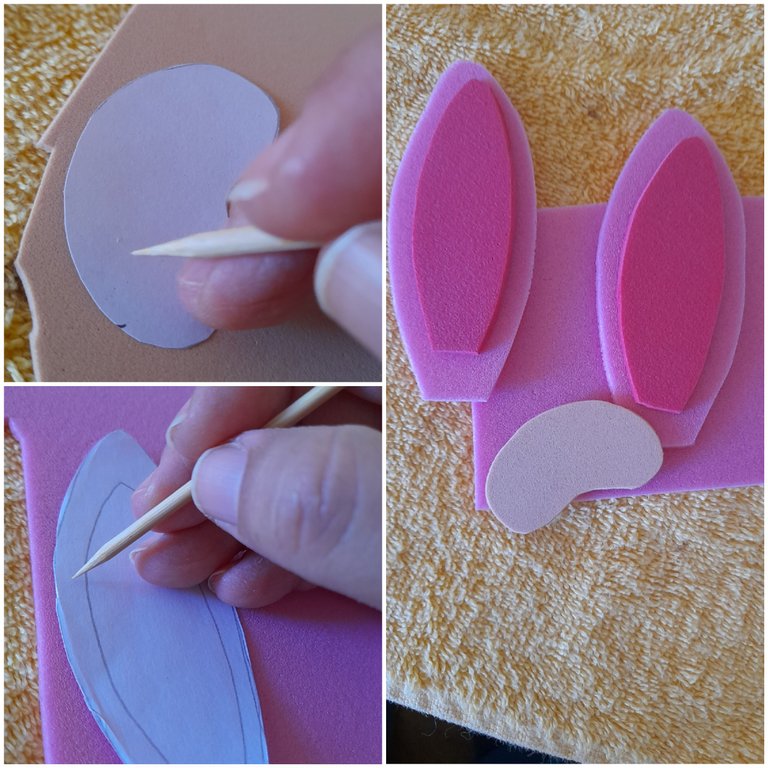
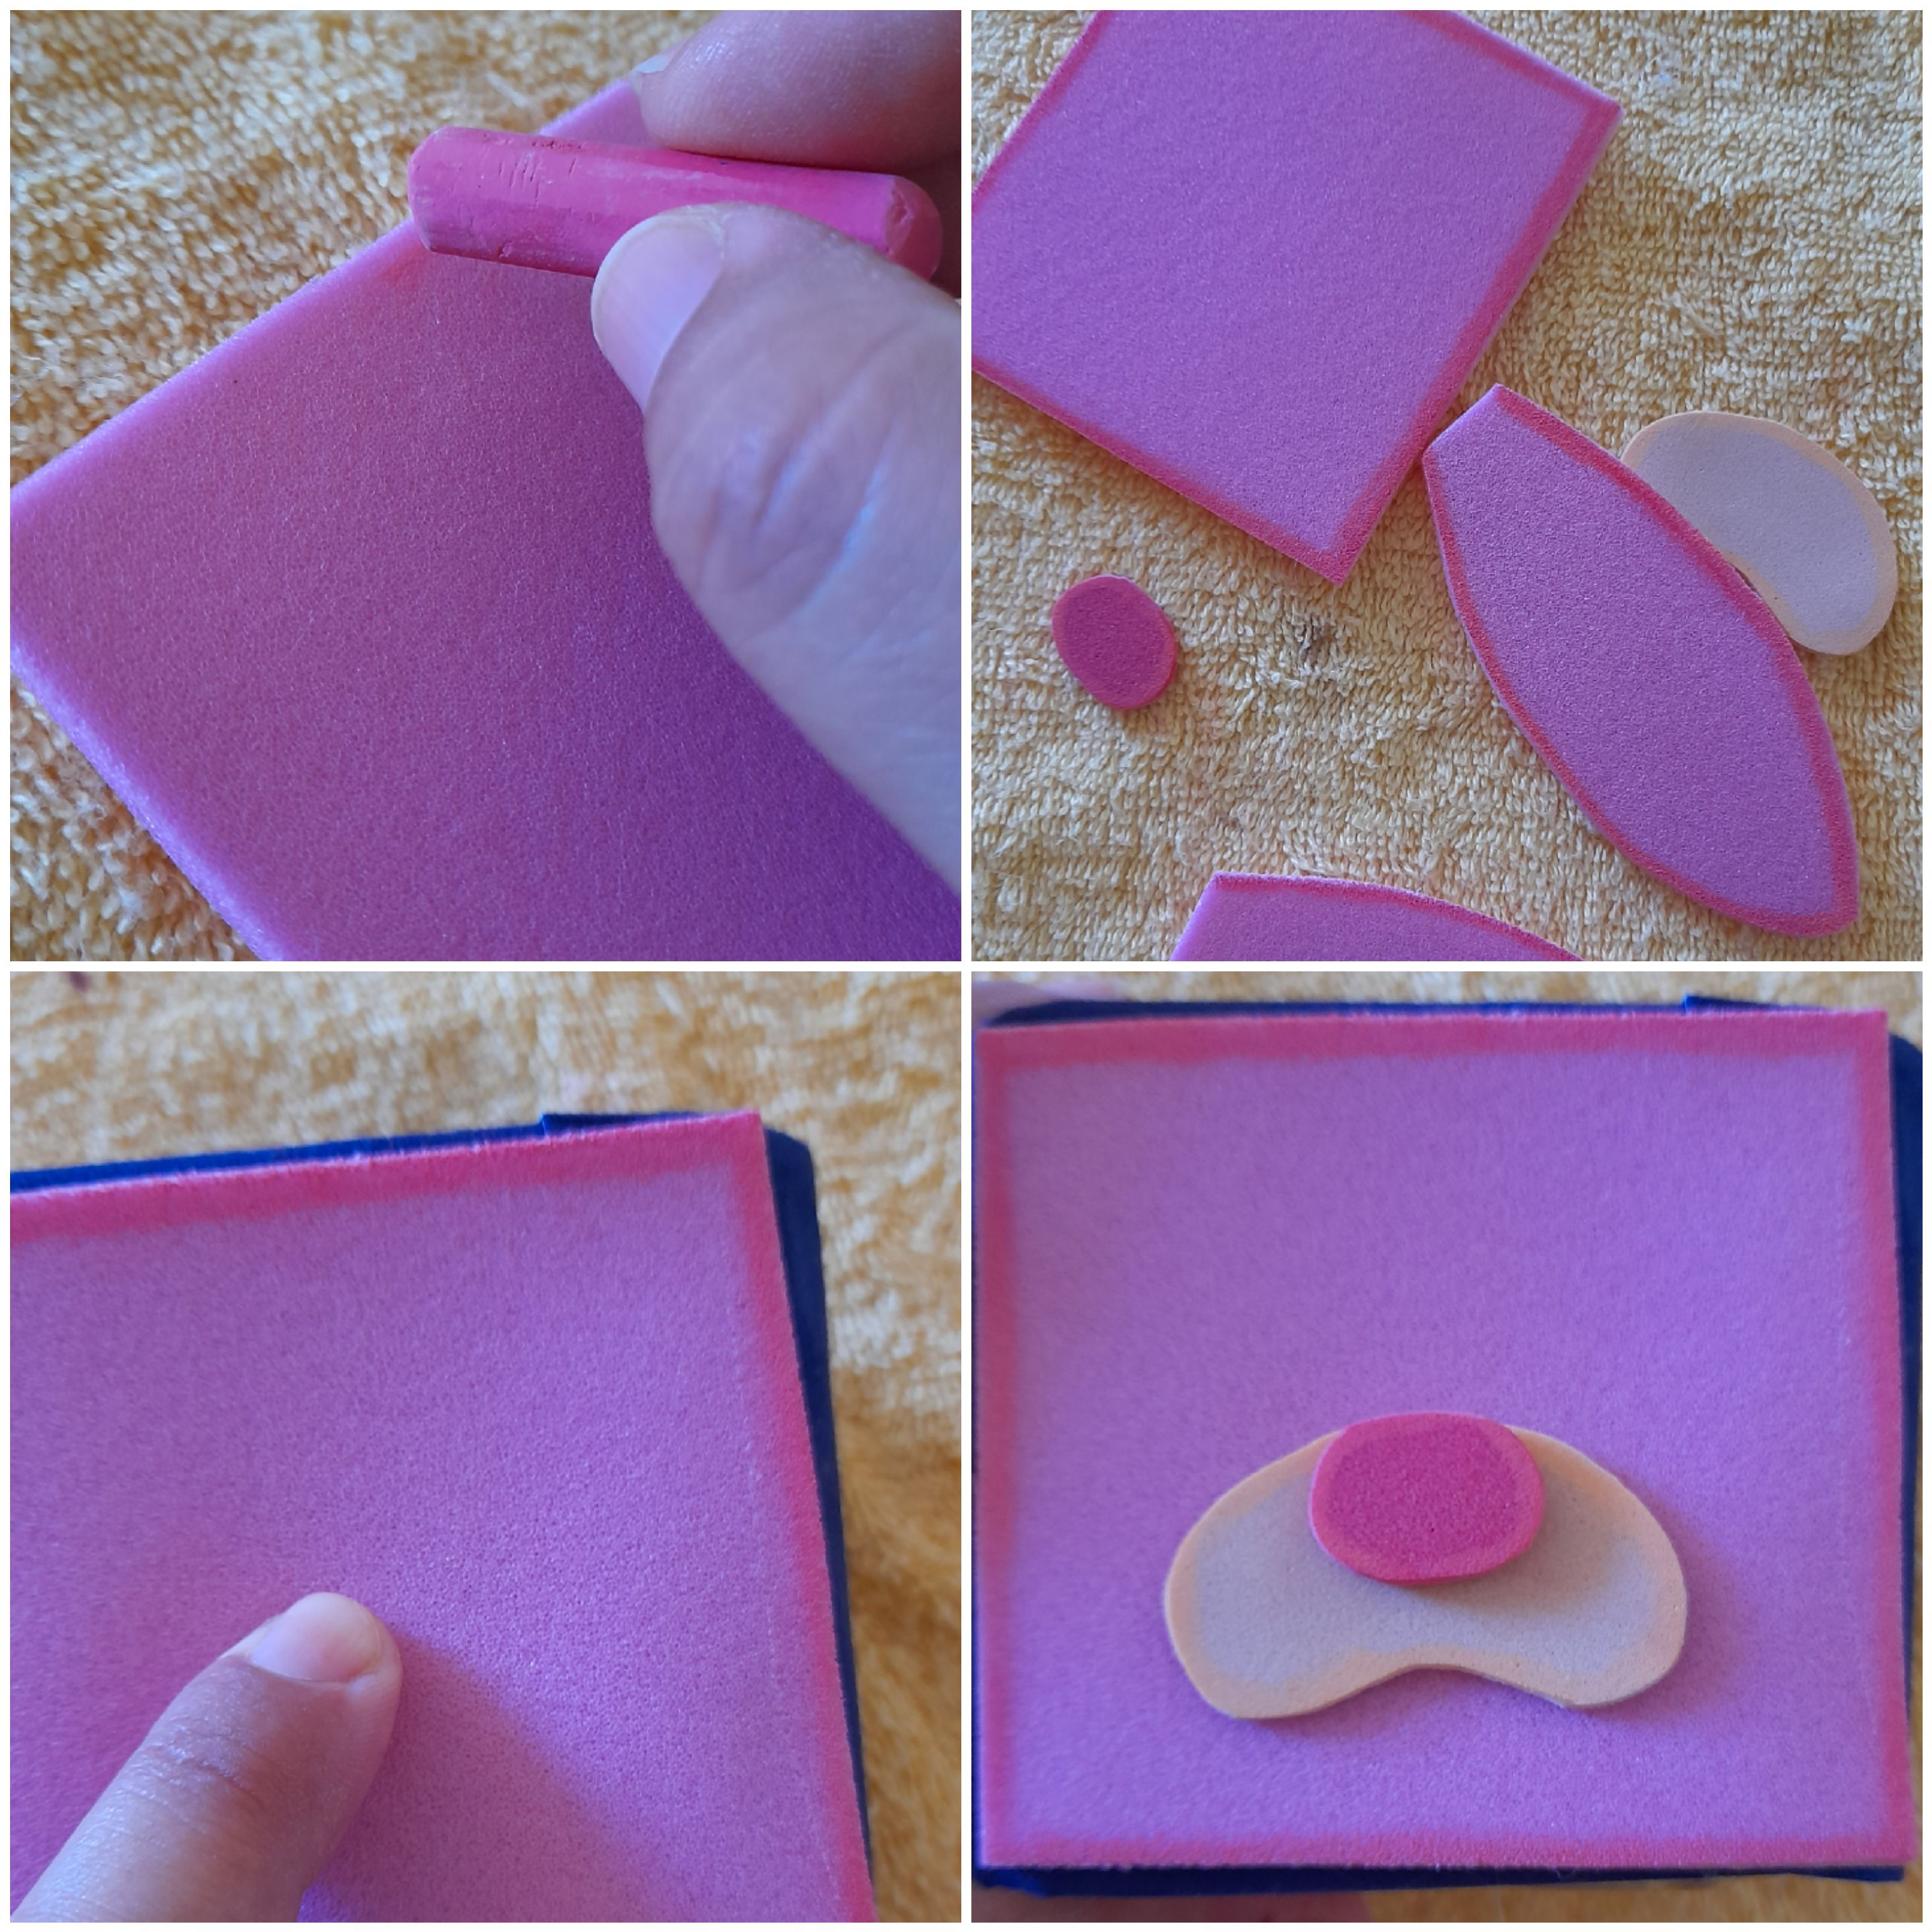
Lo segundo es marcar las piezas de la conejita en los foamis correspondientes y recortarlas.
The second thing is to mark the pieces of the bunny in the corresponding foamis and cut them out.
El tercer paso es difuminar todas las piezas de la conejita con tiza y empezarlas a pegar en la lata ya forrada.
The third step is to blur all the pieces of the bunny with chalk and start sticking them on the already lined can.
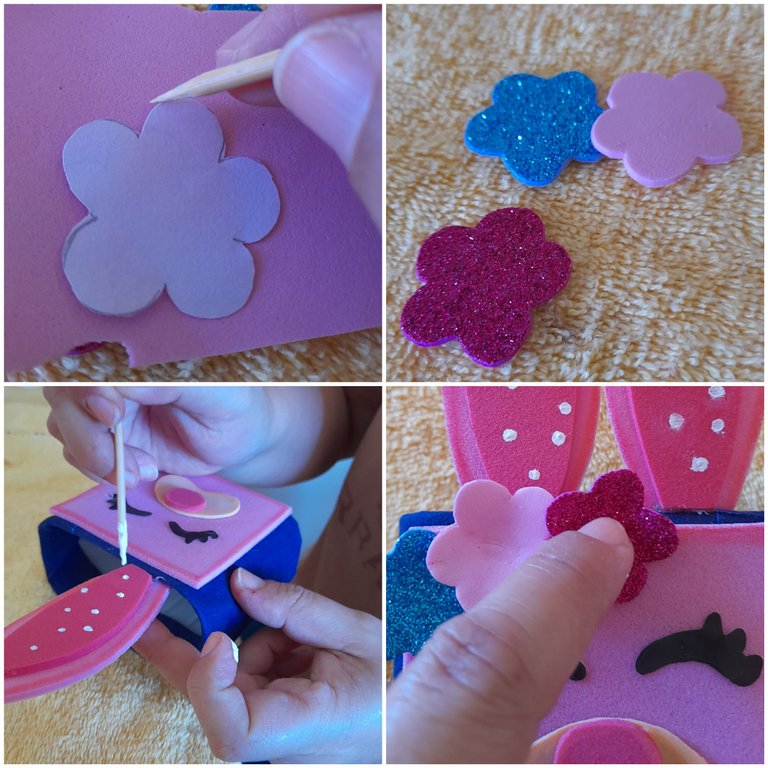
El cuarto y último paso va a consistir en hacer los ojos, punto con la pintura a las orejas, unas pequeñas flores para decorar que en el centro le colocaremos una perla.
The fourth and last step is going to consist of making the eyes, dot with the paint to the ears, some small flowers to decorate that we will place a pearl in the center.
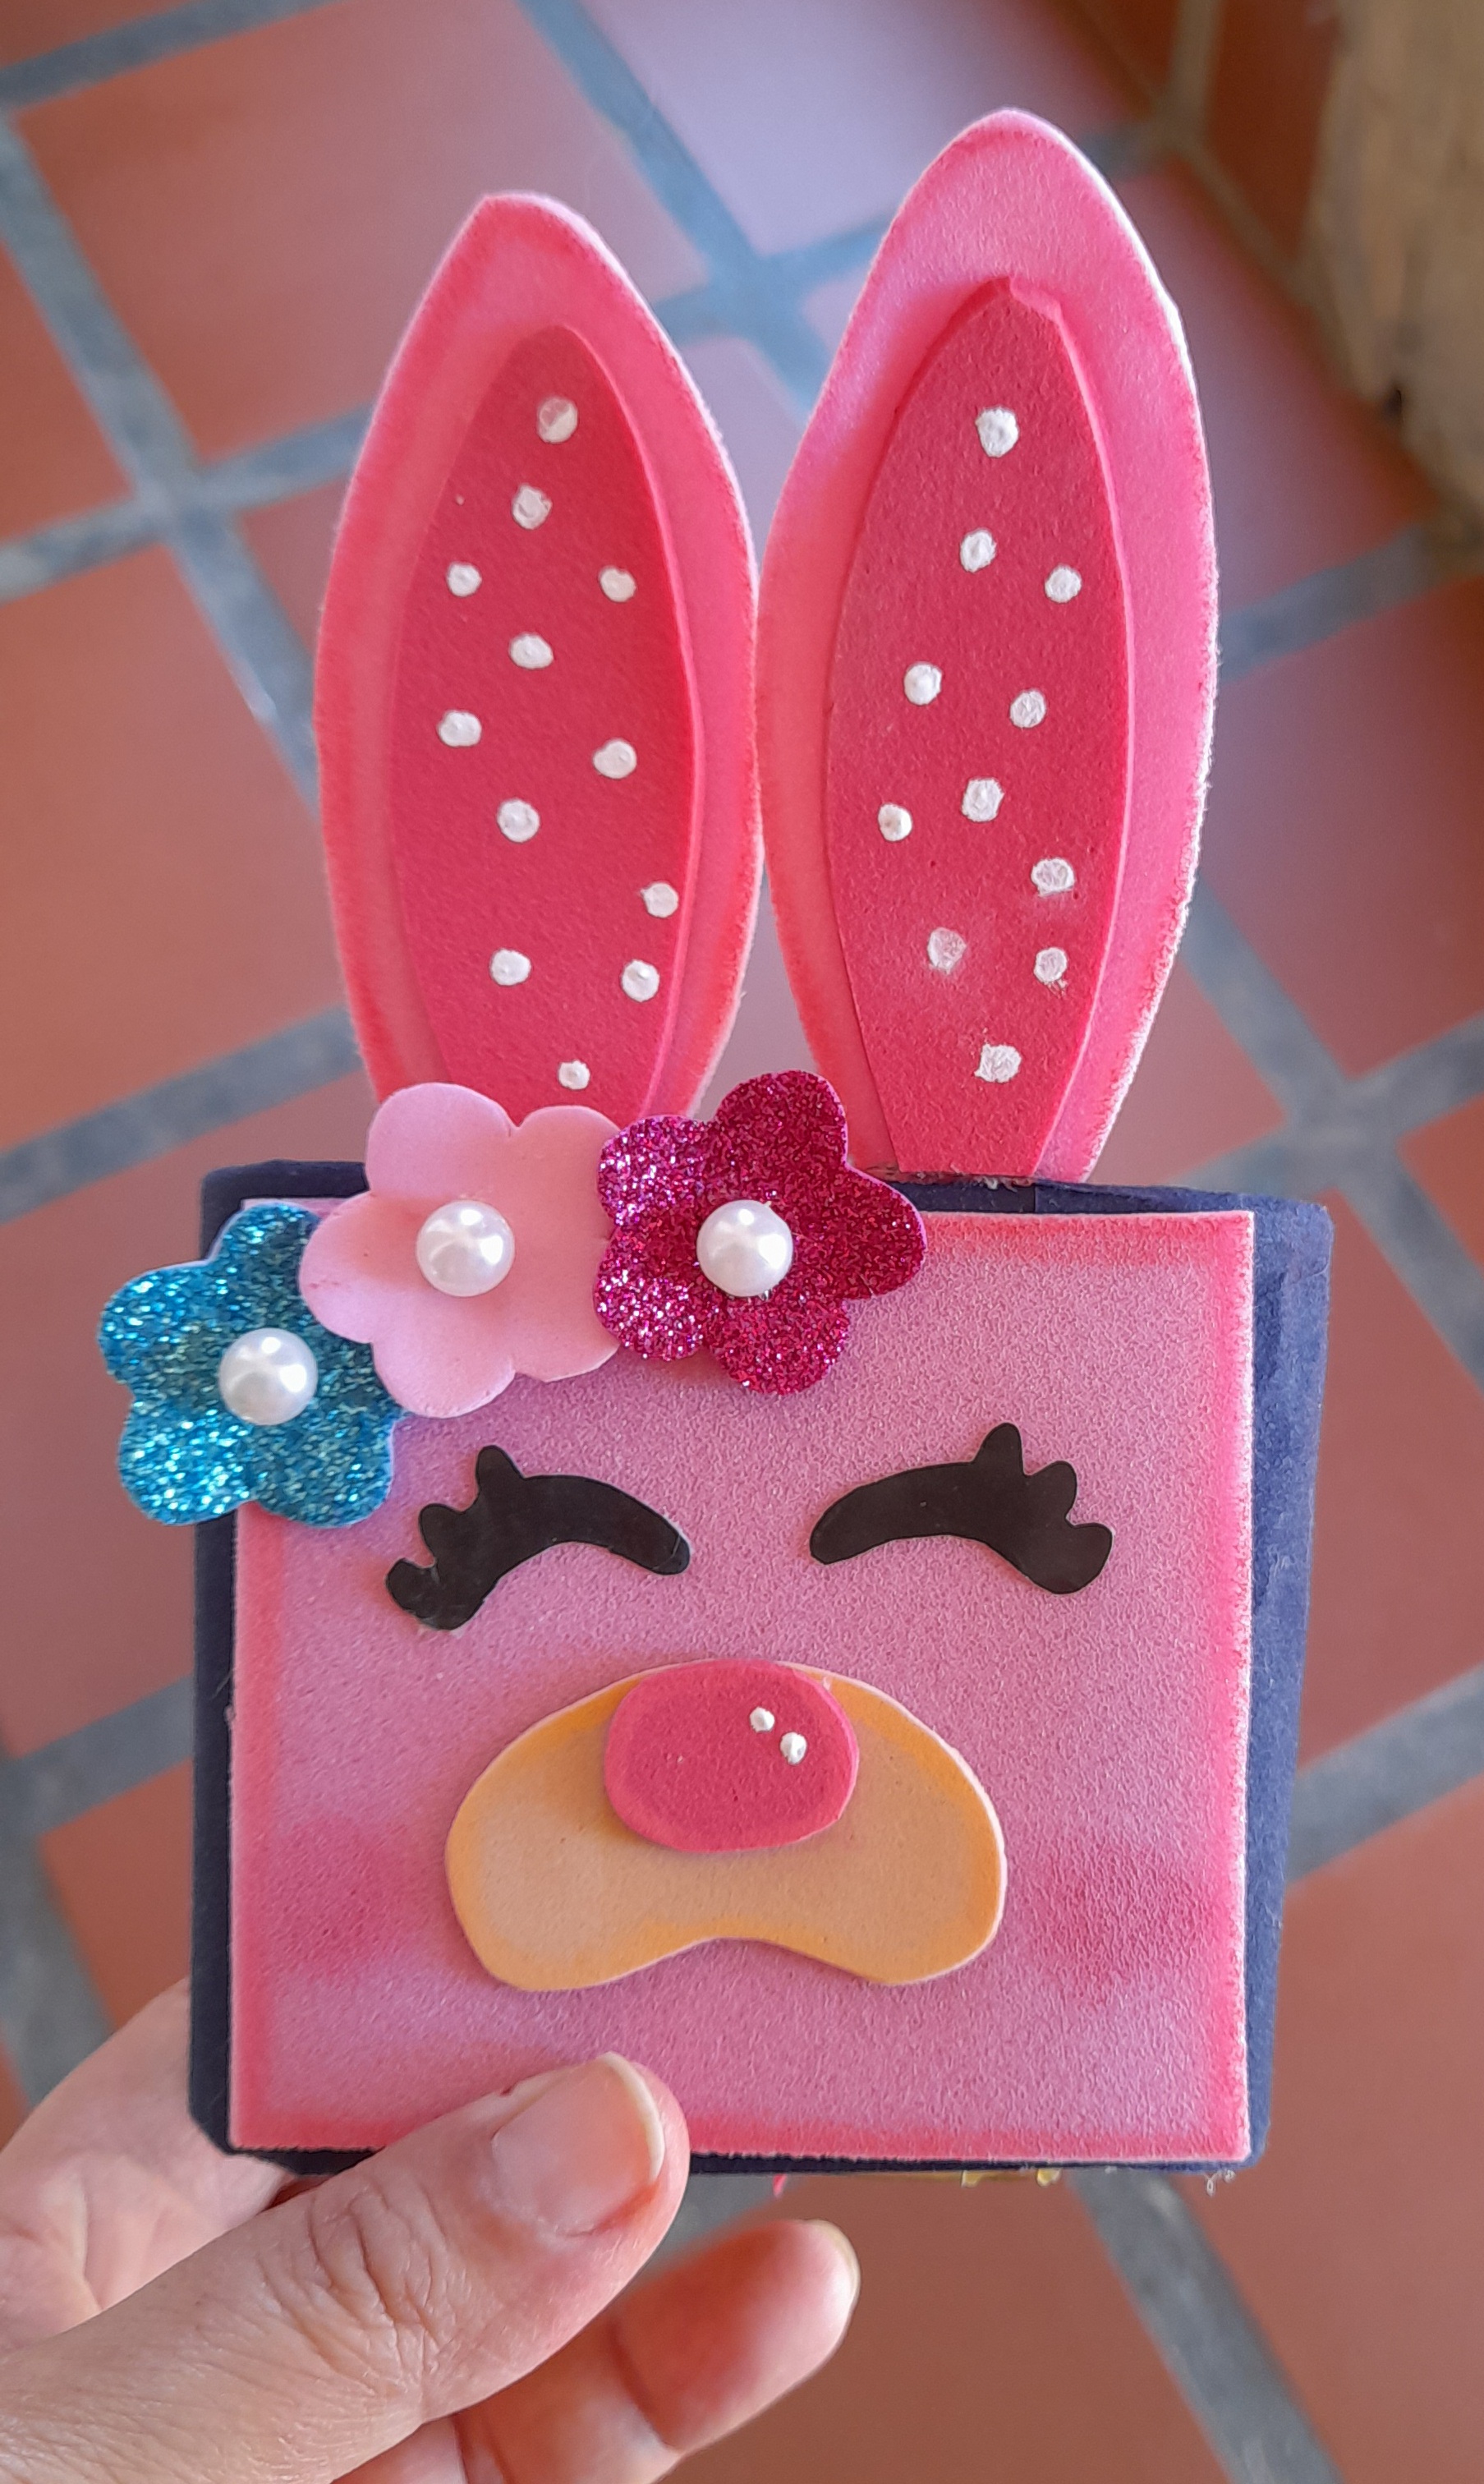
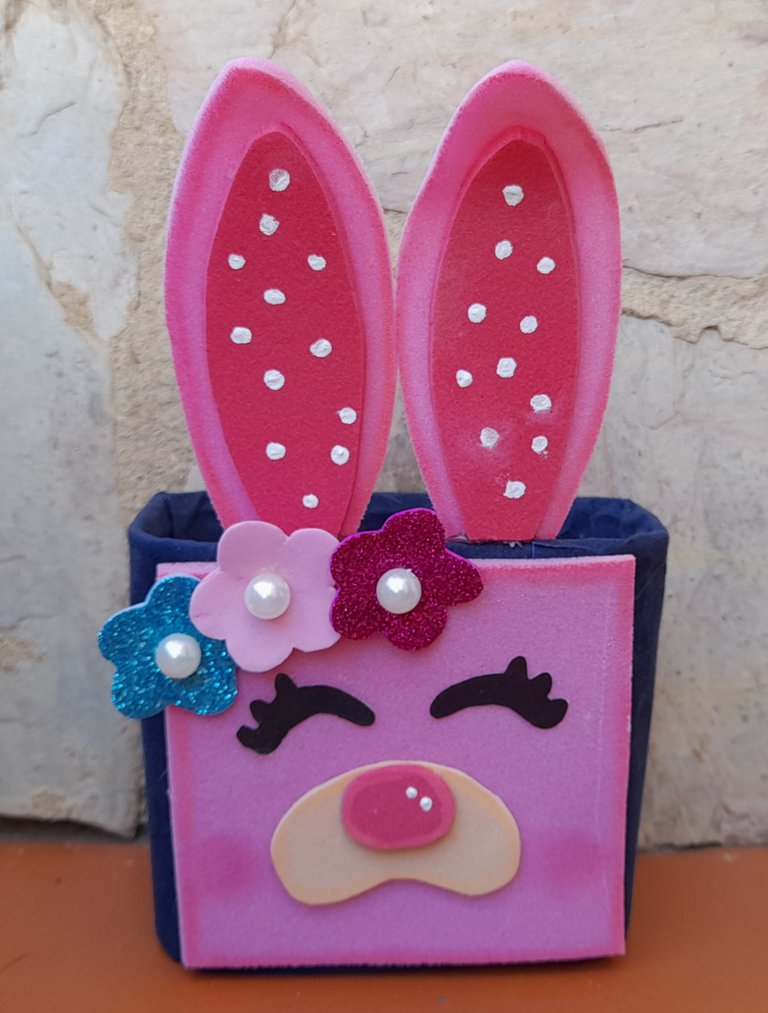
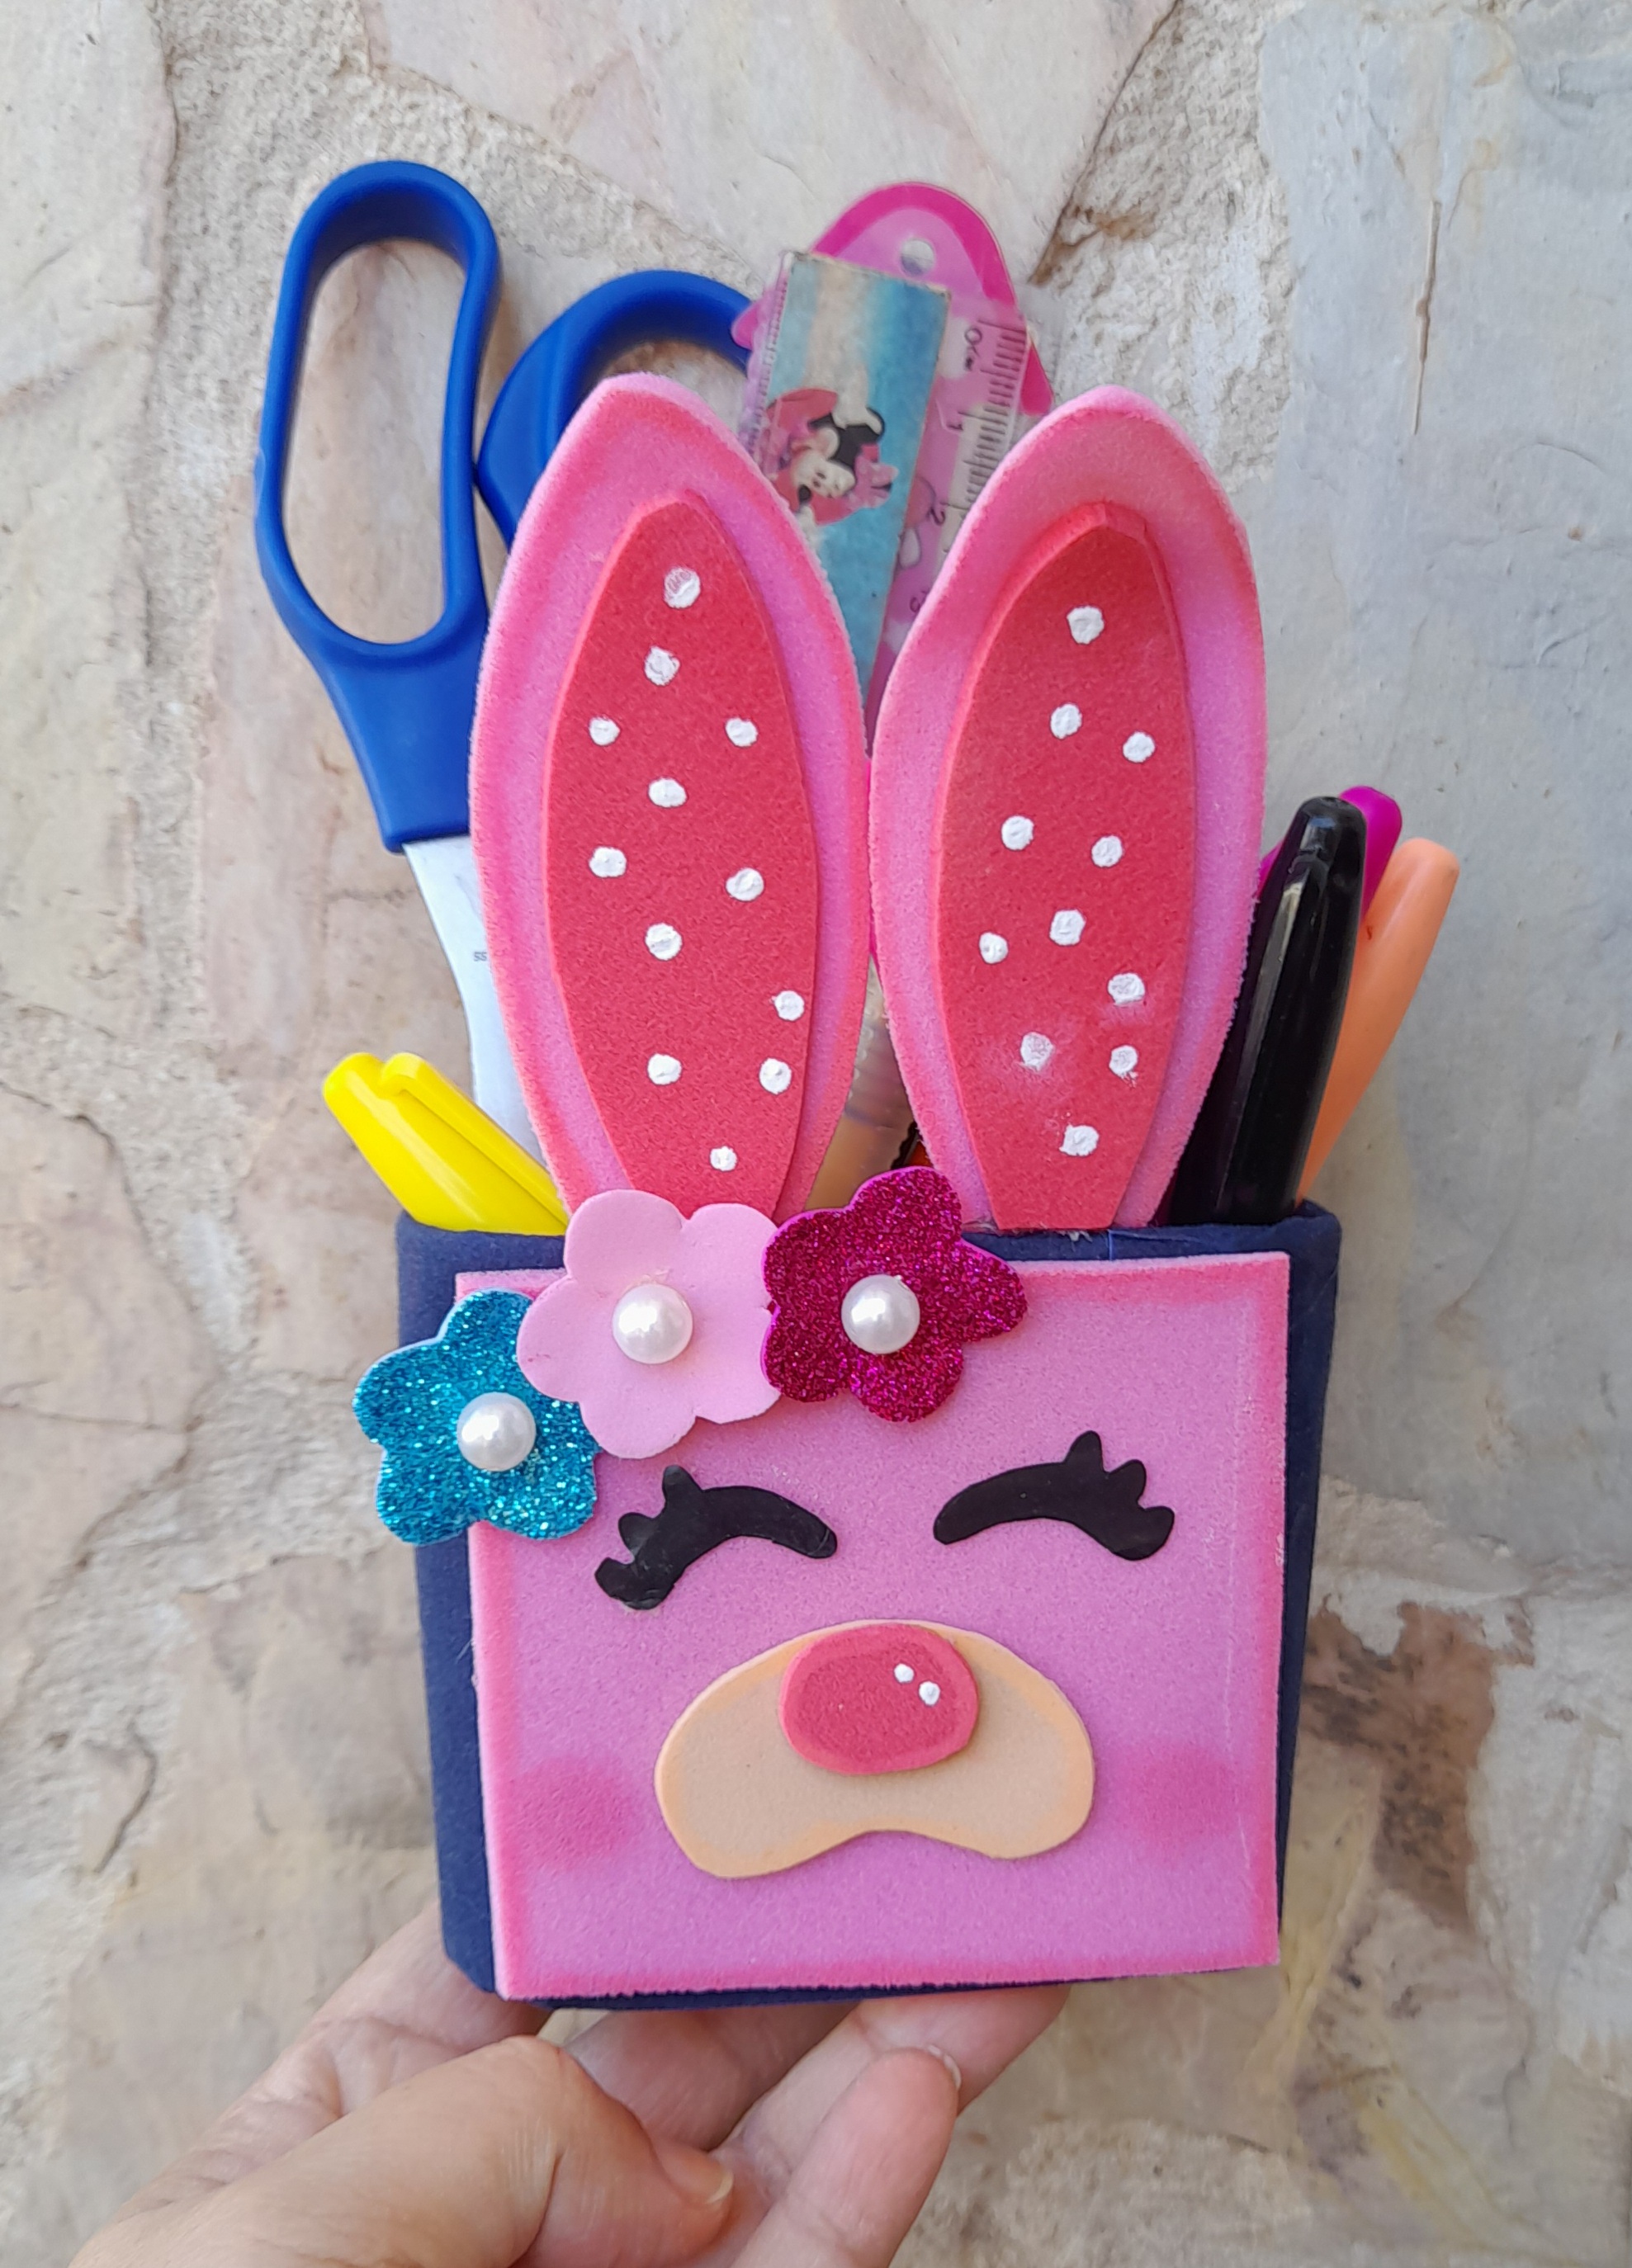
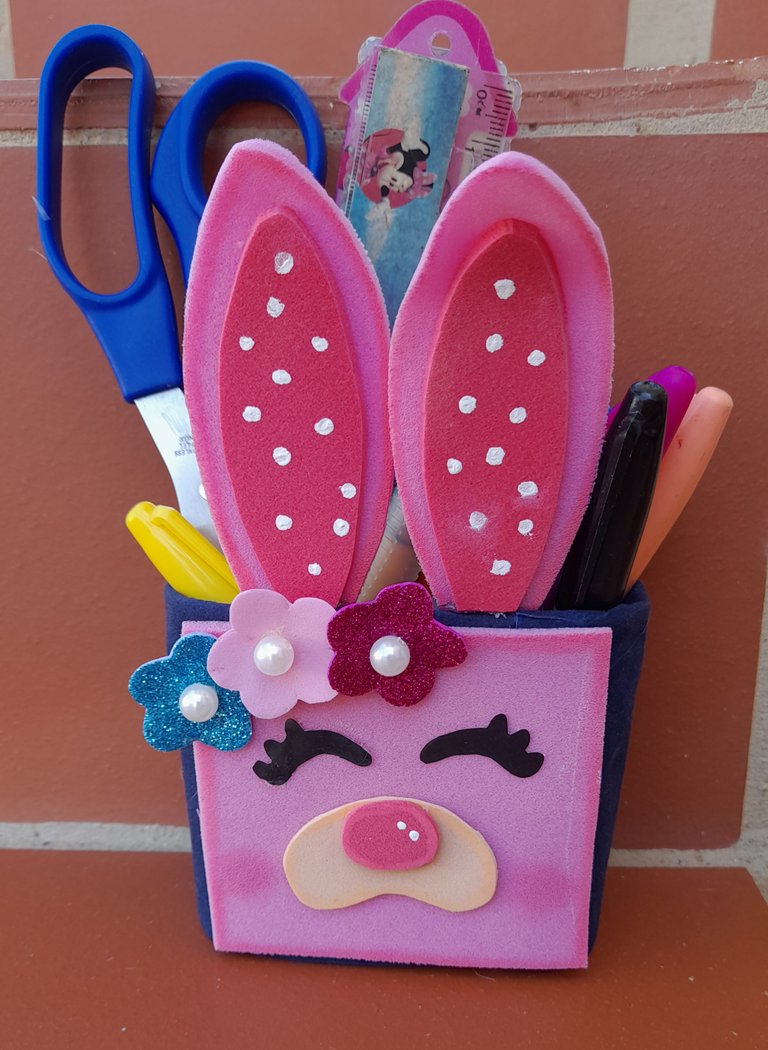
He aquí el resultado final de mi manualidad de hoy, mi hija Andrea me pidió que se la regalara para guardar sus creyones y yo feliz de que le haya gustado, espero que a ustedes también les haya gustado y que se animen a realizarlo.
Here is the final result of my craft today, my daughter Andrea asked me to give it to her to store her crayons and I am happy that she liked it, I hope that you also liked it and that you are encouraged to do it.
Las fotografías fueron tomadas con un teléfono inteligente Samsung A12, el texto fue traducido al ingles con el traductor de Google.
El banner fue diseñado en canvas.
The photos were taken with a Samsung A12 smartphone, the text was translated into English with Google translate.
The banner was designed on canvas.
Gracias por leerme y los espero en un próximo post.
Thanks for reading and I look forward to seeing you in a future post.