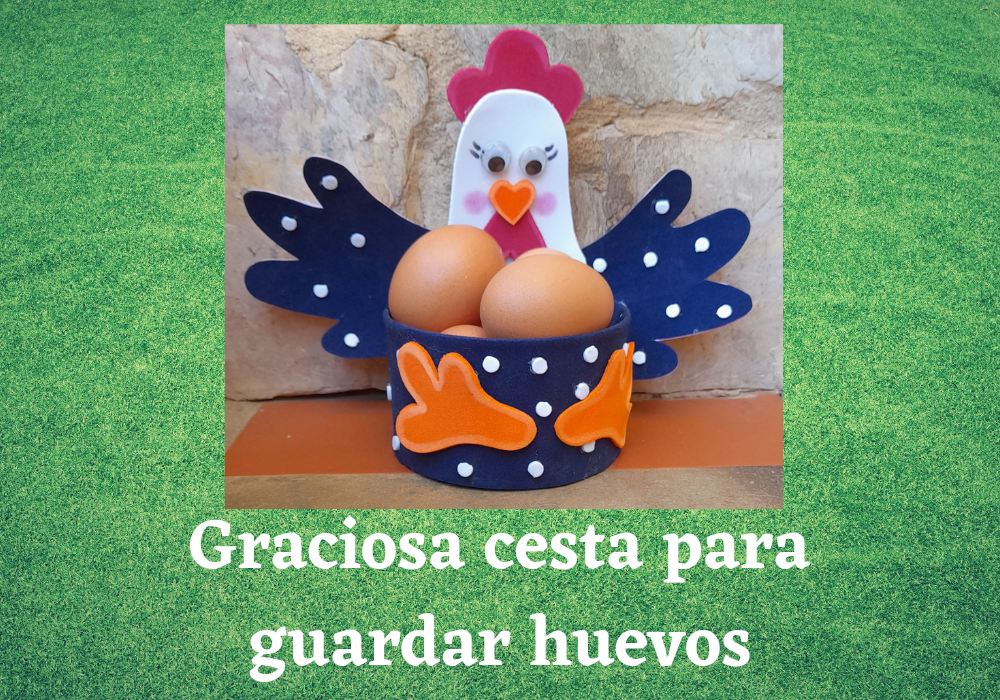
Feliz sábado a todos mis amigos artesanos que hacen vida en esta espectacular comunidad de #HiveDiy, espero se encuentren llenos de salud y al lado de sus seres queridos, encantada una vez más de compartir una manualidad con todos ustedes, el que me conoce sabe que me gusta mucho guardar todo tipo de envases y latas pienso que son ideales para guardar cualquier cosa que tengamos regadas por allí, es por eso que tengo muchas latas, buscando que hacer y viendo muchas ideas por internet, me gusto esta, que pienso hacer varias para regalar ya que me parece un detalle ideal para tener en la cocina, así que les muestro lo que necesitan y el paso a paso para que se animen hacerlo.
Happy Saturday to all my artisans who make life in this spectacular #HiveDiy community, I hope you are full of health and next to your loved ones, delighted once again to share a craft with all of you, whoever knows me knows that I I really like to store all kinds of containers and cans I think they are ideal for storing anything that we have scattered around, that is why I have many cans, looking for what to do and seeing many ideas on the internet, I liked this one, that I plan to make several for to give as a gift since it seems to me an ideal detail to have in the kitchen, so I show you what you need and the step by step so that you are encouraged to do it.
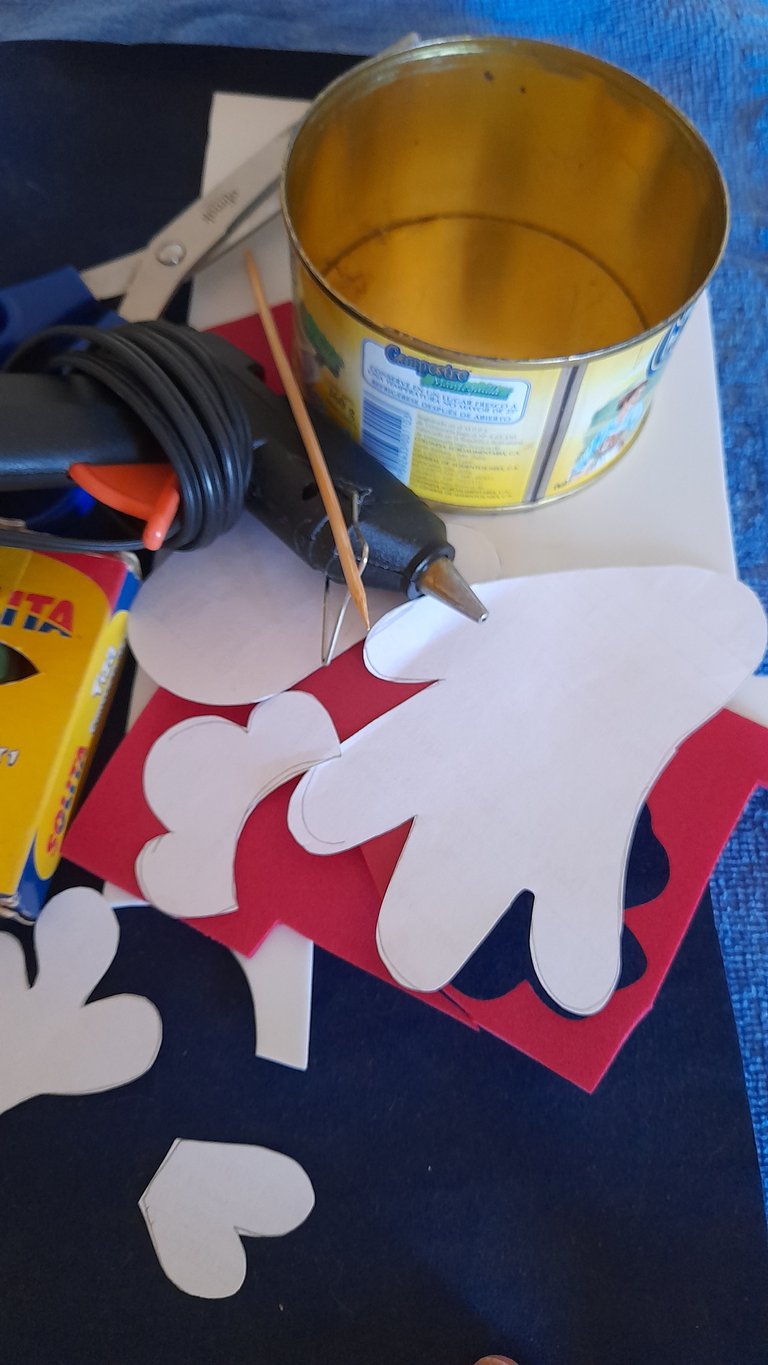
Los materiales que necesitarás son:
- Una lata
- Foami negro, blanco, rojo y naranja
- Tijera
- Barra y pistola de silicon
- Ojos móviles
- Tizas de colores
- Marcador negro
- Molde de una gallina.
The materials you will need are:
- A tin
- Foami black, white, red and orange
- Scissor
- Bar and glue gun
- Mobile eyes
- Colored chalks
- Black marker
- Mold of a hen.
Paso a paso a continuación:
Step by step below:
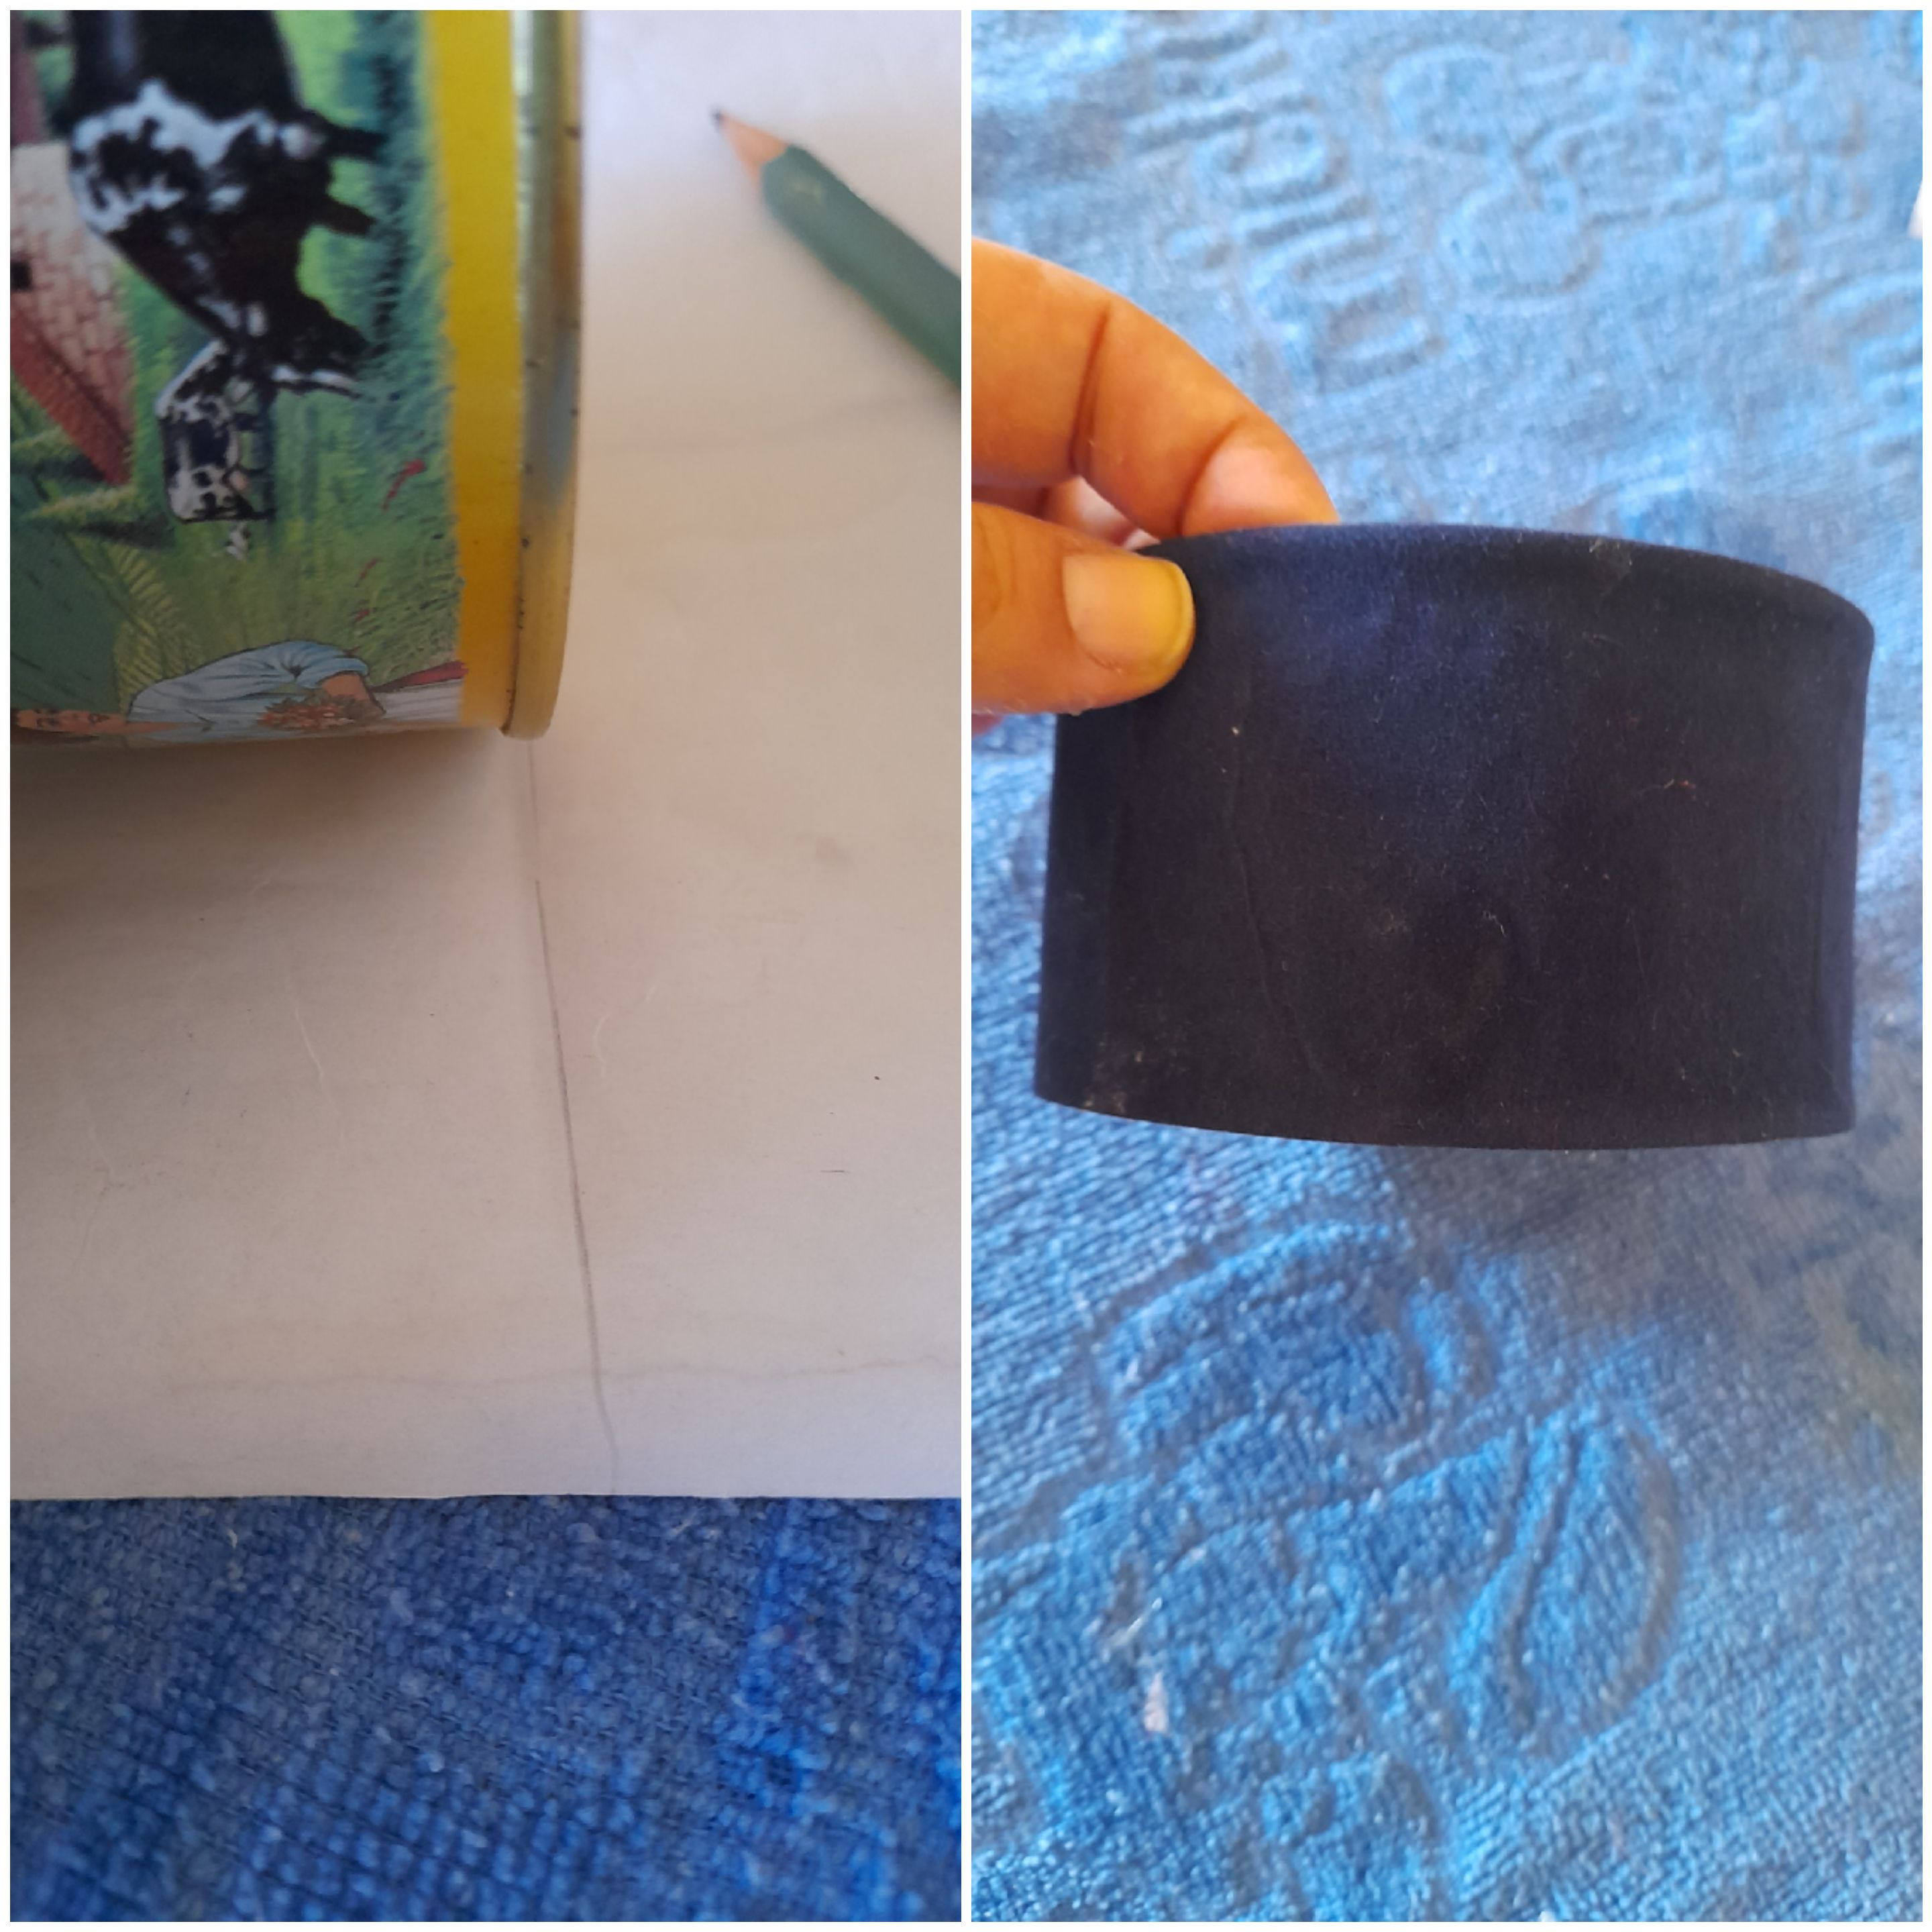
Lo primero que haremos es forrar la lata con el foami negro.
The first thing we will do is line the can with the black foami.
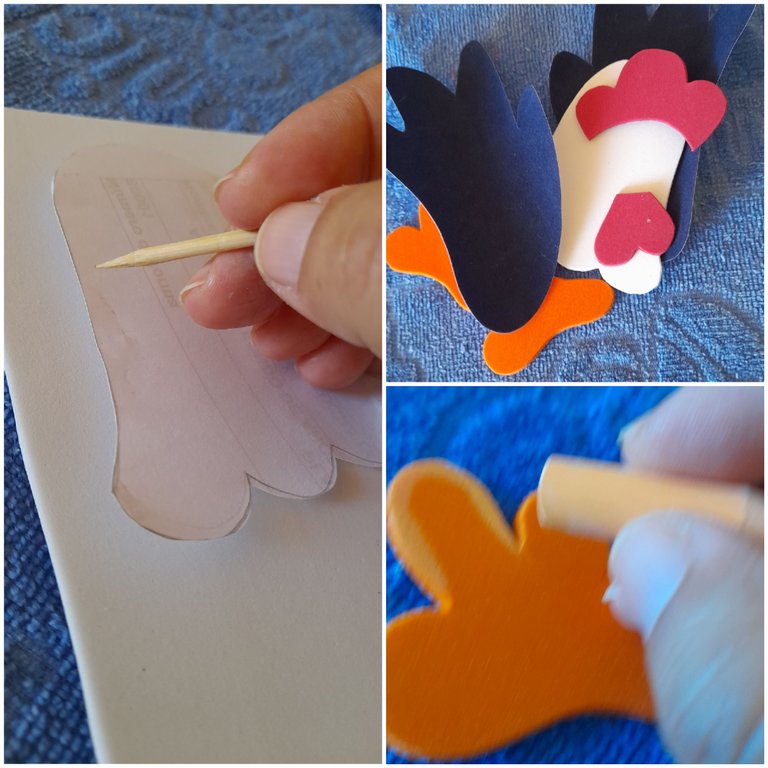
Lo segundo marcar en el foami correspondiente el molde de las partes de la gallina y recortar para luego difuminarlas con tiza.
The second thing is to mark in the corresponding foami the mold of the parts of the hen and cut them out and then blur them with chalk.
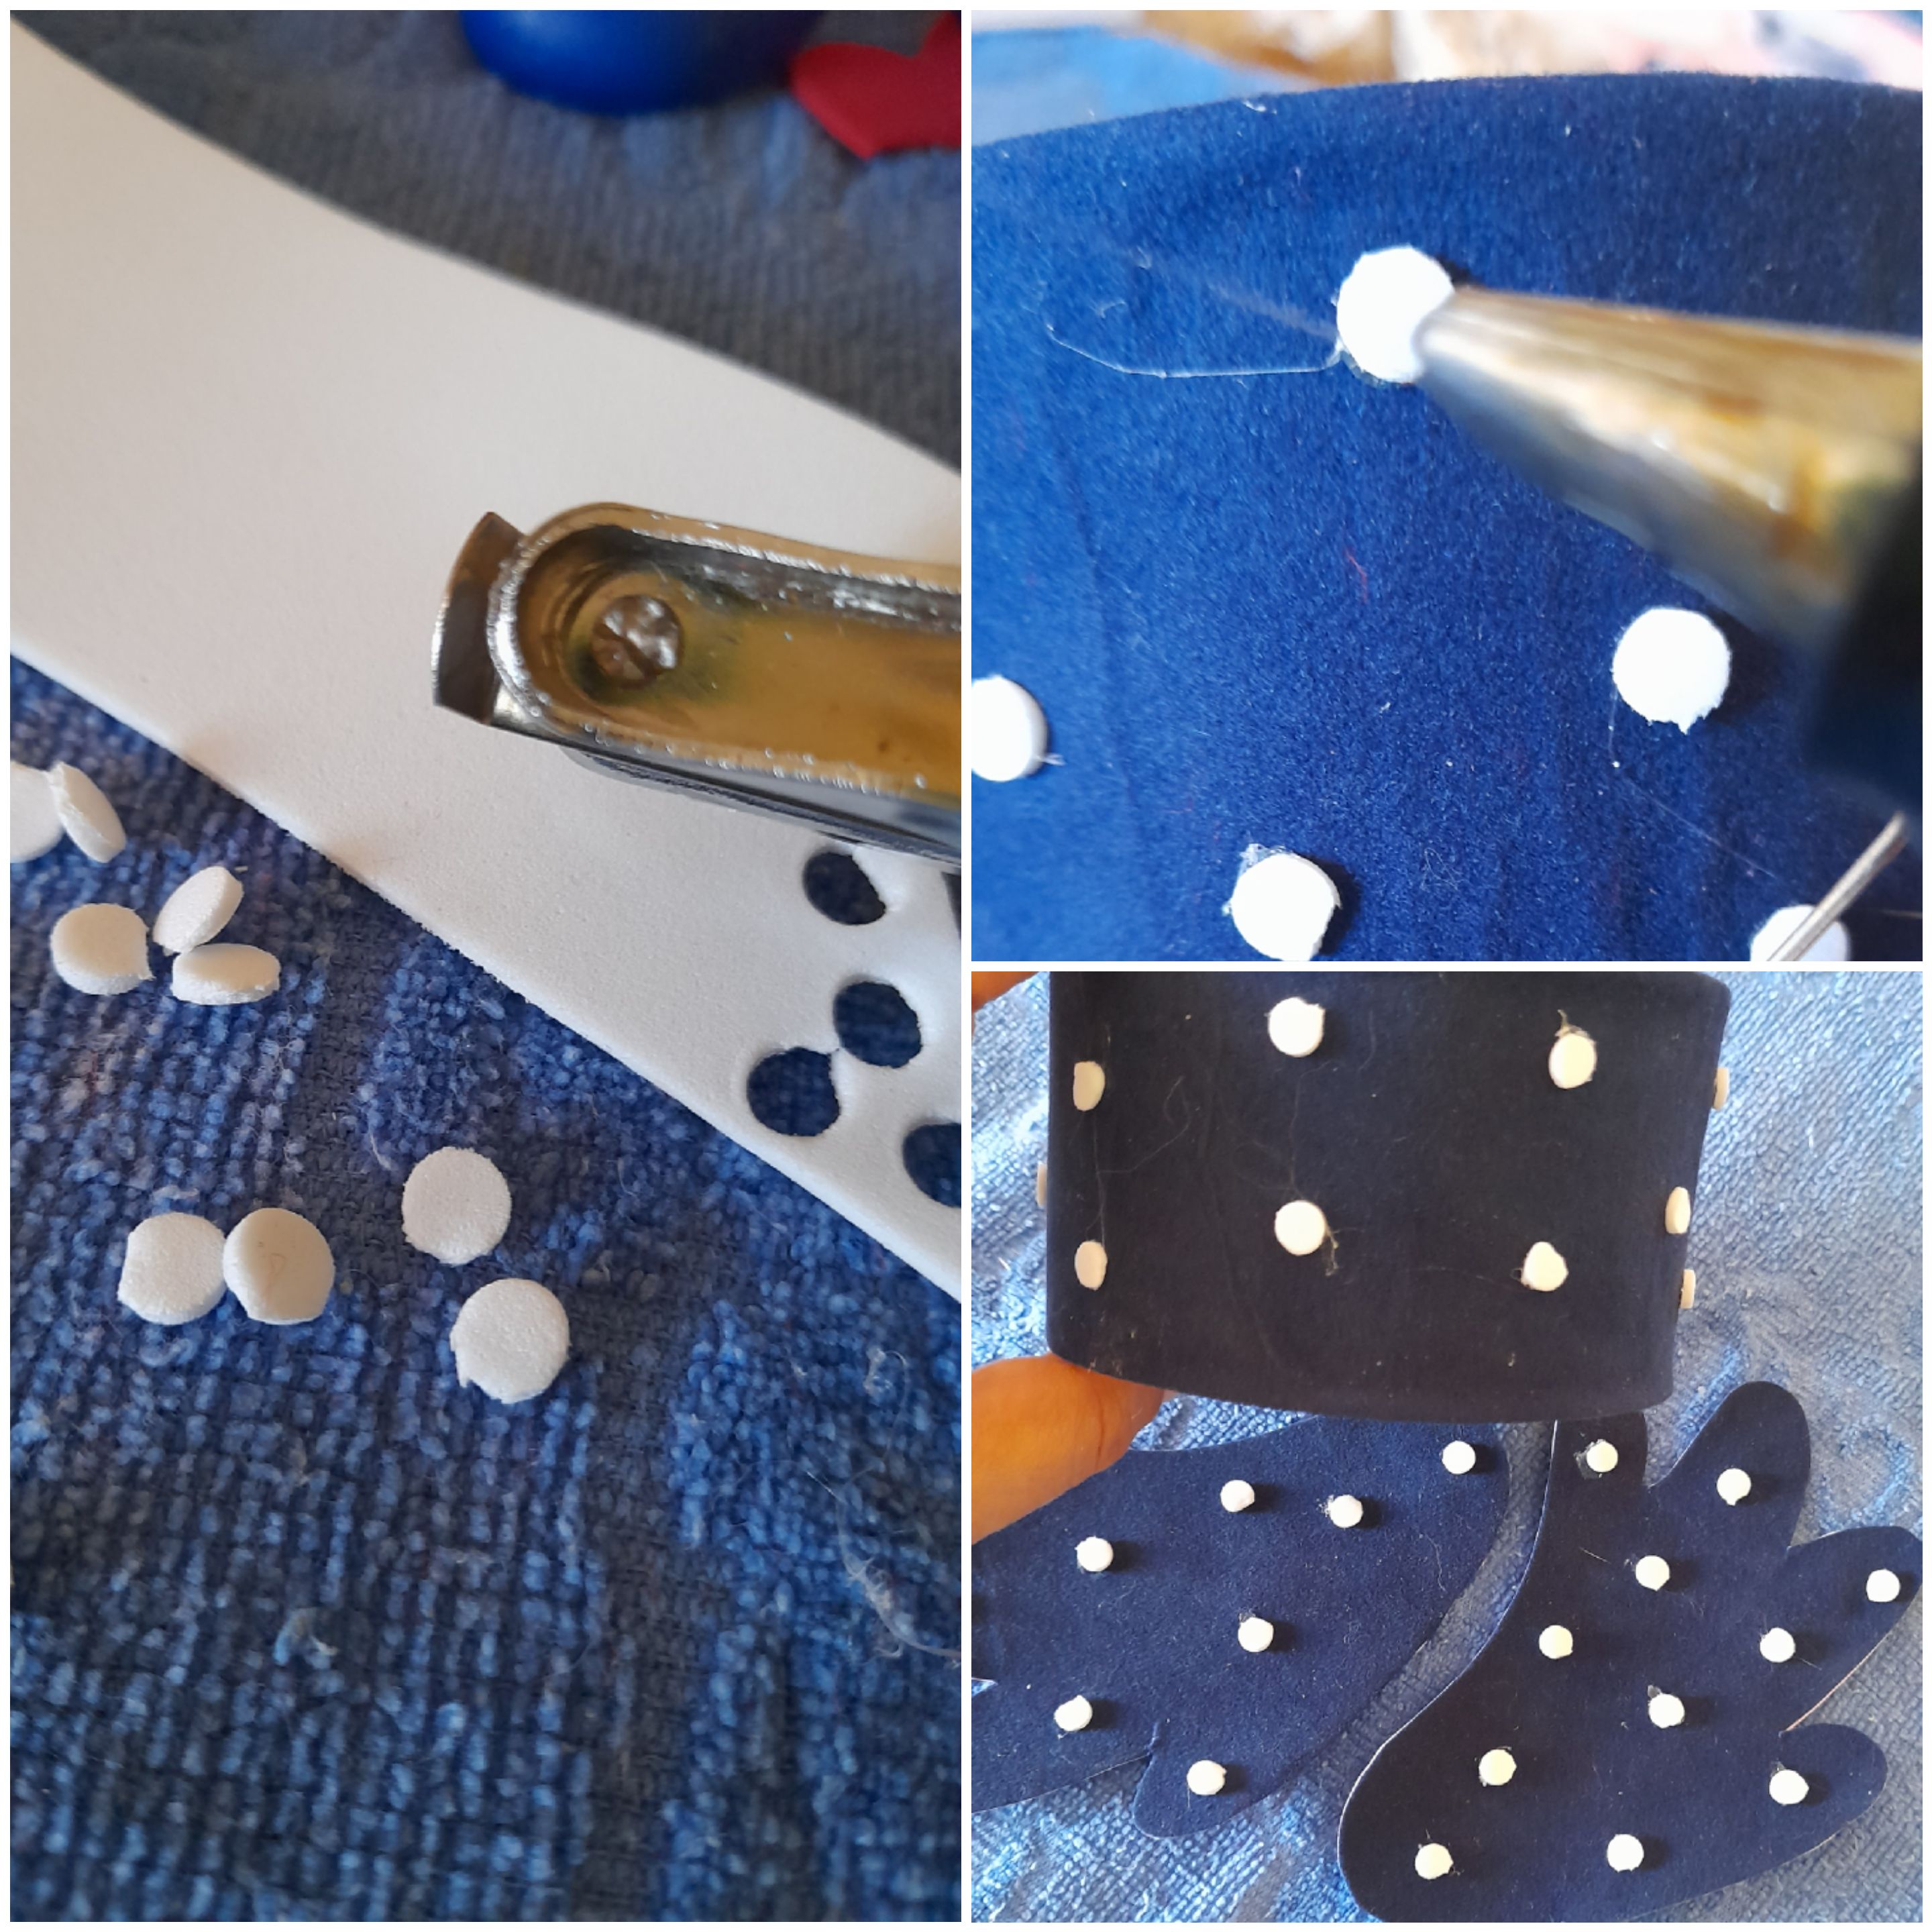
Lo tercero que haremos es con la perforadora hacer círculos y pegar por toda la lata y por las alas.
The third thing we will do is make circles with the punch and paste all over the can and the wings.
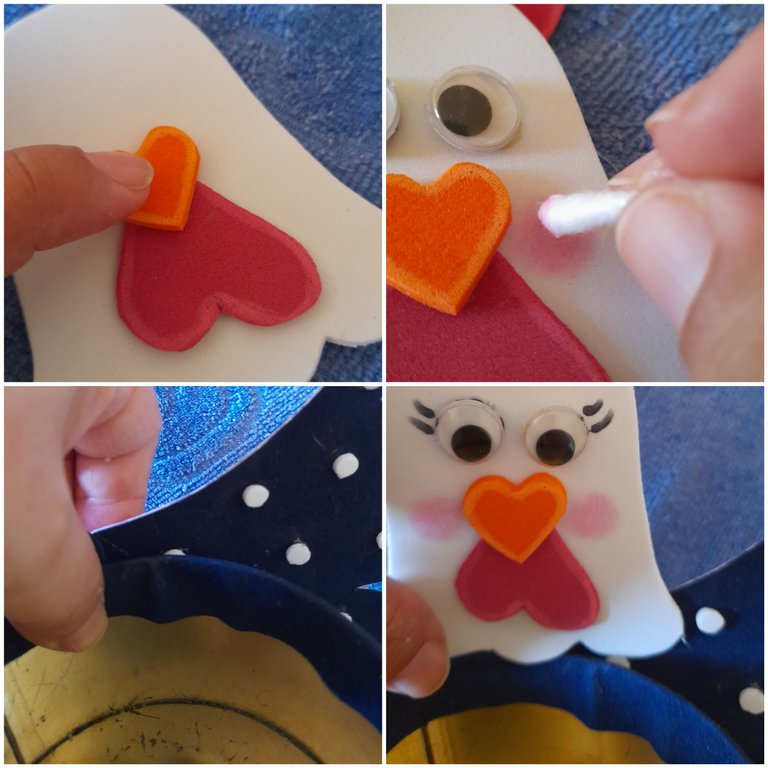
Este paso va a consistir en pegar todas las partes de la cara de la gallina y pintarle los cachetes con polvo rosado y empezar a pegar todas las partes a la lata empeza con las alas, la cara y patas.
This step will consist of gluing all the parts of the chicken's face and painting its cheeks with pink powder and start gluing all the parts to the can starting with the wings, face and legs.
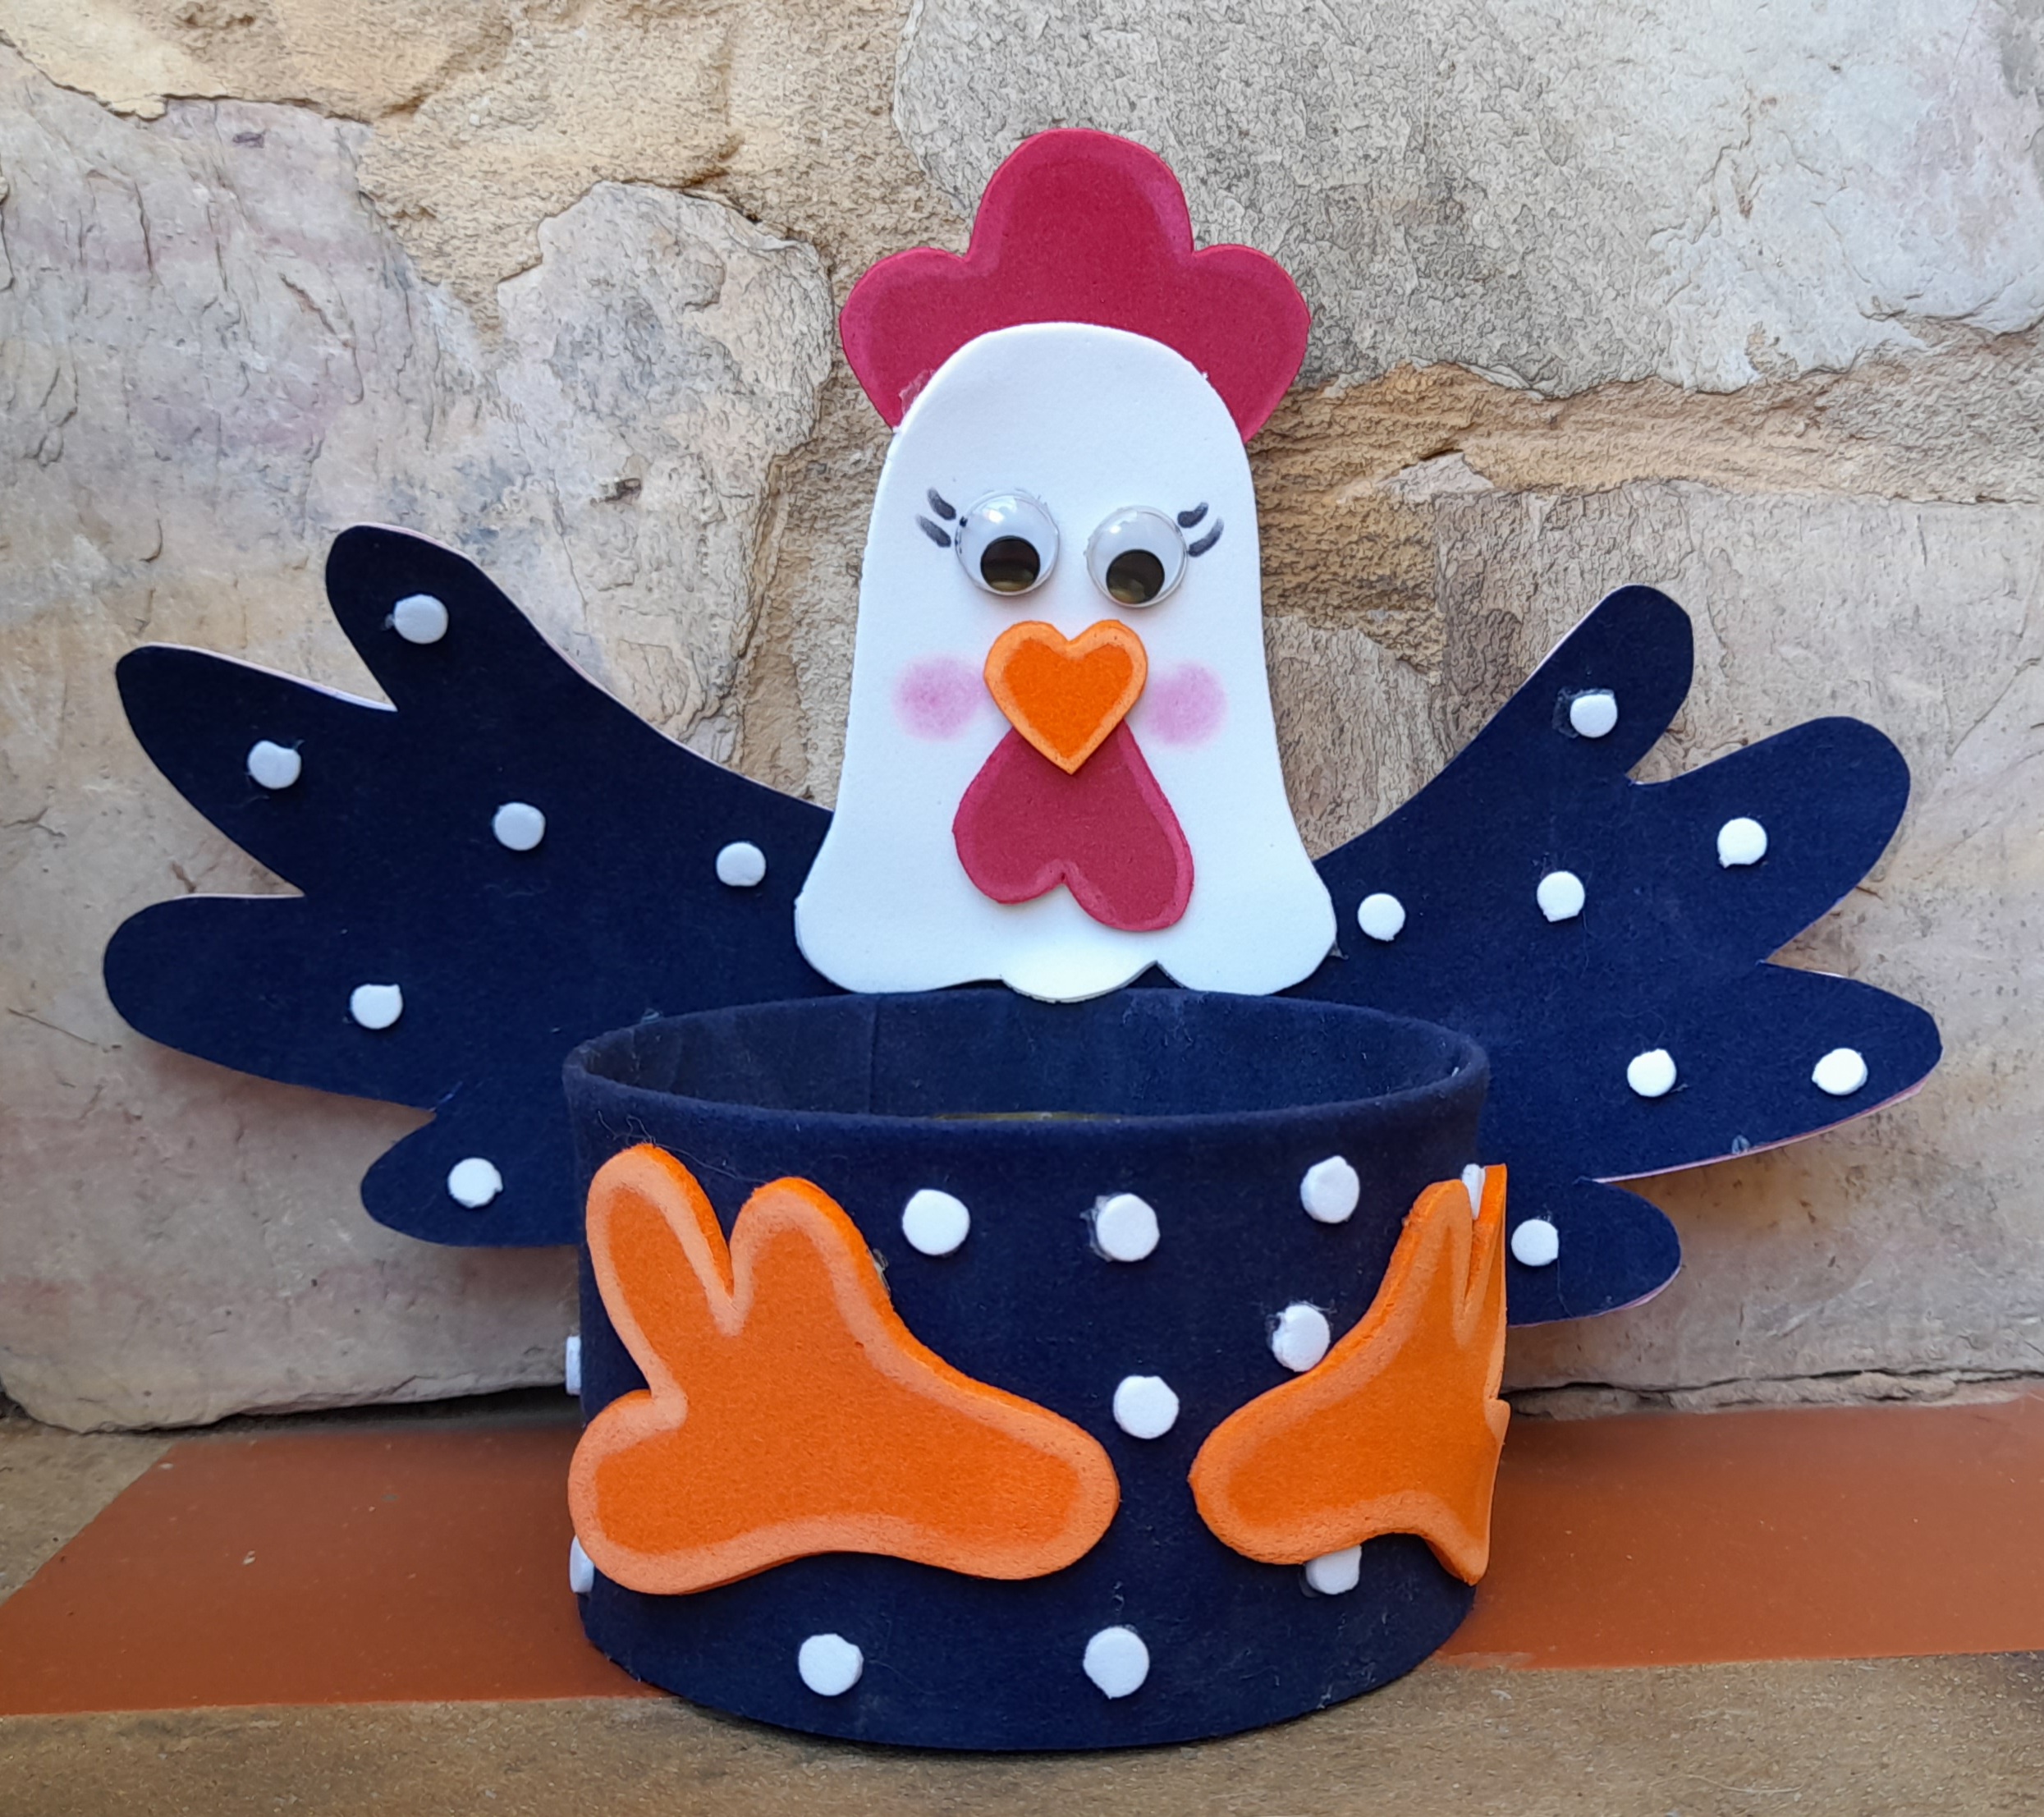
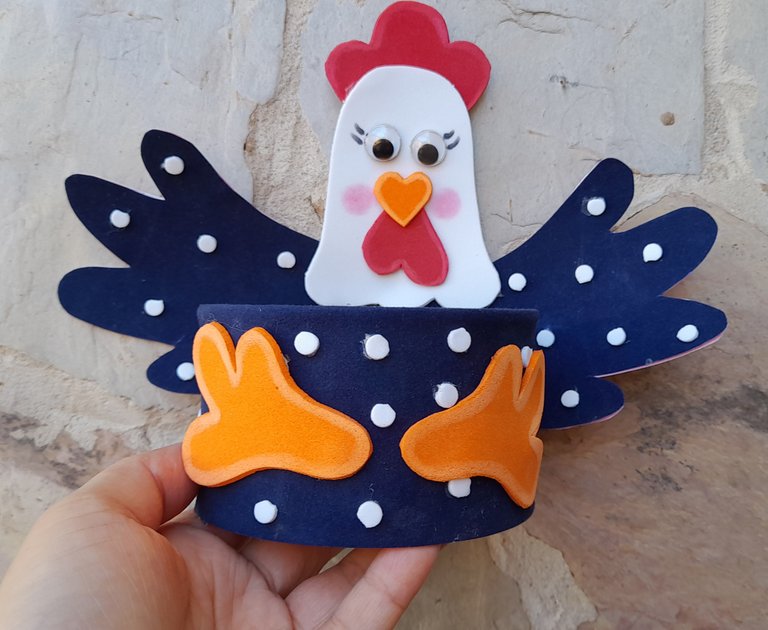
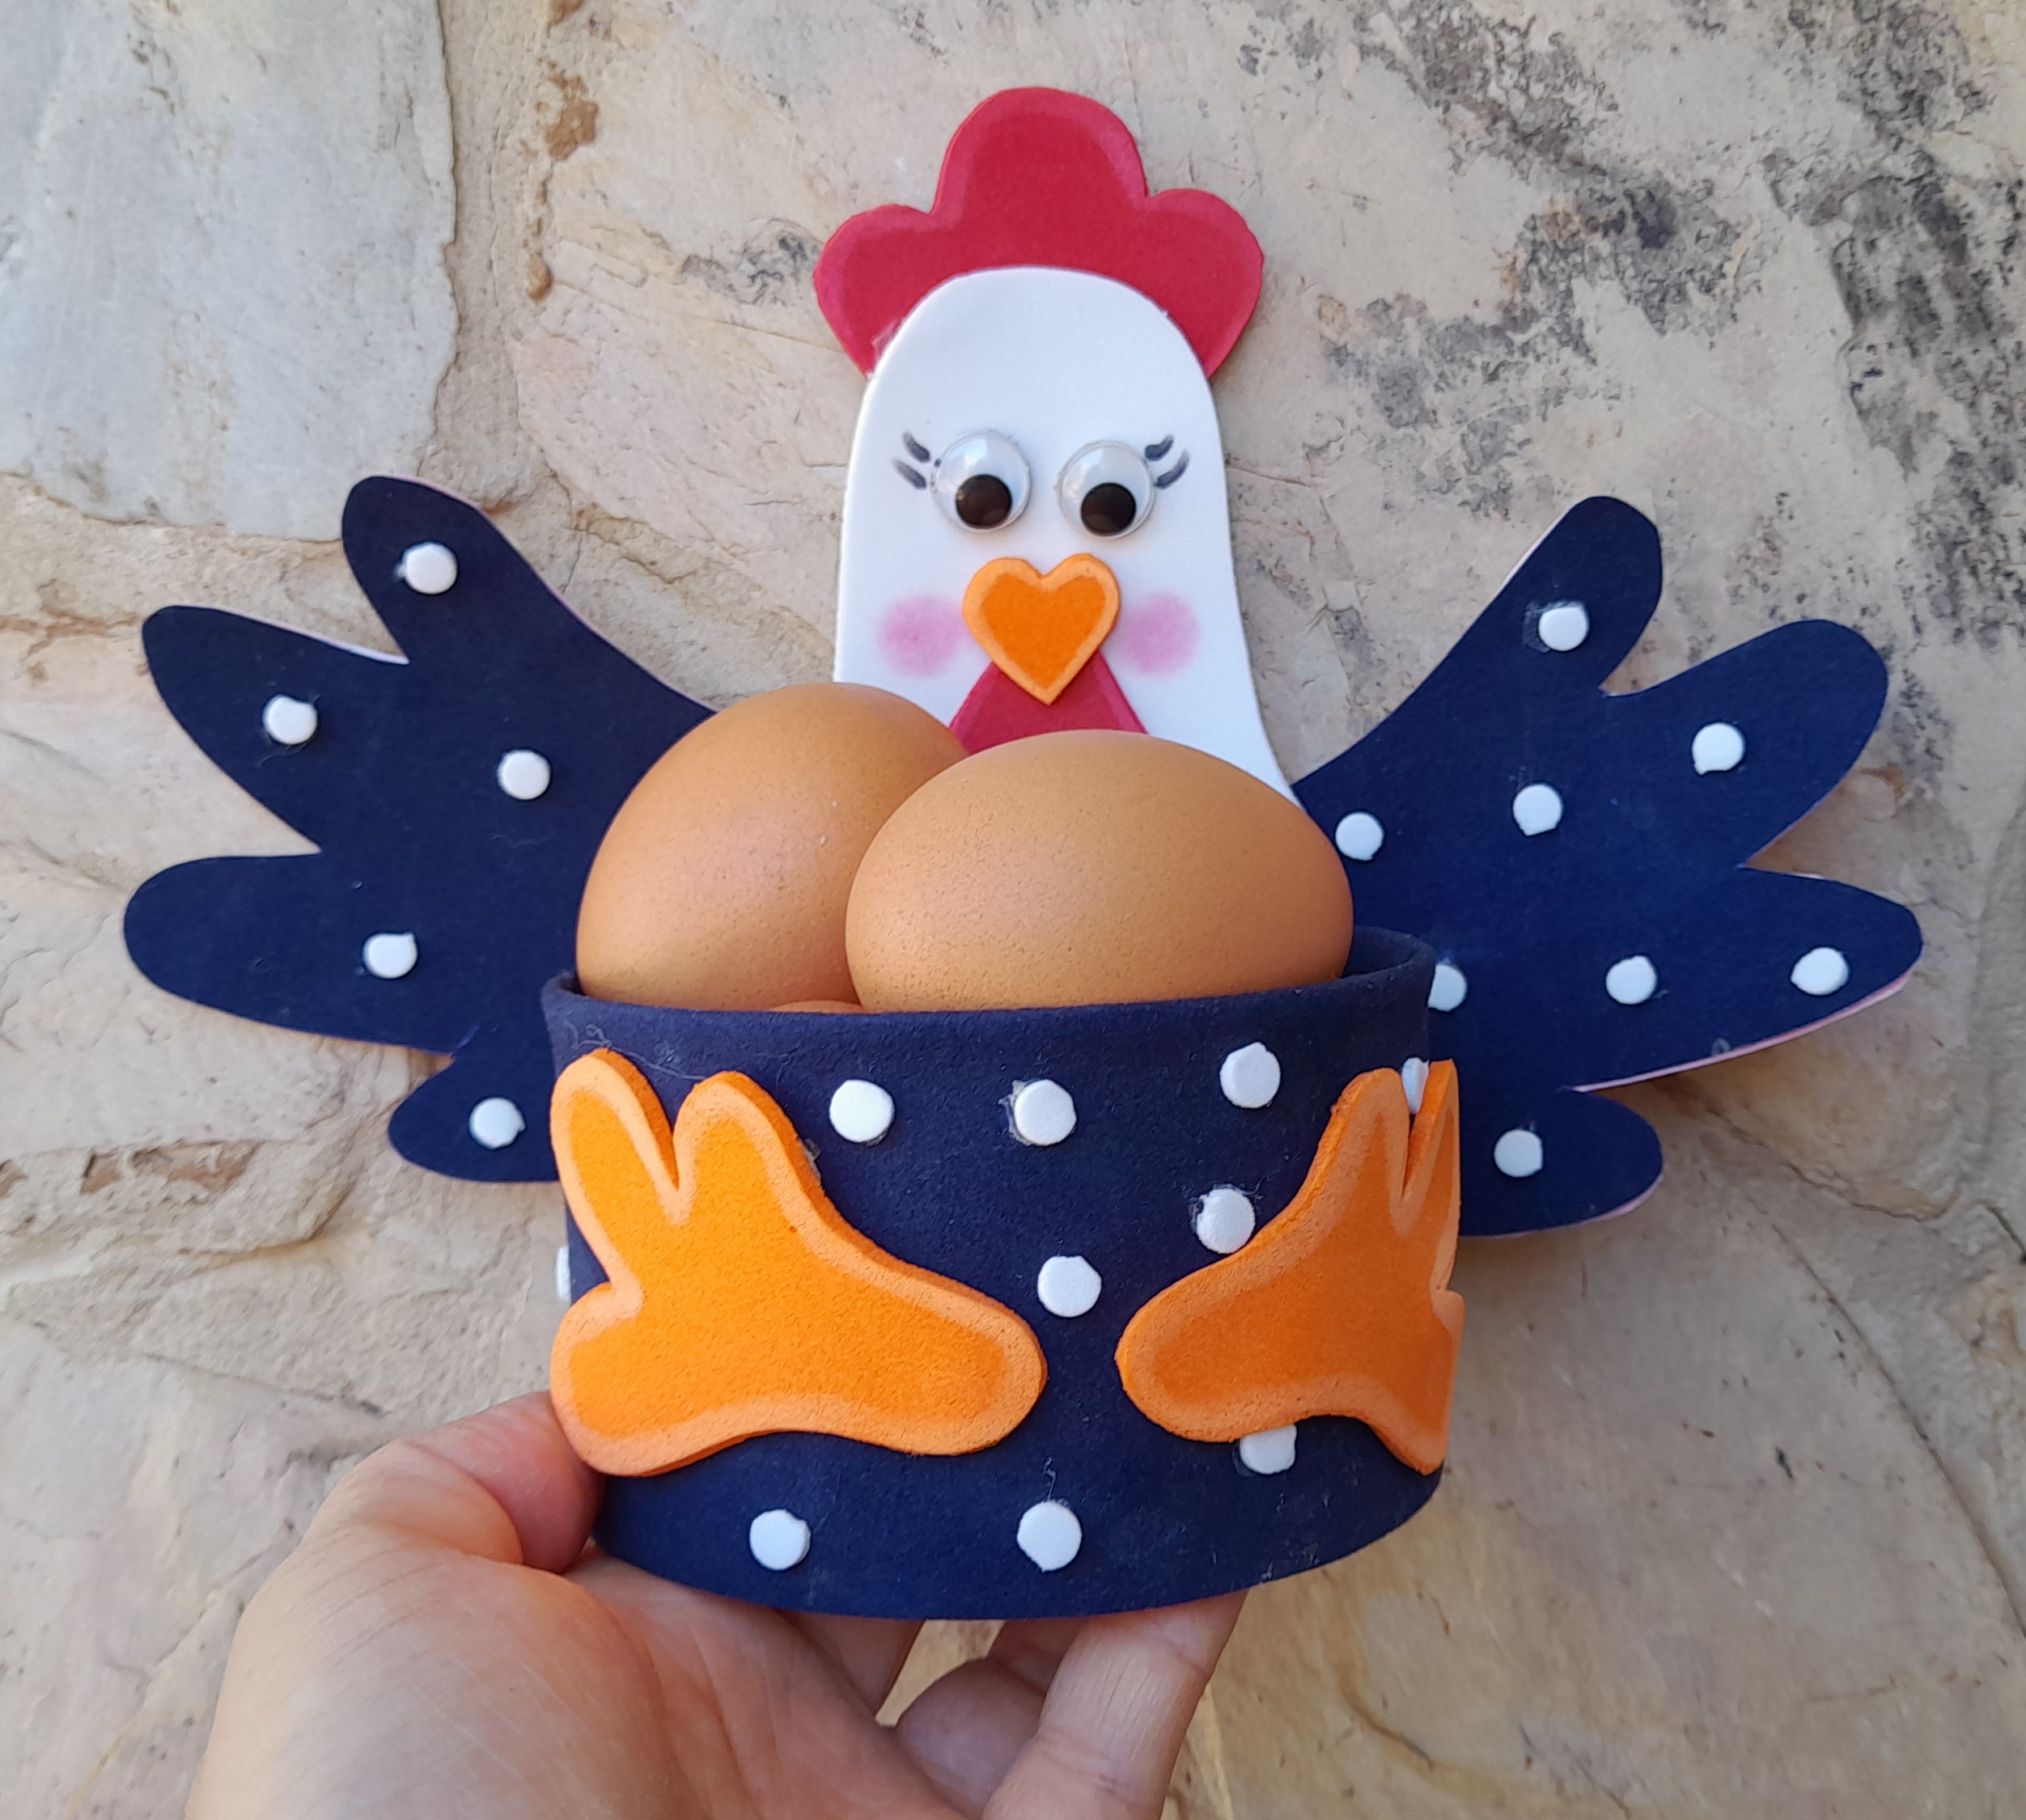
Miren que linda quedo nuestra gallina ideal para colocarlas en tu cocina y darle un toque especial.
Look how beautiful our hen is, ideal to place them in your kitchen and give it a special touch.
Gracias por leerme y los espero en un próximo post.
Thanks for reading and I look forward to seeing you in a future post.


