ENGLISH VERSION (click here!)

Puppet with recyclable materials
Hello friends lovers of crafts, it is a pleasure for me to share the process of creating one of my puppets, which I have made with recycled materials.
But for what does a puppet serve? You will ask yourselves.
A puppet is one of the most popular tools in children's theater plays, in addition to this it is an excellent pedagogical tool to interact with children in schools, it is like a small actor. Or teacher. Children connect with puppets because they are small and you feel empathy with them. In short, it serves to entertain and educate.
I started making these puppets 10 years ago, just to pass the time, to date I have made approximately 25 different types that have been adopted by many children (I have given them away) currently I only keep two of all of them.
The materials are:
_ cardboard
_ a water or soda bottle (the size will define the size of the puppet)
_ scissors
_ scraps
_ Needle and thread
_ medium magic eyes
_ a pencil
:_ a marker
- Liquid silicone or in bar
The first thing I did was with the scissors cut the part of the beak of the bottle approximately four fingers from the nozzle, then I drew two circles in the cardboard and cut them out, these will serve to cover the holes that are left in my two parts of the bottle to make the mouth
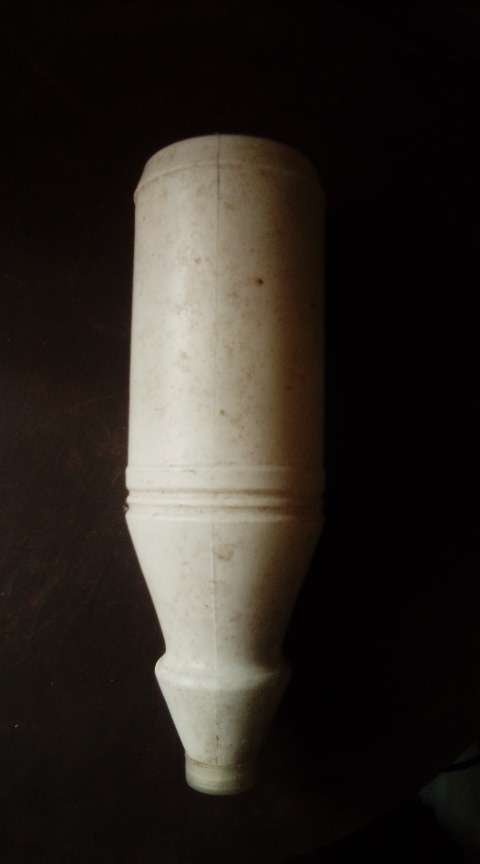
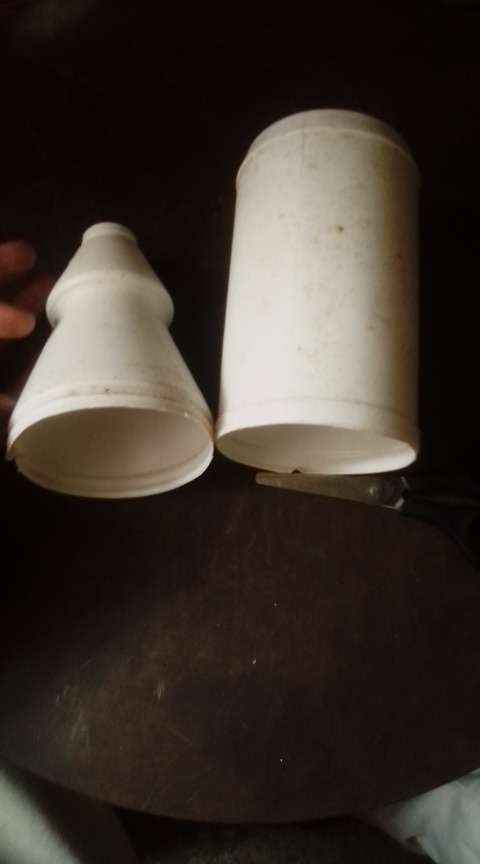
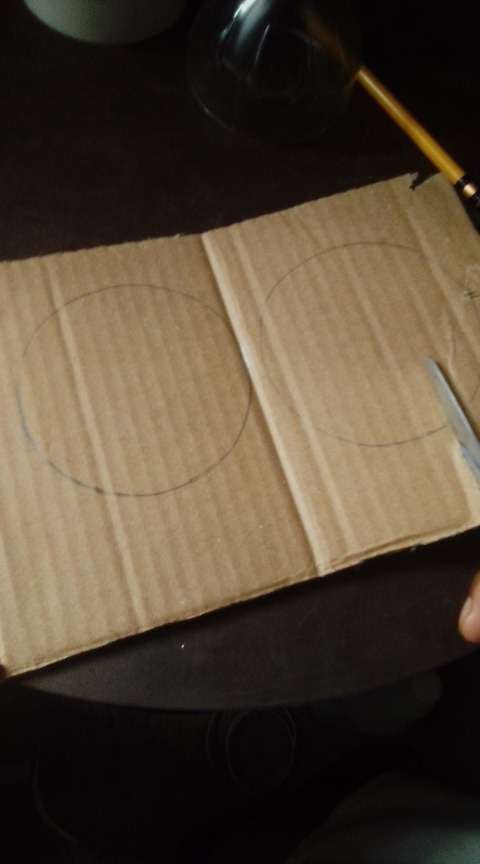
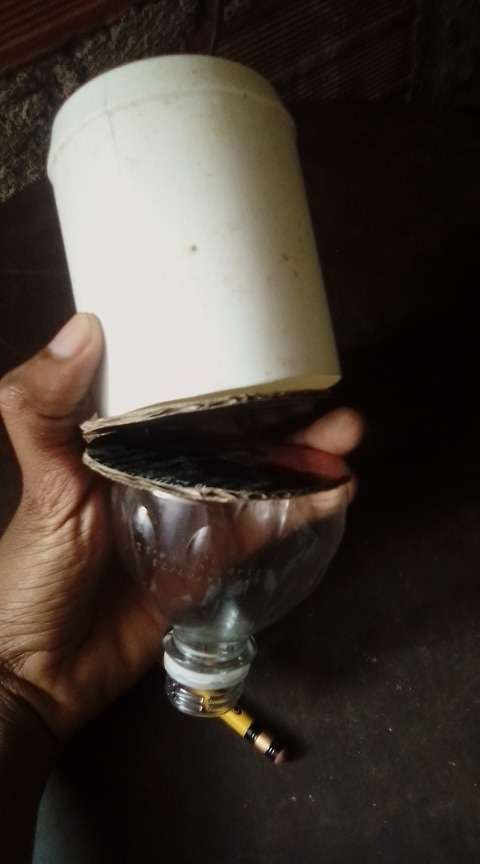
After that I have this ready I will line the two cardboard circles with fabric to form the mouth of the puppet.
With fabric I will line the two parts of the bottle sewing on the back.
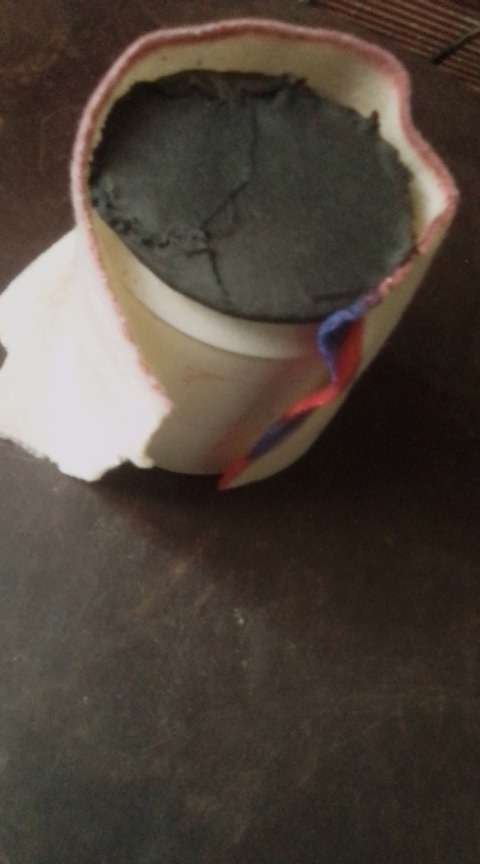
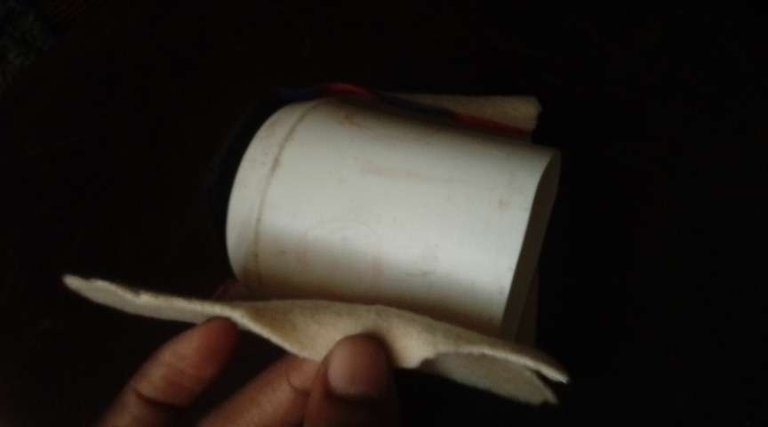
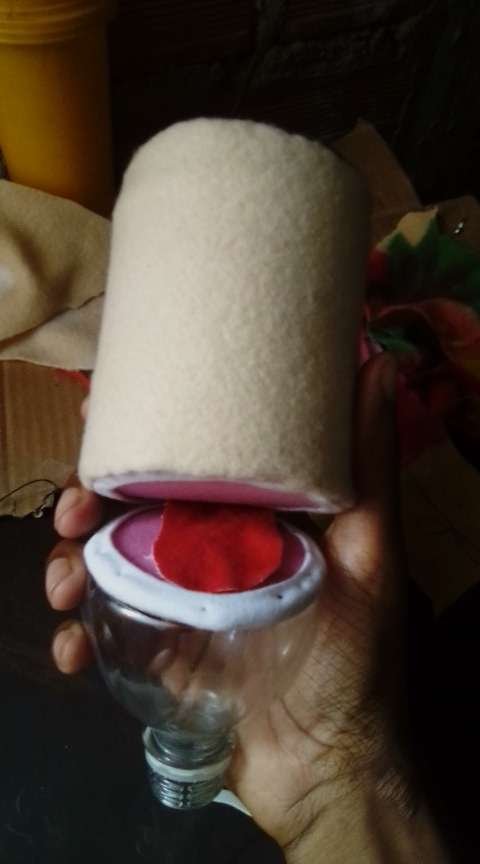
After that I will make the marks to place the eyes and with silicone I proceeded to glue it to the face of our puppet
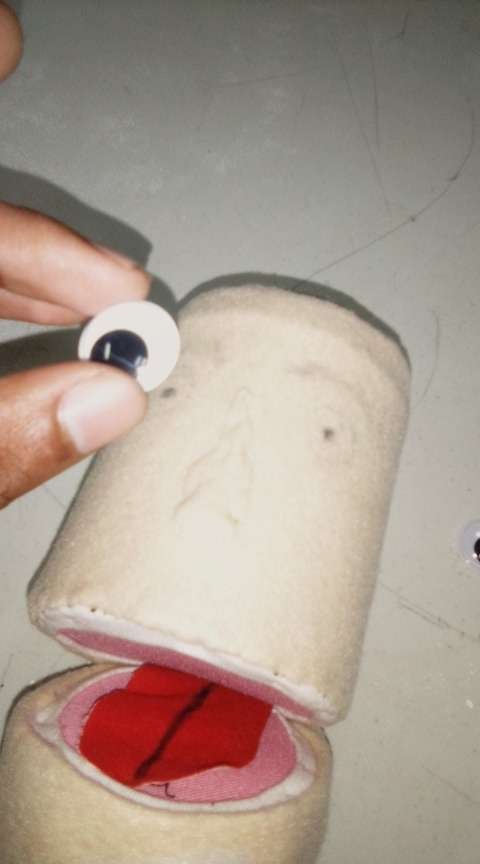
and ready the puppet is ready, only the body is left. That depends on each one you can do it with fabric like gloves or the body of an old rag doll, in my case I proceeded to make the body to the eye. Sewing I gave shape to many scraps of fabric. And as a final touch I used a wig to put hair on it. And so my puppet was.
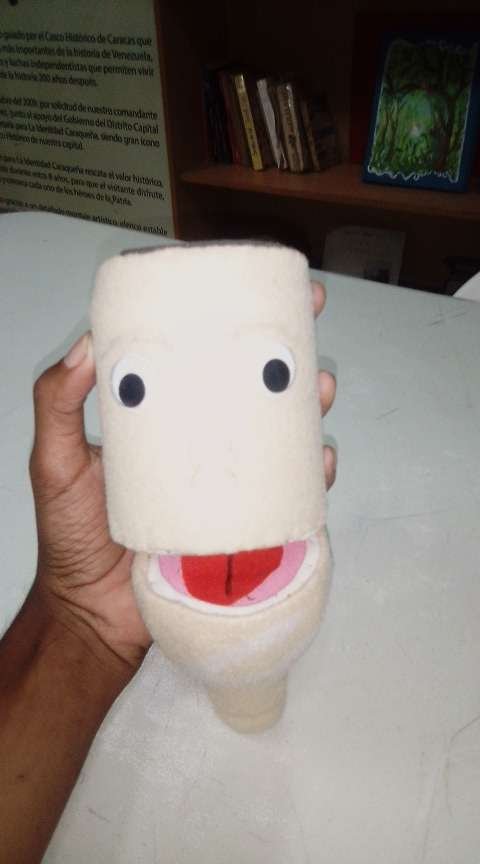
Once ready you give it a name and you can use it or give it to your children or nephews. My nephews have loved the puppets I have made for them and even after 5 years there are still times when I call them and they ask me about the puppets I carry



titere con materiales reciclable
Hola amigos amantes de las manualidades, es un gusto para mí compartir el proceso de creación de uno de mis títeres, el cual lo he realizado con materiales reciclados.
Pero para que ¿sirve un títere? Se preguntarán ustedes.
Un títere es una de las herramientas más populares en las obras de teatro para niño, además de ello es una excelente herramienta pedagógica para interactuar con los niños en los colegios, es como un pequeño actor. O maestro. Los niños conectan con los títeres porque al ser pequeños sientes empatía con ellos. en fin sirve para entretener y educar.
Yo comencé a hacer estos títeres hace ya 10 años, solo para pasar el tiempo hasta la fecha he hecho aproximadamente 25 ejemplares de diferentes tipos que han sido adoptados por muchos niños (los he regalado) actualmente solo conservo dos de todos ellos.
Los materiales son:
_ cartón
_ un envase de agua o refresco(el tamaño definirá el del títere)
_ tijera
_ retazos
_ Aguja e hilo
_ ojos mágicos medianos
_ un lápiz
:_ un marcador
- Silicona líquida o en barra
lo primero que hice fue con la tijera corte la parte del pico de la botella aproximadamente a cuatro dedos de la boquilla, luego dibuje dos círculos en el cartón y los recorte, estos servirán para tapar los huecos que quedan en mis dos partes de la botella para hacer la boca


Después que tengo esto listo voy a forrar los dos círculos de cartón con tela para ir formando la boca del títere.
Con tela voy a forrar las dos partes de la botella cociendo por la parte de atrás.


Después de ello haré las marcas para colocar los ojos y con silicona procedí a pegarlo del rostro de nuestra marioneta

y listo el títere está listo, solo queda hacer el cuerpo. Eso depende de cada uno pueden hacerlo con tela tipo guantes o el cuerpo de un muñeco de trapo viejo, en mi caso procedí a hacer el cuerpo al ojo. Cociendo le fui dando forma a muchos retazos de tela. Y como toque final use peluquín para colocarle cabello. Y así quedo mi títere.

Una vez listo le das un nombre y la lo puedes usar o regalar a tus hijos o sobrinos. A mis sobrinos les han encantado los títeres que yo les he hecho y aun después de 5 años aún hay veces que cuando los llamo me preguntan por los títeres que yo cargo conmigo "¿tío y como esta felipe" ? Esto demuestra la conexión entre el niño y los títeres

espero que este tutorial les sirva de inspiración y apoyo, espero pronto ver vuestras creaciones con esta técnica, pronto les traeré otro tutorial para hacer otro modelo de marioneta o títeres. Esta vez en video, ya que mis sobrinos quieren aprender, ha hacer y me pidieron un video, de modo que aprovecharé para compartirlo con ustedes también. Muchas gracias por pasar por este post y que esta información les sea de gran utilidad. Conmigo será hasta otra oportunidad
si quieren ver mis otros titeres pulse aqui para ver post sobre mis titeres


