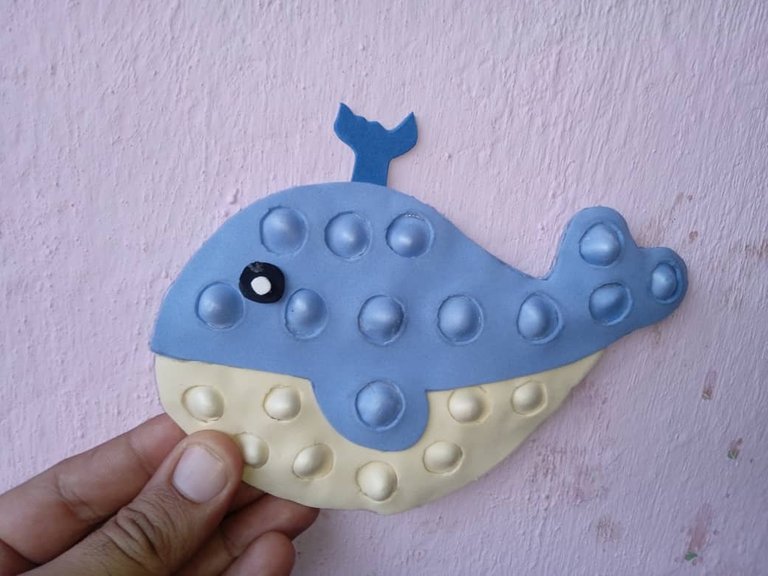
Hola a todos mis amigos de Hive ,feliz almuerzo para todos, les deseo una linda y agradable tarde ,hoy les quiero compartir un tutorial para realizar un "Pop It" el juego que hoy en día está de moda y no solo nos distrae sino que también me ayuda desestresarme un poco ,para realizar mi pop it utilice una temática muy hermosa (una adorable ballena)
Hello to all my friends of Hive, happy lunch for all, I wish you a nice and pleasant afternoon, today I want to share a tutorial to make a "Pop It" the game that today is fashionable and not only distracts us but also helps me de-stress a little, to make my pop it used a very beautiful theme (an adorable whale).
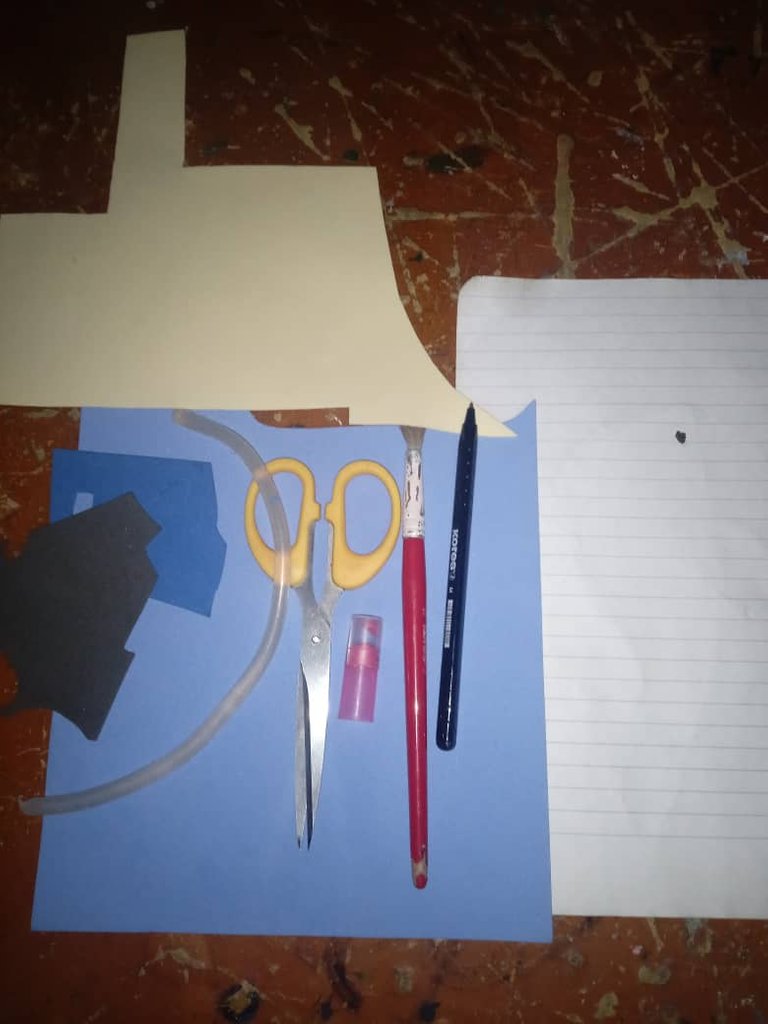
Materiales para realizar un pop it:
-Foamis
-Tijera
-Silicon
-Hoja
-Lapiz
Materials to make a pop it:
-Foamis
-Scissors
-Silicon
-Sheet
-Pencil
A continuación el procedimiento:
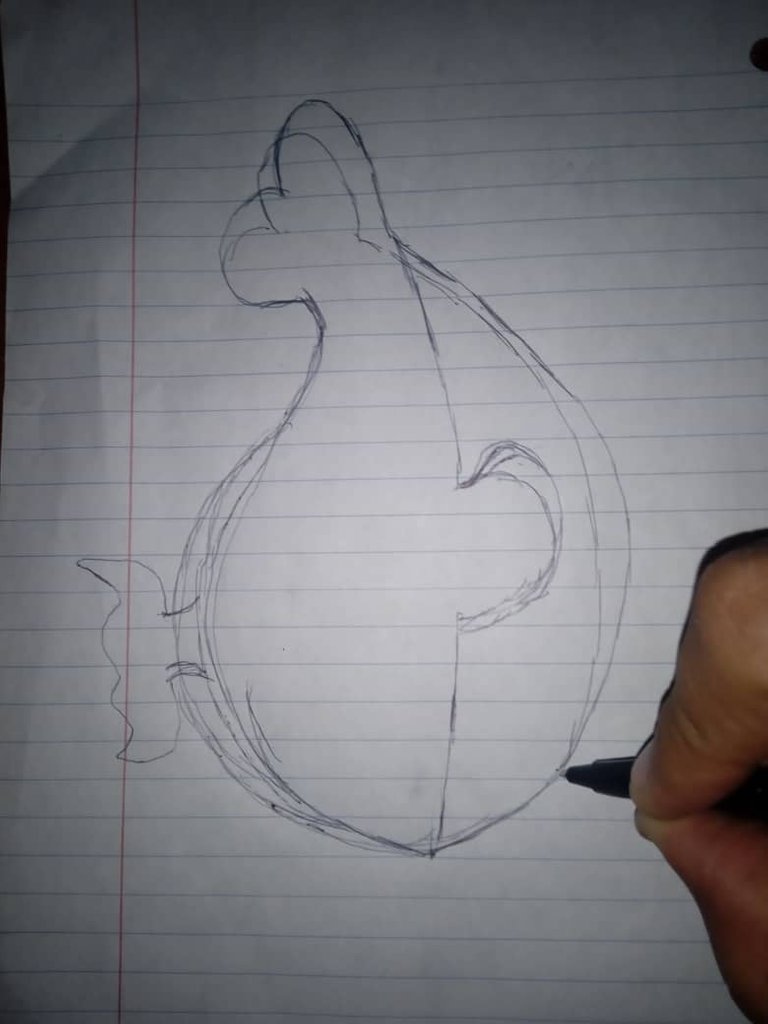
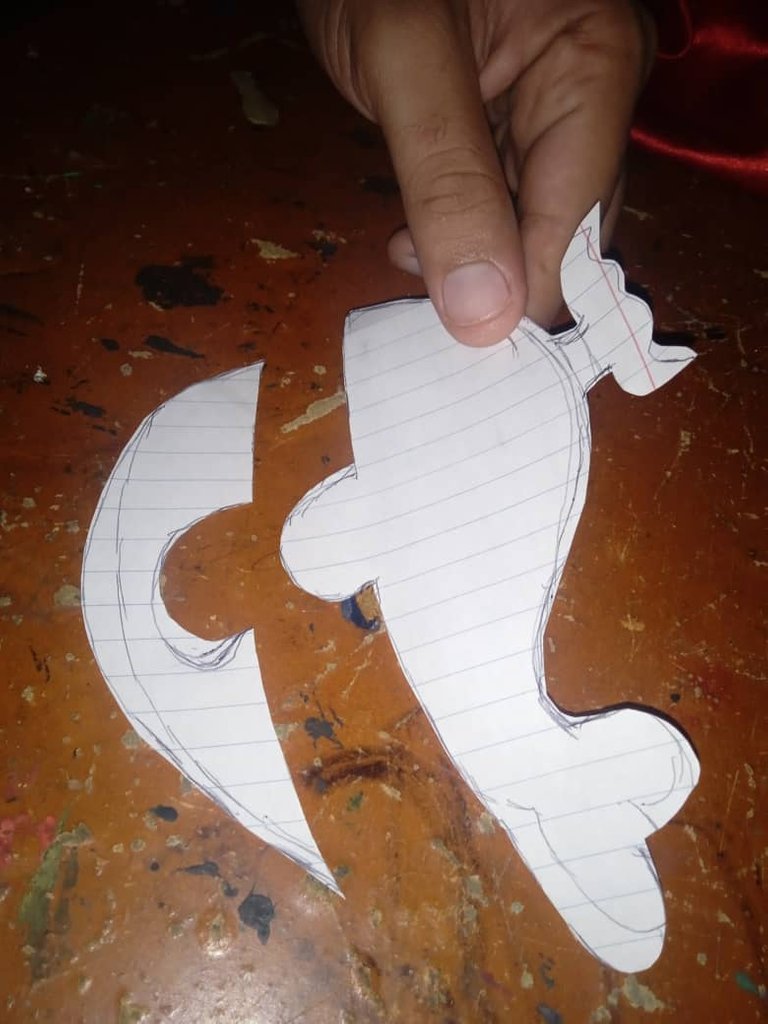
Para iniciar con la elaboración de nuestra ballena Pop It ,comenzaremos dibujando en una hoja el patrón de nuestra creación ,cómo la ballena tendrá dos colores distintos azul en la parte de arriba de su piel y blanco en la parte de abajo de su barriga tomaremos la hoja y la dividiremos con una tijera
Here is the procedure:
To start with the elaboration of our Pop It whale, we will begin by drawing on a sheet the pattern of our creation, as the whale will have two different colors blue on the top of his skin and white on the bottom of his belly we will take the sheet and divide it with a scissors.
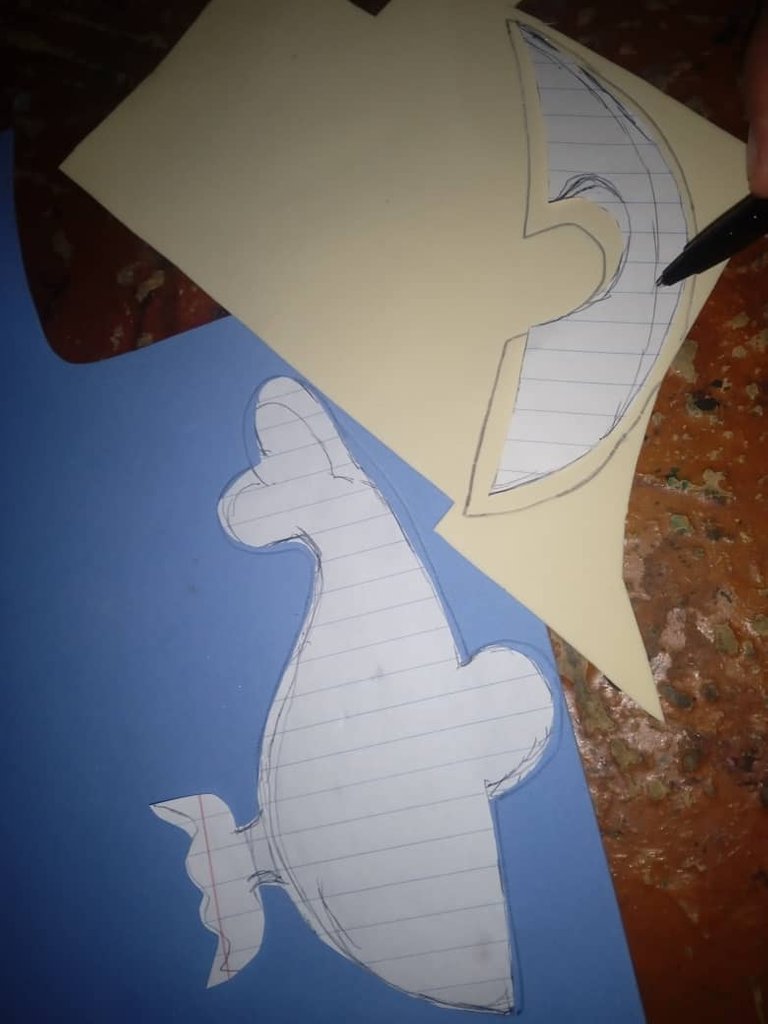
Una vez que tengamos las dos piezas divididas , continuaremos marcando el patrón en los foamis, en el azul marcamos la parte de arriba de la ballena ,y en el foamis cómo color perla marcamos su barriga
Once we have the two pieces divided, we continue marking the pattern on the foamis, on the blue foamis we mark the top of the whale, and on the pearl colored foamis we mark its belly.
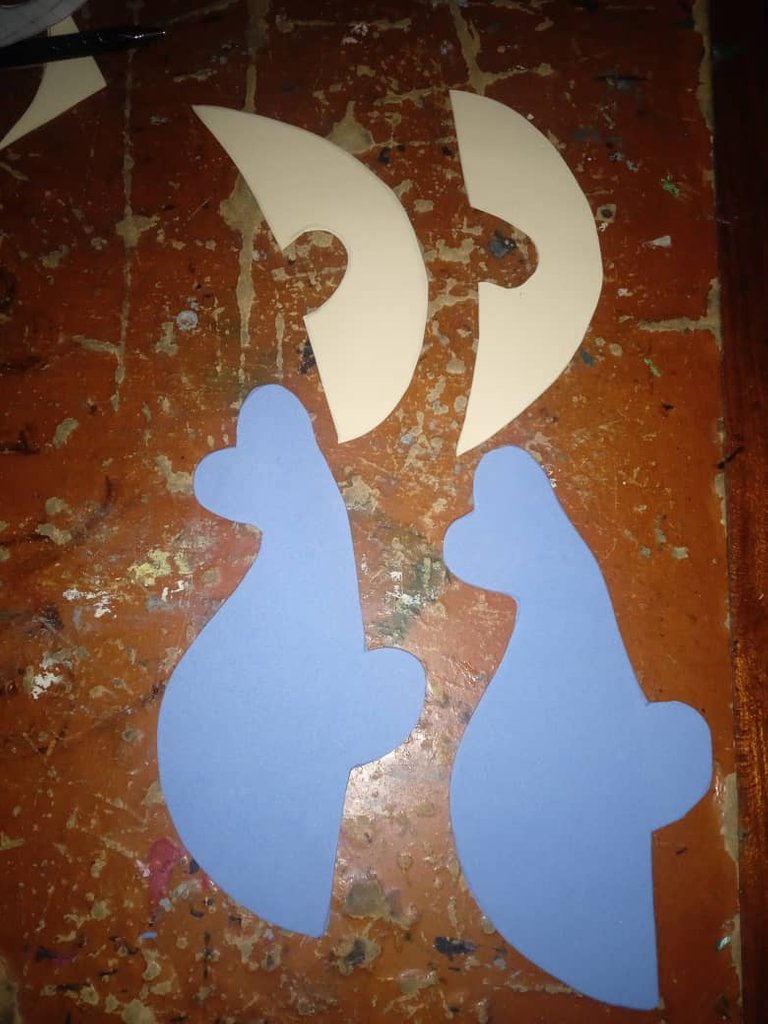
Luego continuaremos recortando ambas piezas que marcamos, una cosa que olvide decir es que debemos marcar dos piezas de cada una la cual le explicaré más adelante el porque .
Then we will continue cutting out both pieces that we marked, one thing I forgot to say is that we must mark two pieces of each one which I will explain later why
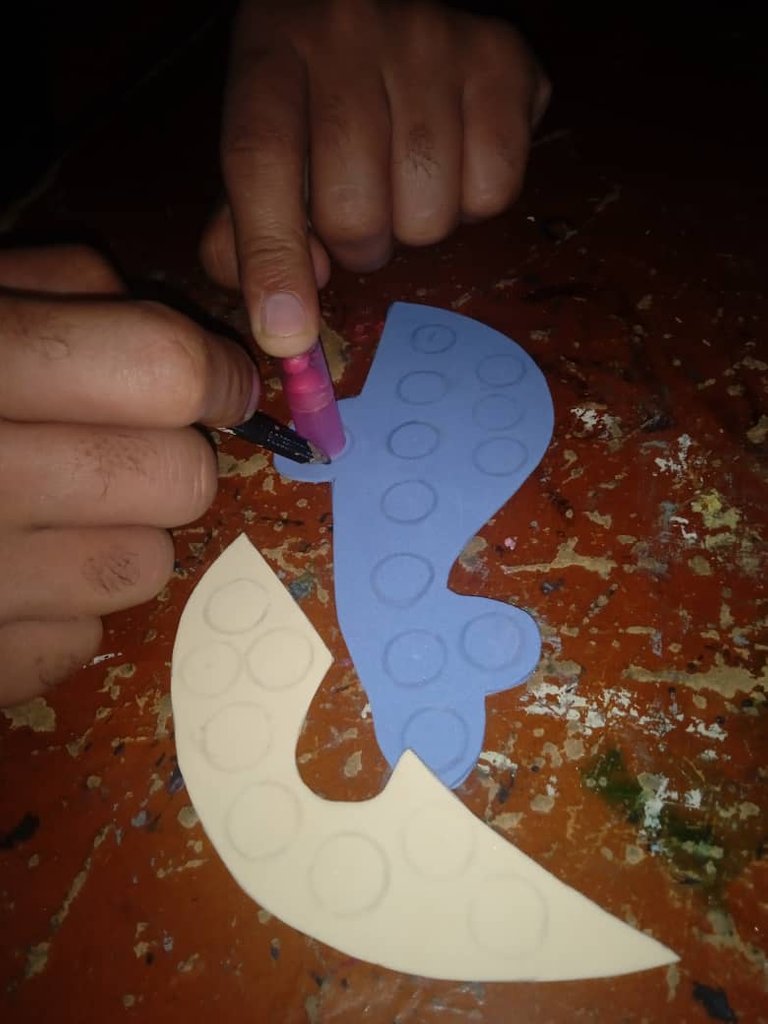
Luego continuaremos marcando varios pequeños círculos en todo el cuerpo de la ballena dónde realizaremos las pelotitas de el pop it ,pueden utilizar cualquier objeto redondo ,en este caso tomé un labial de juguete de mi sobrina
Then we will continue marking several small circles all over the body of the whale where we will make the little balls of the pop it ,you can use any round object ,in this case I took a toy lipstick from my niece.
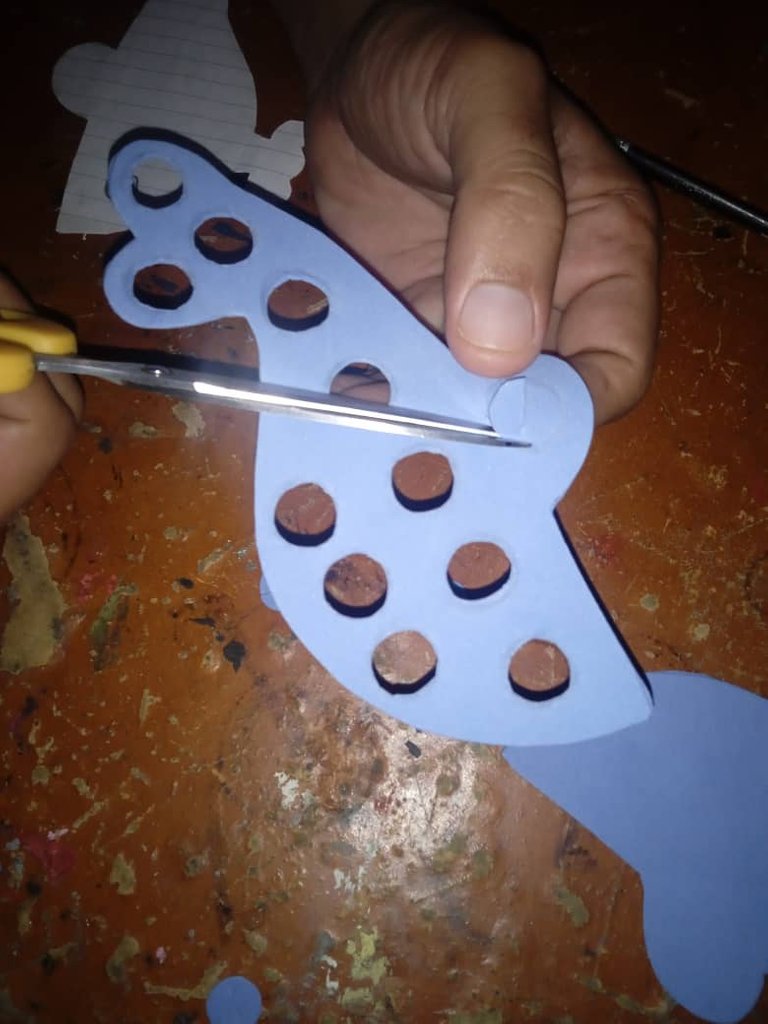
Luego con una tijera continuaremos recortando cada círculo que dibujamos en las piezas de nuestra ballena
Then with a scissors we will continue cutting out each circle that we drew on the pieces of our whale.
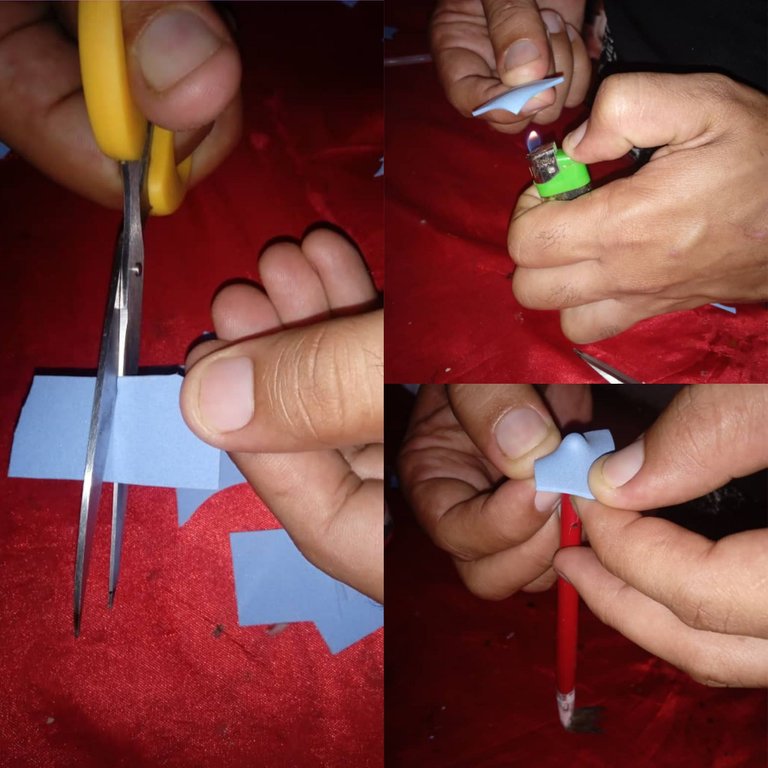
Para realizar las pelotitas del pop it ,vamos a recortar varios cuadritos según la variedad de los círculo ,luego con un encendedor de cocina vamos a calentar el foamis para que se ponga más flexible a la hora de utilizar , seguido de este paso tomamos el pincel y presionamos el foamis ya débil y de este modo obtendremos nuestra horma de pelotita
To make the pop it balls, we will cut out several squares according to the variety of the circle, then with a kitchen lighter we will heat the foamis to make it more flexible at the time of use, followed by this step we take the brush and press the foamis already weak and in this way we will obtain our little ball shape.
Luego continuaremos pegando las pelotitas a el cuerpo de la ballena,introducimos la pelotita que se observe del lado a fuera y pegamos por el lado contrario
Then we continue gluing the balls to the body of the whale, we introduce the ball that is observed on the outside and glue on the opposite side.
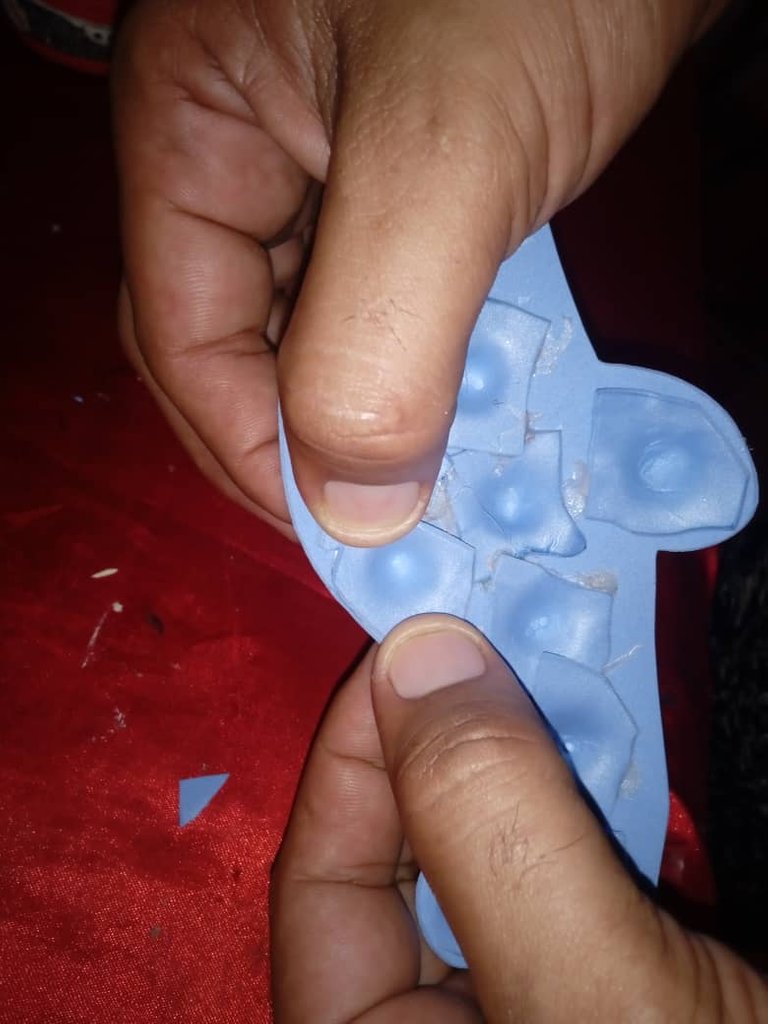
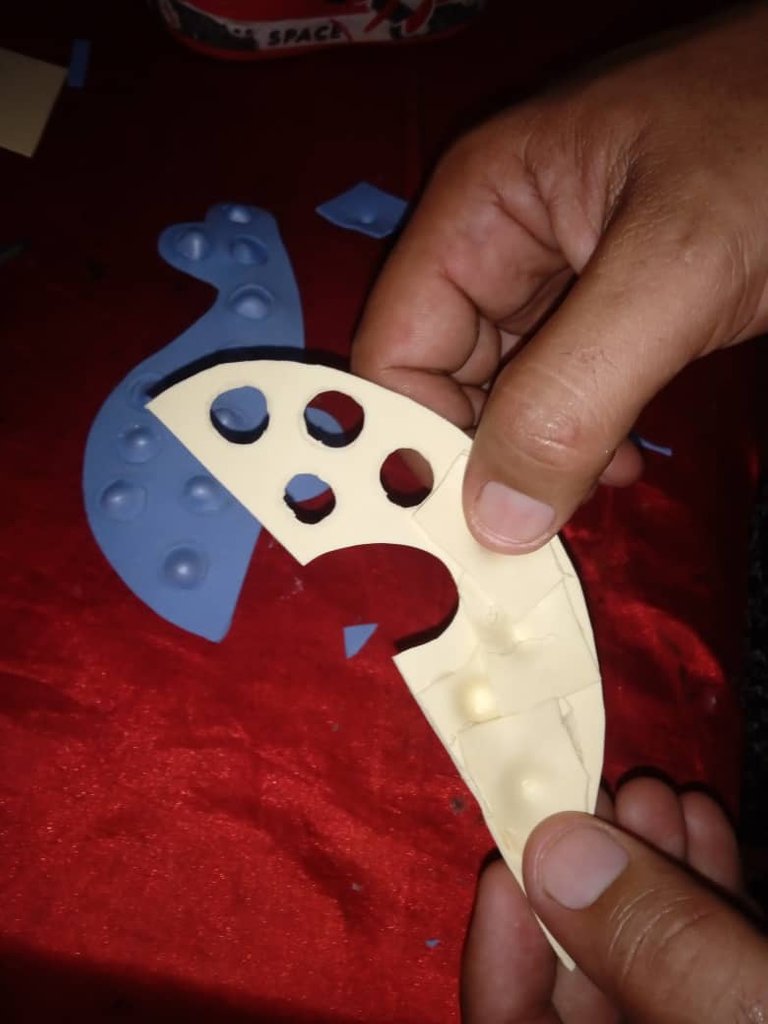
Una vez que hayamos rellenado la piel de la ballena con las pelotitas , continuaremos pegando a la parte de arriba de la ballena la barriga
Once we have filled the skin of the whale with the balls, we continue by gluing the belly to the top of the whale.
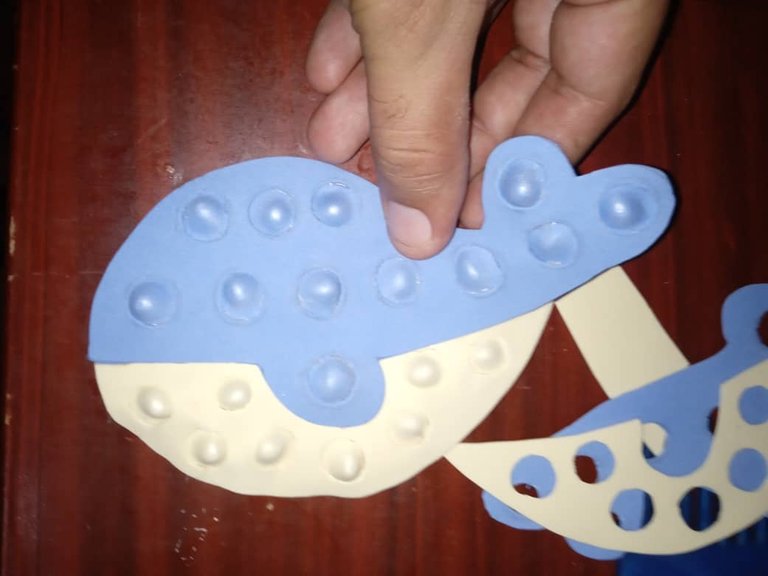
Luego en la parte de atrás de la ballena continuaremos pegando las otras dos piezas que marcamos en los primeros pasos
Then on the back of the whale we will continue gluing the other two pieces we marked in the first steps
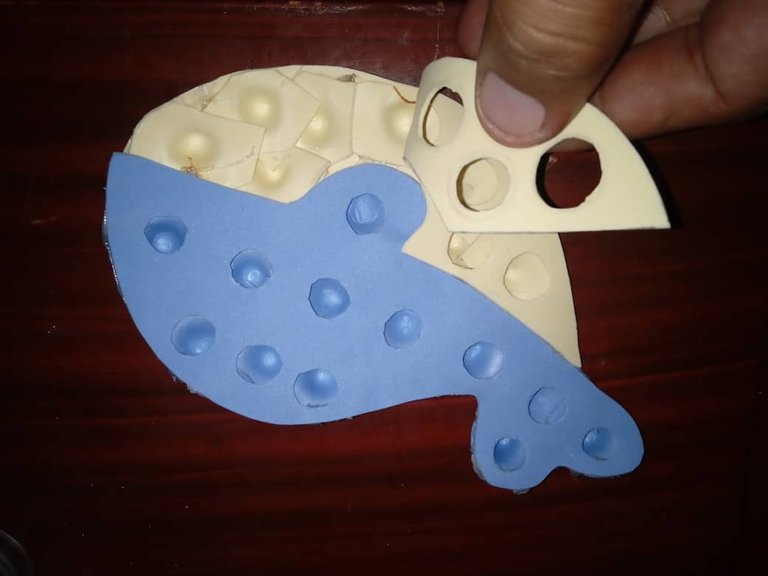
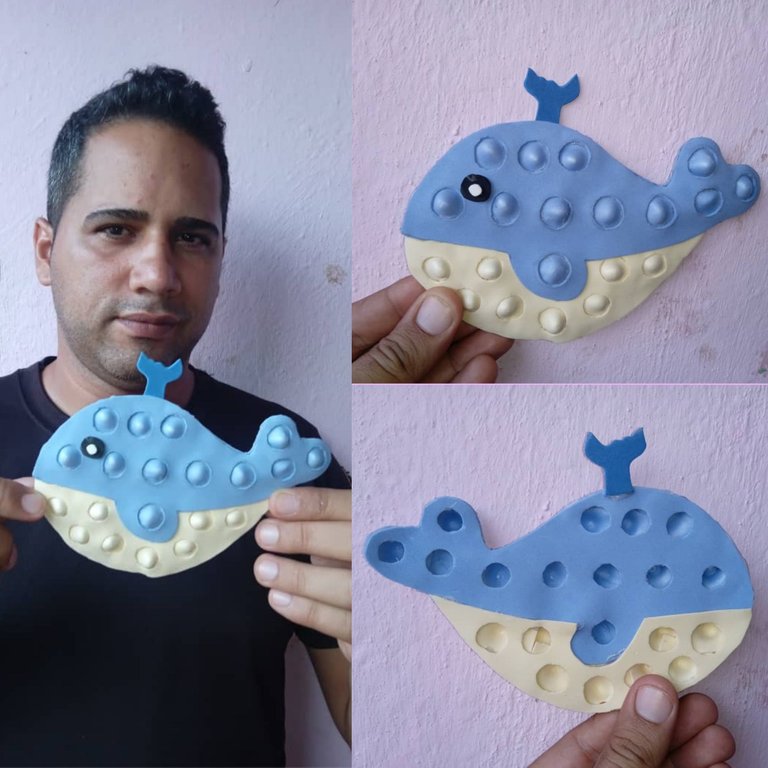
De este modo finalice mi pop it con temática de ballena ,gracias por su pequeña atención, espero puedan realizarlo y disfrutar de el resultado como lo disfruté yo , nos vemos en el próximo post
So I finished my pop it with whale theme, thanks for your little attention, I hope you can make it and enjoy the result as I enjoyed it, see you in the next post.
