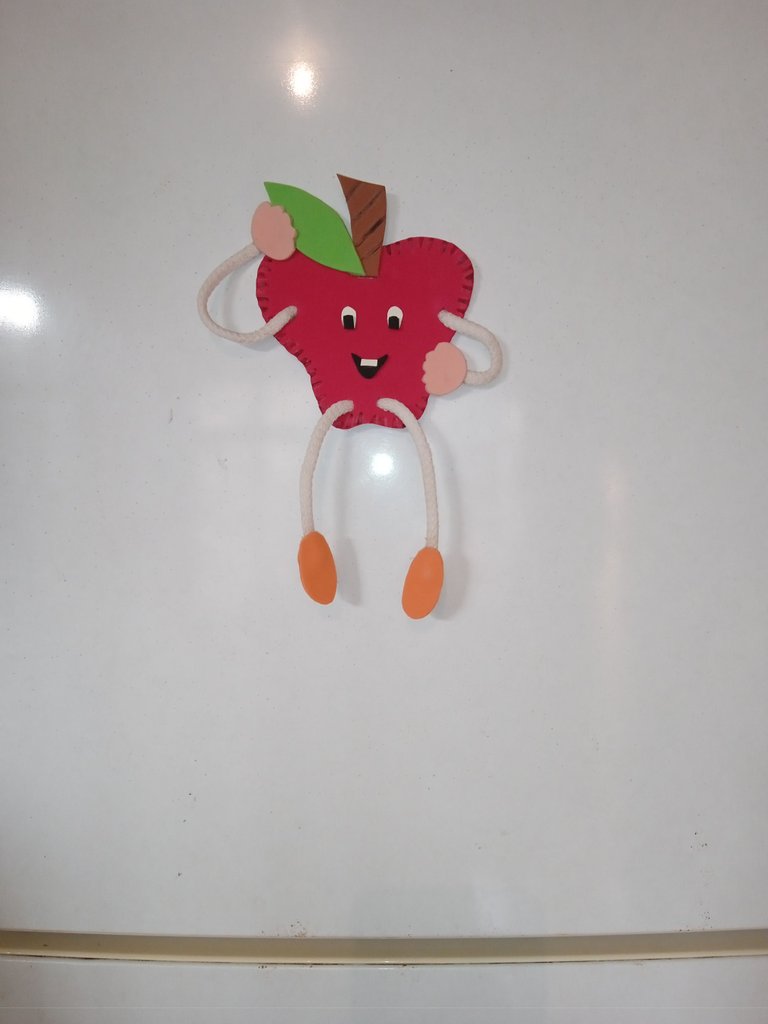
Buenas noches tengan todos amigos de la comunidad hivediy , espero que se encuentren bien , hoy les compartiré un tutorial para crear frutas divertidas con el fin de decorar muestra nevera , hoy vamos a realizar una manzana ,en el transcurso de la semana continuaremos con mas frutas y otros más
Good evening have all friends of the community hivediy , I hope you are well , today I will share with you a tutorial to create fun fruits in order to decorate displays fridge , today we will make an apple ,in the course of the week we will continue with more fruits and others more.
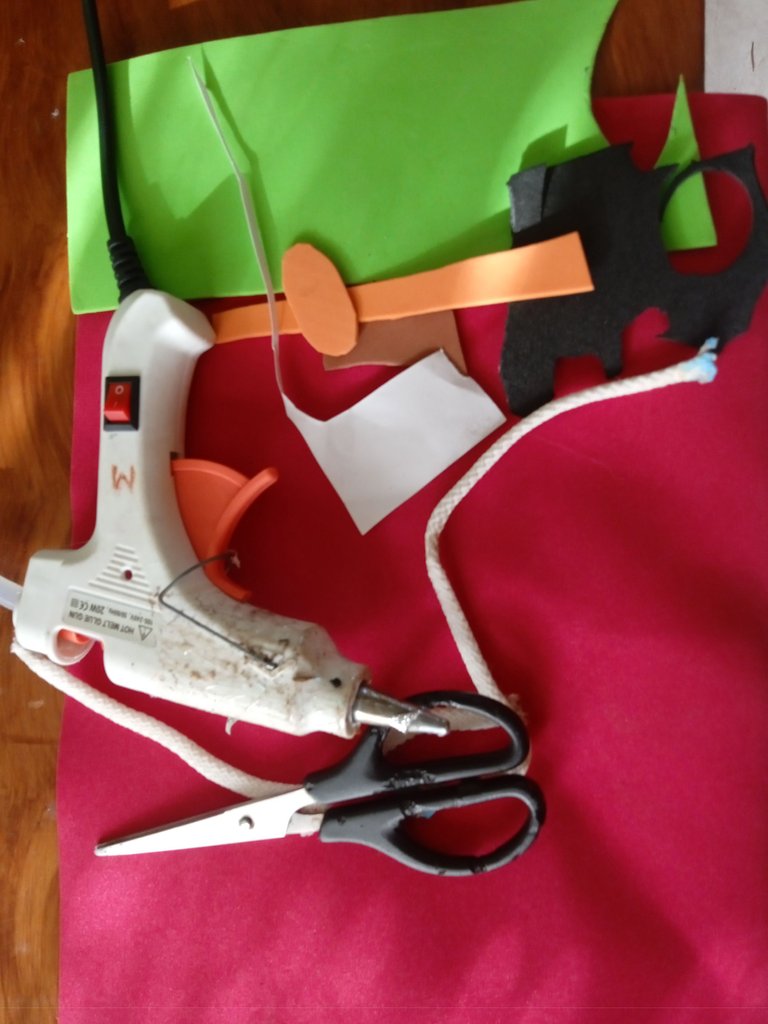
Materiales :
-Foamis
-Tijera
-Silicon
-Iman
-trenza de zapato
Materials :
-Foamis
-Scissors
-Silicon
-Iman
-Shoe braid
A continuación los pasos a seguir :
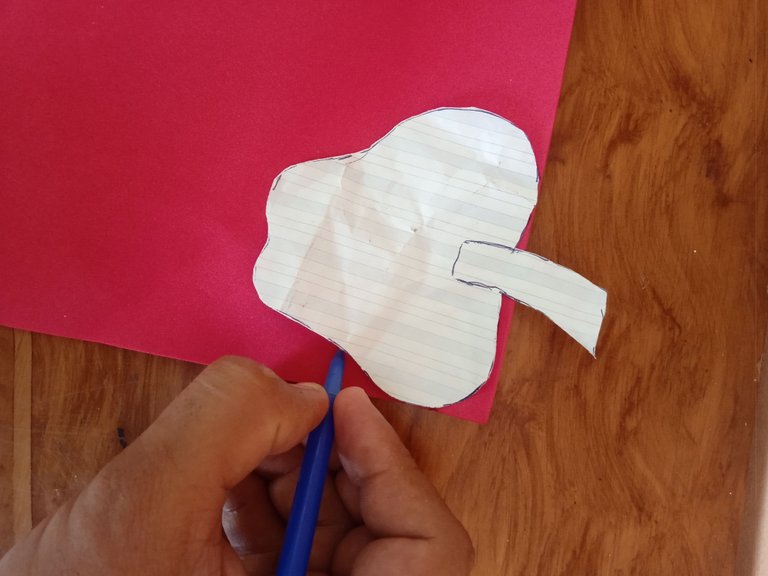
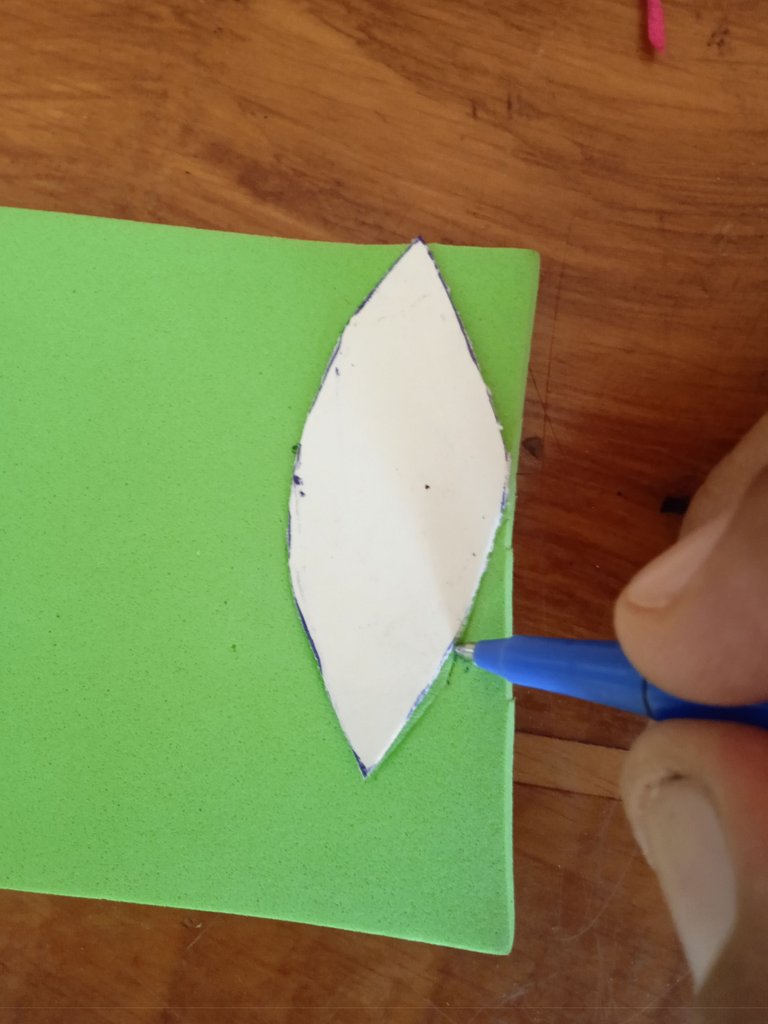
En nuestro primer paso vamos a iniciar marcando en el foamis color rojo la manza y en el verde una hoja
Here are the steps to follow:
In our first step we are going to start by marking on the red foamis the apple and on the green one a leaf.
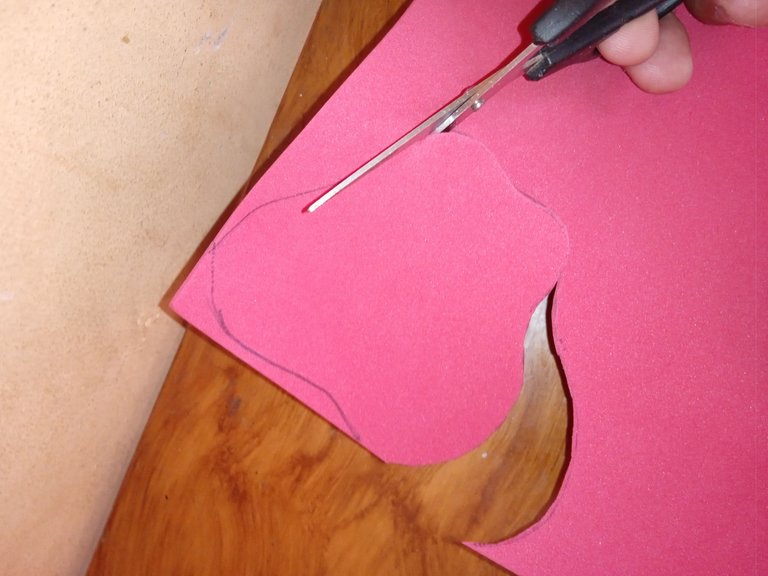
Seguidamente vamos a continuar recortando nuestra manzana y nuestra hoja que marcamos en el paso anterior
Then we will continue cutting out our apple and our leaf that we marked in the previous step
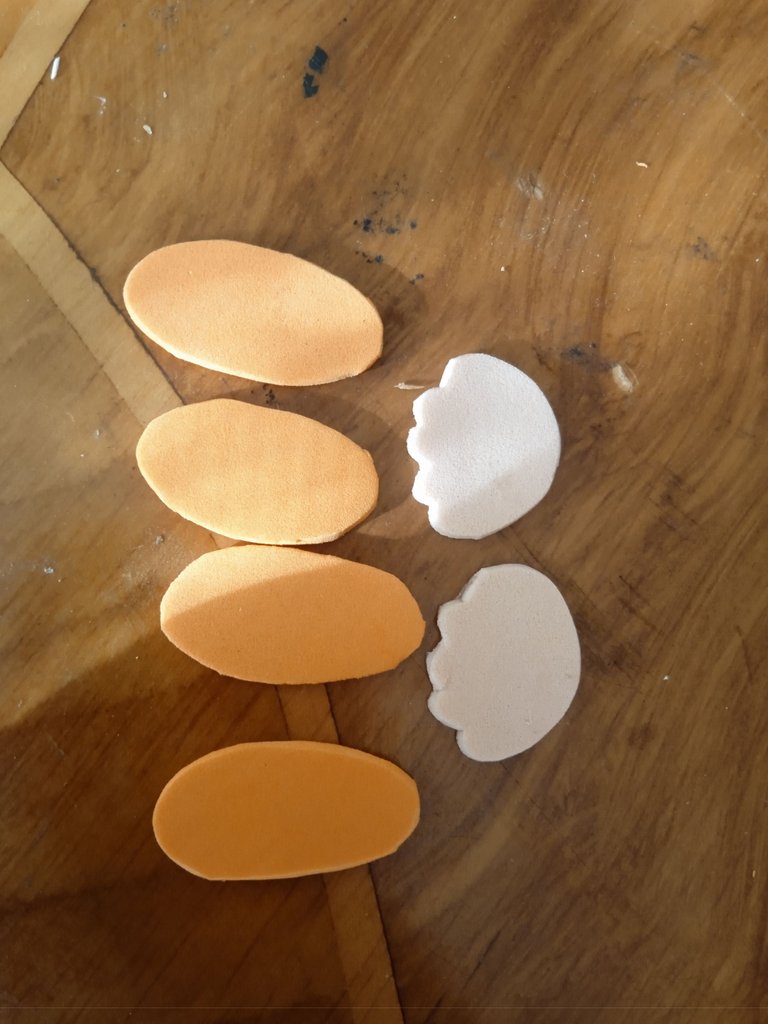
Seguidamente vamos a continuar recortando unos zapatos y las manos de nuestra manzana , debemos recortar cuatro zapatos para pegar dos en cada uno
Then we will continue cutting out some shoes and the hands of our apple, we must cut out four shoes to glue two on each one.
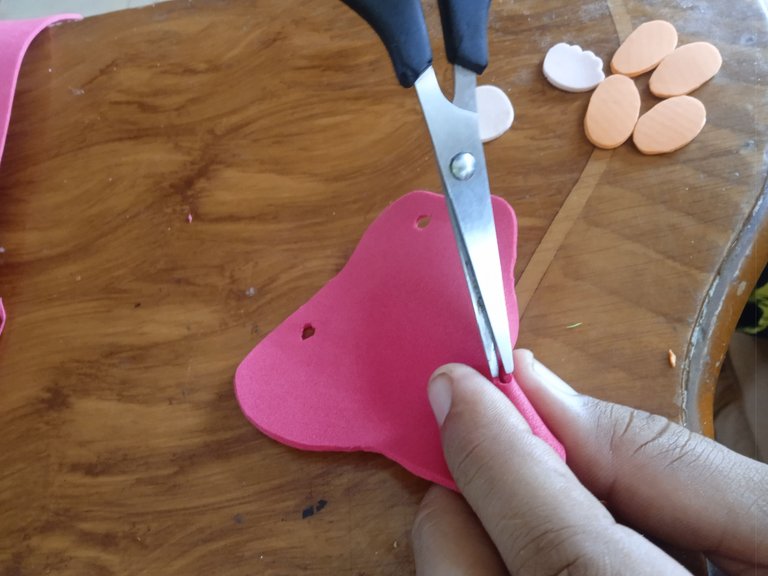
Luego continuaremos abriendo cuatro pequeños agujeros a nuestra manzana ,dos arriba y dos abajo para poder colocar los brazos y piernas a la manzana
Then we will continue opening four small holes to our apple, two at the top and two at the bottom to place the arms and legs to the apple.
Una vez que hayamos abierto los agujeros vamos a continuar introduciendo nuestra trenza de zapato para que estos sean sus brazos y piernas colgantes y quede divertida
Once we have opened the holes we will continue to introduce our shoe braid so that these will be the arms and legs hanging and it will be fun.
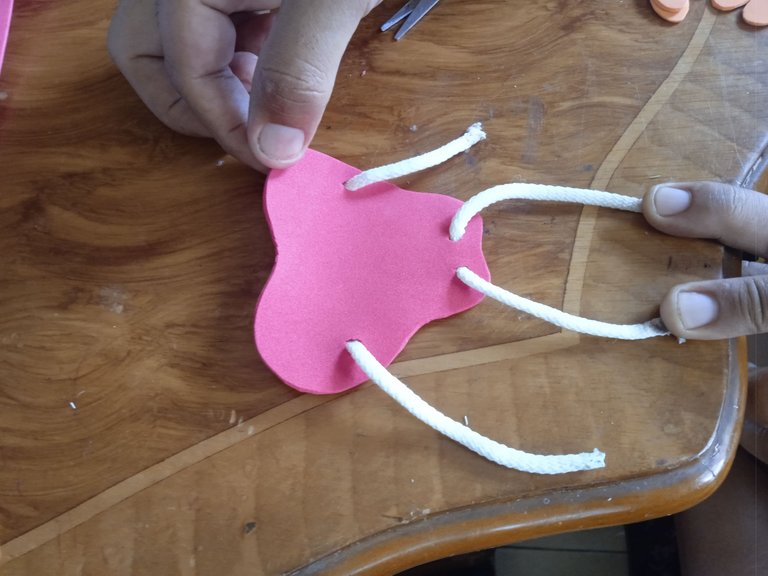
A continuación vamos a pegar en la parte de abajo los zapatos y en la parte de arriba las manos de nuestra manzana , una vez que pegamos el primer zapato debemos pegar en la parte de abajo el otro para que no se note la trenza en ningún lado
Next we are going to glue the shoes on the bottom and the hands of our apple on the top, once we glue the first shoe we must glue the other one on the bottom so that the braid is not noticeable on any side.
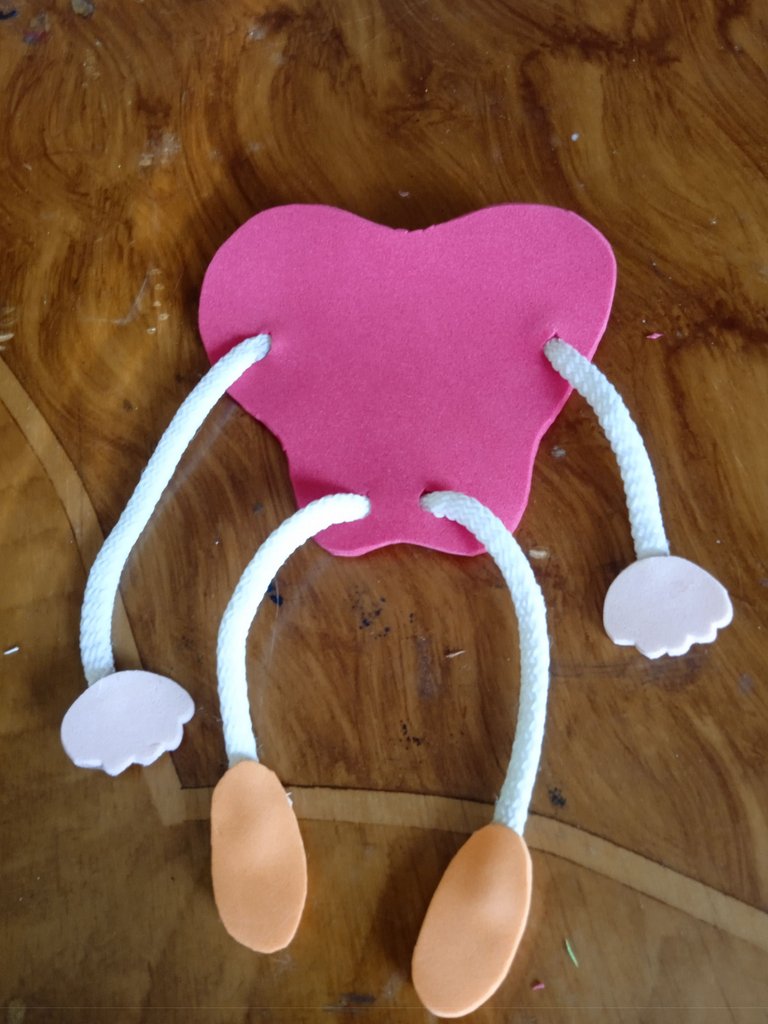
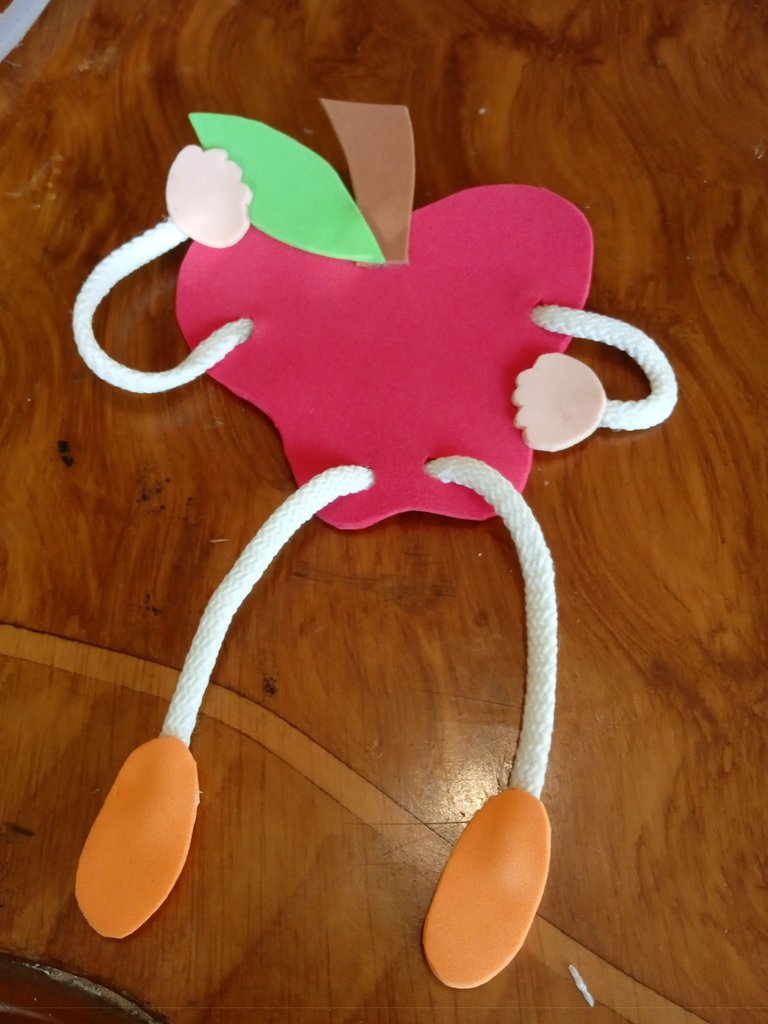
En nuestro siguiente paso vamos a continuar pegando en la parte de arriba de la manzAna en todo el centro una hoja y un tallo , a los lados vamos a ubicar sus manos una arriba en la hoja y la otra en un lado como si fuera su cintura
In our next step we will continue gluing a leaf and a stem on the top of the apple, on the sides we will place her hands, one on the top of the leaf and the other on the side as if it were her waist.
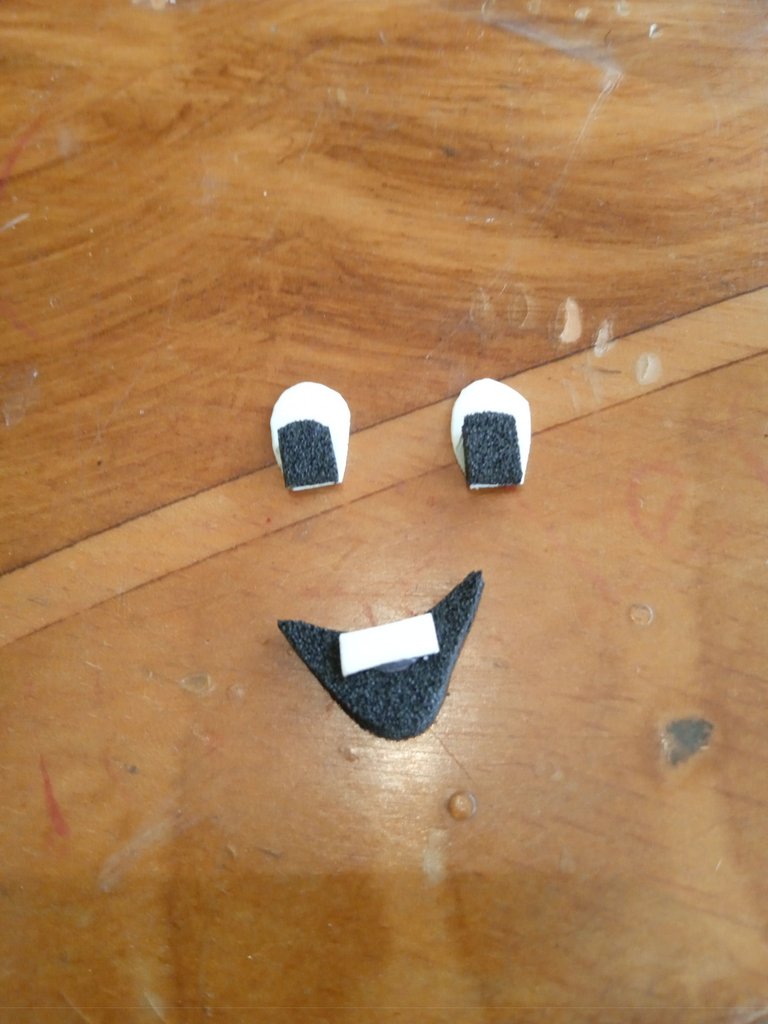
Luego vamos a continuar realizando el rostro de el teléfono , pegaremos los ojos y la sonrisa de nuestra manzana
Then we will continue making the face of the phone, we will glue the eyes and the smile of our apple.
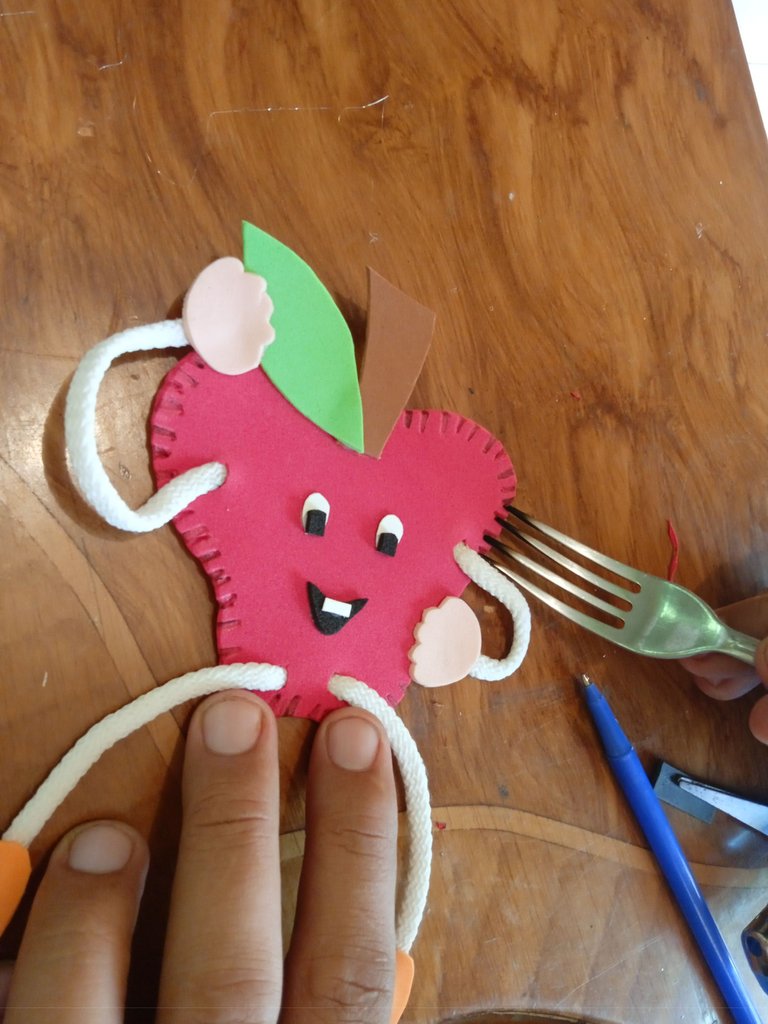
Una vez que tengamos listo nuestro rostro vamos a pegarlo en todo el centro de la manzana , tomaremos un tenedor lo calentaremos y lo pegaremos con cuidado por todos los bordes para que se observe un bonito diseño
Once we have our face ready we will glue it around the center of the apple, we will take a fork, heat it up and glue it carefully around all the edges so that we can see a nice design.
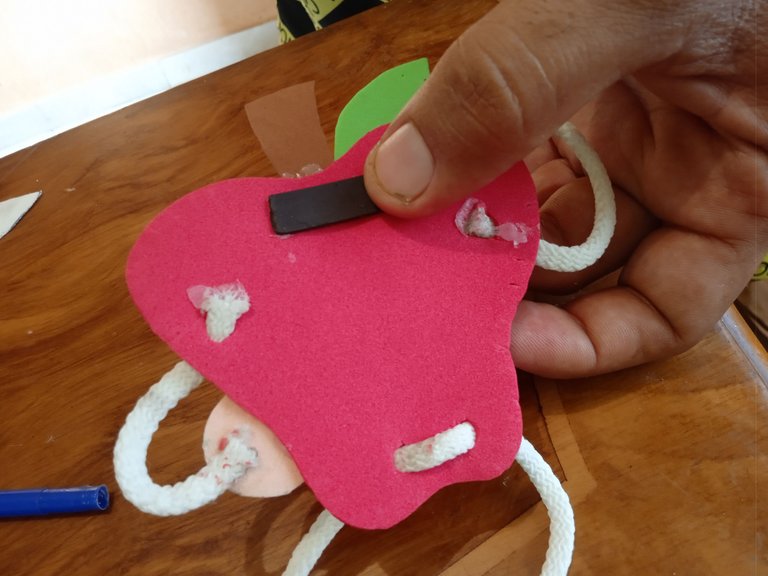
Por último vamos a tomar el iman y lo pegaremos en la parte de atrás de nuestra manzana para poder usarlo y colgarlo en la nevera
Finally we will take the magnet and glue it on the back of our apple so we can use it to hang it on the fridge.
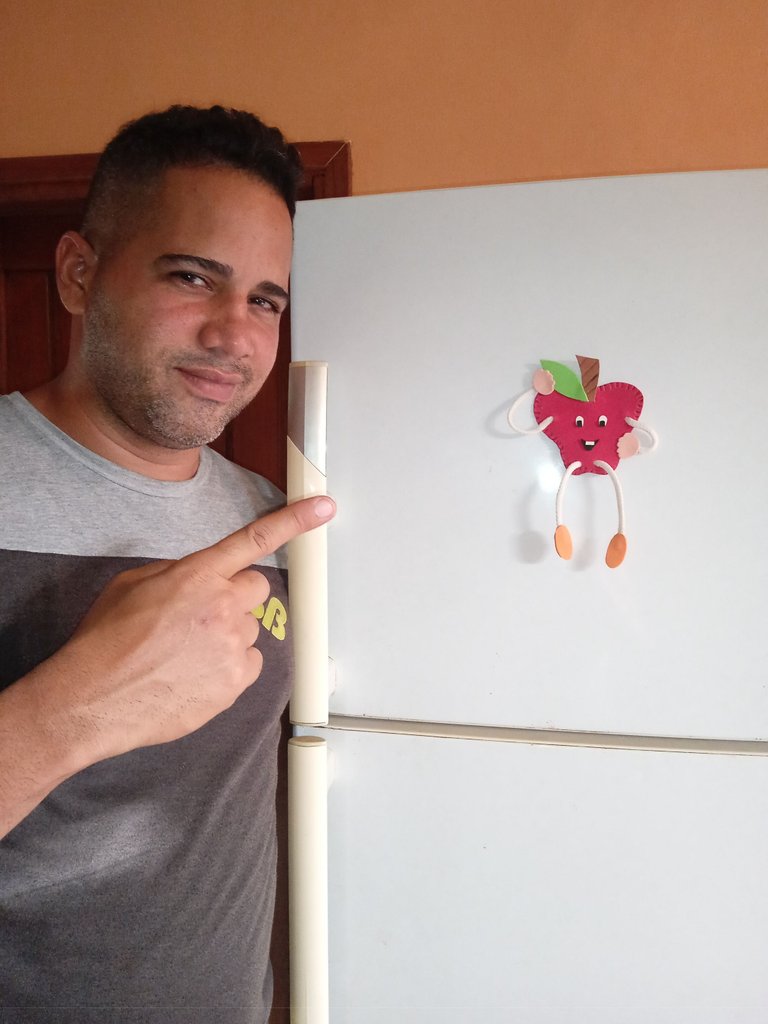
Este es el resultado final de nuestra hermosa manzana para decorar la nevera , las fotos fueron tomadas con mi teléfono redmi 9A y los textos traducido con el traductor deepl
This is the final result of our beautiful apple to decorate the fridge , the photos were taken with my redmi 9A phone and the texts translated with deepl translator.
