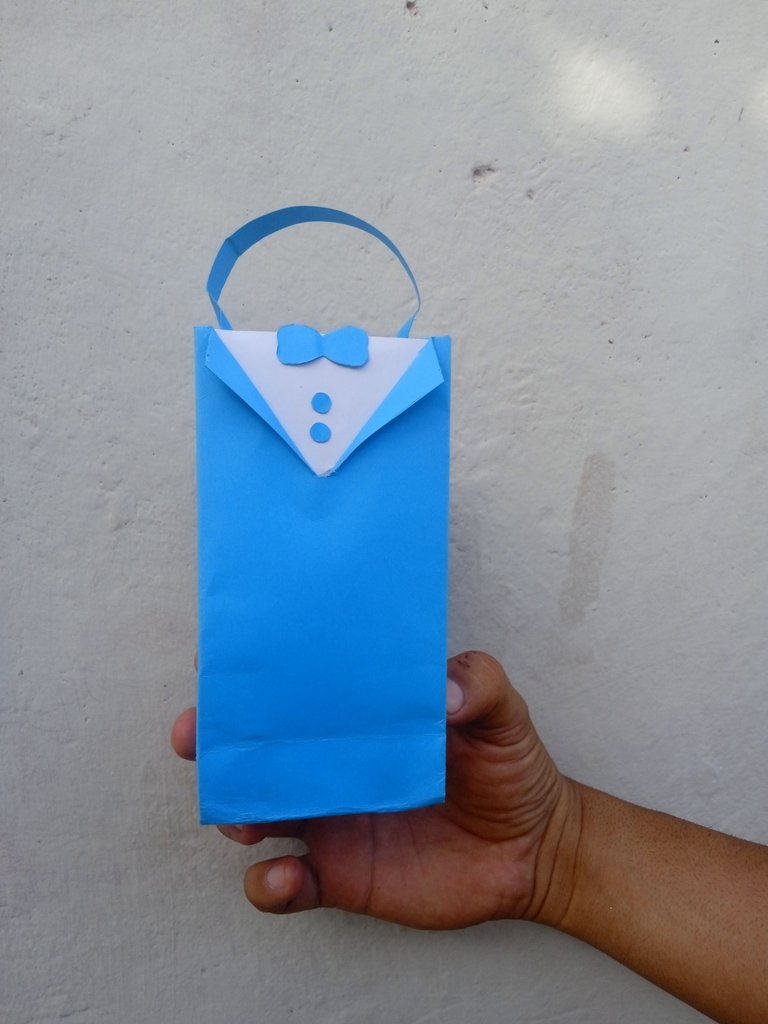
Buenas noches tengan todos los amigos presentes de la comunidad hivediy , espero que se encuentren pasando un agradable fin de semana ,quiero aprovechar la ocasión para desearles un feliz dia de el padre ya que el día de mañana estaremos festejando con mucha alegría nuestro día ,hoy les quiero compartir una elegante bolsa de regalo con amor para papá realizado con cartulina ,con el mayor orgullo para festejar a nuestros padres
Good evening to all friends of the hivediy community, I hope you are having a nice weekend, I want to take this opportunity to wish you a happy father's day because tomorrow we will be celebrating with great joy our day, today I want to share an elegant gift bag with love for dad made with cardboard, with the greatest pride to celebrate our fathers.
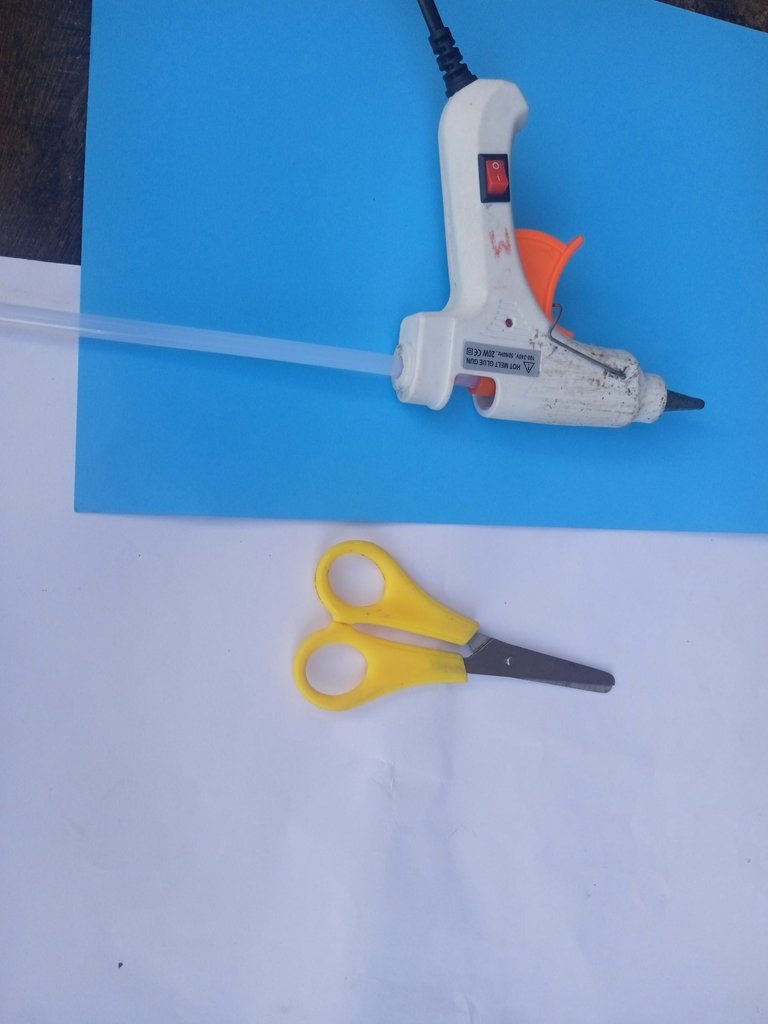
Materiales para realizar una bolsa de obsequio :
-Cartulina azul y blanca
-Tijera
-Silicon
Materials to make a gift bag:
-Blue and white cardboard
-Scissors
-Silicon
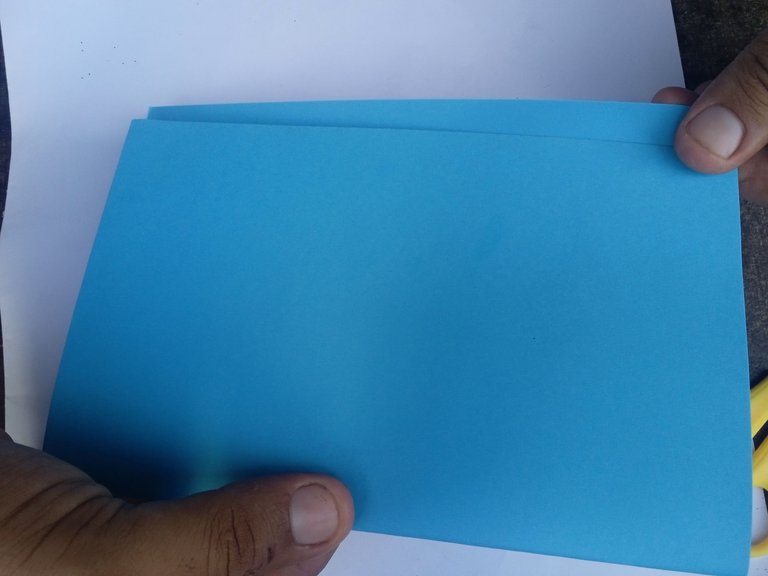
Pasos para realizar una bolsa de obsequio :
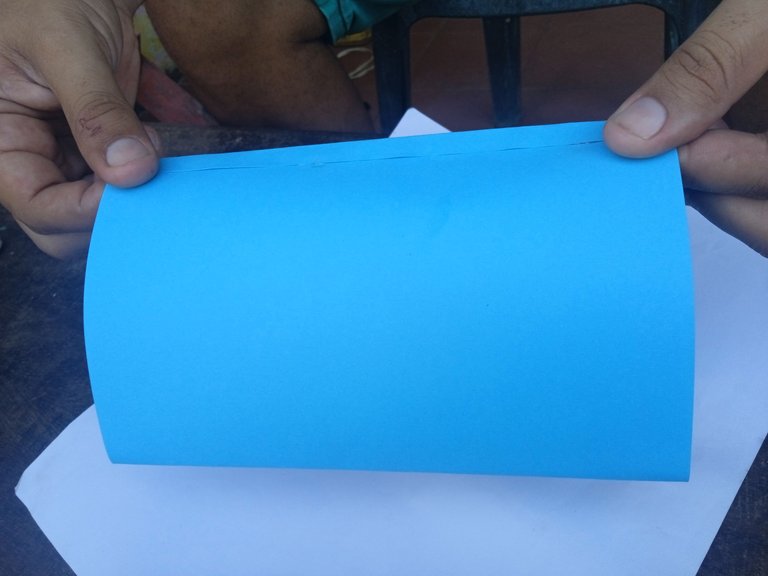
Primer paso : Comenzaremos doblando nuestra cartulina en Dos ,cuando doblemos debemos asegurarnos dejar un centímetro sobrante que no quede borde con borde ,lo primero es que tenemos tener en claro el color de nuestra bolsa , para la bolsa utilice azul cielo
Steps to make a gift bag:
First step: We will begin by folding our cardboard in two, when we fold we must be sure to leave a centimeter left over so that there is no edge to edge, the first thing is that we have to be clear about the color of our bag, for the bag use sky blue.
Segundo paso : Luego continuaremos doblando el centímetros de cartulina que dejamos sin pegar, añadiremos Silicon por todo el alrededor y la pegaremos borde con borde ,con este paso tendremos la primera pieza de nuestra bolsa
Second step: Then we will continue folding the centimeter of cardboard that we left without gluing, we will add Silicon all around and we will glue it edge to edge, with this step we will have the first piece of our bag.
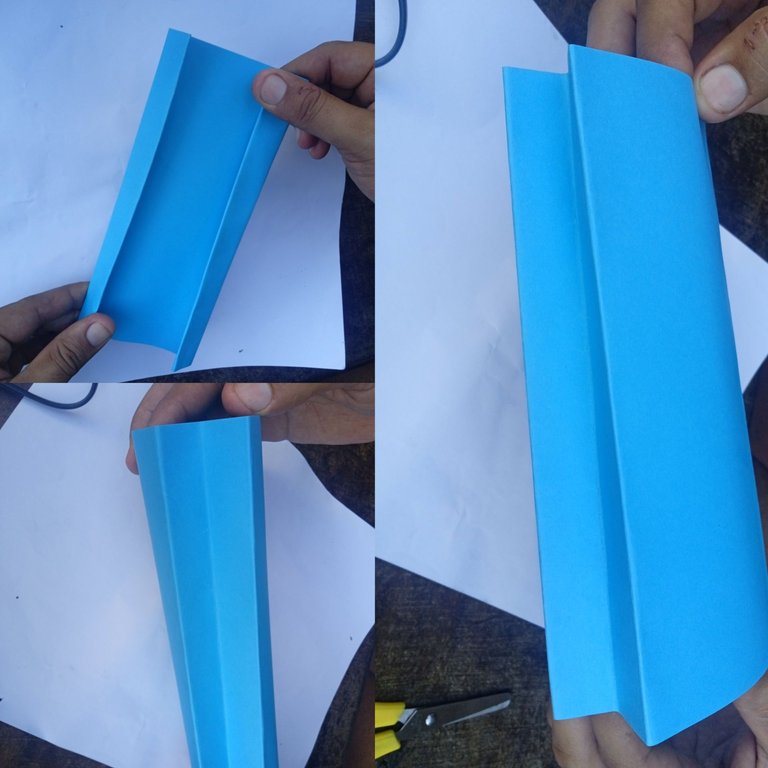
Tercer paso : en este siguiente paso vamos a realizar unos doblajes a los lados de nuestra bolsa ,doblaremos de ambos lados hacia el centro ,tres centímetros de grosor , luego continuaremos abriendo los bordes que doblamos y al mismo tiempo introduciendo hacia adentro de la bolsa
Third step: in this next step we will make some folds on the sides of our bag, we will fold both sides towards the center, three centimeters thick, then we will continue opening the edges that we folded and at the same time introducing them inside the bag.
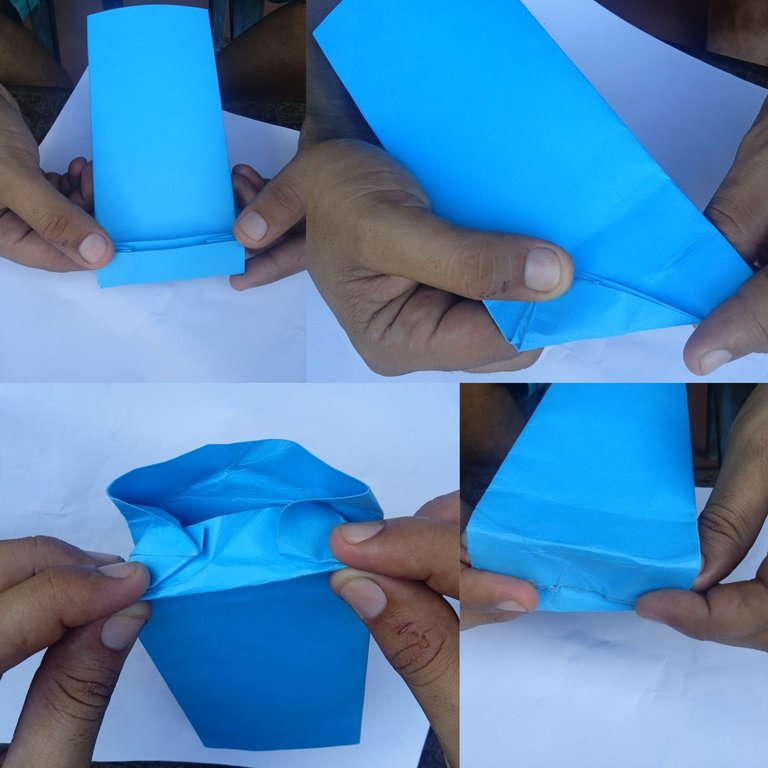
Cuarto paso : a continuación vamos a realizar la base de la bolsa de regalo , doblaremos hacia el centro dos centímetros , luego las puntas de los lados vamos a doblar las en forma de triángulos , luego continuaremos pegando y finalizando nuestra base de obsequio
Fourth step: next we are going to make the base of the gift bag, we will fold towards the center two centimeters, then the ends of the sides we will fold them in the form of triangles, then we will continue gluing and finalizing our gift base.
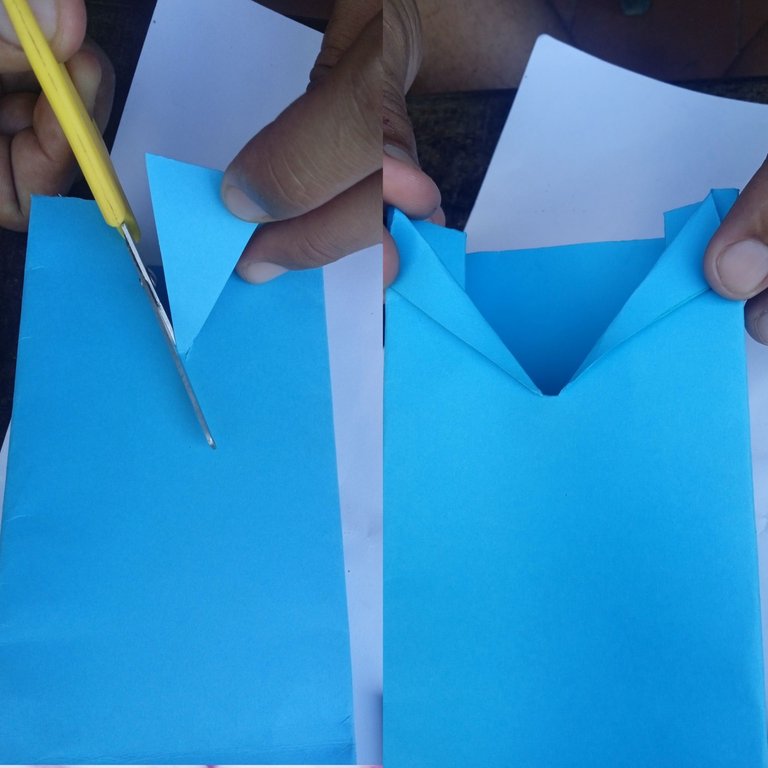
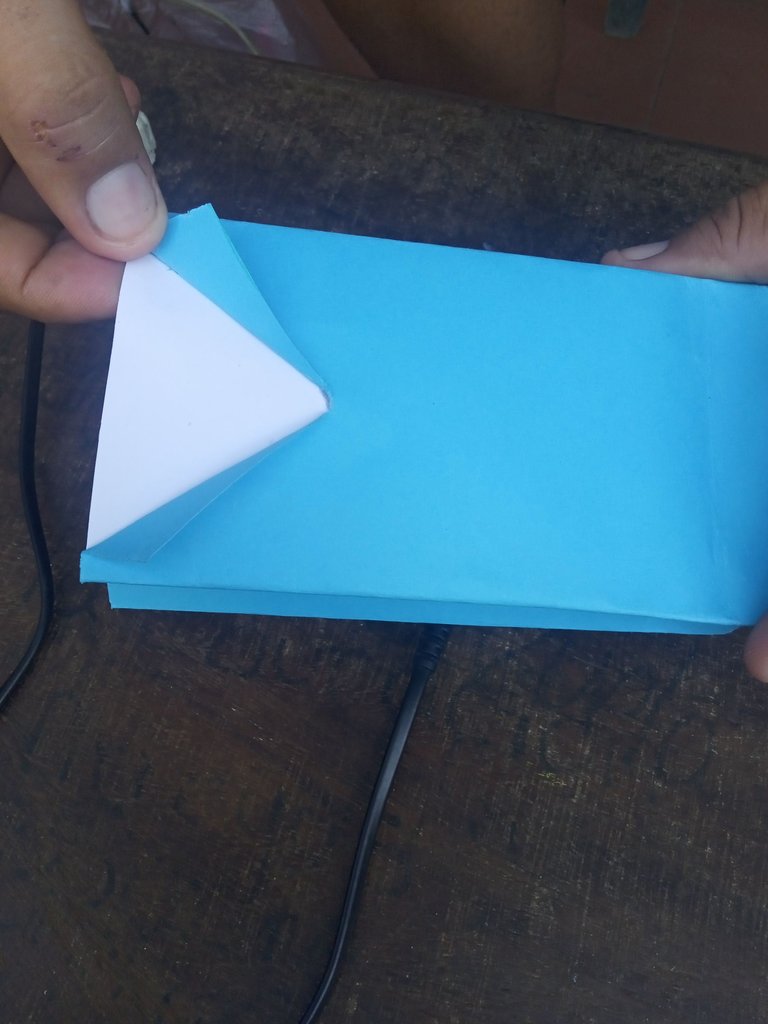
Quinto paso : vamos a realizar la parte elegante de nuestra bolsa , en la parte de adelante vamos a realizar un corte tipo V o tipo triángulo , luego vamos a proceder doblando las puntas hacia los lados en forma de cuello de nuestra camisa
Fifth step: we are going to make the elegant part of our bag, in the front part we are going to make a V type cut or triangle type, then we are going to proceed folding the ends towards the sides in the shape of the neck of our shirt.
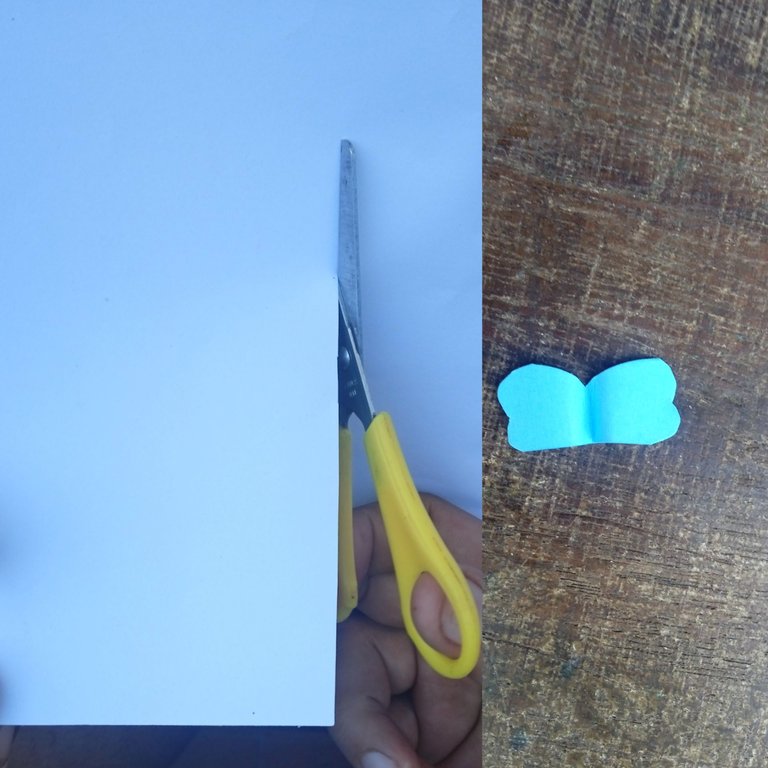
Sexto paso : A continuación vamos a proceder recortando un cuadro de cartulina blanca que será la camisa de abajo de nuestra bolsa , más recortaremos un pequeño lazo y tres botones
Sixth step: Next we will proceed by cutting out a square of white cardboard that will be the bottom shirt of our bag, then we will cut out a small bow and three buttons.
Séptimo paso : seguidamente vamos a pegar en al parte de adelante de nuestra bolsa la cartulina blanca para que sea la camiseta que los caballeros utilizamos debajo de las camisas de vestir
Seventh step: next we will glue on the front of our bag the white cardboard to be the shirt that we gentlemen use under the dress shirts.
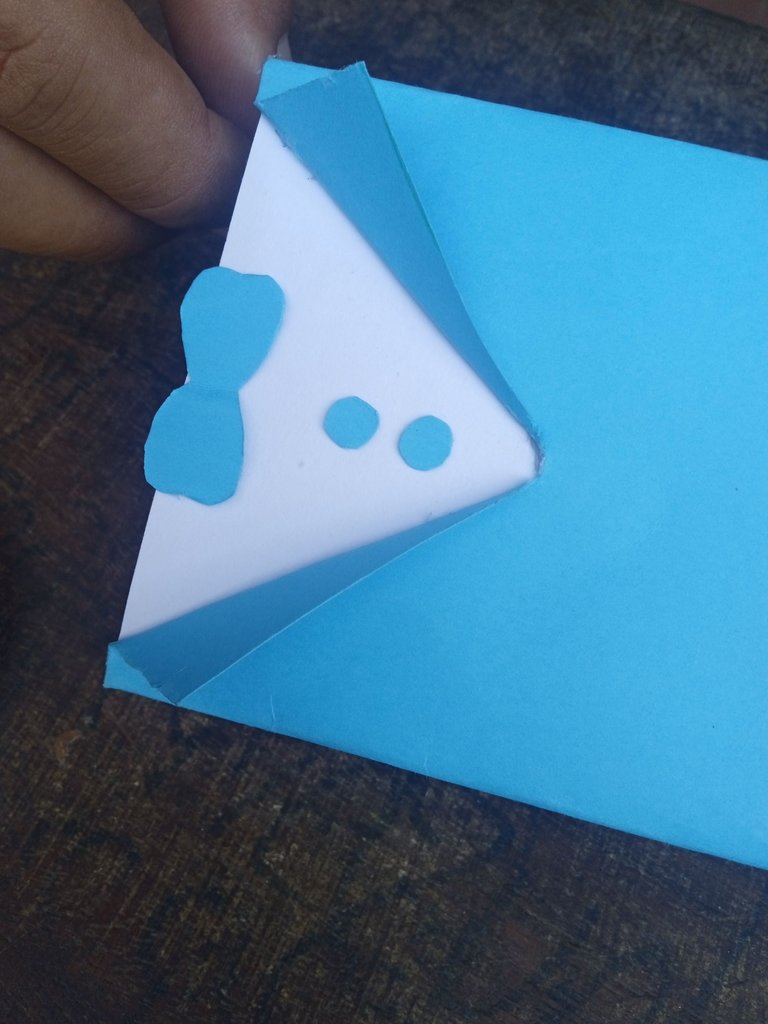
Octavo paso : en el centro de la camisa blanca vamos a continuar pegando un lazo en la parte de arriba en todo el centro , abajo de el lazo pegaremos unos pequeños circulos que serán los botones
Eighth step: in the center of the white shirt we will continue by gluing a ribbon in the upper part of the center, below the ribbon we will glue some small circles that will be the buttons.
Noveno paso : para terminar nuestra creación vamos a continuar pegando en la parte de arriba la tira de la misma cartulina , para que podamos obsequiar y sostener el regalo con amor a papá
Ninth step: to finish our creation we will continue gluing on the top the strip of the same cardboard, so we can give and hold the gift with love to dad.
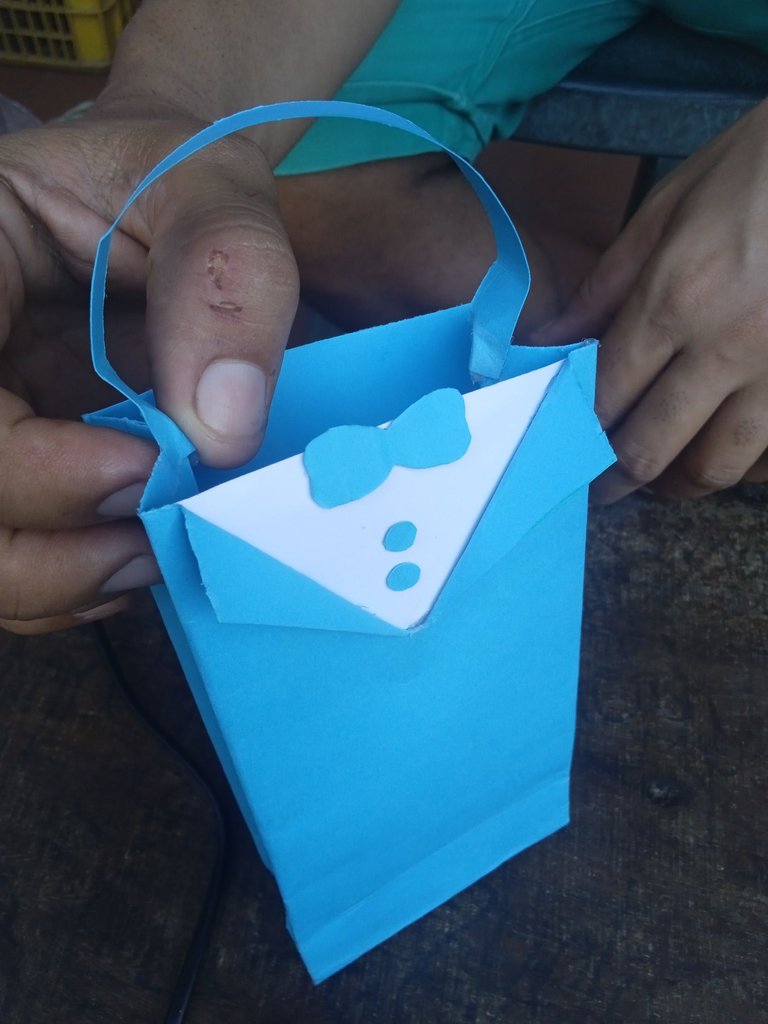
Este es el resultado final de mi creacion , un hermoso obsequio dedicado en especial para nuestros padres que el día de mañana estaremos festejando ,sin olvidar que siempre deben ser admirados , las fotos las tomé con mi teléfono redmi 9A y los textos de mi contenido los traduje con el traductor deepl ,buenas noches
This is the final result of my creation, a beautiful gift dedicated especially for our fathers that tomorrow we will be celebrating, without forgetting that they should always be admired, the photos were taken with my phone redmi 9A and the texts of my content translated with the translator deepl, good night.
