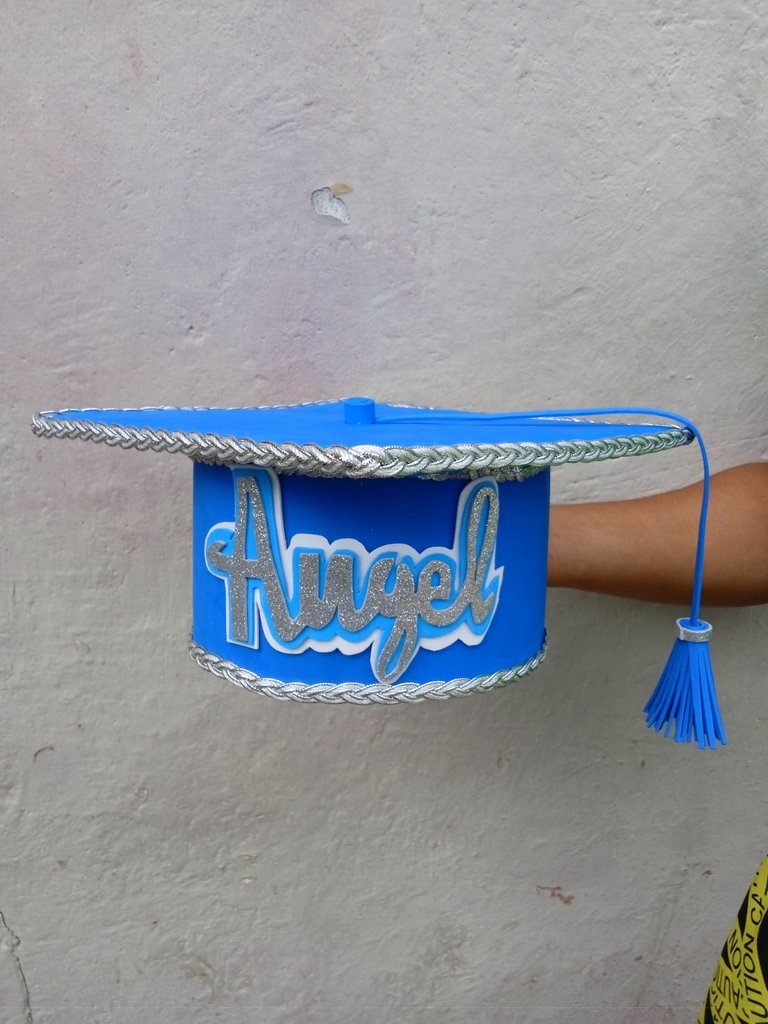
Buenas noches amigos , un cordial saludo , sean todos bienvenidos , hoy les quiero compartir un tutorial para realizar un birrete de promoción para niños , se trata de un proceso sencillo donde obtendremos excelentes resultados
Good evening friends, a cordial greeting, you are all welcome, today I want to share with you a tutorial to make a promotion cap for children, it is a simple process where we will obtain excellent results.
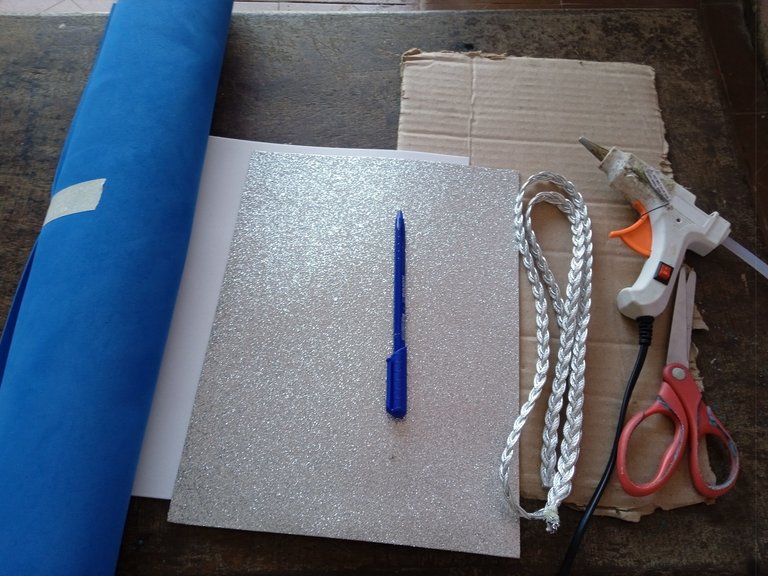
Materiales :
-Carton
-Foamis
-Cinta plateada
-Silicon
-Tijera
Materials :
-Cardboard
-Foamis
-Silver ribbon
-Silicon
-Scissors
Pasos a seguir :
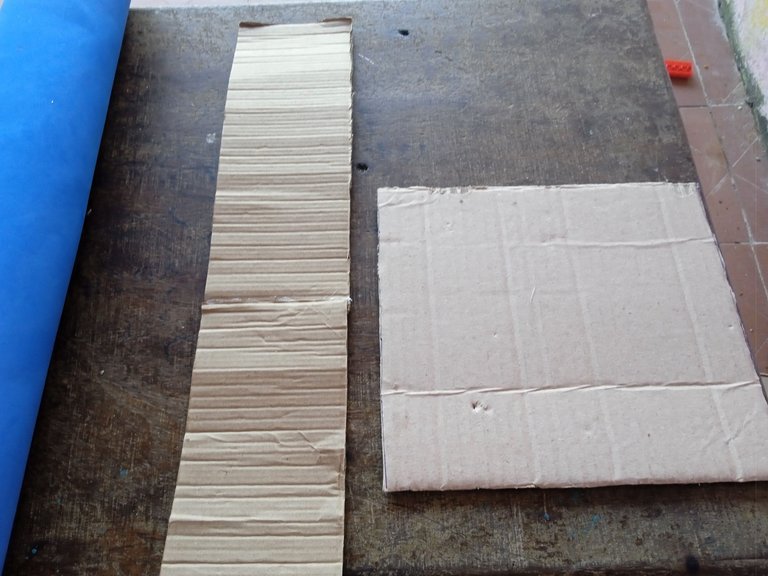
Comenzaremos tomando nuestro cartón y recortaremos las piezas para armar nuestro birrete , las medidas dependerán de el tamaño de la cabeza del niño o niña ,por eso es recomendable medirlo con una tira y estar seguros , la parte de nuestro cuadro posee cuatro lados de 25 centímetros cada uno , la parte de abajo la tira que pueden observar tiene medio metro de largo y 12 centímetros de grosor
Steps to follow:
We will begin by taking our cardboard and cut out the pieces to assemble our cap, the measures will depend on the size of the head of the boy or girl, so it is advisable to measure it with a strip and be sure, the part of our picture has four sides of 25 centimeters each, the bottom of the strip that you can see is half a meter long and 12 centimeters thick
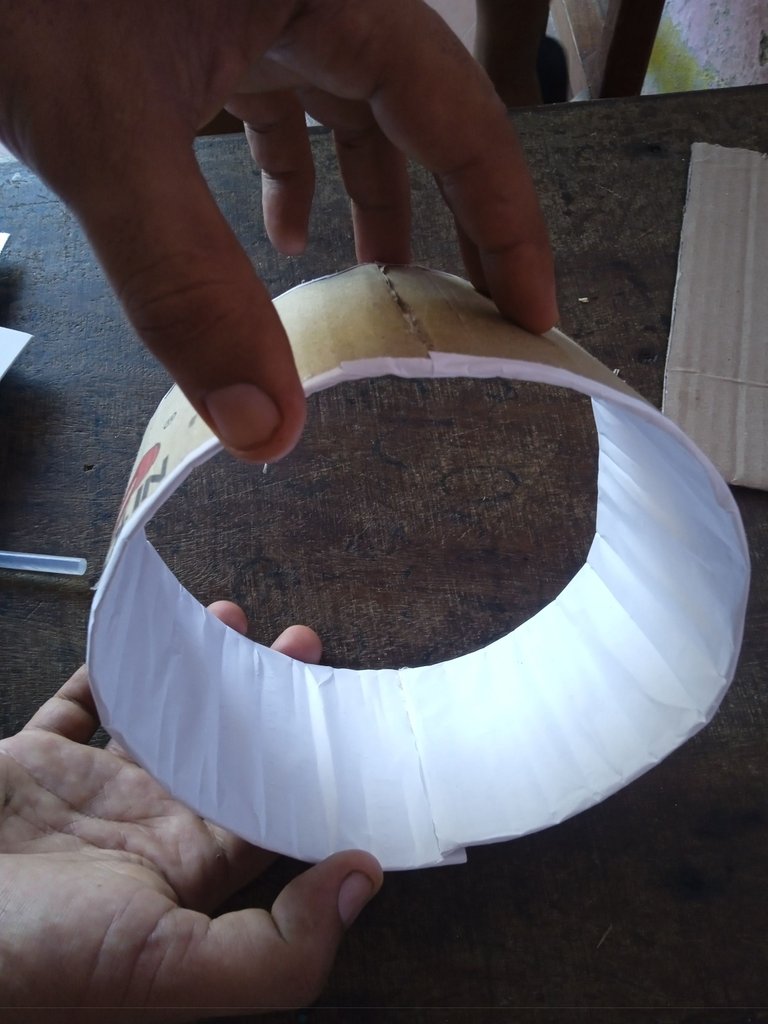
A continuación realizaremos la parte de abajo de nuestro birrete , tomaremos nuestra tira añadimos Silicon y pegamos ambos lados hasta formar un círculo , para ahorrar foamis la parte de adentro la forre con papel blanco de modo que no se note por ningún lado el cartón
Next we will make the bottom part of our biretta, we will take our strip, add Silicon and glue both sides until we form a circle, to save foamis the inside part we will line it with white paper so that the cardboard is not noticeable on any side.
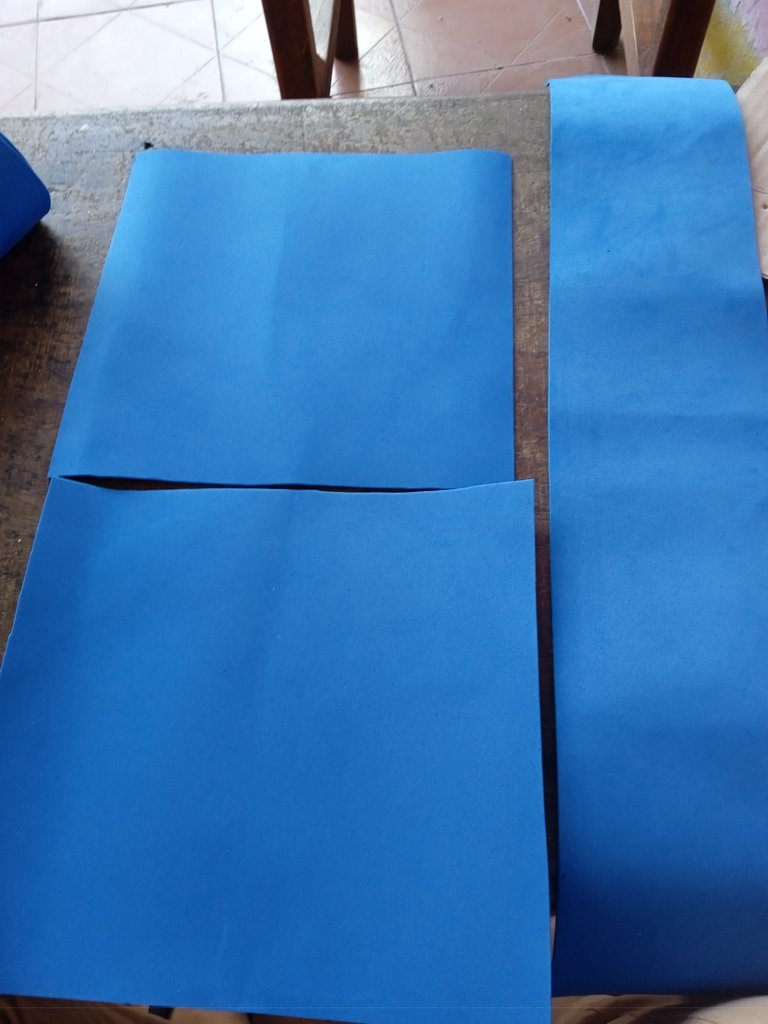
A continuación recortaremos las mismas piezas que sacamos en cartón pero en foamis , para la parte de el cuadro de el birrete recortaremos dos piezas iguales las cuales se ubicarán una abajo y una arriba para que no se note el cartón
Next we will cut out the same pieces that we took out of cardboard but in foamis, for the part of the square of the biretta we will cut out two equal pieces which will be placed one at the bottom and one at the top so that the cardboard is not noticeable.
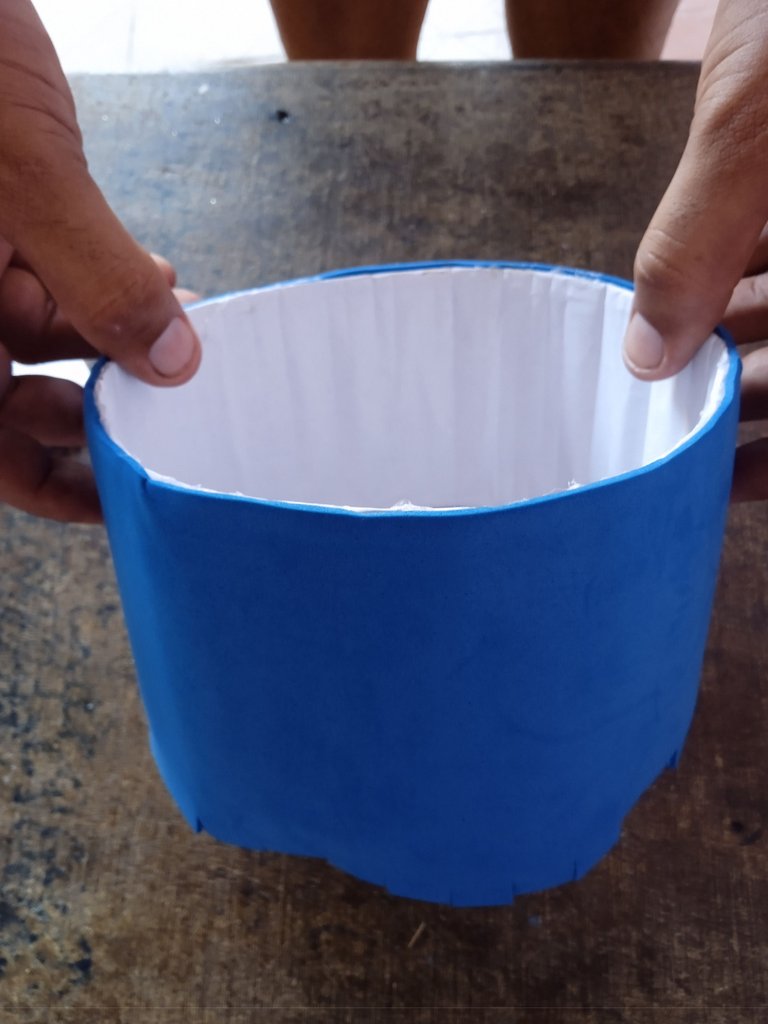
Continuaremos forrando nuestras piezas de cartón , iniciamos con la parte redonda ,por todo el alrededor pegamos nuestro foamis hasta cubrirlo todo
We will continue lining our pieces of cardboard, we start with the round part, all around we glue our foamis until we cover it all.
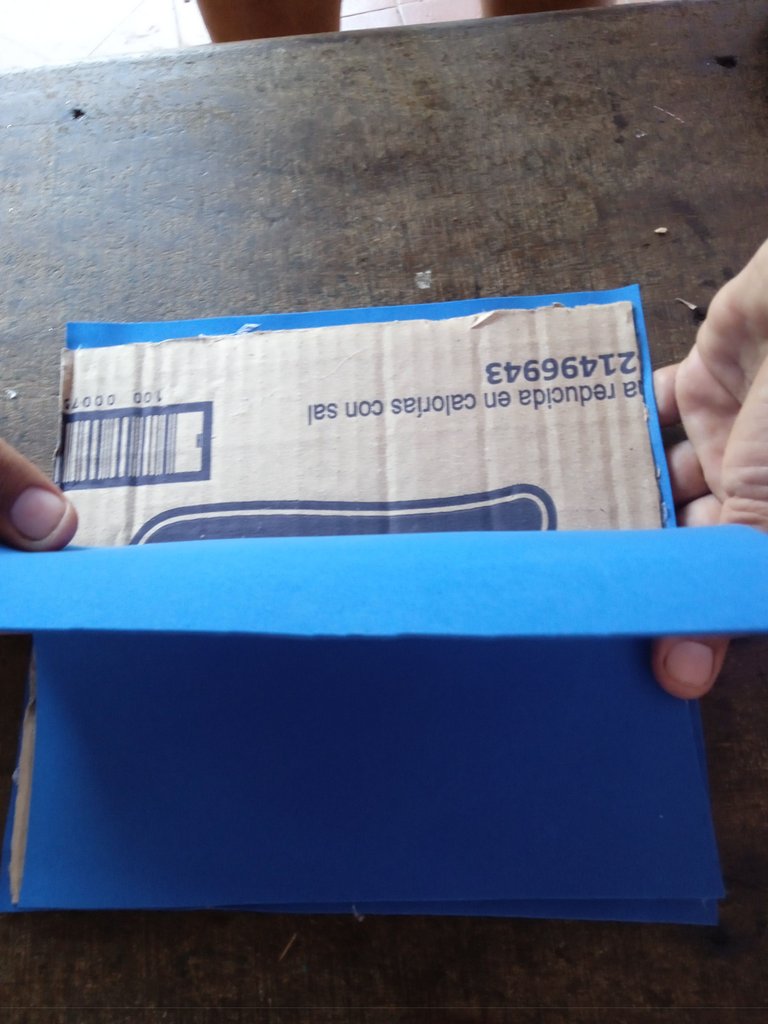
Seguidamente vamos a tomar nuestro foamis y lo pegaremos a la parte de el cuadro , recuerden que debemos cubrirlo por ambos lados no vaya a notarse el cartón y dañar la ocasión
Next we are going to take our foamis and glue it to the part of the picture, remember that we must cover it on both sides so that the cardboard will not be noticed and damage the occasion.
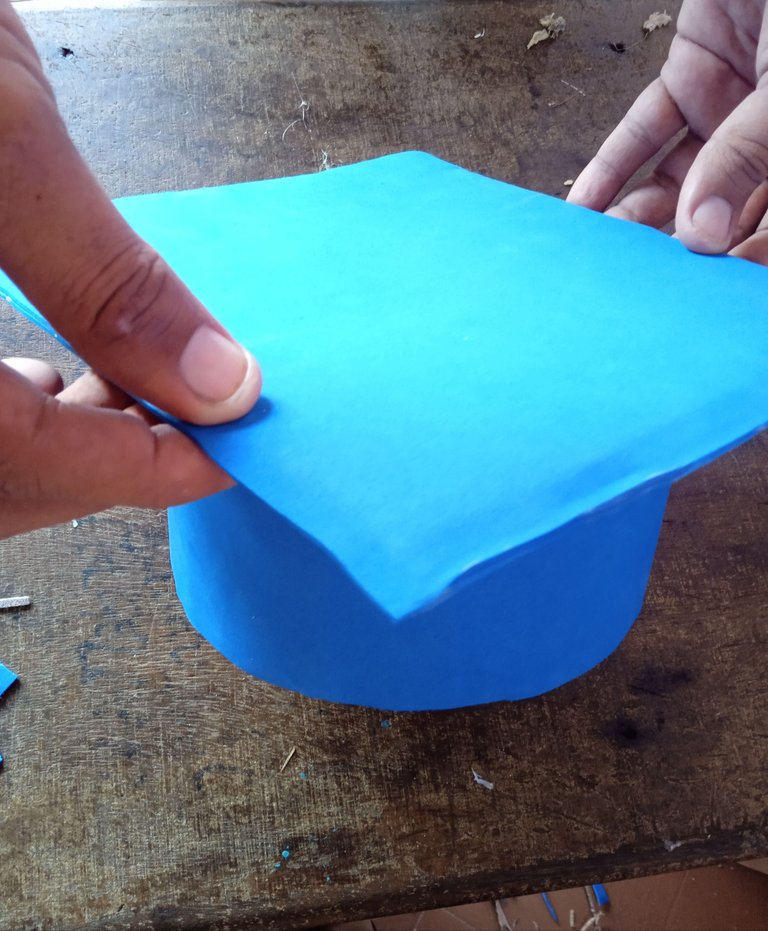
Una vez que estén forradas nuestras piezas vamos a realizar nuestro birrete , tomaremos nuestro cuadro y lo pegaremos al redondo , considero que esta es la parte más difícil porque debemos asegurarnos que quede en todo el centro de nuestro cuadro
Once our pieces are lined we are going to make our biretta, we will take our picture and glue it to the round, I think this is the most difficult part because we must make sure that it is in the center of our picture.
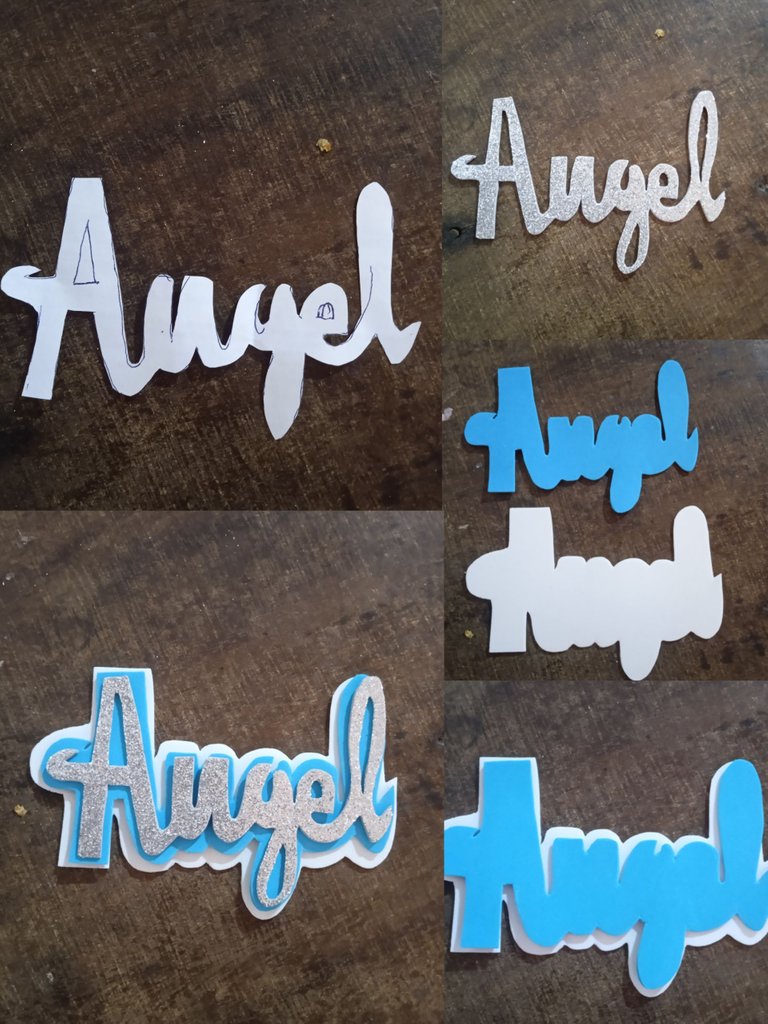
Continuaremos sacando el nombre de la persona en un molde para luego marcarlo con cuidado en nuestro foamis , una vez que tengamos nuestro nombre vamos a continuar recortando lo , para que el nombre se observe llamativo vamos a recortar dos bases con la silueta de el nombre , utilice un azul claro que irá las letras plasmada por último un blanco ,debe ir un poco más grande para que se observen los bordes y resalten
We will continue taking the name of the person in a mold and then mark it carefully on our foamis , once we have our name we will continue cutting it , so that the name is seen striking we will cut two bases with the silhouette of the name , use a light blue that will go the letters embodied finally a white , should go a little bigger so that the edges are observed and highlight .
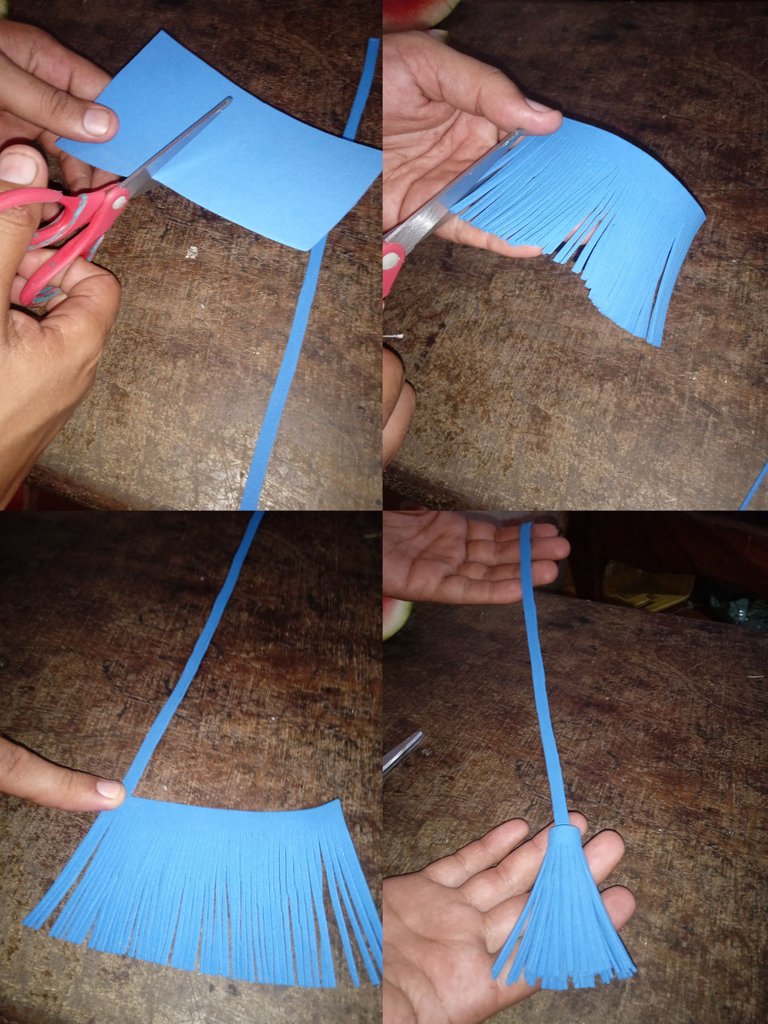
Para el colgante de el birrete , utilice una tira de medio centímetros y 16 centímetros de largo, un pequeño cuadro el cual convertí en flecos dejando un espacio sin cortar para más adelante enrollar la tira con el y tener nuestro hermoso colgante
For the pendant of the biretta, use a strip of half a centimeter and 16 centimeters long, a small square which I turned into bangs leaving a space without cutting to later roll up the strip with it and have our beautiful pendant
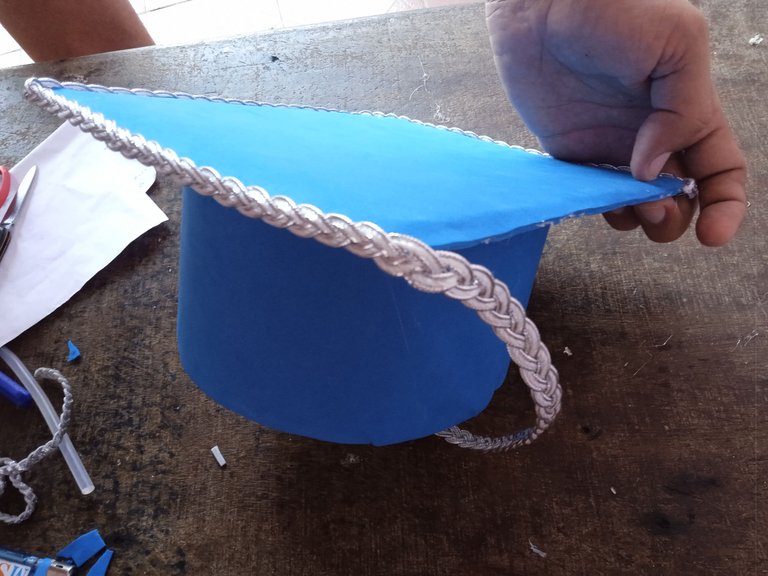
A continuación vamos decorar y personalizar nuestro birrete , primero iniciaremos pegando la cinta plateada tejida por todo el cuadro de nuestro birrete y la parte de abajo , como no alcanzó para la parte de arriba de el círculo lo realice con tres tiras de foamis plateadas las cuales tejí para que asimilen
Next we are going to decorate and personalize our biretta, first we will start by gluing the silver ribbon woven around the whole frame of our biretta and the bottom, as it was not enough for the top of the circle I made it with three strips of silver foamis which I wove to assimilate.
Por último en todo el centro de nuestro birrete pegue el nombre personalizado , y en la parte de arriba de el cuadro en todo el centro también pegue el colgante de el birrete para que el graduado luzca elegante
Finally in the center of our cap I glued the personalized name, and on the top of the frame in the center I also glued the pendant of the cap so that the graduate looks elegant.
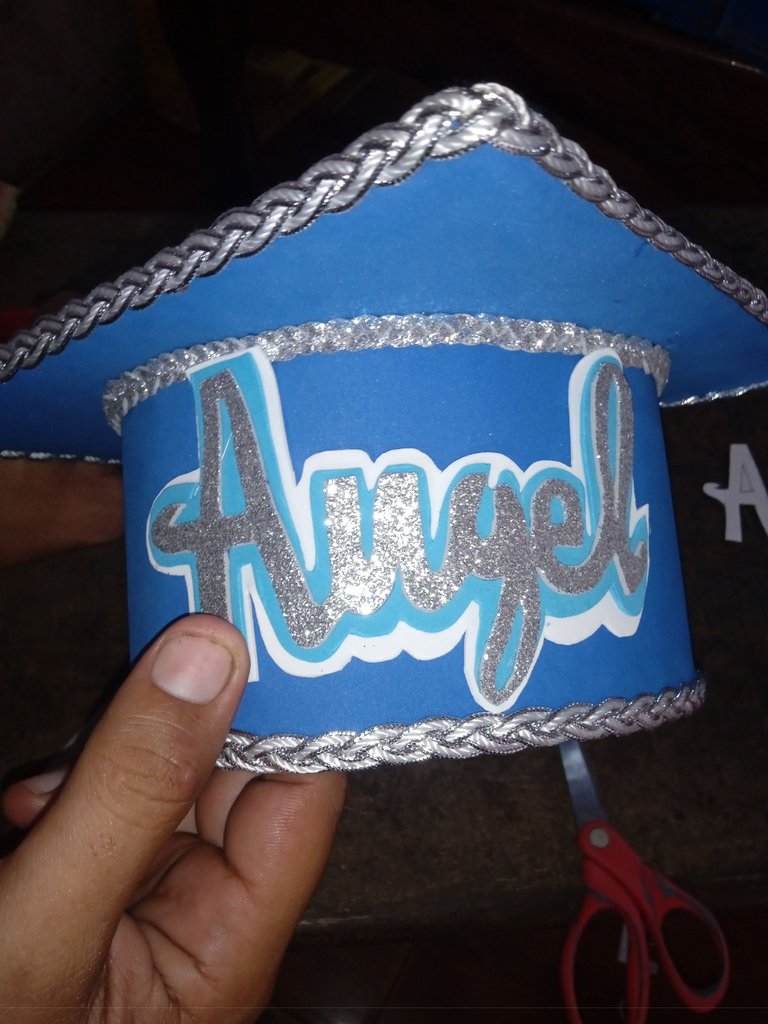
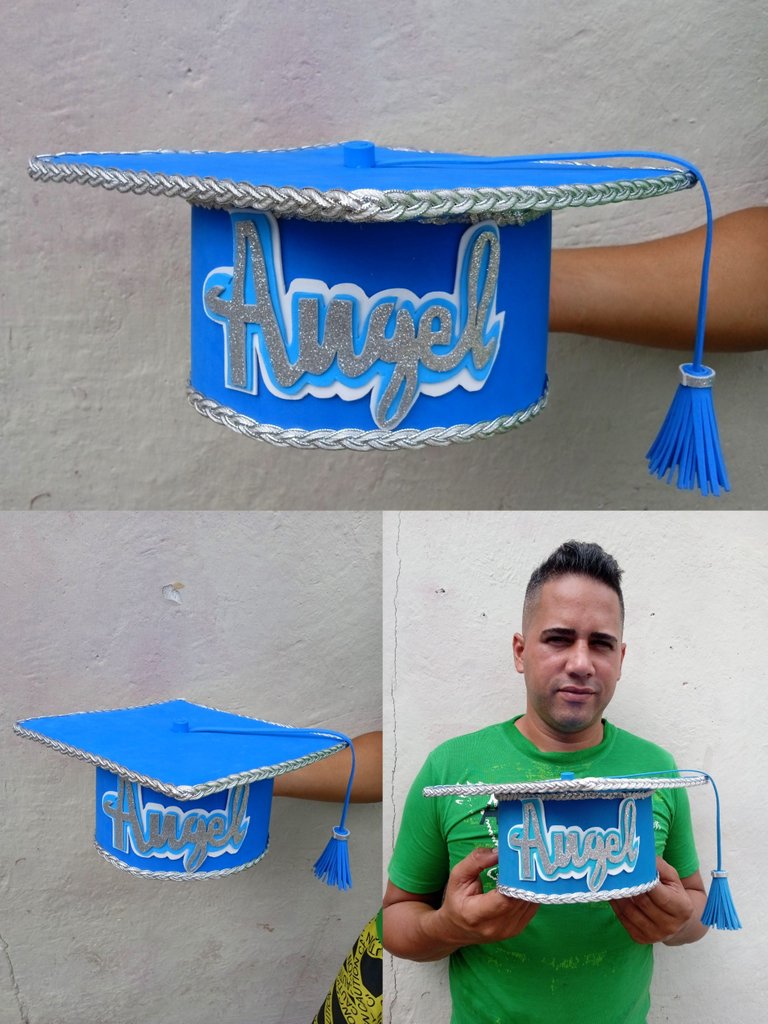
Este es el resultado final de mi birrete para niños y caballeros ,utilizando colores suaves para marcar la elegancia y diferencia , las fotos las tomé con mi teléfono redmi 9A y los textos los traduci con el traductor deepl , que tengan una linda noche ,hasta la próxima
This is the final result of my birette for boys and gentlemen ,using soft colors to mark the elegance and difference , the photos were taken with my redmi 9A phone and the texts were translated with the deepl translator , have a nice evening ,until next time
