
✨🖍️✨🖍️✨🖍️✨🖍️✨🖍️✨🖍️✨🖍️✨
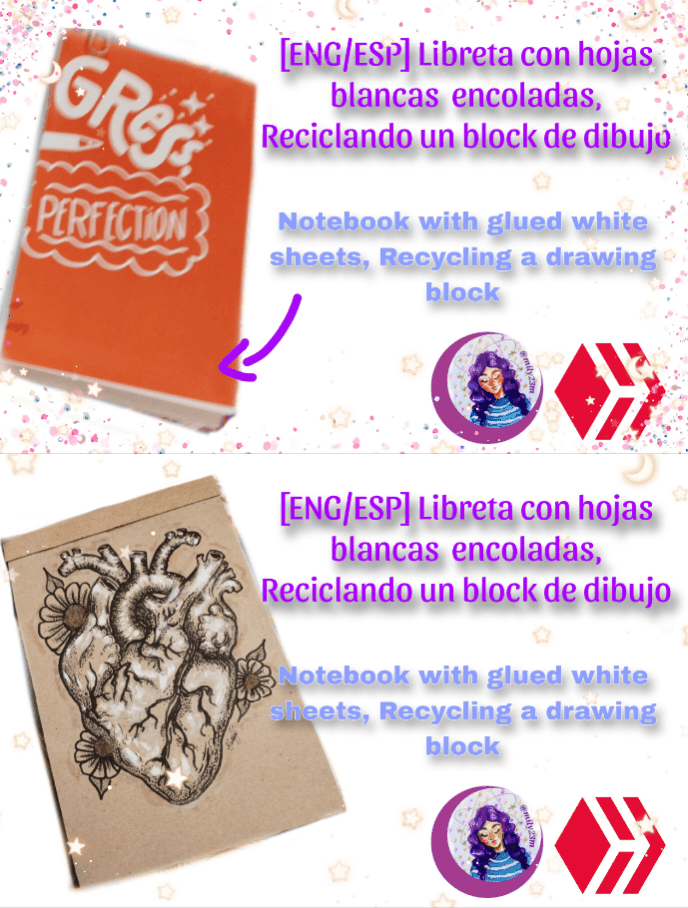
Hola querida comunidad de hivediy y comunidad artesanos ✨ el día de hoy les traigo un nuevo post completando la segunda parte de mi proyecto #diy anterior , en el cuál usaba un block de dibujo que encontré en traki (tienda venezolana) bastante barato, y mi idea era usarlo para hacer una libreta pequeña de hojas blancas ,ya que estas me encantan y suelen ser algo mas caras , así que para ese proyecto utilice la mitad del Block de dibujo, y me quedo libre la otra mitad ,por los qué les traje este proyecto creativo para hacer una libreta o block con hojas blancas pero que esta quede con las hojas encoladas y se puedan despegar fácilmente, de esta forma usando un block de dibujo salieron dos proyectos de libretas para dibujar 🖍️, sin más que decir ,les dejo el proceso en fotos aqui ↘️ ⬇️ ↙️
Materiales
🖍️ Block de dibujo
🖍️ Tijeras
🖍️ Regla
🖍️ Pega blanca
🖍️ Cartón reciclado y cartulinas
🖍️ Marcadores para dibujo
🖍️ Pinturas doradas/pigmento dorado
🖍️ Pintura blanca
✨Manos a la obra✨
✨🖍️✨🖍️✨🖍️✨🖍️✨🖍️✨🖍️✨🖍️✨ Hello dear hivediy community and artisan community ✨ today I bring you a new post completing the second part of my project #diy previous , where you use a block of a drawing that I found in this store (Venezuelan store) quite cheaply, and my idea was to use it to make a small libreta of white hojas, which enchanted me and could be something more expensive, so for this project I used the block of Block I draw it, and I'm free there again mitad, for those who use this creative project to make a libretta or block with white notes, but it remains with the curled leaves and can be released easily, in this way using a drawing block that saves the libretta projects to draw 🖍️, Without more than deciding, I show the process in photos here ↘️ ⬇️ ↙️
Materials
🖍️ Drawing block
🖍️ Tijeras
🖍️ Rules
🖍️ White handle
🖍️ Recycled cardboard and cardboard
🖍️ Drawing markers
🖍️ Golden paintings/golden pigment
🖍️ White painting
✨Hands at work✨
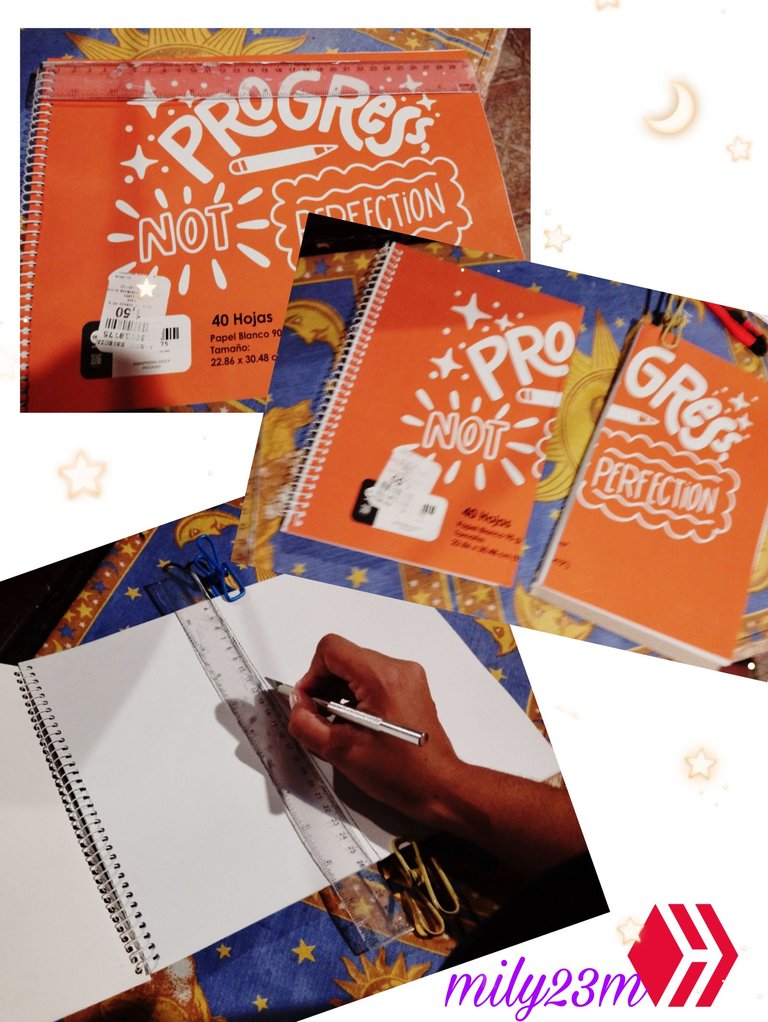
#1 Para el primer paso lo que haremos es medir el block y cortarlo al tamaño que queramos , yo para cortar la primera libreta con las anillas la hice de 15 cm de longitud ya que el block media 30,5cm de largo , por lo que para hacer este block me quedó una mitad del block de 15,5cm aproximadamente ,con 40 hojas blancas que traía el block. Hice la marca por el medio y corté con un bisturí de precisión cada tres hojas, cuando sueñes cortas con tijera o bisturí mas grande es probable que no queden tan prolijos los cortes ya que estos se hacen en una guillotina y por eso suelen quedar todos del mismo tamaño, así que para arreglar eso ,una vez tuve mis hojas cortadas ,recorté con tijera esos pequeños detalles irregulares ,para que quedará mucho más pulcro.Luego acomodaremos muy bien el grupo de hijas blancas ,de manera que quede los más alineadas posibles sobretodo la parte superior en dónde aplicaremos la Pega,aseguré bien con ganchos de ropa y luego le puse encima algo que tuviera mucho peso,haciendo presión sobre el grupo de hojas para que estas no se puedan mover, una vez que estan bien presionandas con un pincel 🖌️ y pega blanca ,le pase una capa de pegamento por todo el filo del grupo de hojas.
#1 For the first step we will have to measure the block and cut it to the size we want, to cut the first booklet with rings at a height of 15 cm long since the block measured 30.5 cm wide , so to make this block I needed a half block of approximately 15.5cm, with 40 white sheets that betrayed the block. Hex the mark by the middle and cut with a precision scalpel every three hours, when sueñes are cut with a knife or scalpel, but it is likely that they will not make the cuts longer and they are being made on a guillotine and because of this the suelen will leave all of them the same size, so that to arrange it, once you have to cut more leaves, cut out with the box and those small irregular details, so that it will fall much deeper. We will accommodate the group of white girls very well, in a way that keeps them as aligned as possible over all the upper part where we will apply the handle, secure it well with clothes hooks and put it on top of something that had been worn a lot weight, putting pressure on the group of hojas so that they cannot move, as they are well secured with a brush 🖌️ and take a white stick, passing a layer of stickiness over the entire phylum of the group of hojas.
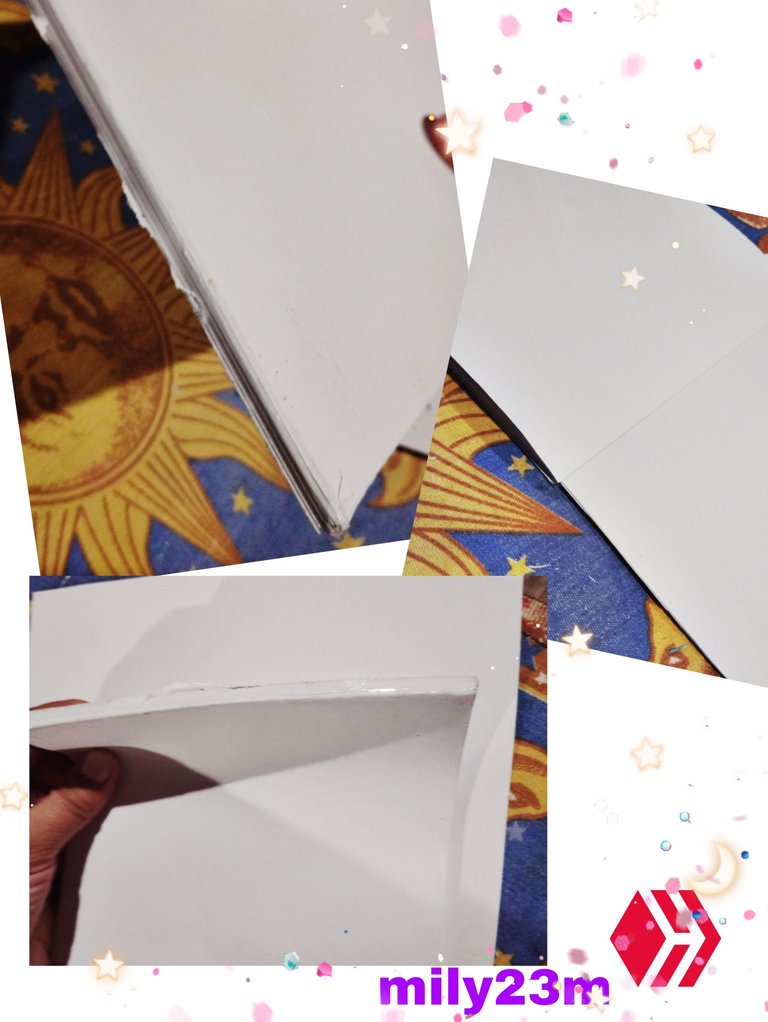
#2 Para poder hacer bien el filo encolado de las hojas ,le dí varias manos de pega , pasando con el pincel medianamente cargado de pega y asegurándose de pasar una capa de pega,dejando secar ,y luego pasar la siguiente capa solo cuando esté bien seco.
#2 In order to properly glue the edge of the leaves, I gave it several coats of glue, passing it with the brush moderately loaded with glue and making sure to apply a layer of glue, letting it dry, and then apply the next layer only when it is completely dry.
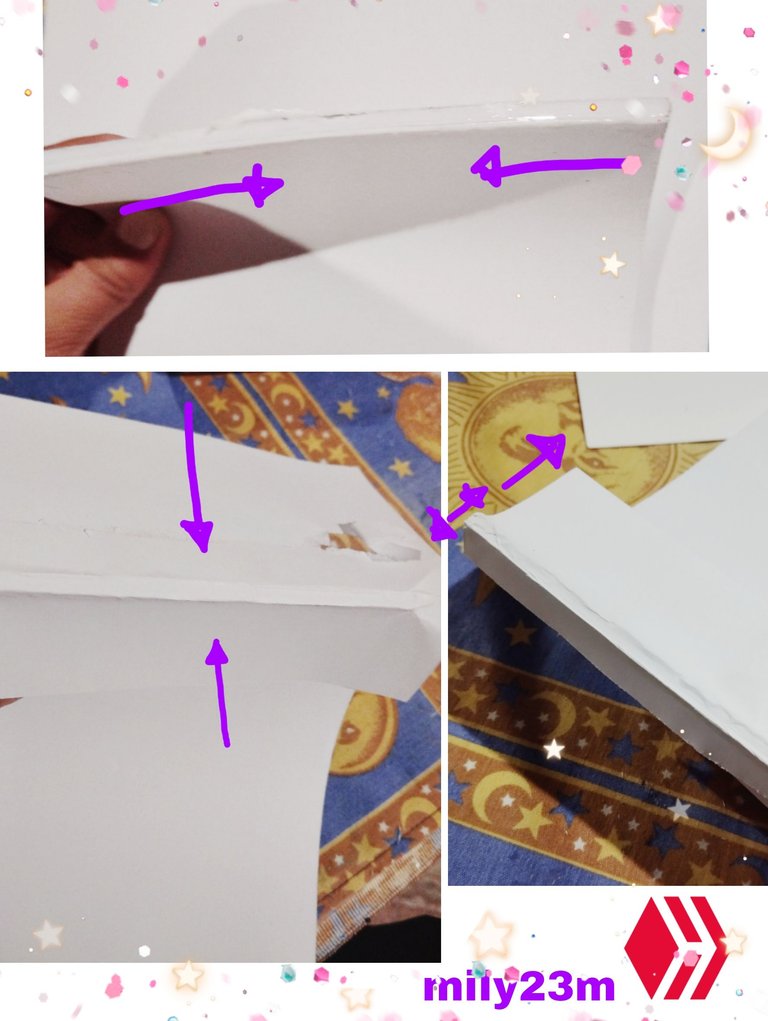
#3
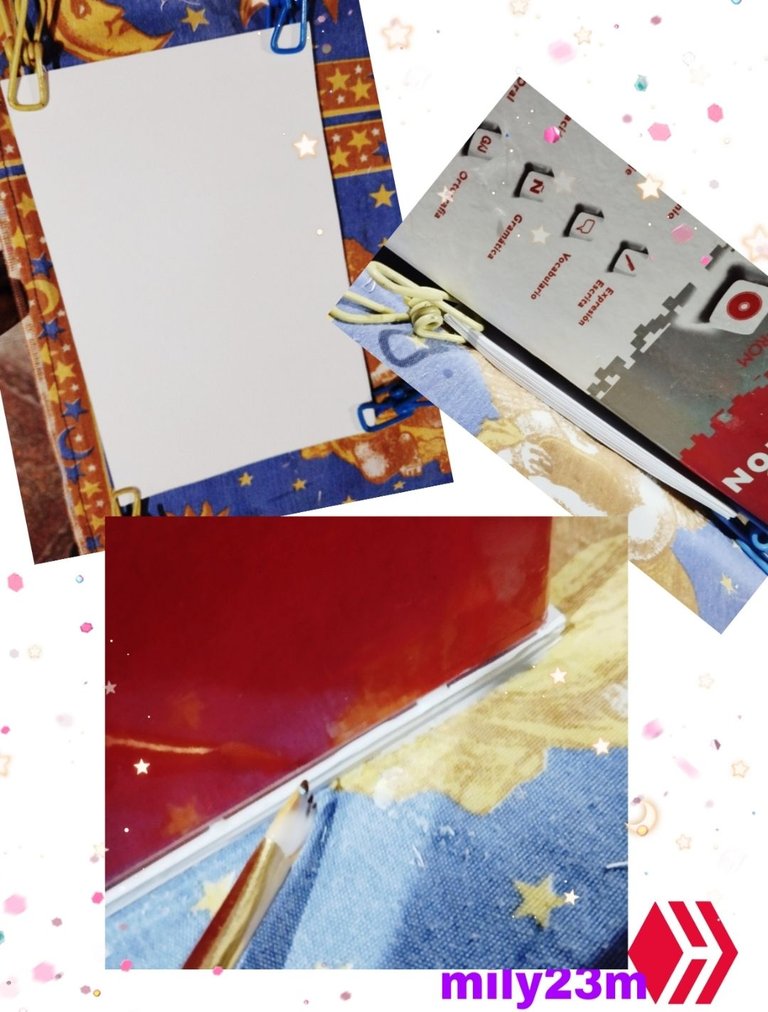
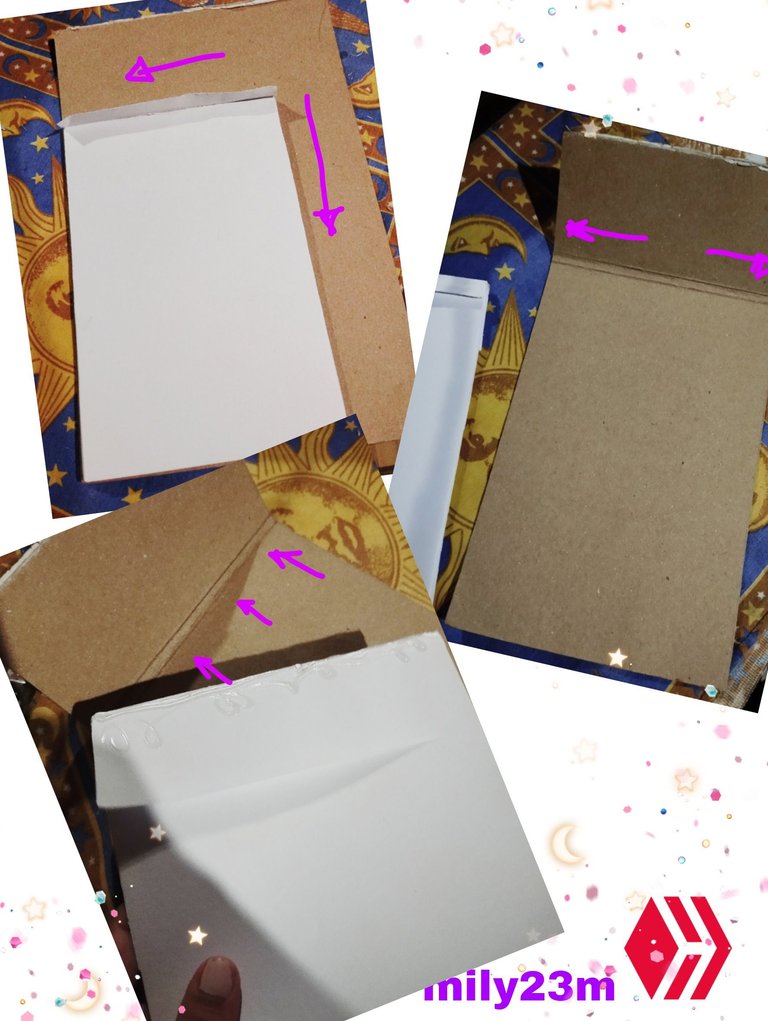
Una vez que estuvo bien asegurada la pega abarcando todas las hojas, le agregué otra capa de pega al filo o canto superior del libro en dónde esta él pegamento, esto para agregar un retazo de hoja blanca y tapar esa unión de todas las hojas encoladas y tuviera más prolijidad.Una vez pegada este retazo de hoja ,corté el extremo en la parte trasera del block dejando solo unos 5cm de largo en la parte de atrás y dejando una lenguenta de unos 1,5 cm en la parte delantera.Usando la parte de atrás de un block de construcción (la parte de cartón) medí mi Block de hojas blancas asegurándome de qué tenga el mismo tamaño del block y dejando unos centímetros para cuando corte el doblez de la portada.Pegué el block de hojas con silicón caliente a la cartulina de cartón.
#3 Once I'm well secured with the handle covering all the leaves, I add another sticky cover to the top corner of the book where this is the stick, I'm about to add a portion of white leaves and cover that joint of all the curled up leaves and it became more prolijidad.Once you take this piece of paper, cut the edge at the back of the block leaving only about 5cm wide at the back and leaving a length of about 1.5cm at the back front part. Using the back part of a construction block (the cardboard part) I measured my Block of white leaves making sure I had the same size of the block and leaving a few centimeters for when cutting it double the door. Take the block of sheets with warm silicone to the cardboard.
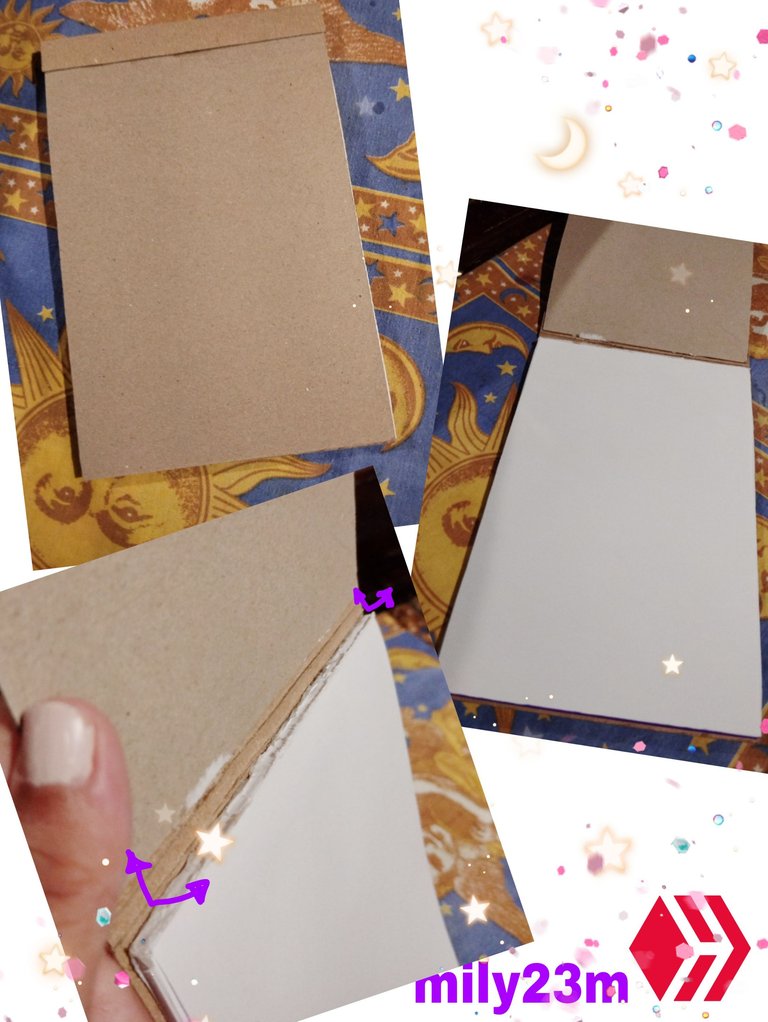
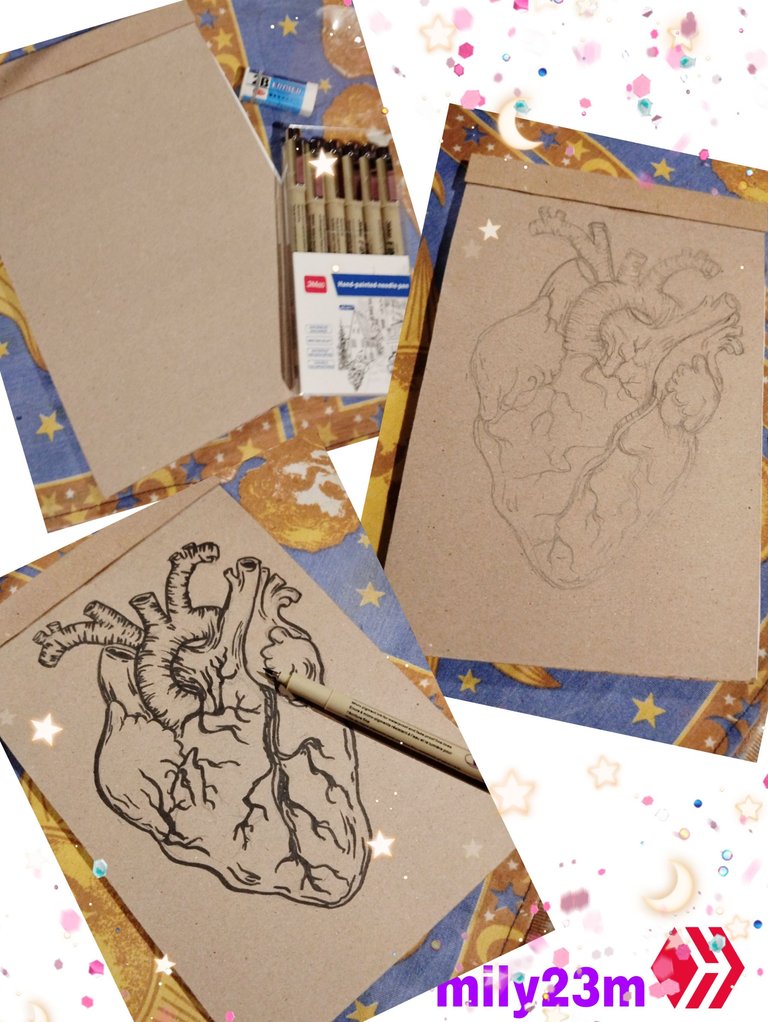
#4 Con otra cartulina reciclada de otro Block, corté la portada que quedó de 15,5 cm x 23cm ,y usé la lengüeta que había quedado de la cartulina trasera , marqué 2cm en esta y la corté pegando la cartulina de la portada a esta lengüeta de 2cm,de esta forma quedaría el block de hojas con su carátula y parte posterior de cartón, pero me aseguré de dejar libre la parte superior del block para de ess forma poder retirar las hojas con facilidad.Para el diseño de portada ,hice un boceto con lápiz ✏️ , me gustaba mucho la idea de que fuera un corazon anatómico 🫀, Y luego hice los trazos con un marcador tipo plumón negro ,que esta muy bueno estos marcadores me los regalaron por mi cumple y los estoy probando con este dibujo y el trazo que dan es precioso, me encantaron y voy a usarlos mucho para proximos dibujitos 💜😊.
#4 With another recycled cardboard from another Block, cut the cover that was 15.5 cm x 23cm, and use the tongue that had fallen off the back cardboard, mark 2cm on this and cut it off by taking the cardboard from the cover to this 2cm tongue, in this way would leave the block of stones with its card and back part of the cardboard, but I made sure to leave the upper part of the block free so that I could remove the leaves easily. as a cover, lift a cheek with a pencil ✏️, I really like the idea that it was an anatomical heart 🫀, and I leave them behind with a black feather marker, which is very good. Markers gave me the gift for my cumple and I'm testing them with this drawing and the bring that dan is precious.I loved them and I'm going to use them a lot for future drawings 💜😊.
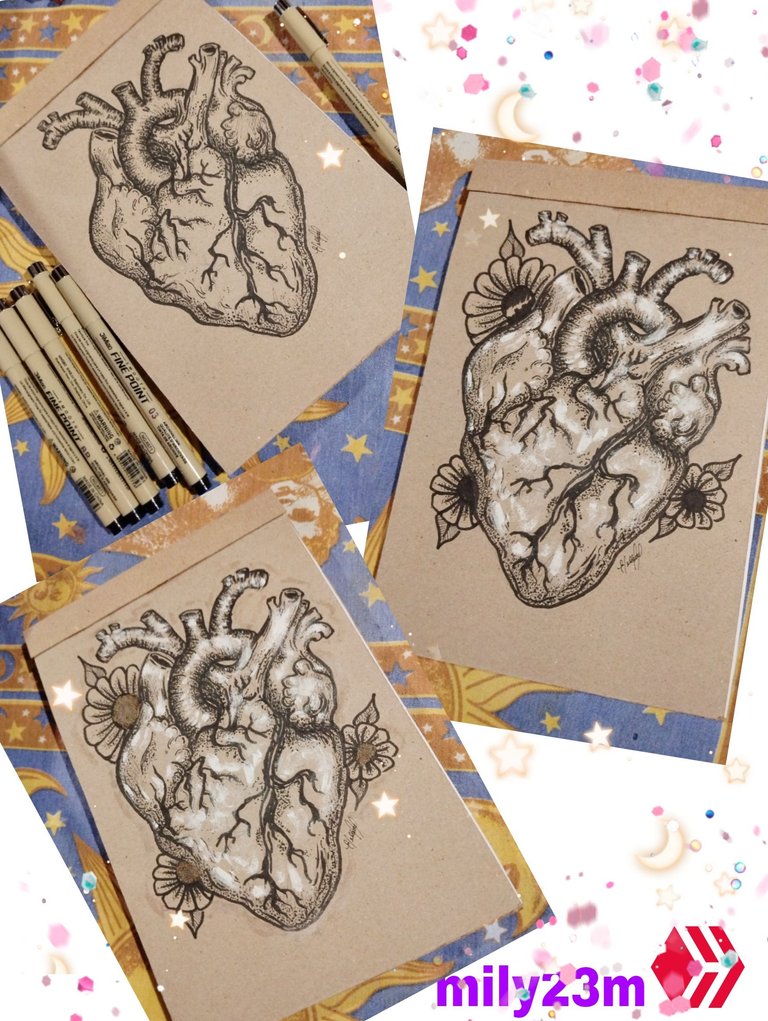
#5 Para finalizar, usando puntillismo con el mismo marcador hice algunas sombras en las partes más voluminosas del corazón para darle volúmen, con un marcador fino n3 hice puntillismo más pequeños, para agregar más detalles, tambien agregué algunas arrugas y venas mas ramificadas, unas flores para rellenar más el espacio, y con pintura blanca le dí brillos al dibujo, con pigmentos dorados y pega le puse los centros a las flores doradas y luego le puse una capa de pega a los centros para que no se raspen, también agregué un pequeño borde con dorado alrrededor del dibujo.
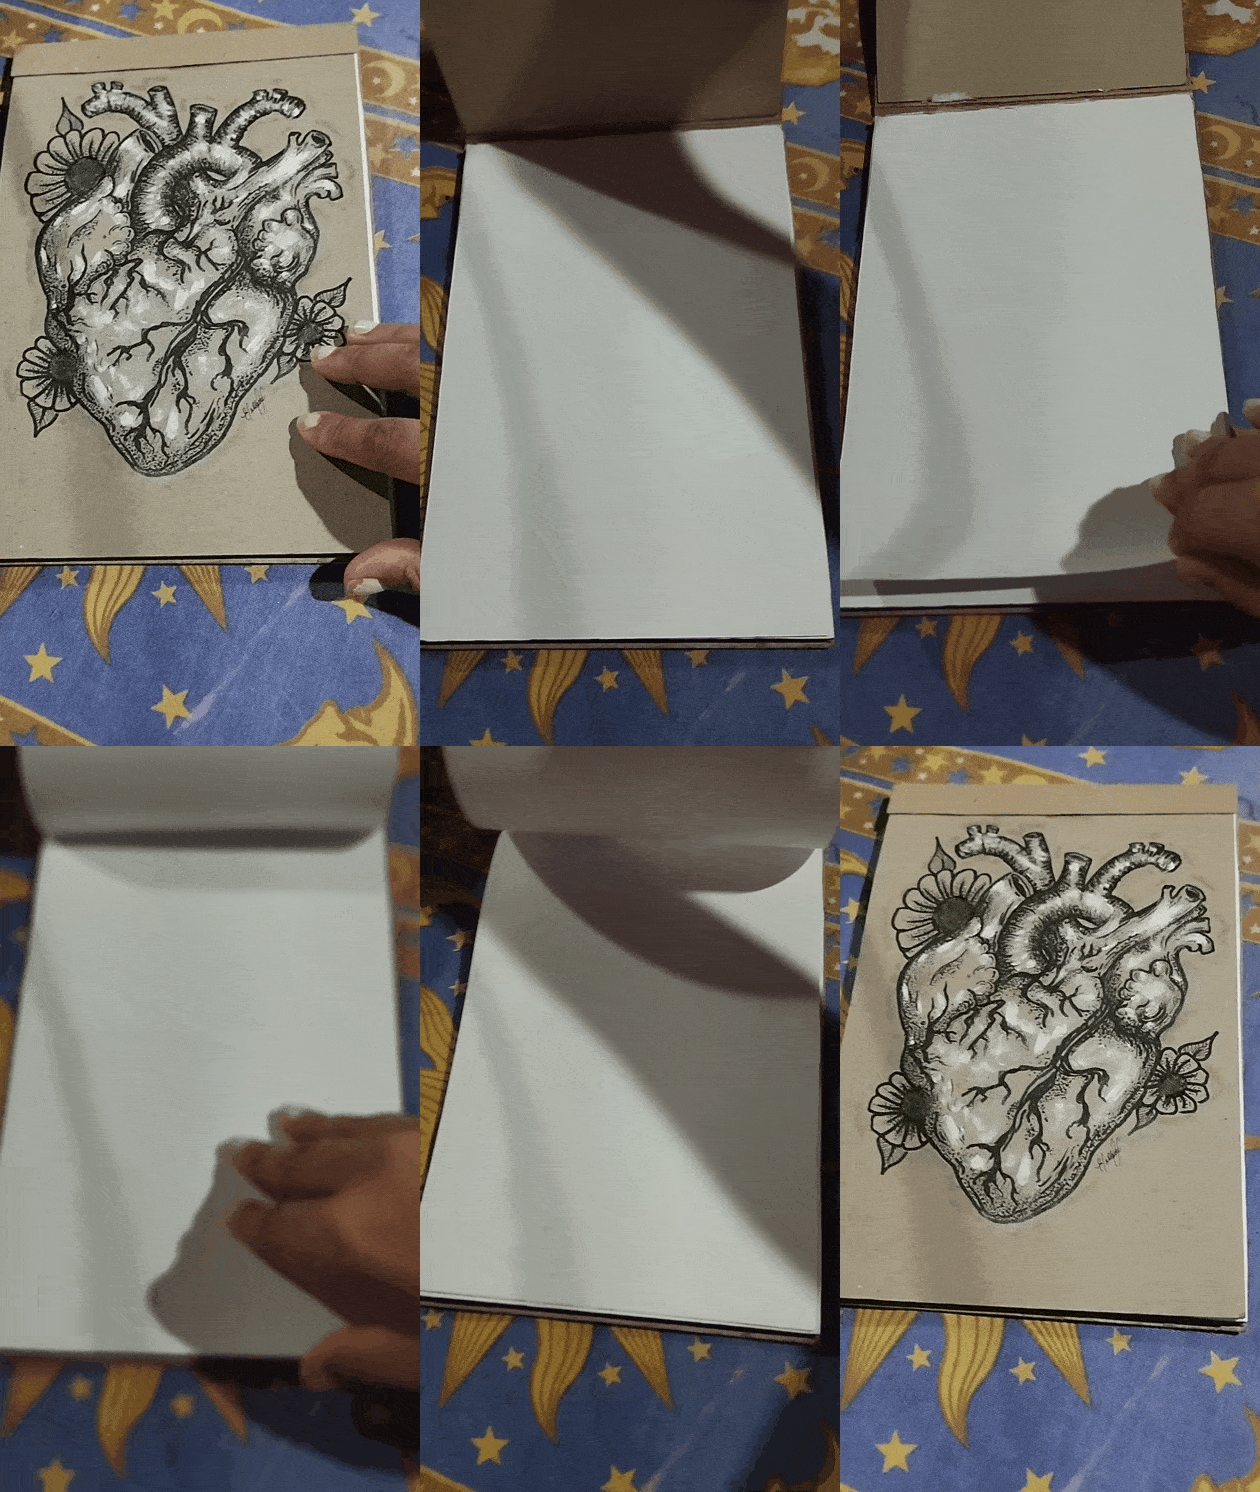
** Y tarán este es el resultado ! 🫀✨Me encantó como quedó ,la verdad no esperaba que el corazón quedara tan bonito y pero la mezcla de colores negro blanco con ese tipo de fondo le da un toque elegante ✨, espero que les gustará, 😊 muchas gracias por leer mi post 💜 y por su apoyo! Les dejo un gif para que puedan apreciar mejor el resultado!
Fotos tomadas por mí en mi equipo Redmi note 12 editadas en Pics art y gif realizado en app creador de GIFs, texto traducido en Google traductor
#5 To finish, using a fine marker with the same marker, add some shadows on the most voluminous parts of the heart to give it volume, with a fine marker no. but branched, some flowers to fill the space more, and with white paint they shine brightly on the drawing, with golden pigments and take them to the centers of the golden flowers and put a sticky layer on the centers so that they don't scrape , also adding a small border with gold around the building.
** This is the result! 🫀✨I was enchanted as it was, the truth was I didn't expect that the heart would be so beautiful and but the mixture of black and white colors with this type of background gives it an elegant touch ✨, I hope you like it, 😊 many thanks for reading my post 💜 y for your support! I want a gif so you can appreciate the result better!

