(
 )
)
🦪🤍🦪🤍🦪🤍🦪🤍🦪🤍🦪🤍🦪🤍🦪
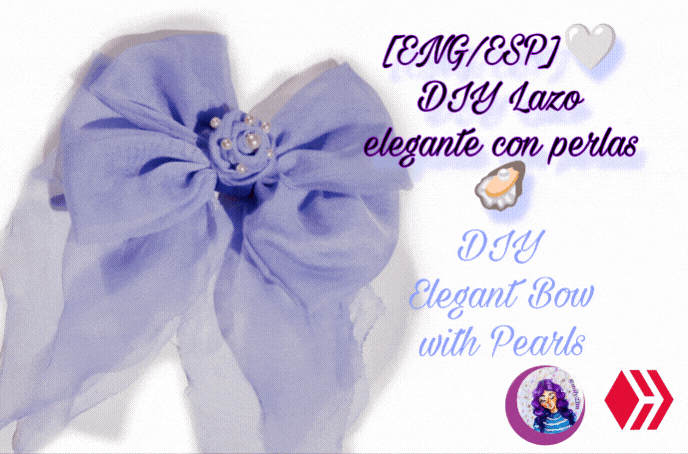
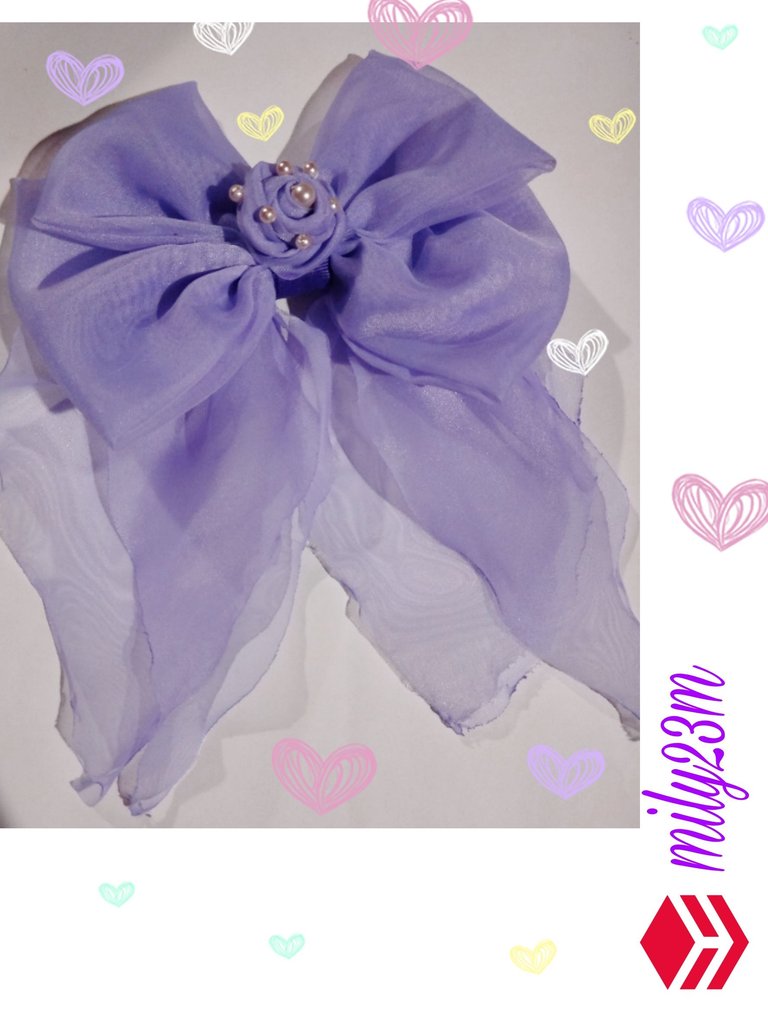
Hola hiver's y artesanos! Cómo están todos ? ,el día de hoy les traigo un post tutoríal para hacer este bonito lazo que hice hace algún tiempito ya y les quiero compartir el proceso para realizarlo , es un lazo tradicional pero variando la tela que se usa normalmente y agregando detalles en el centro de perlitas que le dan una apariencia muy vintage.
Materiales
🤍- Tela , puede ser razo ,está es dopiovelo tela que se usa para cortinas.
🤍- Hilo y agua
🤍Pistola de silicón y sus barras
🤍 Tijera
🤍Regla
🤍Perlitas decorativas
Manos a la obra💜
English Version🦪🤍🦪🤍🦪🤍🦪🤍🦪🤍🦪🤍🦪🤍🦪
Hello hiver's and artisans! How are you all? Today I bring you a tutorial post to make bow I made some time ago And I want to share with you the process to make it, it is a traditional bow but varying the fabric that is normally used and adding with details in the center of pearls that give it a very vintage look.
Materials
🤍- Fabric, it can be satin, this is double-sided fabric used for curtains.
🤍- Thread and water
🤍Silicone gun and its bars
🤍Scissors
🤍Ruler
🤍Decorative pearls
Let's get to work💜
 )
)
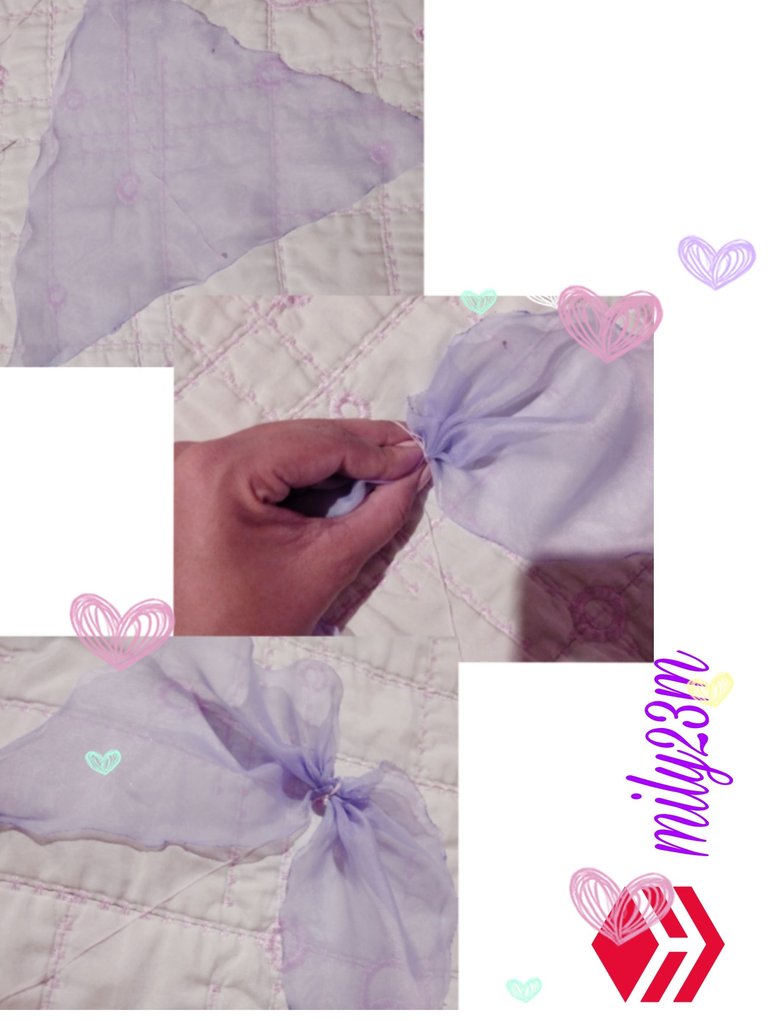
#1Cut out a rectangle 33.5 CM long x 20 CM wide of fabric, this is a fabric similar to the curtain fabric that I had and used for this project. This will be the largest bow, remember to seal the edges with a tinder box so it doesn't fray. Cut out a second rectangle of fabric about 28 CM long x 15 CM wide, this will be our second bow, also sealing the edges to prevent fraying. One option might be to make just a double bow but for the tail since I had scraps of fabric left over I made two triangles to make the tail of the bow. For this one I don't have exact measurements but this one is 23 CM x 12 CM, but you can make it the measurements you want the bigger the triangle the bigger the tail will be.
 )
)
#2 For the bow tail, once you have the triangles (I made two in this case) and positioned them so that the longest side of the triangle marked the middle and sewed stitches all around the middle of the triangle, so that once I gathered the thread, it was well gathered, separating the two tails of the bow.🎀
 )
)
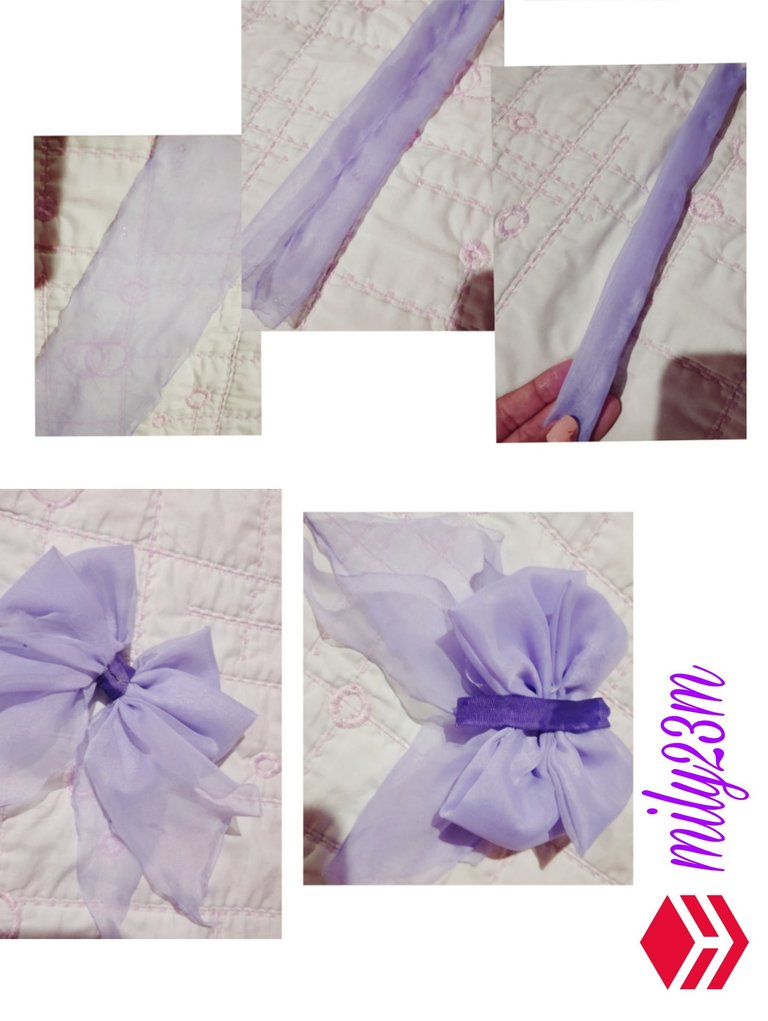
#3I folded the fabric rectangles in half and sewed the ends together in the middle, so that it will be a long and narrower strip (these seams will be covered when the bow is folded), since we will fold the side edges of the strip inward, leaving both ends in the middle and reducing its size to a smaller rectangle, place a few drops of hot silicone to fix the ends to the middle and the edges can be sewn or glued to give it a better finish. In the same way with the smallest bow, repeat the procedure to make the second bow.
 )
)
#4Place the two rectangles, the largest one below and the second smallest one a few centimeters above, on top of the other, more or less in the middle of the large bow, once located, give them a few stitches with thread in the middle and then gather it and make the shape of the bow by narrowing the middle 🎀, then secure with thread by giving it several turns in the middle.
 )
)
( )
)
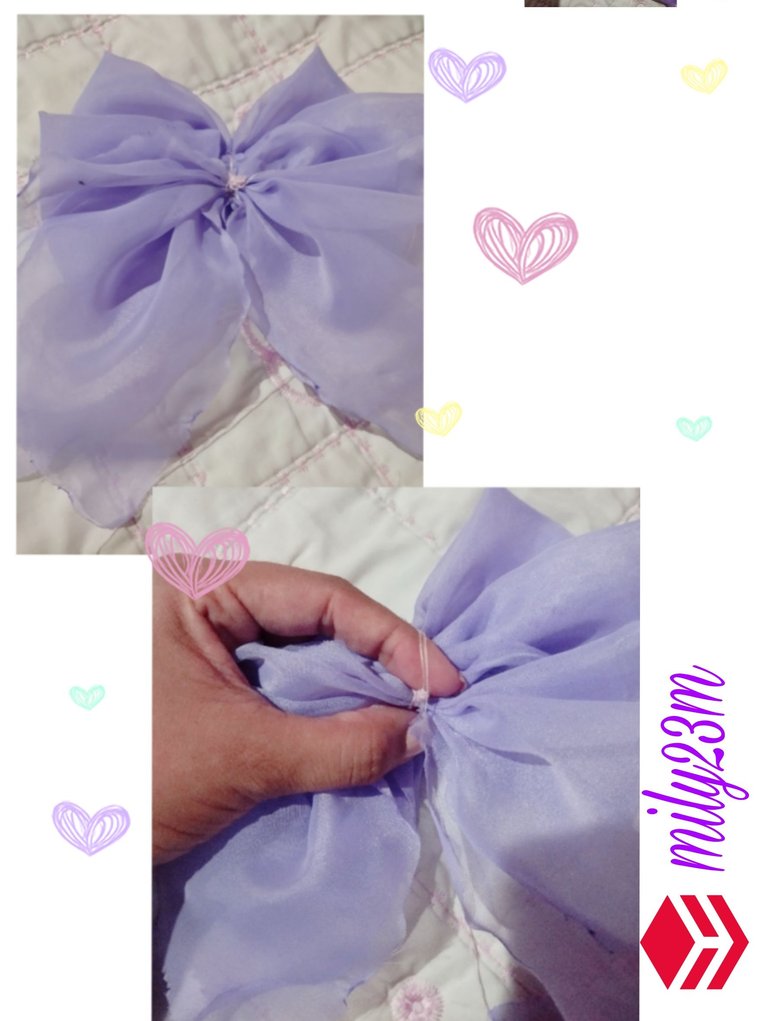
#5Unir las dos colitas que había hecho anteriormente, cosiendola con puntadas por la parte de atrás del lazo, la más grande primero y la más pequeña delante de la anterior, o pegando lo con un punto de silicón caliente.primero para tapar las uniones del lazo puse una cinta gross morada de unos 5cm de largo.
Para hacer la especie de rosa en el centro, corté un rectángulo de tela de 5 CM de ancho x 24 CM de largo, enfrenté ambos extremos para hacer como un vies ,lo pegué con unas gotitas de silicón y luego doblarlo a la mitad y pegarlo, de forma que quedara de mayor grosor , ,fui enrrollando la tira y fui pegandola mientras daba varias vueltas, para hacer una especie de rosa de tela , luego con un hilo le cosí perlitas en toda la rosa.
#5Join the two tails that I had made previously, sewing them with stitches along the back of the bow, the largest first and the smallest in front of the previous one, or gluing them with a point of hot silicone. First, to cover the joints of the bow, I put a purple gross ribbon about 5 cm long.
To make the kind of rose in the center, I cut a rectangle of fabric 5 CM wide x 24 CM long, I faced both ends to make like a vise, I glued it with a few drops of silicone and then folded it in half and glued it, so that it was thicker, I rolled the strip and glued it while making several turns, to make a kind of fabric rose, then with a thread I sewed pearls all over the rose.
 )
)
!Muchas gracias por leerme!☺️💜
Fotos tomadas por mí ,en mi equipo Redmi note 12, editadas en Pics art, gif creados en app de gifs, texto traducido en Google traductor ( unas disculpas si contiene errores de traducción).
English Version**And this would be the final result 🔚 it turned out quite big with those measurements so the idea is to have a fairly large bow that draws attention, I like to use it with a ponytail hairstyle with my hair well gathered and the big bow looks great 😍 🎀.
Thank you very much for reading me! ☺️💜
Photos taken by me, on my Redmi note 12 device, edited in Pics art, gifs created in a gif app, text translated in Google translator (apologies if it contains translation errors).