Hello dear friends of the Hive Dy Community, my name is Mildred Reinoso Tahan, I am 27 years old, I am the mother of a 4 year old baby, Venezuelan, I am a Child Psychologist, it is my first time in this community. It is incredible to be able to observe the wonders of things that we can do with useful materials. So I decided, share with you. A Beautiful Cardboard Christmas Hat, which is intended to decorate any space in our home for Christmas.
One of the things that I like to work for, with recyclable material, is that we can get the most out of any craft that is to our liking. In my case, with this type of material, I have been able to develop countless learning games for my little one, as well as crafts for the home.
Una de las cosas, por la que me gusta trabajar, con material reciclable, es que podemos sacar el mayor provecho, para cualquier manualidad, que sea de nuestro agrado. En mi caso, con este tipo de material he podido elaborar, infinidades de juegos de aprendizaje para mi pequeño, como también, manualidades para el hogar.
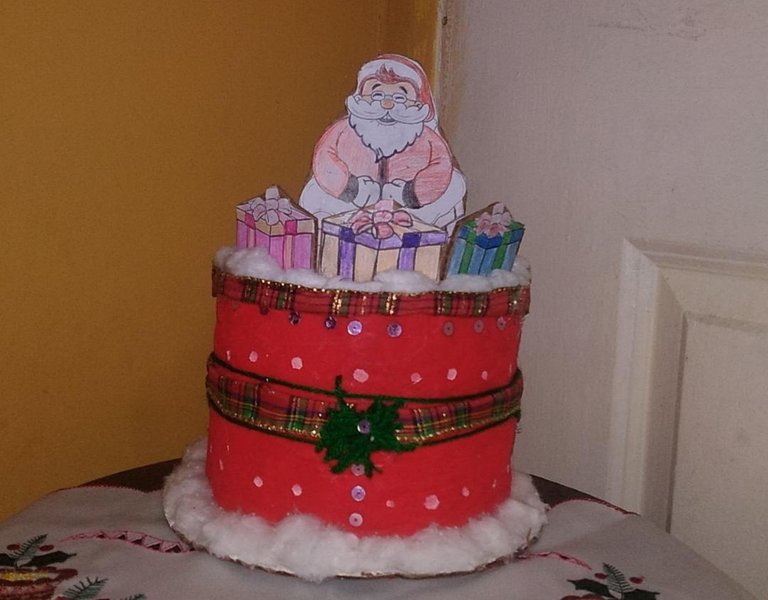
Our Beautiful Cardboard Christmas Hat, we can place it, under the tree or it can be used, to keep the letter for Santa Claus, what an excellent way to set our home, with beautiful crafts, made by ourselves, which will undoubtedly be of the Pleased by all the members of the family and the smallest of the house, they will enjoy a magical Christmas, surrounded by their loved ones, in family union.
Next, he presented them, the materials and steps for its elaboration:
Nuestro Hermoso Sombrero Navideño, De Cartón, podemos colocarlo, debajo del arbolito o puede servir, para guardar la carta para Santa Claus, que excelente forma, de ambientar nuestro hogar, con hermosas manualidades, elaboradas por nosotros mismos, que sin duda, será del agrado de todos los miembros de la familia y los más pequeños de la casa disfrutaran, de una mágica navidad, rodeados de sus seres queridos, en unión familiar.
A continuación, les presentó, los materiales y pasos para su elaboración:


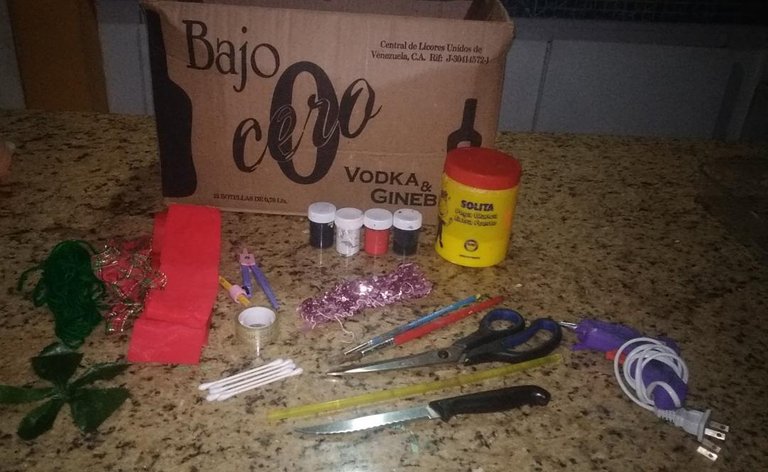
Materials:
• 1 cardboard box
• Tempera
• Brush
• Liquid glue
• Silicone gun
• Compass
• Pencil
• Scissor
• 10 swabs
• Cotton
• Ribbon to decorate
• Scotch tape
• Green stamen
• Knife
• Sequins or, failing that, glitter
Materiales:
• 1 caja de cartón
• Tempera
• Pincel
• Pega liquida
• Pistola silicón
• Compas
• Lápiz
• Tijera
• 10 hisopos
• Algodón
• Cinta para decorar
• Cinta adhesiva
• Estambre verde
• Cuchillo
• Lentejuelas o en su defecto escarcha

First step:
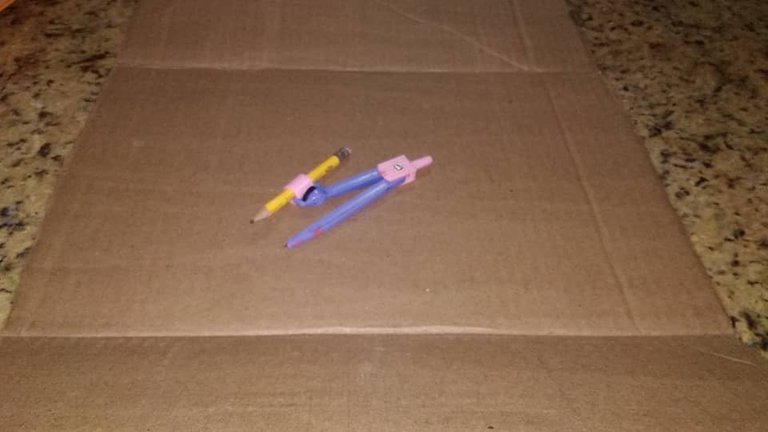
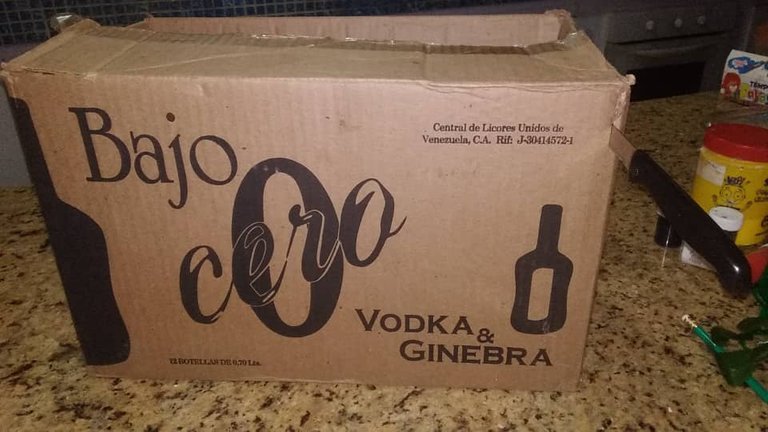
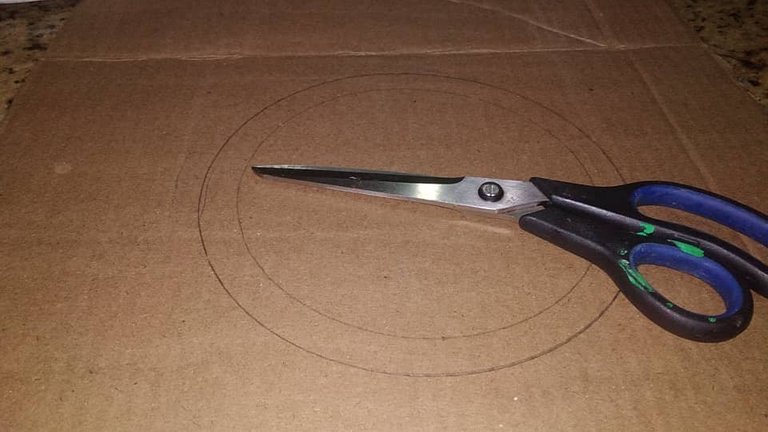
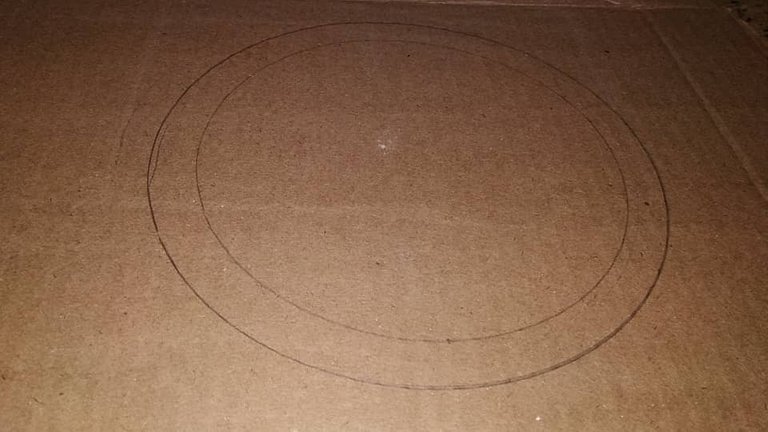
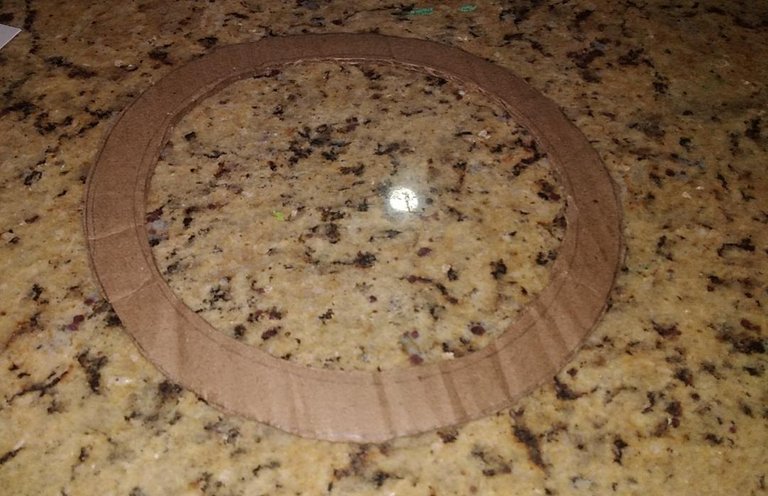
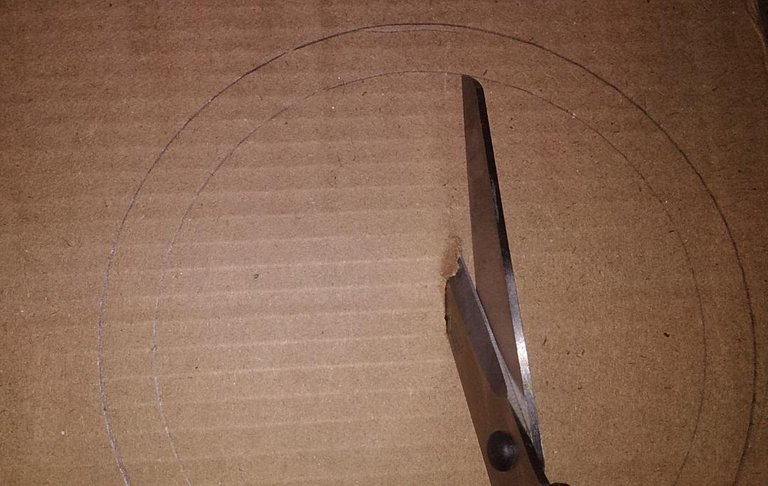
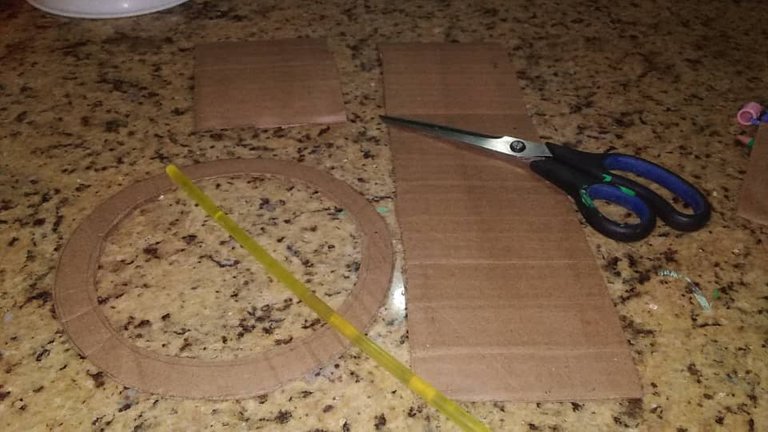
With a knife, cut the two wide parts of the cardboard box, then, with a compass, make two circles, one large and the other medium, and with scissors cut the internal part of it, forming a ring, which would do, the base of the hat.
Primer Paso:
Con un cuchillo, cortar las dos partes anchas, de la caja de cartón, luego, con un compás, realizar dos círculos uno grande y otro mediano y con una tijera recortar, la parte interna de ella, formando un aro, que vendría hacer, la base del sombrero.

Second step:
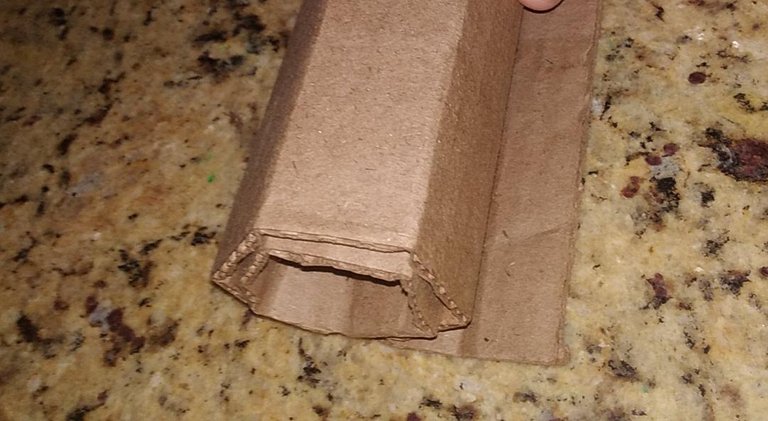
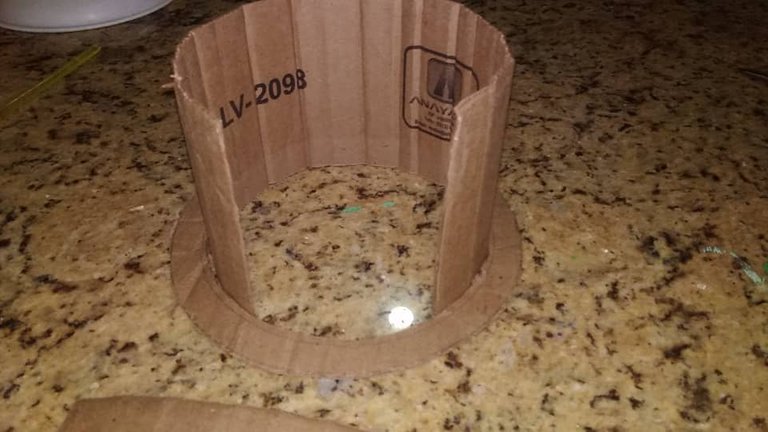
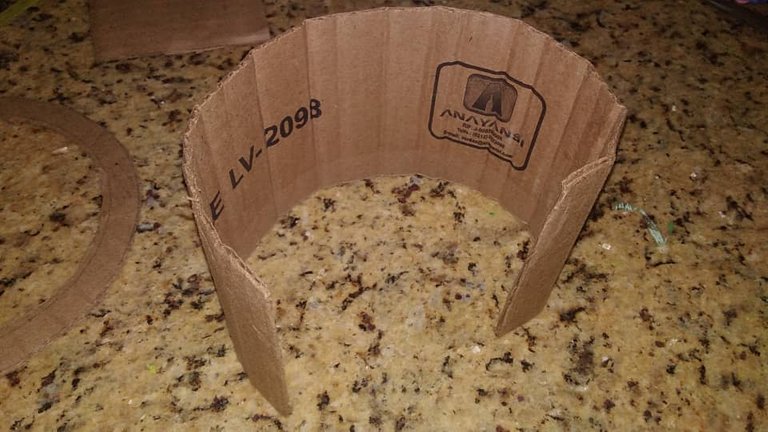
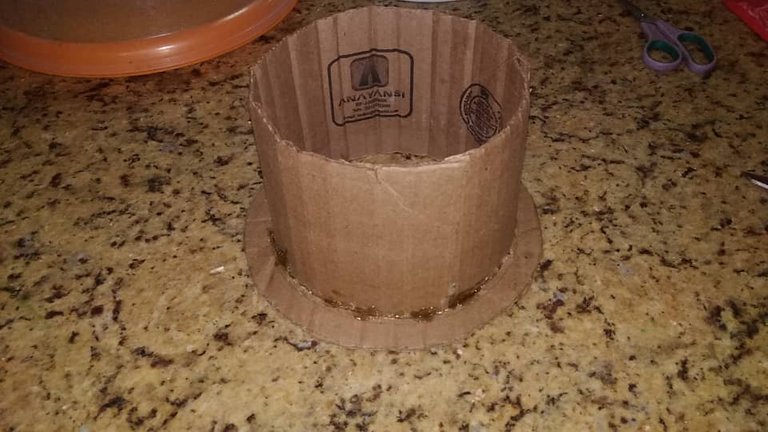
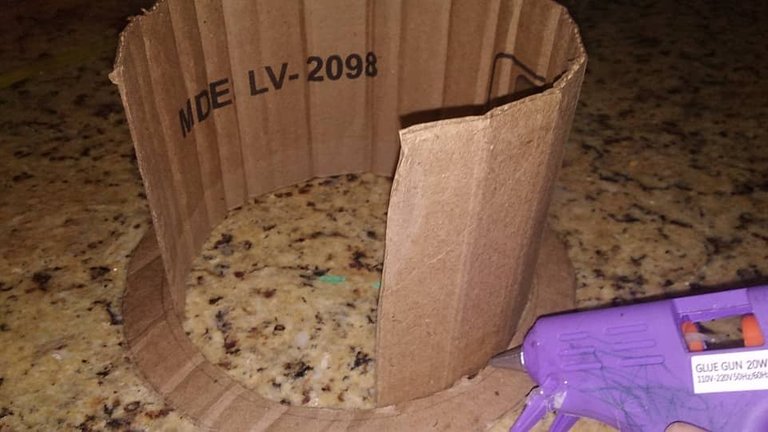
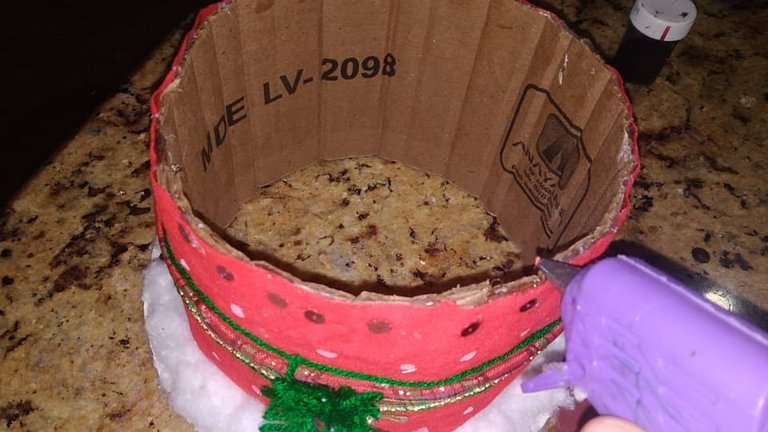
Cut two tabs from the box, to roll them, to give it shape inside the ring and with the other piece, we will glue all the parts with silicone, as shown in the photo, in this way, we would have the second base of the hat.
Segundo Paso:
Recortar dos pestañas de la caja, para enrollarlas, para ir dándole forma dentro del aro y con el otro retazo, pegaremos con silicón todas las partes, como se muestra en la foto, de esta forma, tendríamos, la segunda base del sombrero.

Third step:
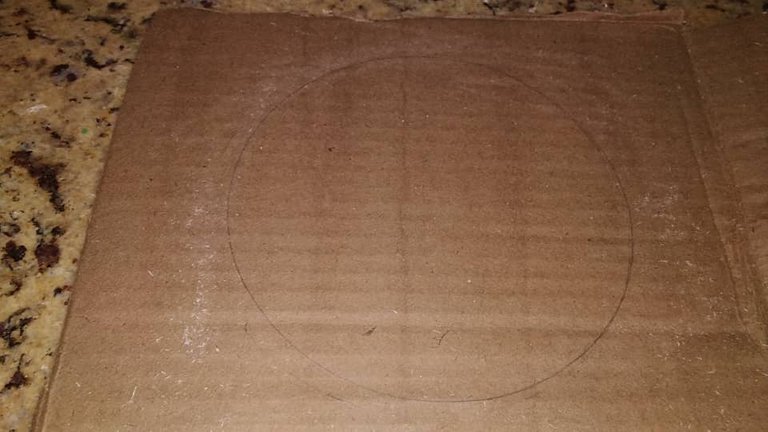
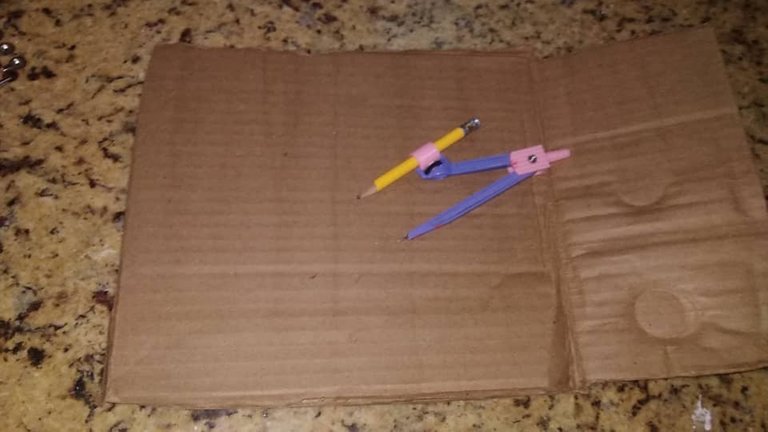
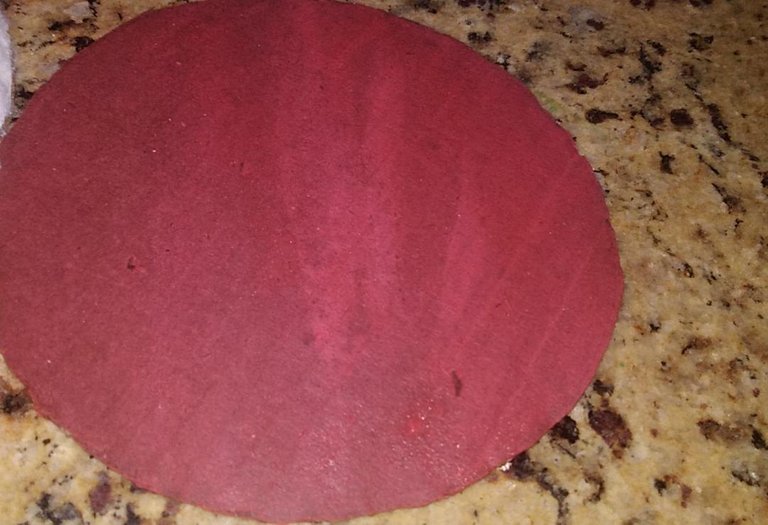
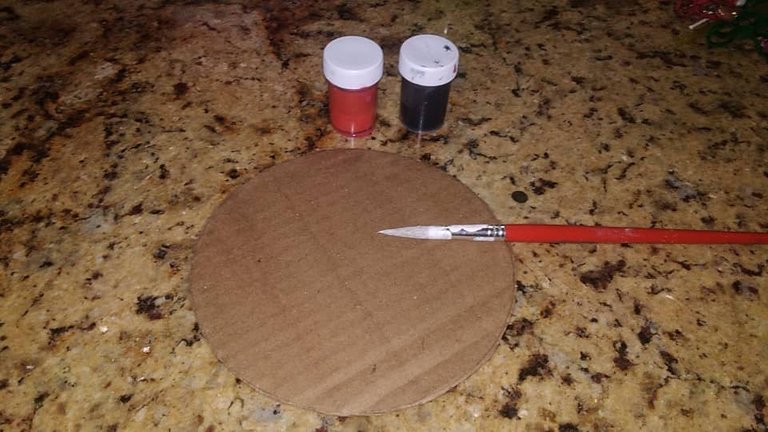
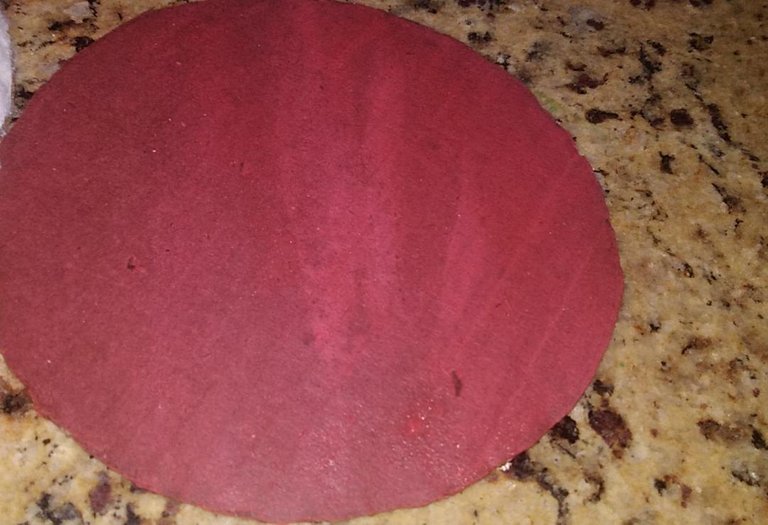
With a piece of cardboard, we will make a circle, which will be the cap of the hat, cut out, paint and wait for it to dry, (reserve to use it later).
Tercer Paso:
Con un retazo de cartón, elaboraremos un círculo, el cual será la tapa del sombrero, recortar, pintar y esperar que seque, (reservar para utilizarla más adelante).

Fourth step:
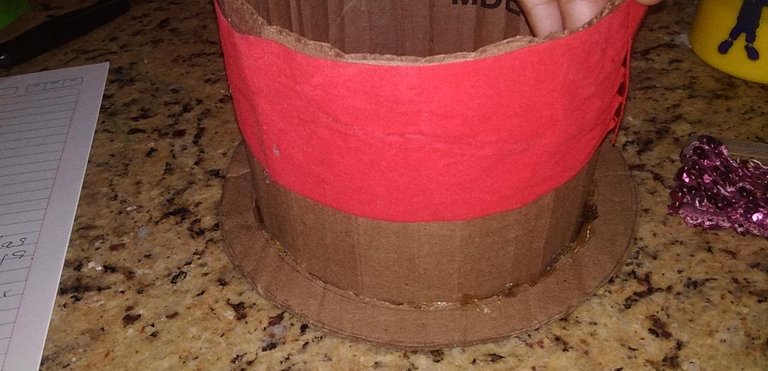
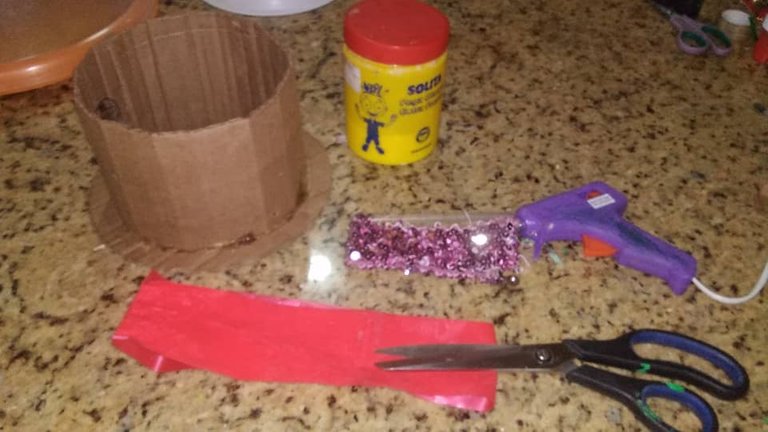
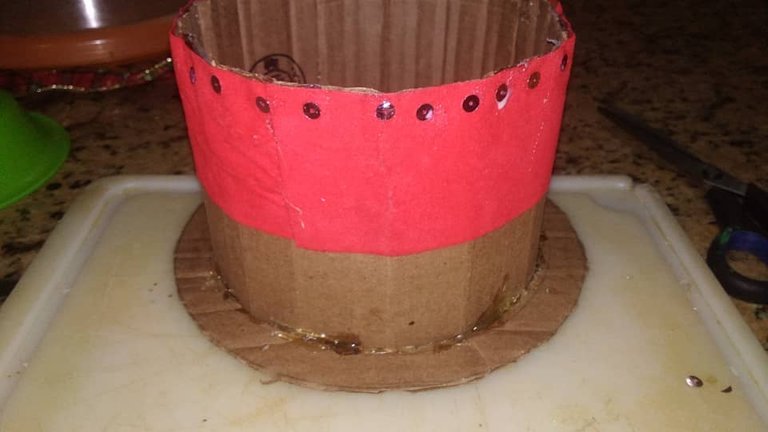
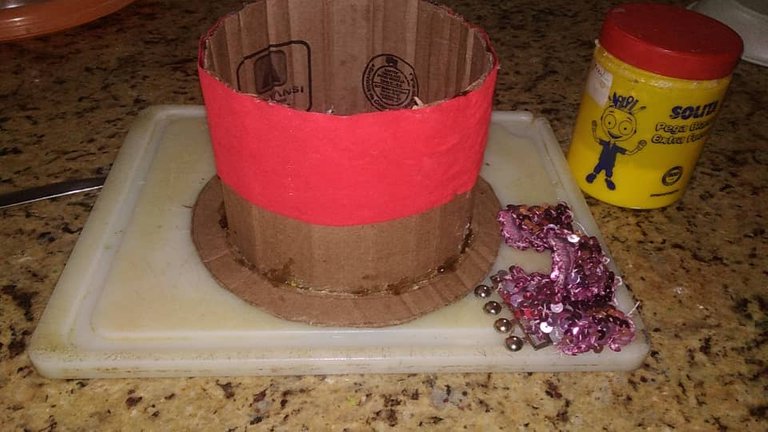
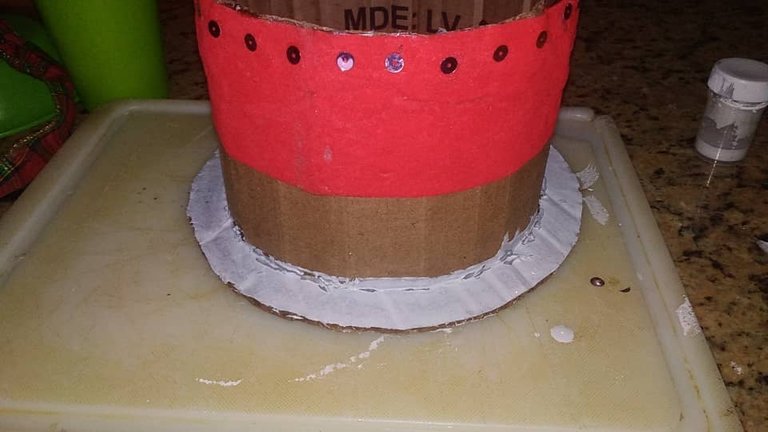
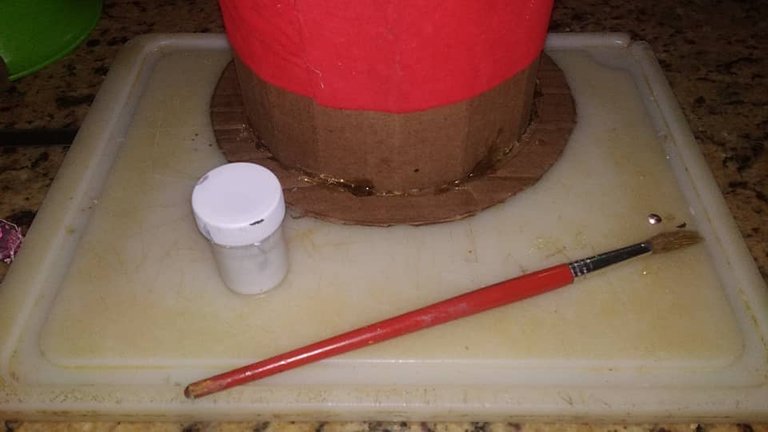
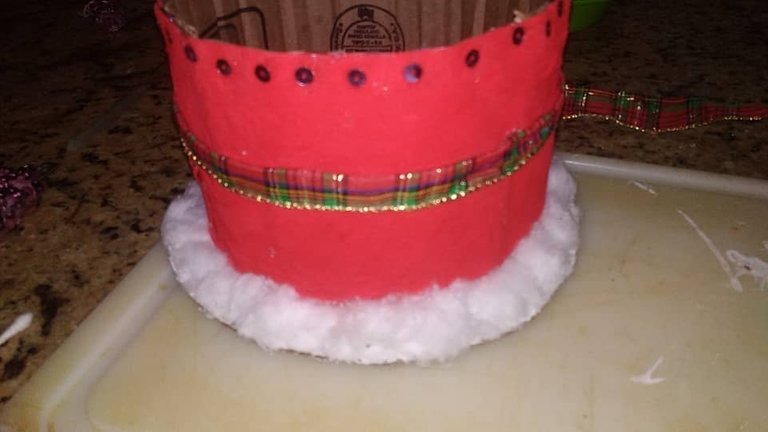
With the ribbon to decorate, we will design the hat with liquid glue by placing the ribbon, then, with the sequins or glitter, we will glue on the top of the hat and on the bottom or base of the hat, we will paint with white tempera, this with the purpose of providing, greater design to the hat.
Cuarto Paso:
Con la cinta para decorar, diseñaremos el sombrero con pega liquida colocándole la cinta, luego, con las lentejuelas o escarcha, pegaremos en la parte superior del sombrero y en la parte inferior o la base del sombrero, pintaremos con tempera blanca, esto con la finalidad de brindarle, mayor diseño al sombrero.

Fifth step:
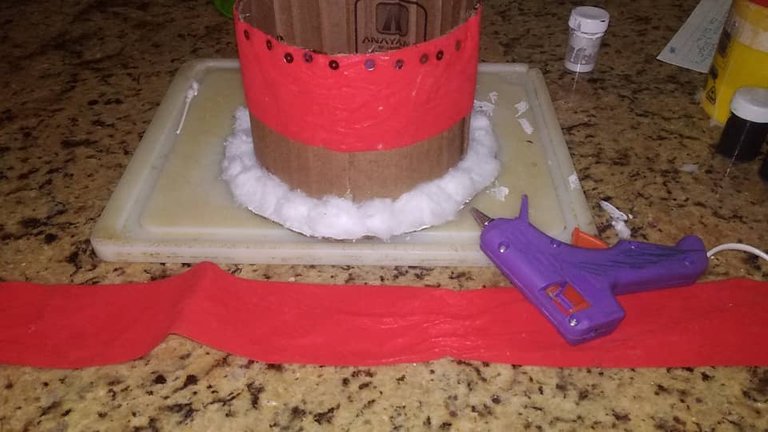
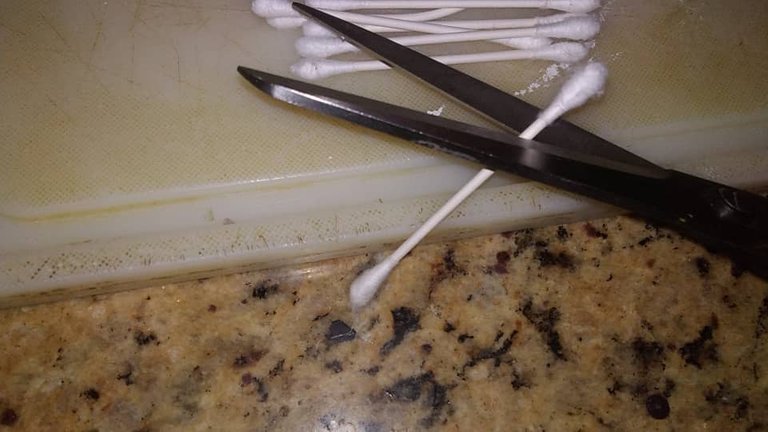
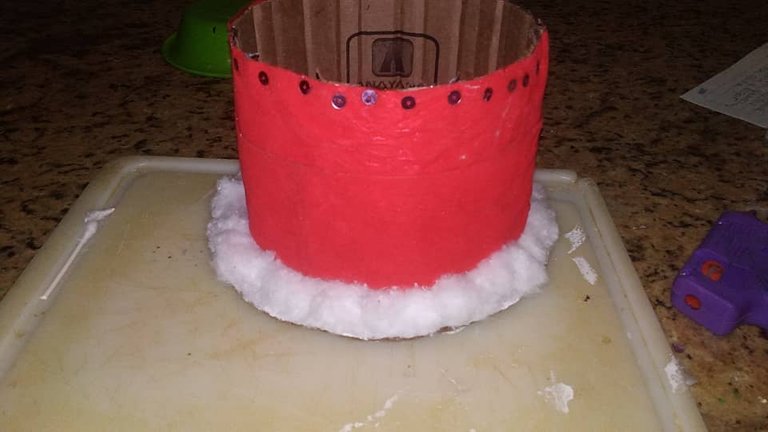
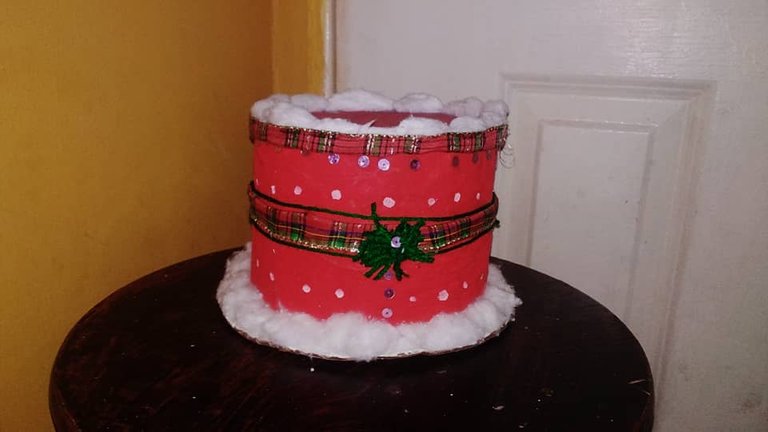
With a scissors, we will cut the corners of the hypo, removing the cotton, in our case, to advance the process we use cotton, to give the hat more pomposity, giving it a magical touch of snow, we will proceed to glue the other red ribbon or that of your preference over the excess space of the hat, we will glue with silicone, the other ribbon to decorate and the already dry lid that we made, in the fourth step. View photo
And in this way we would have our Beautiful Cardboard Christmas Hat ready. If you wish, you can add cotton on top to simulate snow falling.
Quinto Paso:
Con una tijera, recortaremos las esquinas del hiposo, quintándole el algodón, en nuestro caso, para avanzar el proceso utilizamos algodón, para darle más pomposidad al sombrero, dándole un toque mágico de nieve, procederemos a pegar la otra cinta roja o la de su preferencia sobre el espacio sobrante del sombrero, pegaremos con silicón, la otra cinta para decorar y la tapa ya seca que elaboramos, en el cuarto paso. Ver foto
Y de esta forma tendríamos listo nuestro Hermoso Sombrero Navideño, De Cartón. Si lo desea puede agregarle algodón arriba para simular la nieve al caer.

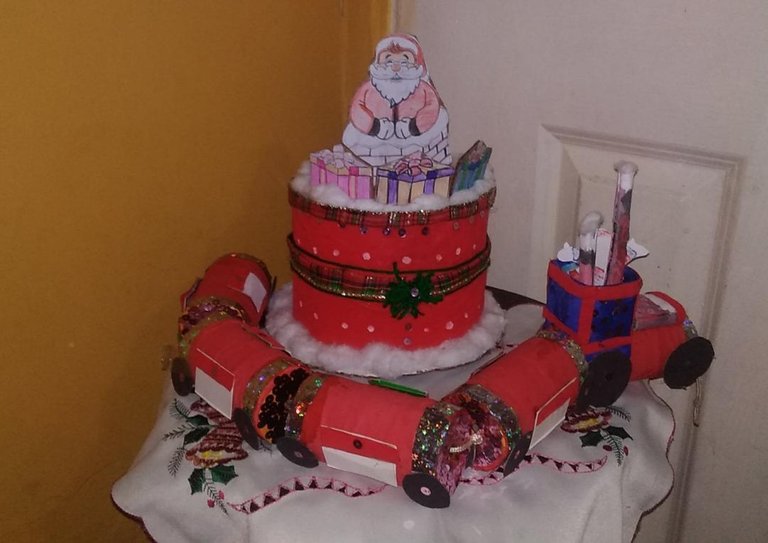
In our case, I decided to add some gift boxes and Santa Claus, in order to give the hat more design, but it is optional, it will depend on you how you want to design it, the important thing is that you can fly your imagination and create beautiful crafts for the family members, for Christmas.
En nuestro caso, decidí agregarle unas cajitas de regalo y a santa Claus, con la finalidad, de darle más diseño al sombrero, pero es opcional, dependerá de usted como desee diseñarlo, lo importante es que pueda volar su imaginación y crear hermosas manualidades para los miembros de la familia, para las navidades.
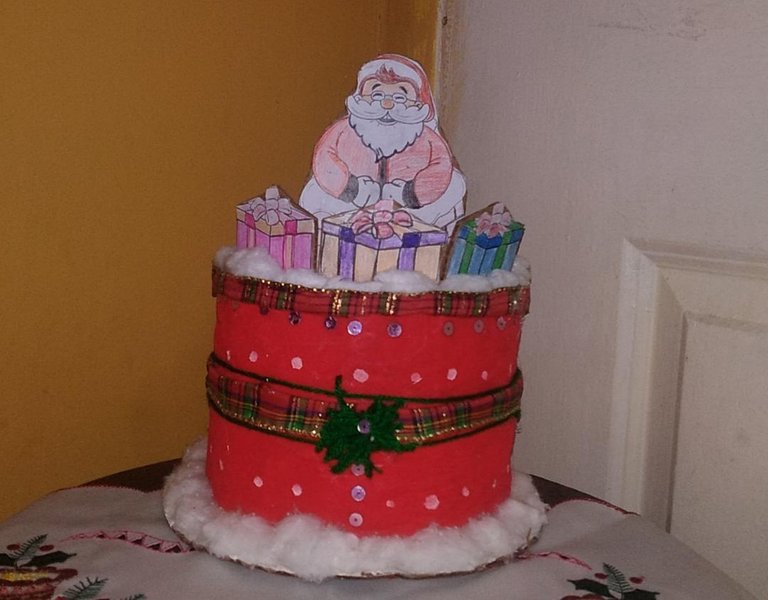

Waiting, you can make this Beautiful Cardboard Christmas Hat, which will undoubtedly decorate any space in your home and for the little ones, it will be something magical and fun, placing the letter from Santa Claus.
I decided to add to it, the train that I made in my previous post, with toilet paper tubes, so that you can see how beautiful both would be, if they were placed under the Christmas tree, giving them more creative ideas that they can carry out.
Thank you, each of you, for taking your time to read my post. Greetings
Esperando, puedan realizar este Hermoso Sombrero Navideño, De Cartón, que sin duda, ambientará cualquier espacio de su hogar y para los pequeños, será algo mágico y divertido, colocando la carta de Santa Claus.
Yo decidí agregarle, el tren que elabore en mi anterior post, con tubos de papel higiénico, para que puedan observar, lo lindo que quedarían ambos, si se colocaran debajo del arbolito de navidad, brindándoles más ideas creativas que puedan realizar.
Gracias, a cada uno de ustedes, por tomar de su tiempo, en leer mi post. Saludos



❤️ All photos are my property taken with my Redmi Go smartphone
❤️ All separators are my property, free to use.
❤️ English it is not my native language, I help myself with translators to make these posts
❤️ ❤️ ❤️ ❤️ ❤️ ❤️
❤️ Todas las fotos son de mi propiedad tomadas con mi celular inteligente Redmi Go
❤️ Todos los separadores son de mi propiedad, libres de uso
❤️ El inglés no es mi idioma natal, me ayudo de traductor
