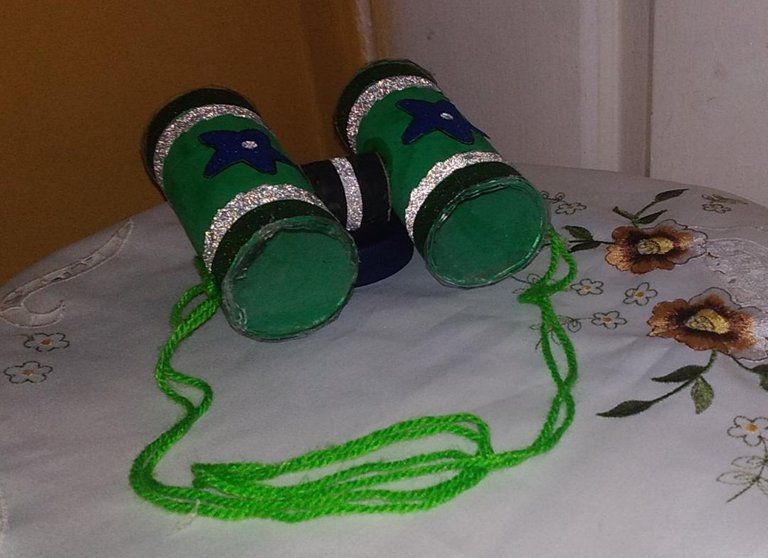
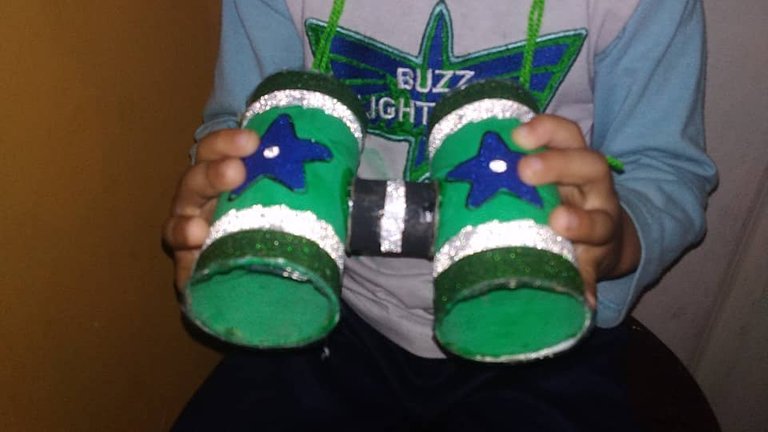
Hello, dear friends, I hope you are well, today I would like to share with you a creative craft, with useful material and it is a Beautiful Binocular, Made With Rolls of Toilet Paper, for all lovers of binoculars, being an alternative, of fun for children, in exploring new things, flying their imaginations or as a cute decoration or gift, for our loved ones.
Helping to show the different things that we can create with useful materials and how, with two rolls of toilet paper, it was possible to make a Beautiful, Recyclable Binocular, for everyone to enjoy, creating fun moments, with the whole family and especially children.
Next, he presented the materials and steps for its elaboration:
.
.
Hola, queridos amigos, espero se encuentren bien, hoy me gustaría compartir con ustedes una creativa manualidad, con material de provecho y es un Hermoso Binocular, Elaborado Con Rollos de Papel Higiénico, para todos los amantes a los binoculares, siendo una alternativa, de diversión para niños, en explorar cosas nuevas, volando su imaginación o como un lindo decorativo o regalo, para nuestros seres queridos.
Ayudando, a mostrar las diferentes cosas, que podemos crear con materiales de provecho y como, con dos rollos papel higiénico, se pudo elaborar un Hermoso Binocular, Reciclable, para el disfrute de todos, creando momentos divertidos, con toda la familia y en especial los niños.
A continuación, les presentó, los materiales y pasos para su elaboración:

Materials:
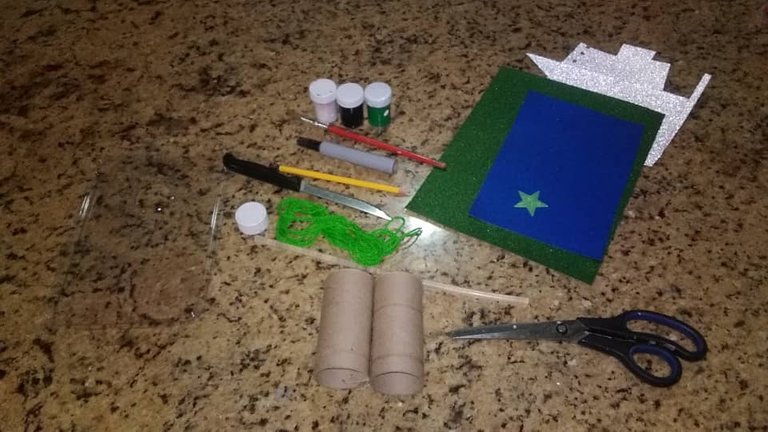
• 2 tubes of toilet paper
• Green, silver and blue frosted cardstock
• 1 small soda cap or cut out a toilet paper tube
• Color tempera: green, black and white
• Brush
• Black marker
• Pencil
• Scissor
• Liquid silicone
• Silicone bar
• 1 knife
• Stamen
• 1 mold to make a star
• Transparent, hard plastic foil (optional)
Materiales:
• 2 tubos de papel higiénico
• Cartulina escarchada de colores verde, plateada y azul
• 1 tapa de refresco pequeña o recortar un tubo de papel higiénico
• Tempera de colores: verde, negro y blanco
• Pincel
• Marcador negro
• Lápiz
• Tijera
• Silicón líquido
• Barra de silicón
• 1 cuchillo
• Estambre
• 1 molde para hacer una estrella
• Lámina de plástico duro, transparente ( opcional)

First step:
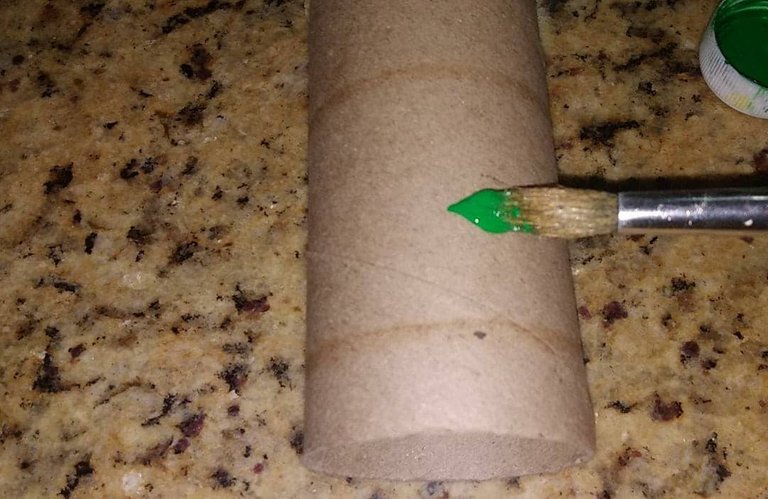
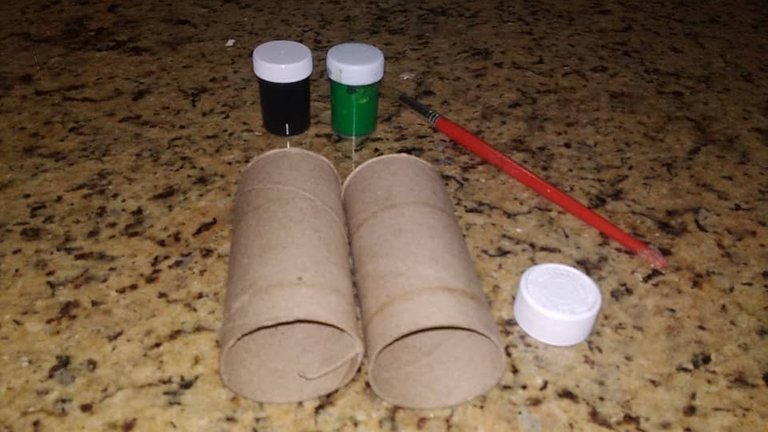
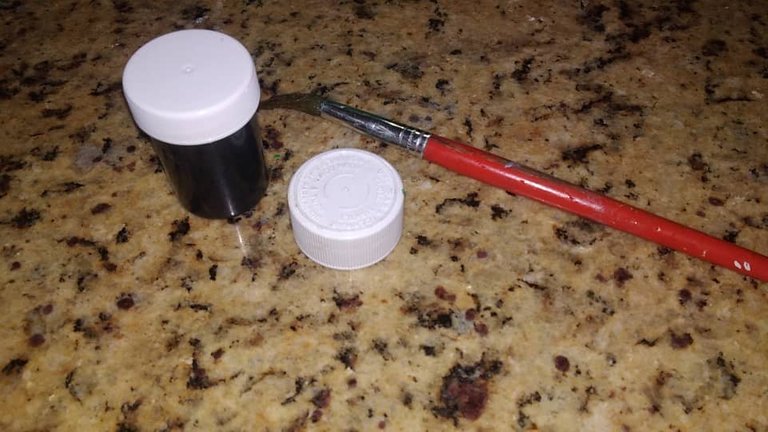
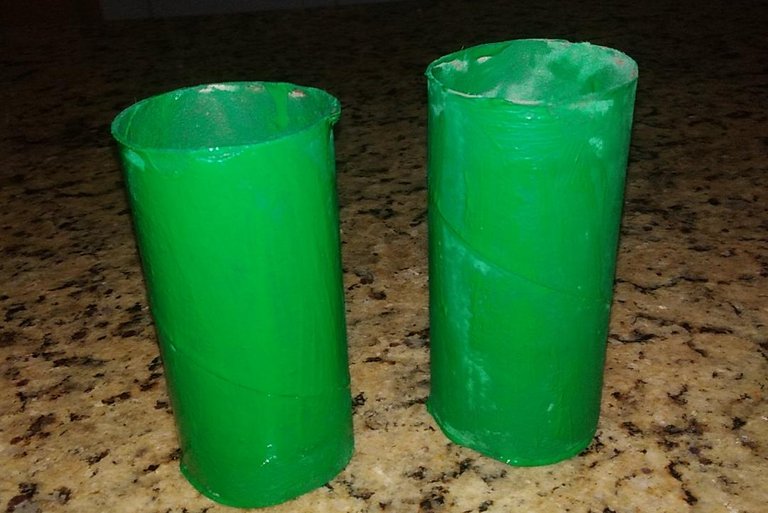
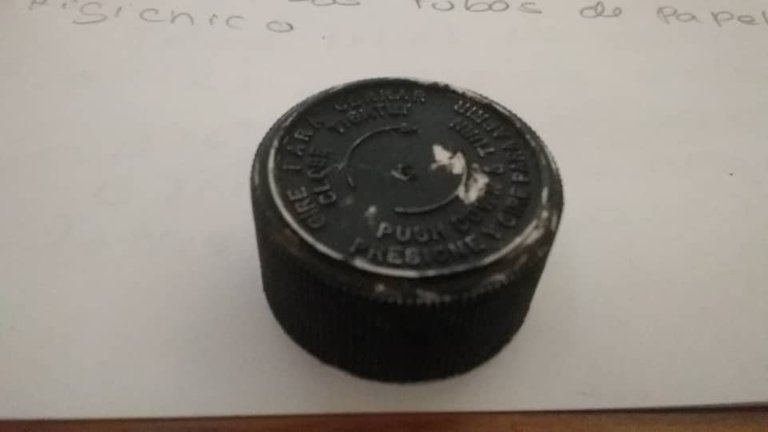
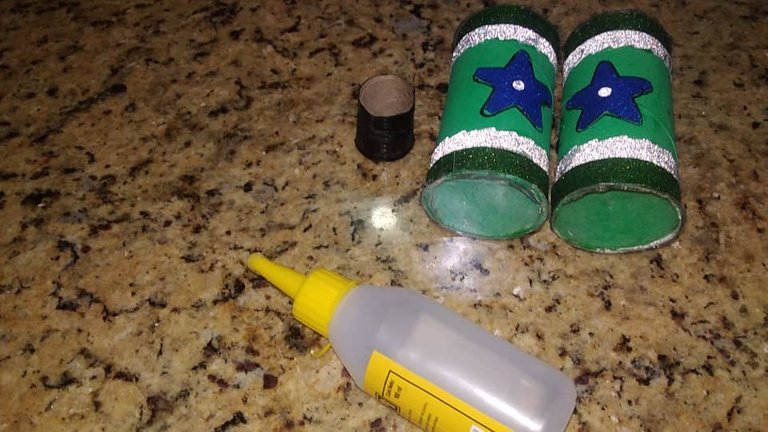
Paint the two tubes of toilet paper, with green tempera, while it dries, with the black tempera we will paint the lid or, failing that, you can use a cut wheel from a toilet paper roll.
Primer Paso:
Pintar los dos tubos de papel higiénico, con tempera verde, mientras se seca, con la tempera negra pintaremos la tapa o en su defecto puede utilizar, una ruedita cortada, de rollo papel higiénico.

Second step:
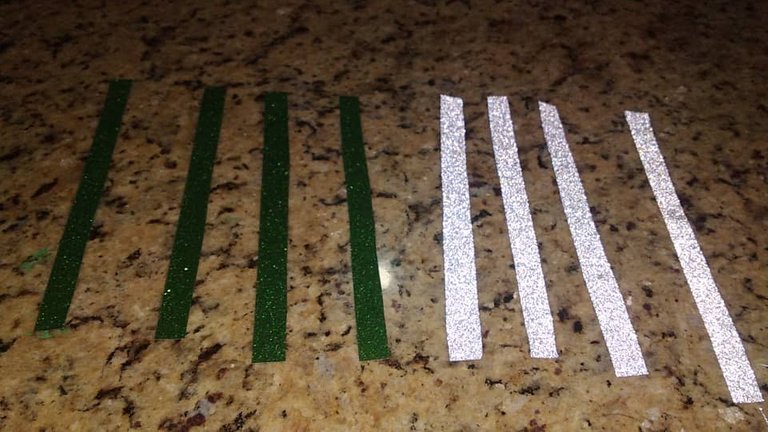
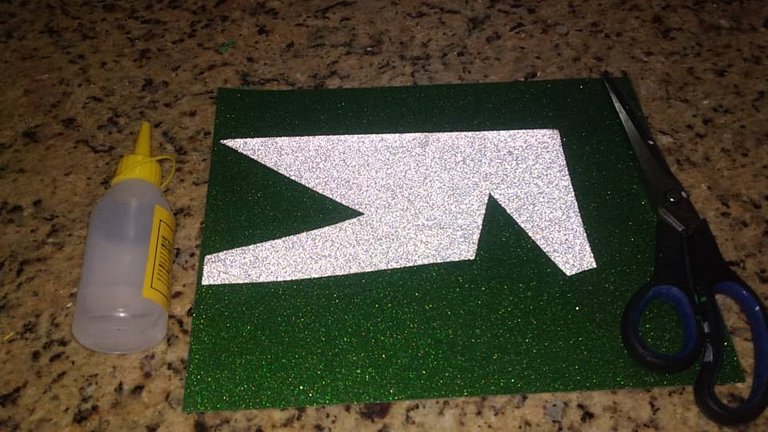
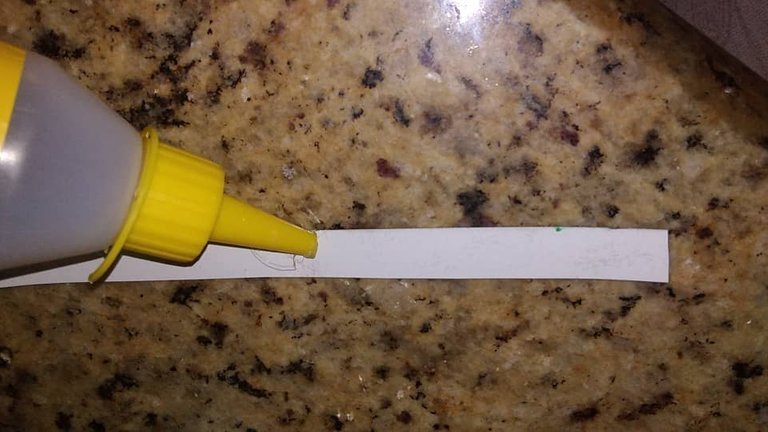
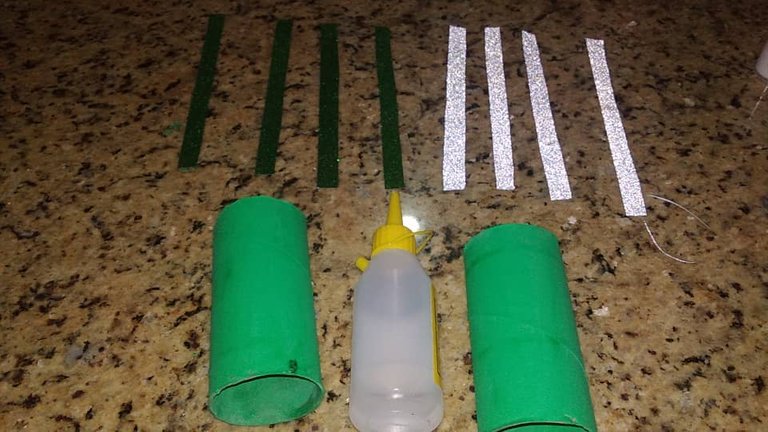
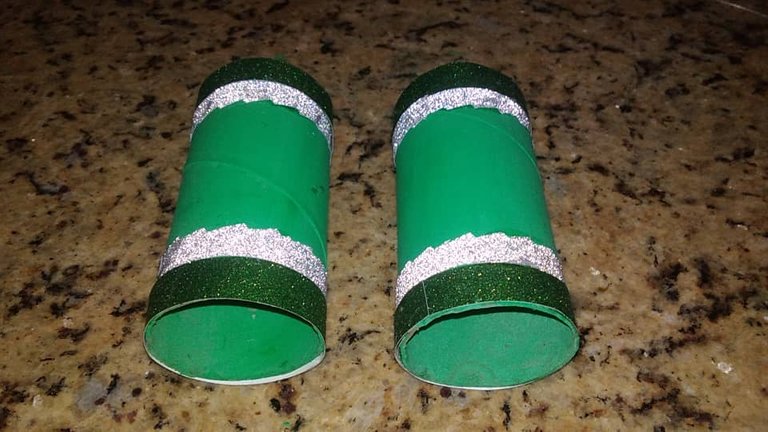
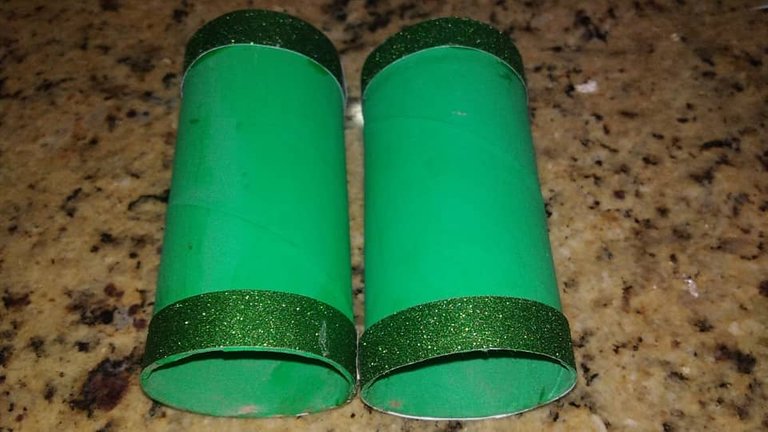
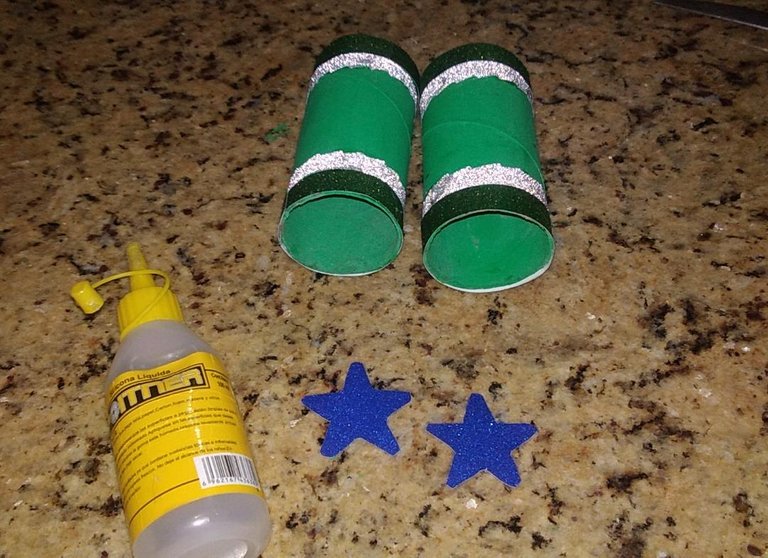
We will proceed with the green and silver frosted cardboard, cut 4 strips and then glue them with silicone to the bottom of the binoculars, you can use the colors of your preference.
Segundo Paso:
Procederemos con la cartulina escarchada verde y plateada, a recortar 4 tiras y seguidamente pegarlas con silicón en la parte inferior de los binoculares, usted puede utilizar los colores de su preferencia.

Third step:
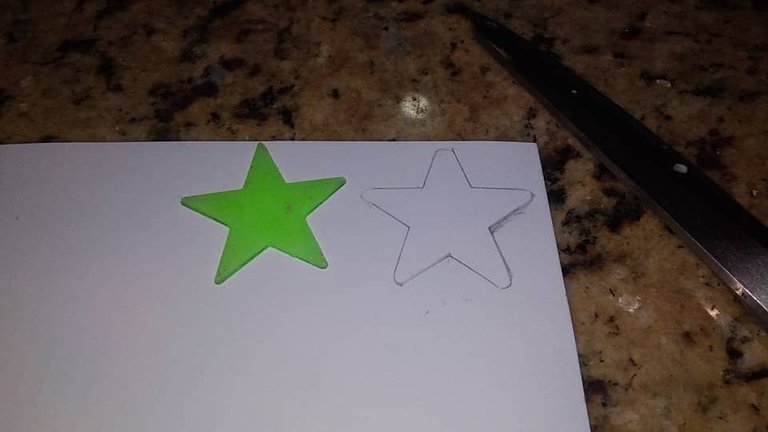
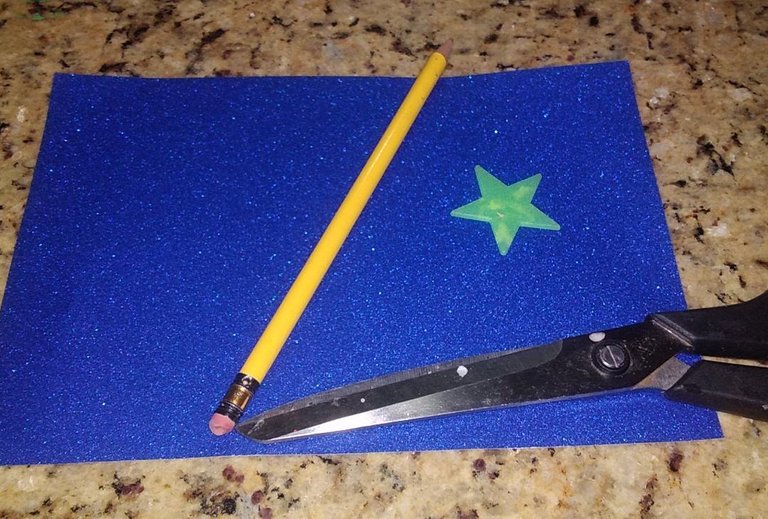
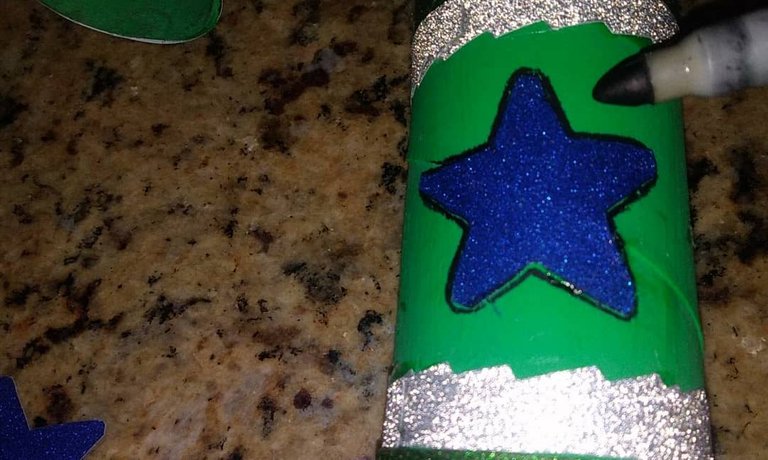
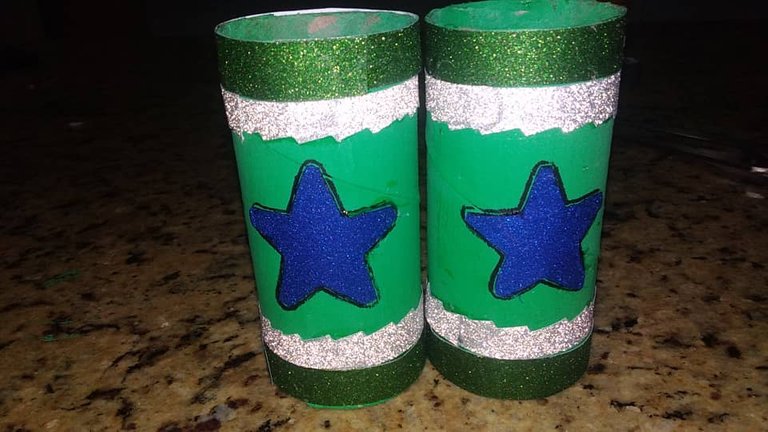
With the blue frosted cardboard, we will make two stars, leaning on the mold, then, we will cut and glue with liquid silicone, placing the stars in the middle part of the binocular; With the black marker, we will create some borders so that the stars stand out.
Tercer Paso:
Con la cartulina escarchada azul, realizaremos dos estrellas, apoyándonos del molde, luego, recortaremos y pegaremos con silicón líquido, ubicando las estrellas en la parte del medio de binocular; con el marcador negro, elaboraremos, unos bordes para que resalten las estrellas.

Fourth step:
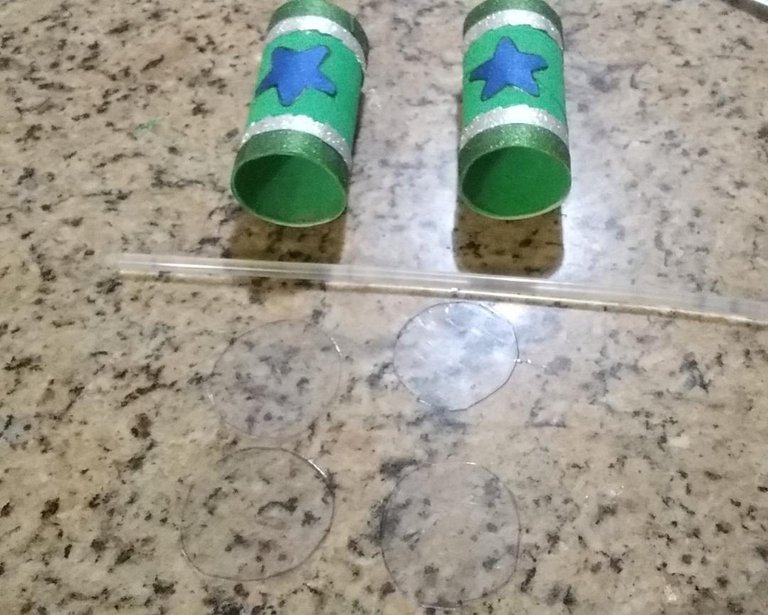
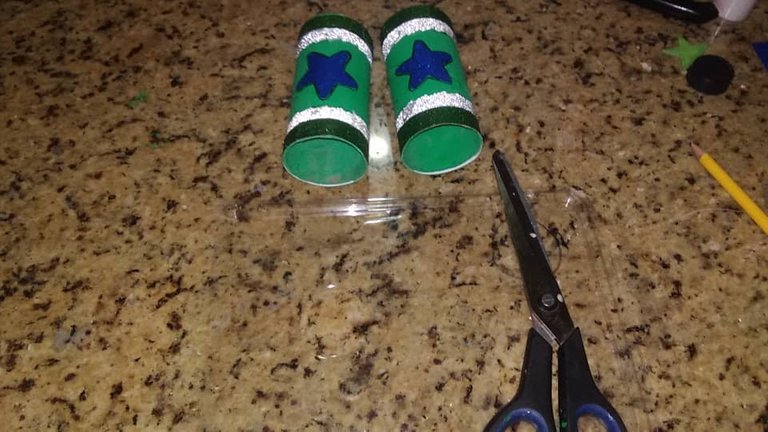
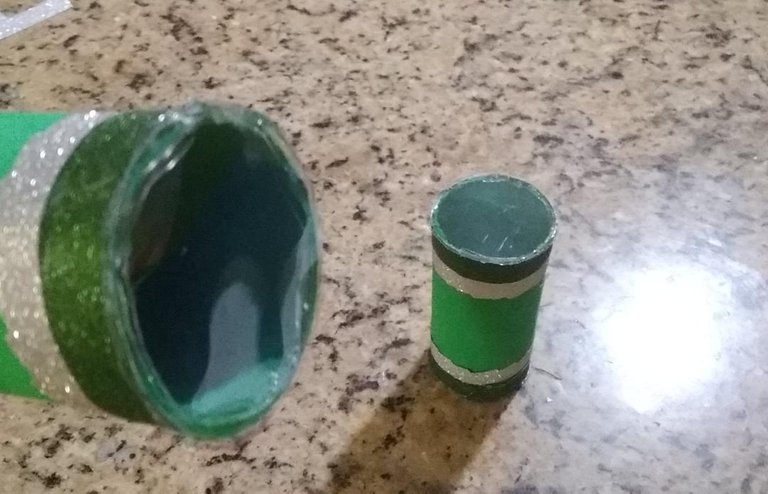
Make, with the transparent plastic sheet, the simulation of the glasses of the binoculars, in this case, we will make 4 of them, cut and glue, with the hot silicone bar, so that in this way, the plastic remains more fixed in the binocular.
Next, we will stick with liquid silicone, the simulation of the focus wheel, in the central part of the binocular and stick a piece of yarn or any tape at each end, to give the child or person comfort, to hang, around the neck, the binocular.
Cuarto Paso:
Elaborar, con la lámina de plástico transparente, la simulación de los vidrios de los binoculares, en este caso, realizaremos 4 de ellos, recortaremos y pegaremos, con la barra de silicón caliente, para que de esta forma, queden más fijos los plástico en el binocular.
Seguidamente, pegaremos con silicón líquido, la simulación de la rueda de enfoque, en la parte central del binocular y pegar en cada extremo, un pedazo de estambre o cualquier cinta, para brindarle al niño o a la persona comodidad, de colgarse, al cuello, el binocular.
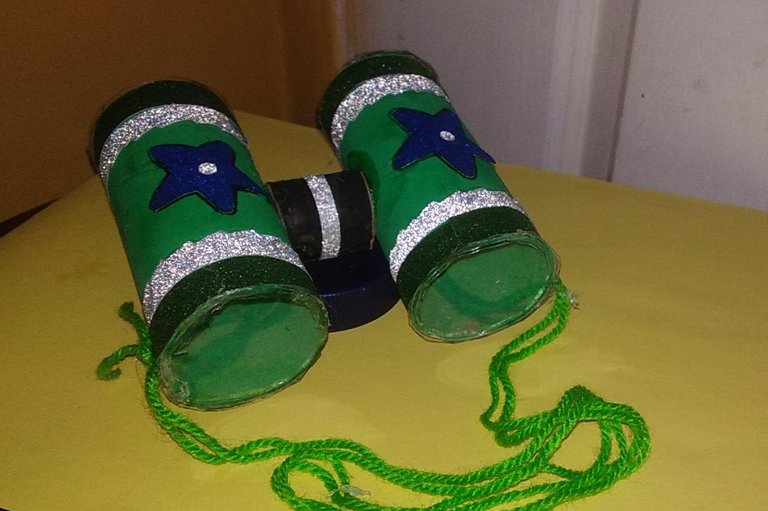

And in this way, we would have ready, our, Beautiful Binocular, Made With Rolls of Toilet Paper, for the enjoyment of our children or to decorate any space in their bedroom or for binocular lovers.
Being a very inexpensive and easy to make detail, giving it different functions, for a decoration, a toy or a gift, everything will depend on what function we want to give it.
.
Y de esta forma, tendríamos listo, nuestro, Hermoso Binocular, Elaborado Con Rollos de Papel Higiénico, para el disfrute, de nuestros niños o para decorar cualquier espacio del dormitorio de ellos o para los amantes a los binoculares.
Siendo un detalle muy económico y fácil de elaborar, dándole diferentes funciones, para una decoración, un juguete o un regalo, todo dependerá, que función deseamos darle.


Waiting, you liked, this creative craft, with useful materials and continue to encourage more people to create with these types of recycled materials, infinities of creative and recreational crafts, for all audiences.
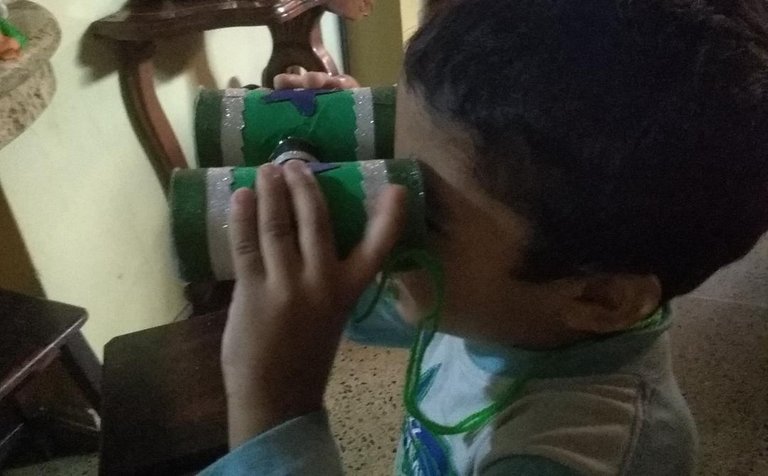
Showing the little ones in the house the fun things that we can create with a little imagination and initiative.
Thank you, each of you, for taking your time to read my post. Greetings
.
Esperando, les haya agrado, esta creativa manualidad, con material de provecho y seguir incentivando, a que más personas, puedan crear con estos tipos de materiales reciclados, infinidades de manualidades, creativas y recreativas, para todo público.
Mostrándoles a los pequeños de la casa, las divertidas cosas, que podemos crear con un poco de imaginación e iniciativa.
Gracias, a cada uno de ustedes, por tomar de su tiempo, en leer mi post. Saludos


All photos are my property taken with my Redmi Go smartphone
❤️ All separators are my property, free to use.
❤️ English it is not my native language, I help myself with translators to make these posts
❤️ ❤️ ❤️ ❤️ ❤️ ❤️
❤️ Todas las fotos son de mi propiedad tomadas con mi celular inteligente Redmi Go
❤️ Todos los separadores son de mi propiedad, libres de uso
❤️ El inglés no es mi idioma natal, me ayudo de traductor
