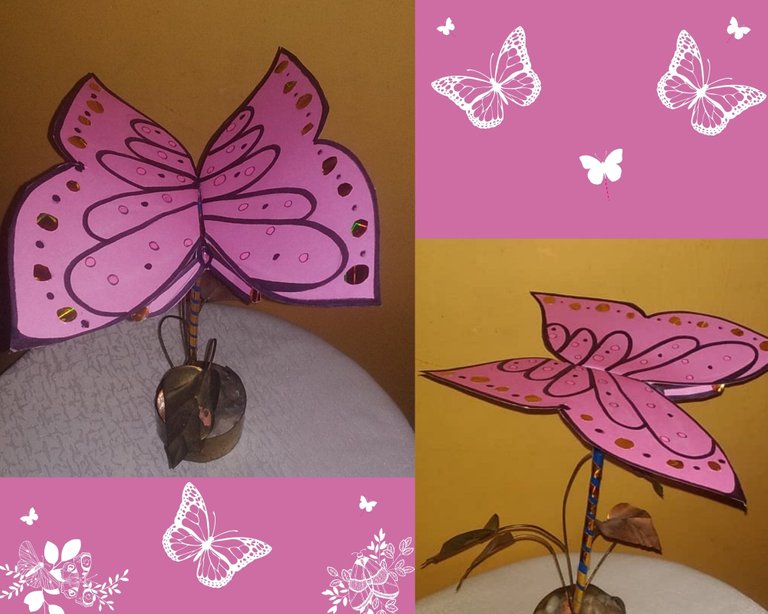
Hello dear friends, I hope you are well, today I would like to share with you a beautiful craft, which we call: Decorative Butterfly, to give to a loved one, who is fascinated by butterflies or to decorate any space in our home, this creative craft With useful material, its purpose is to be able to show you the different forms that we can create with recyclable material.
In the case of parents, it would be an excellent alternative, to create stories and tales for children, referring to butterflies, recreating moments of joy and fun. Being very simple and easy to perform, with few materials.
This beautiful craft is perfect for any occasion, due to its originality and beautiful simplicity.
Next, he presented the materials and steps for its elaboration:
.
.
Hola queridos amigos, espero se encuentren bien, hoy me gustaría compartir con ustedes una hermosa manualidad, la cual denominamos: Mariposa Decorativa, para regalar a un ser querido, que les fascinen las mariposas o para decorar cualquier espacio de nuestro hogar, esta creativa manualidad con material de provecho, tiene como finalidad, poder mostrarles, las diferentes formas, que podemos crear, con material reciclable.
En el caso de los padres sería una excelente alternativa, para crear historias y cuentos para los niños, referente a las mariposas, recreando momentos de alegría y diversión. Siendo muy sencillo y fácil de realizar, con pocos materiales.
Esta hermosa manualidad queda perfecta en cualquier ocasión, por su originalidad y hermosa sencillez.
A continuación, les presentó los materiales y pasos para su elaboración:

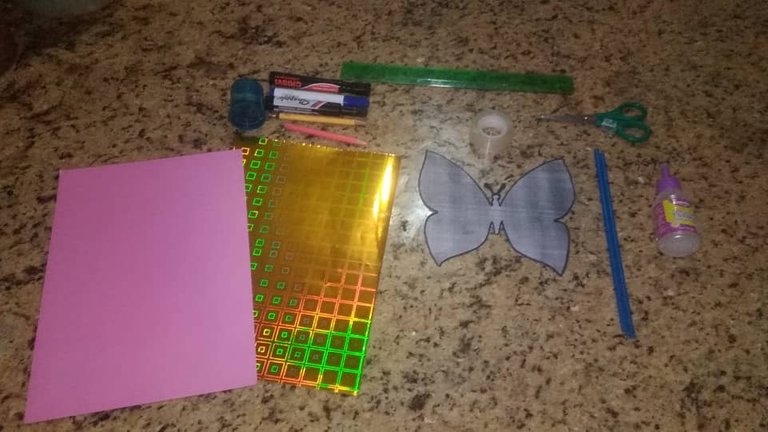
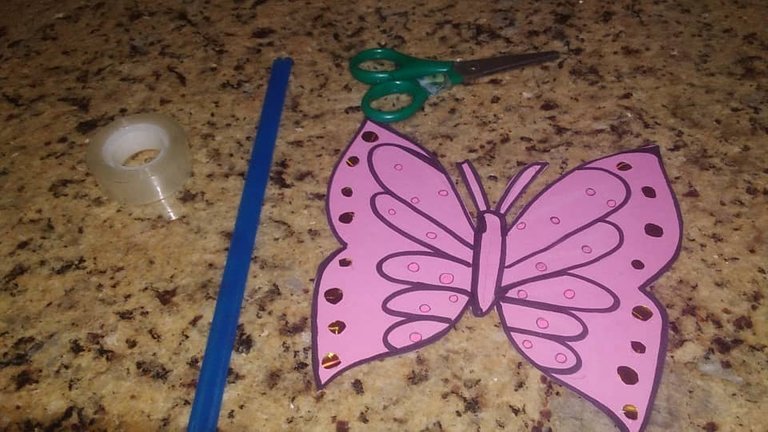
Materials:
• Pink cardstock
• Glossy cardstock
• Markers
• Pencil
• Sharpener
• Scotch tape
• Ruler
• scissors
• Liquid silicone
• 2 straws
• Butterfly Template
Materiales:
• Cartulina rosada
• Cartulina brillante
• Marcadores
• Lápiz
• Saca punta
• Cinta adhesiva
• Regla
• tijera
• Silicón líquido
• 2 pitillos
• Plantilla de Mariposa

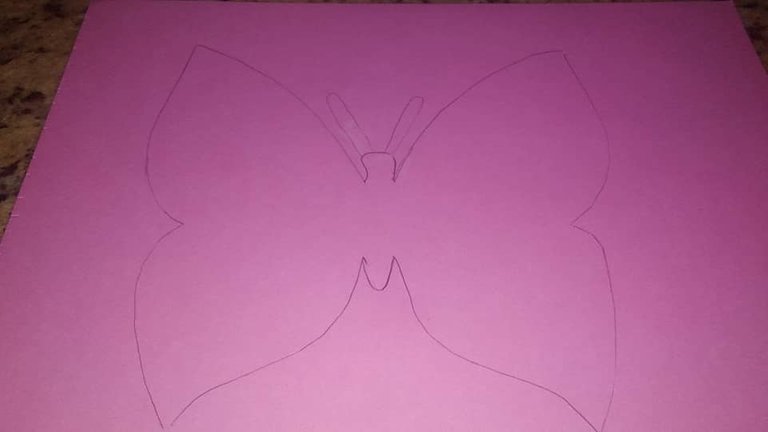
First step:
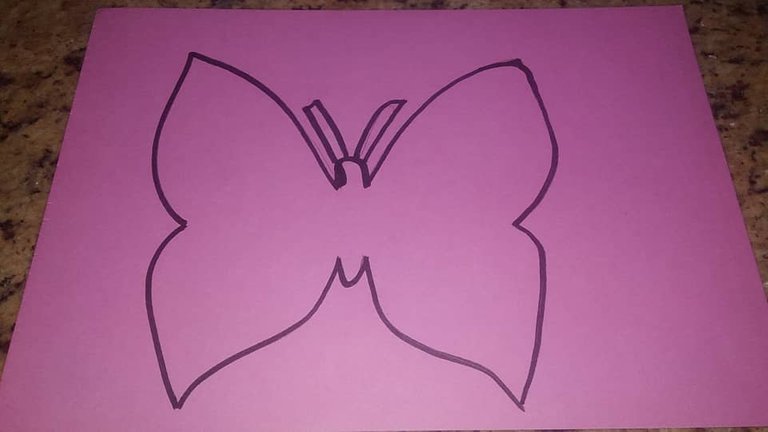
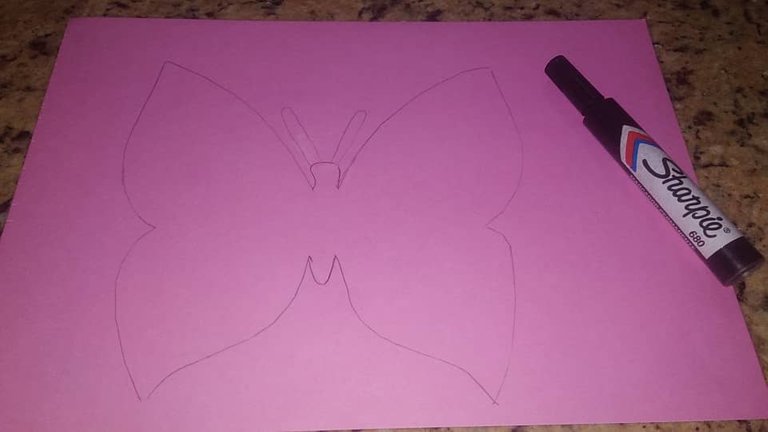
On the pink cardboard and a pencil, draw the silhouette of the butterfly, then highlight the silhouette with a black marker.
Primer Paso:
Sobre la cartulina rosada y un lápiz, dibujar la silueta de la mariposa, seguidamente, remarcar la silueta, con marcador negro.
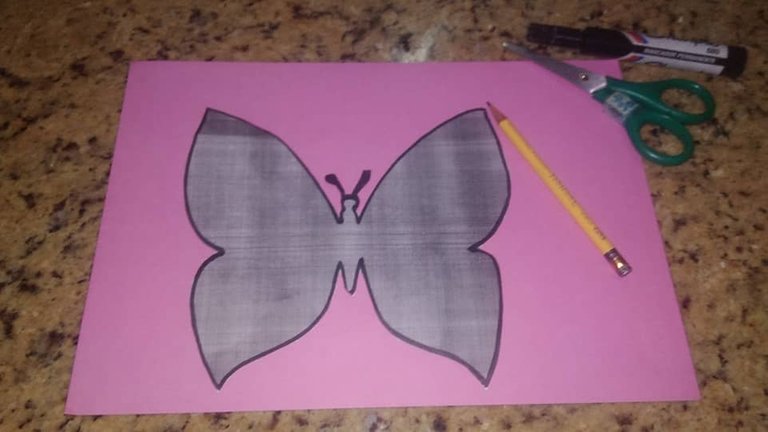

Second step:
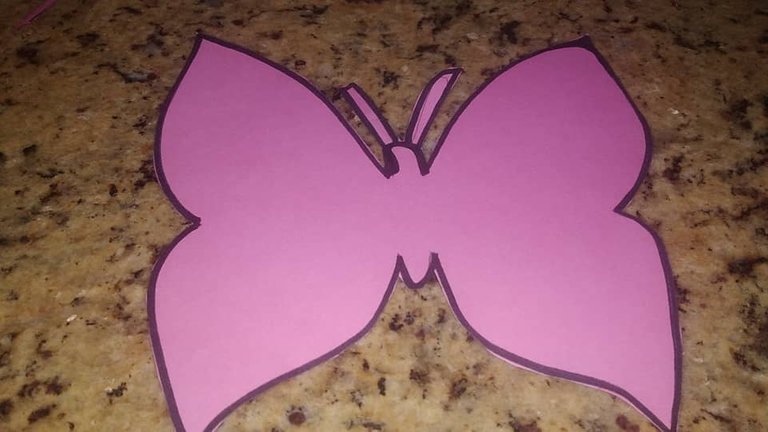
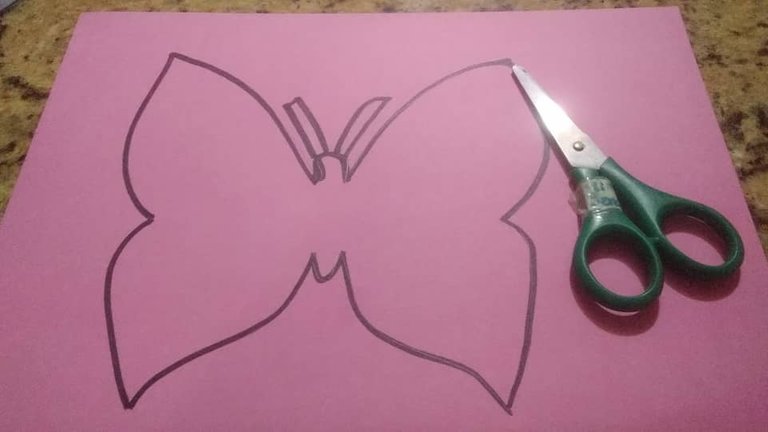
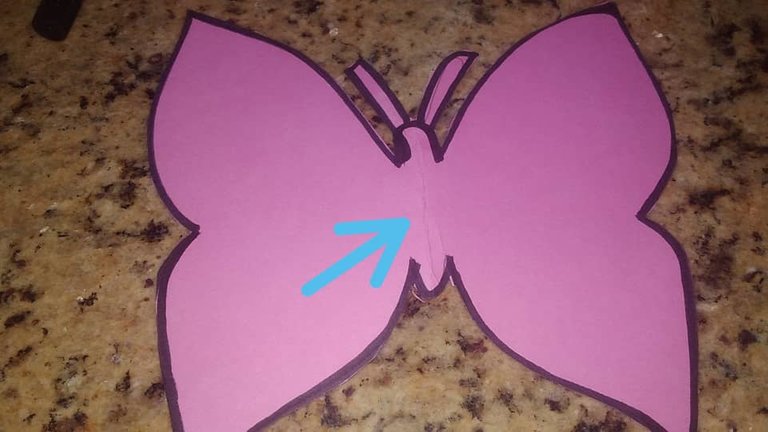
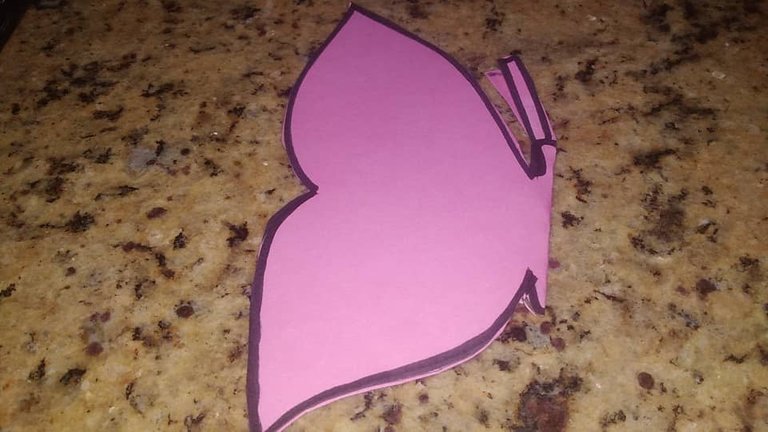
With scissors, cut out the silhouette of the butterfly, fold it in half and mark the middle of the butterfly well, as shown in the photo.
Segundo Paso:
Con una tijera, recortar la silueta de la mariposa, doblar a la mitad y marcar bien el medio de la mariposa, como se muestra en la foto.

Third step.
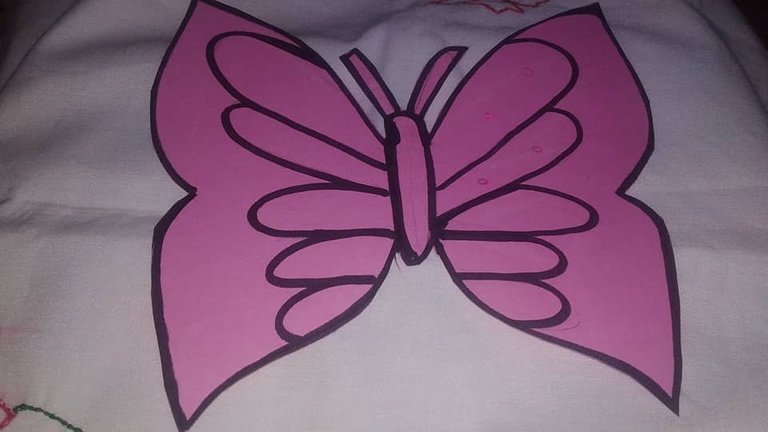
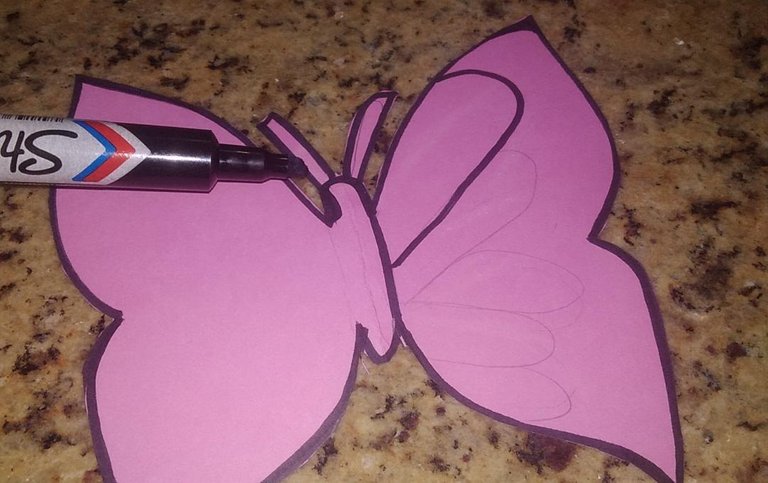
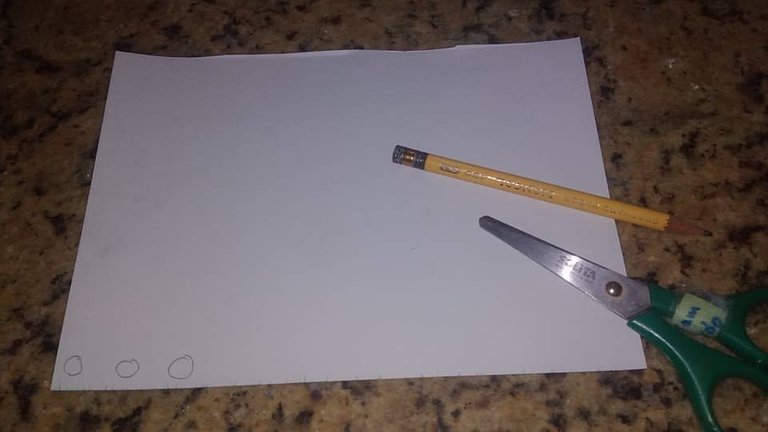
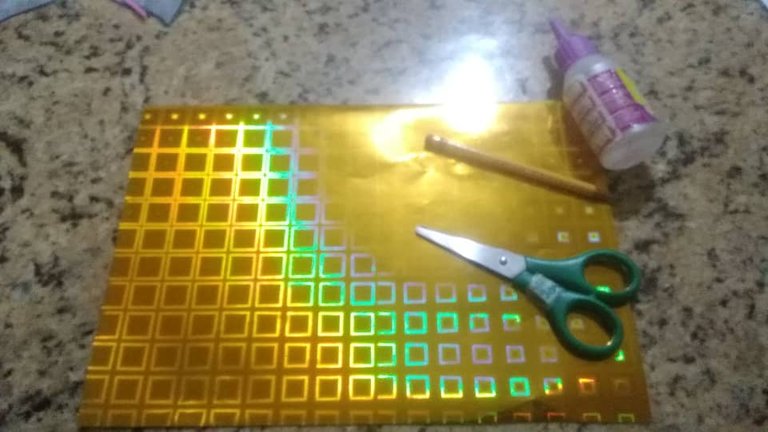
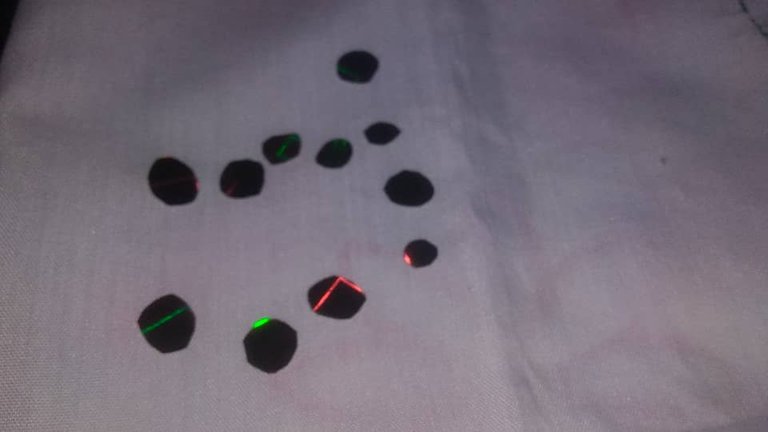
With a pencil, we will begin to design, how the butterfly will look inside, then, with a black marker, go highlighting the silhouette, then, we will begin on the polished cardboard, on the back, make circles with the pencil and with scissors cut them out, making 12 of them or those of your choice.
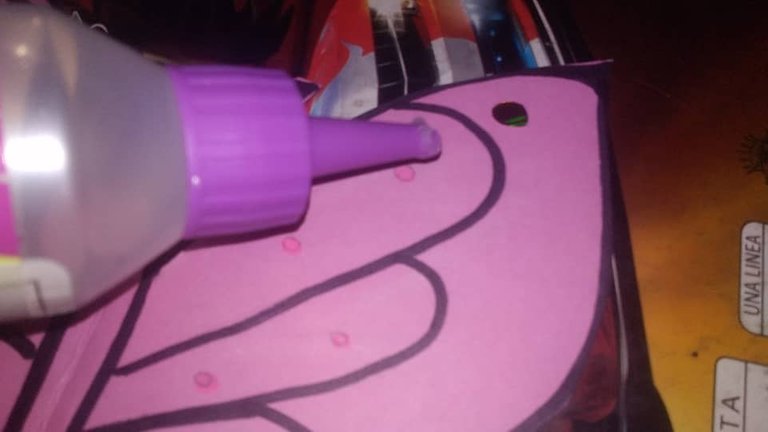
We will proceed to paste with silicone, each circle of different sizes, on the pink cardboard and design to our liking.
Tercer Paso
Con un lápiz, comenzaremos a diseñar, como quedará la mariposa por dentro, luego, con un marcador negro, ir remarcando la silueta, seguidamente, comenzaremos sobre la cartulina abrillantada, por la parte de atrás, realizar círculos con el lápiz y con una tijera recortarlos, realizando 12 de ellos o los de su preferencia.
Procederemos a pegar con silicón, cada círculo de diferentes tamaños, sobre la cartulina rosada y diseñar a nuestro agrado.

Fourth step:
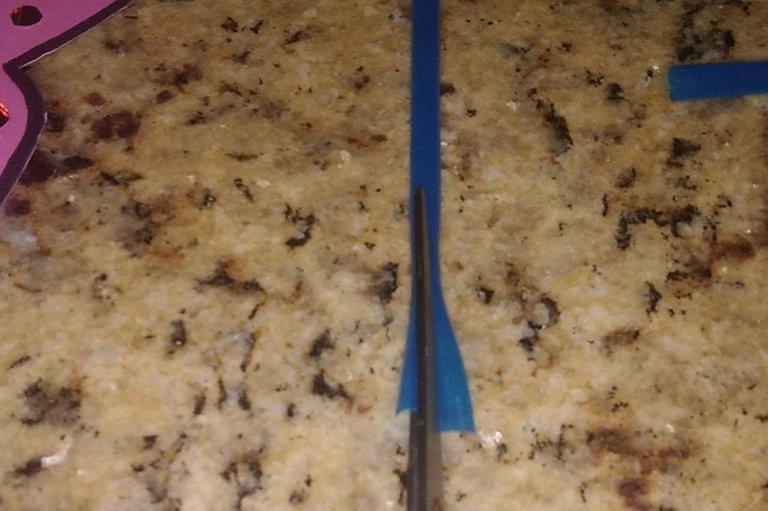
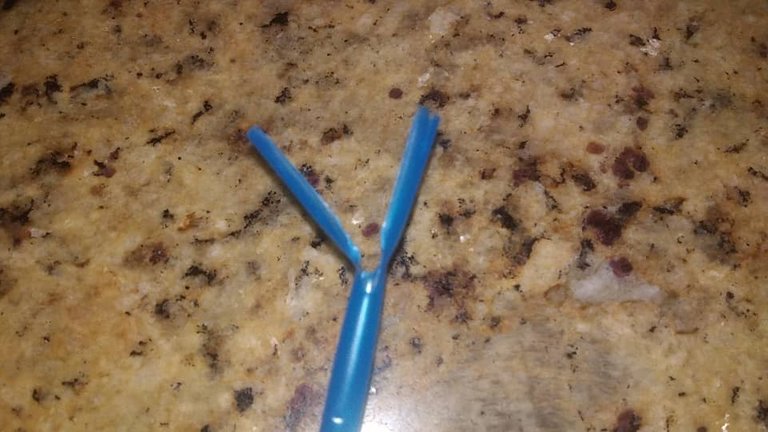
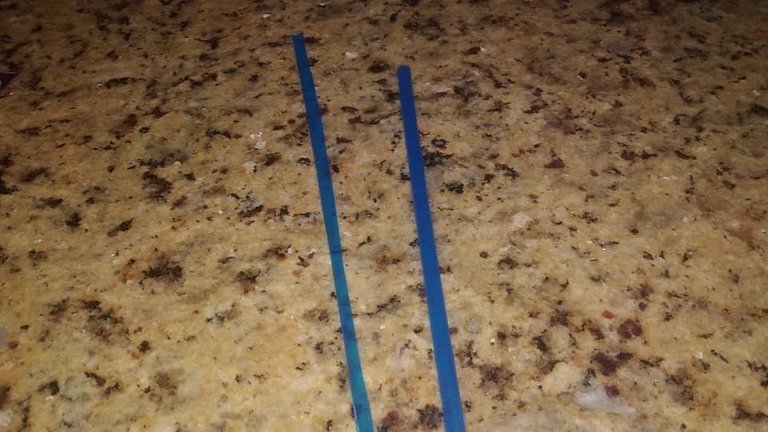
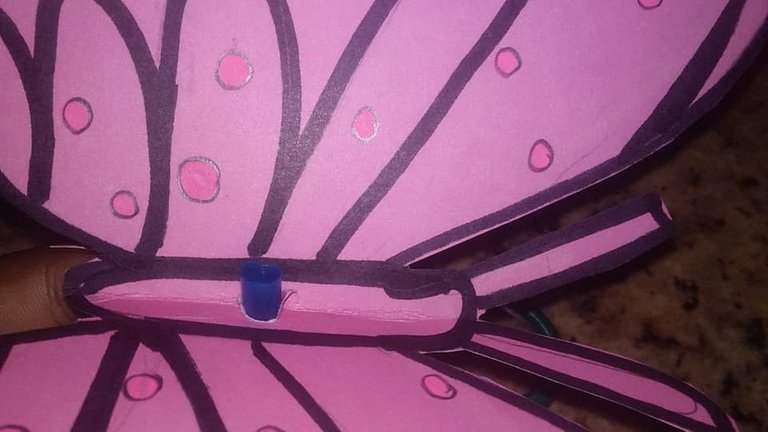
We will use one of the straws in the following way: 1) we will cut it in half, to be able to introduce it inside the other complete straw, 2) the complete straw, we will make an opening in two parts, where later, it will fulfill the function of opening and close the wings of the butterfly.
With a pencil, we will open a hole, through which the thin straw will pass and we will verify that it enters easily.
Cuarto Paso:
Utilizaremos uno de los pitillos de la siguiente manera: 1) picaremos a la mitad, para poderlo introducir dentro del otro pitillo completo, 2) el pitillo completo, le realizaremos una abertura en dos partes, donde más adelante, el cumplirá la función de abrir y cerrar las alas de la mariposa.
Con un lápiz, abriremos un orificio, por donde pasará el pitillo delgado y verificaremos que entre con facilidad.

Fifth step:
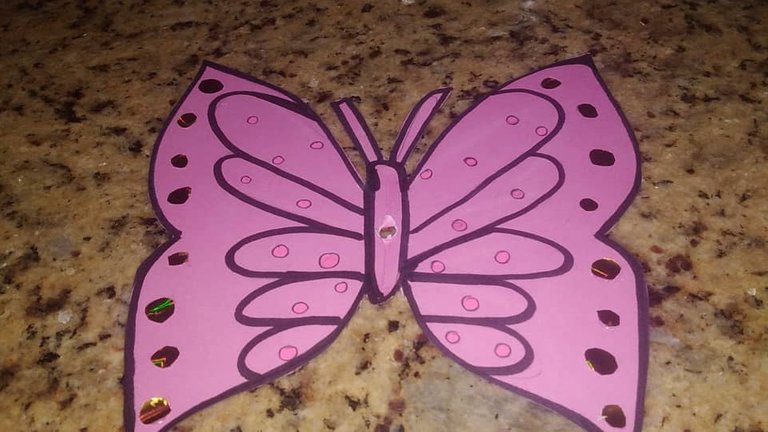
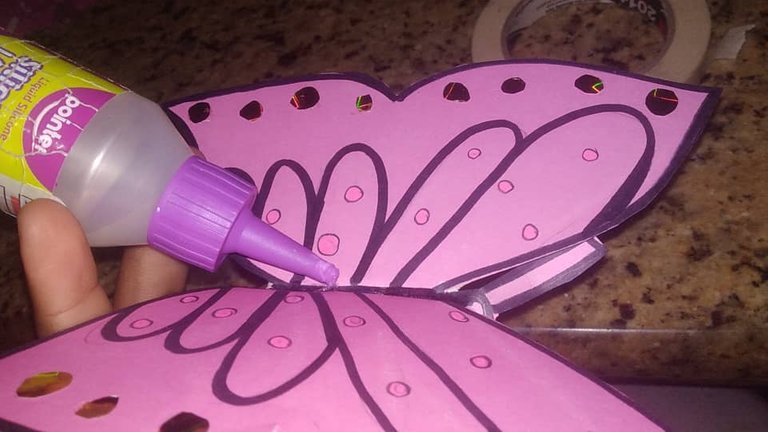
We will paste with liquid silicone, the part of the body of the butterfly, covering the straw, providing more aesthetics to the butterfly, then, underneath we will place the thick straw, where both openings were made and we will tape both ends of the butterfly. In the same way, we will color a little piece of shot at the bottom, which joins the skinny skinny with the butterfly, giving it more firmness.
Quinto Paso:
Pegaremos con silicón líquido, la parte del cuerpo de la mariposa, cubriendo el pitillo, brindándole más estética a la mariposa, luego, por debajo colocaremos el pitillo grueso, donde se le realizaron ambas aberturas y pegaremos con cinta adhesiva a ambos extremo de la mariposa, de igual manera, coloraremos un pedacito de tirro por la parte de abajo, que une el pitillo delgado con la mariposa, brindándole más firmeza.
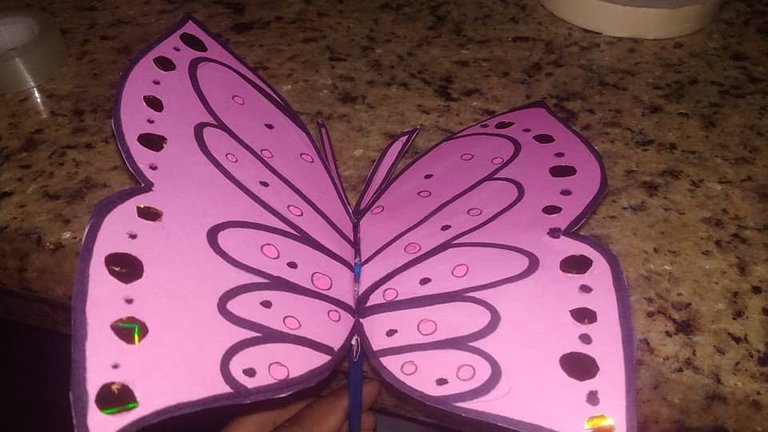
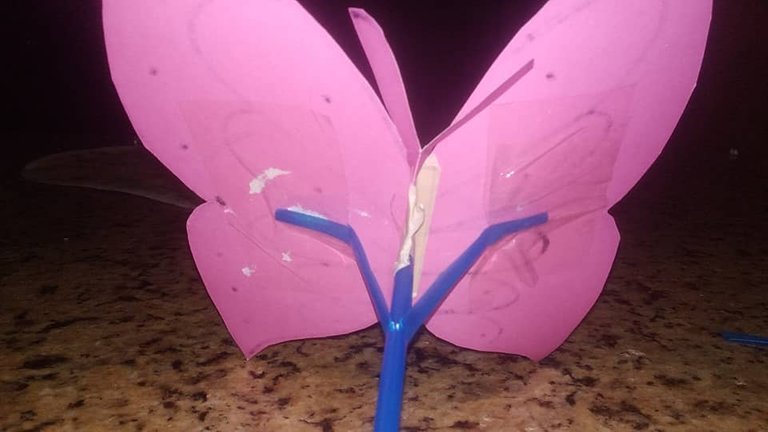

And so, we would have our beautiful Decorative Butterfly ready, which we can place anywhere in our home, as well as give it to that special person who will undoubtedly thank you for its originality.
Y así, tendríamos lista, nuestra hermosa Mariposa Decorativa, que podemos ubicarla en cualquier parte de nuestro hogar, como también, obsequiarla a esa persona especial que sin duda se los agradecerá, por su originalidad.


Waiting, you will like this fun way to create beautiful crafts with useful material and you can spend a different afternoon and more if you have small children, they will be the main ones, enjoying each one of their elaboration and their movement.
In my case, my son decided to keep the butterfly, as a creator of tales and stories, giving us magical adventures.
Thank you for taking his time to read my post. Greetings
Esperando, les agradara, esta divertida forma de crear con material de provecho hermosas manualidades y puedan pasar una tarde diferente y más si tiene niños pequeños ellos, serán los principales, en disfrutar de cada una de sus elaboración y del movimiento de las mismas.
En mi caso mi hijo, decidió mantener la mariposa, como un creador de cuentos e historias, brindándonos, mágicas aventuras.
Gracias, por tomar de su tiempo, en leer mi post. Saludos


❤️ Next time ❤️ Hasta la Próxima❤️

❤️ All photos are my property taken with my Redmi Go smartphone
❤️ All separators are my property, free to use.
❤️ English it is not my native language, I help myself with translators to make these posts
❤️ ❤️ ❤️ ❤️ ❤️ ❤️
❤️ Todas las fotos son de mi propiedad tomadas con mi celular inteligente Redmi Go
❤️ Todos los separadores son de mi propiedad, libres de uso
❤️ El inglés no es mi idioma natal, me ayudo de traductor
