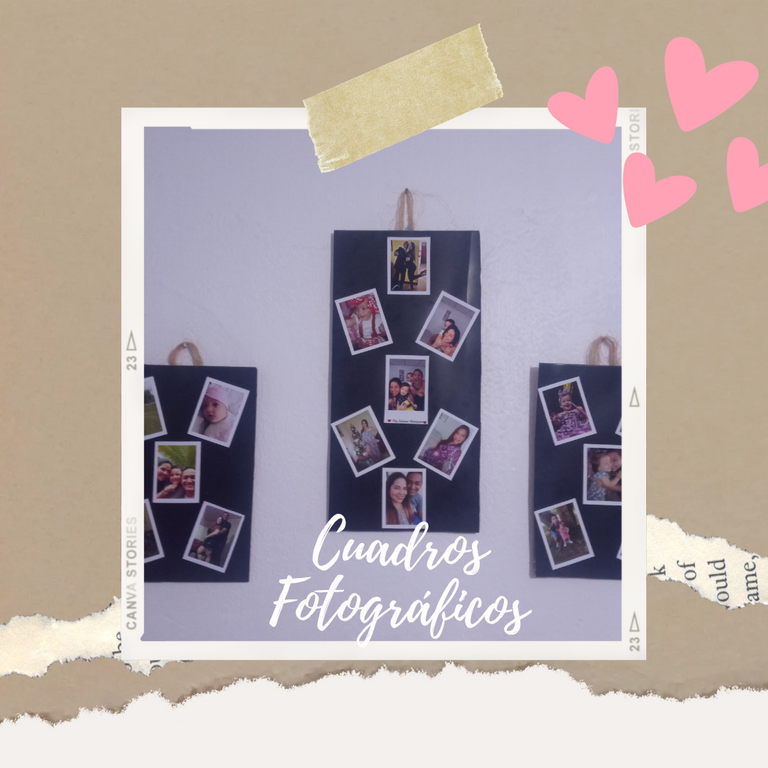
Hola hola amigos de @hivediy es un.gusto estar de nuevo por acá!! y en esta oportunidad quiero mostrarles como realicé de forma muy rápida y sencilla unos cuadros con fotografias para decorar nuestro cuarto🥰
Hello hello friends of @hivediy it's a pleasure to be here again!!! and this time I want to show you how I made in a very quick and easy way some pictures with photographs to decorate our room🥰.

A mi siempre me han gustado las paredes totalmente blancas, sin muchas cosas, pero desde que se pusieronnde moda los cuadros de un estilo similar a los que les muestro, quedé encantada y dije "QUIERO UNOS" pero pues nunca pude comprarmelos, ya saben el money la cosa jaja!! pero no iba a quedarme con las ganas, así que aprovechando que hace unos meses mandé a imprimir unos fotos familiares, dije, es mi momento, y aunque lo pospuse bastante, aqui estoy jeje y les dejaré el paso a paso por si desean hacer unos
I've always liked totally white walls, without many things, but since the pictures of a similar style to the ones I show you became fashionable, I was delighted and I said "I want some" but I could never buy them, you know the money haha! but I was not going to stay with the desire, so taking advantage that a few months ago I sent to print some family photos, I said, it's my time, and although I postponed it a lot, here I am hehe and I will leave the step by step if you want to make some.
MATERIALES:
✔️ Carton
✔️ Cartulina negra
✔️ Fotos
✔️ Silicon
✔️ Pega Blanca
✔️ Pelo de coco
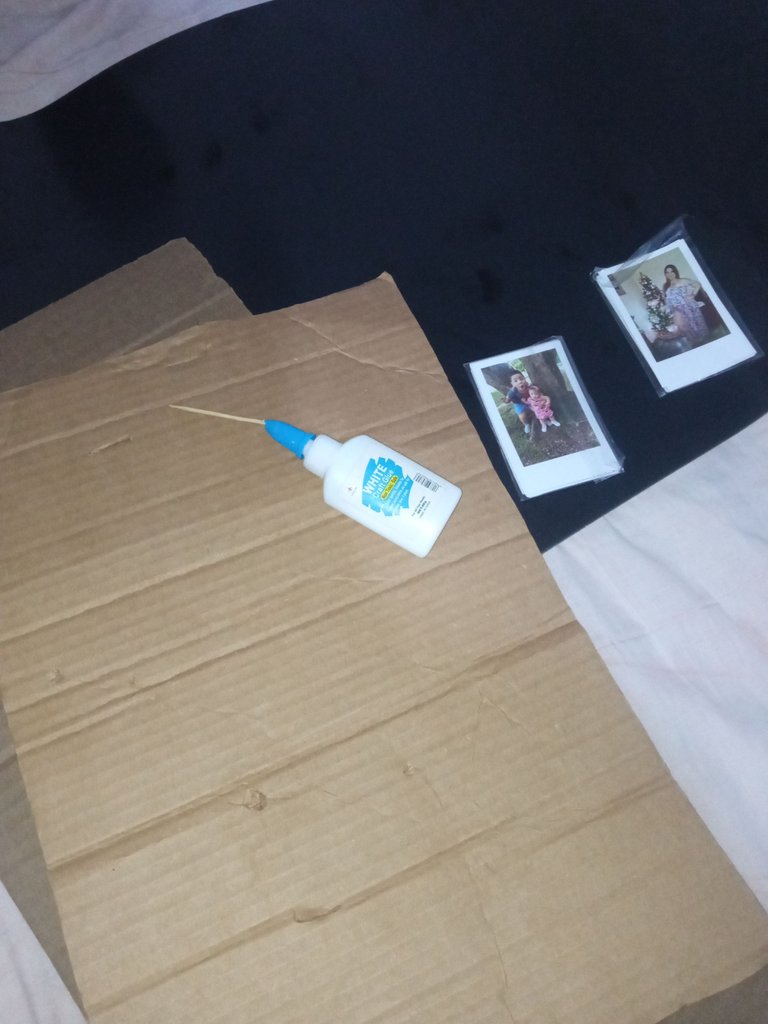
MATERIALS:
✔️ Cardboard
✔️ Black cardboard
✔️ Photos
✔️ Silicon
✔️ White glue
✔️ Coconut hair


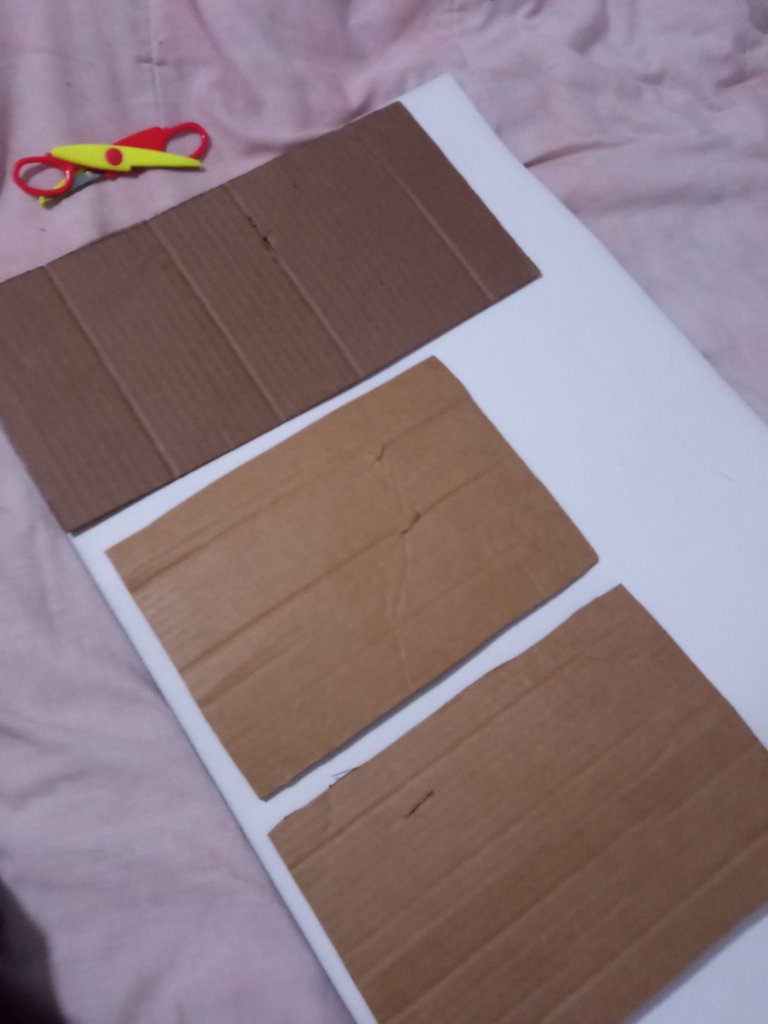
okey amigos como ven no hay muchos materiales que conseguir, así que esto es lo máximo jeje!! lo primero que hice fue marcar lo que sería el tamaño de mis cuadros, por supuesto el del medio iría más grande...
okey friends as you can see there are not many materials to get, so this is the best hehe!!! the first thing I did was to mark what would be the size of my pictures, of course the middle one would be bigger....
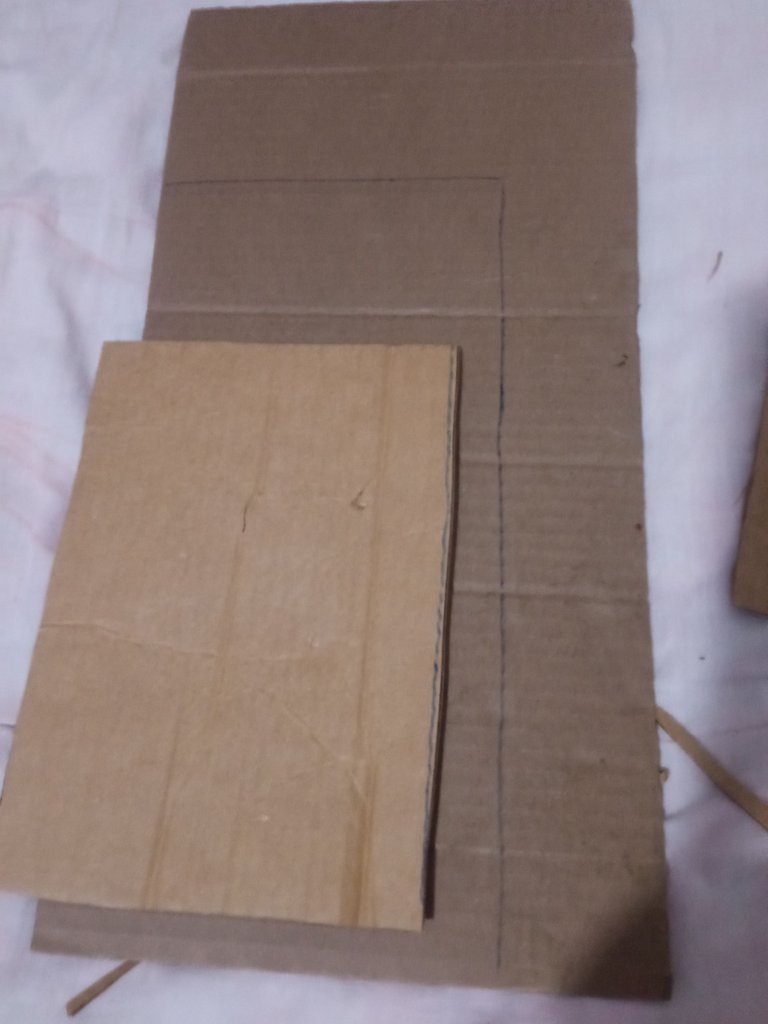
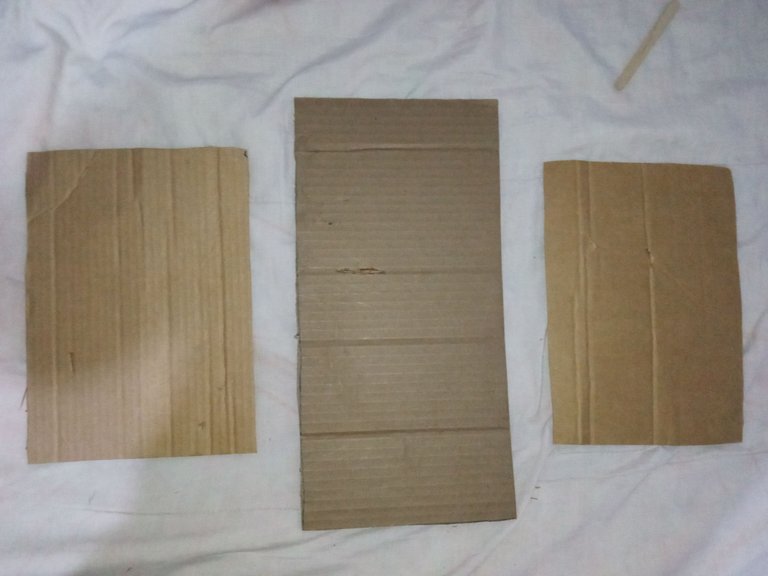
El siguiente paso fue recortar cada rectángulo para luego marcar en la cartulina el tamaño de cada cuadro y seguidamente recortarlos
The next step was to cut out each rectangle and then mark on the cardboard the size of each square and cut them out.

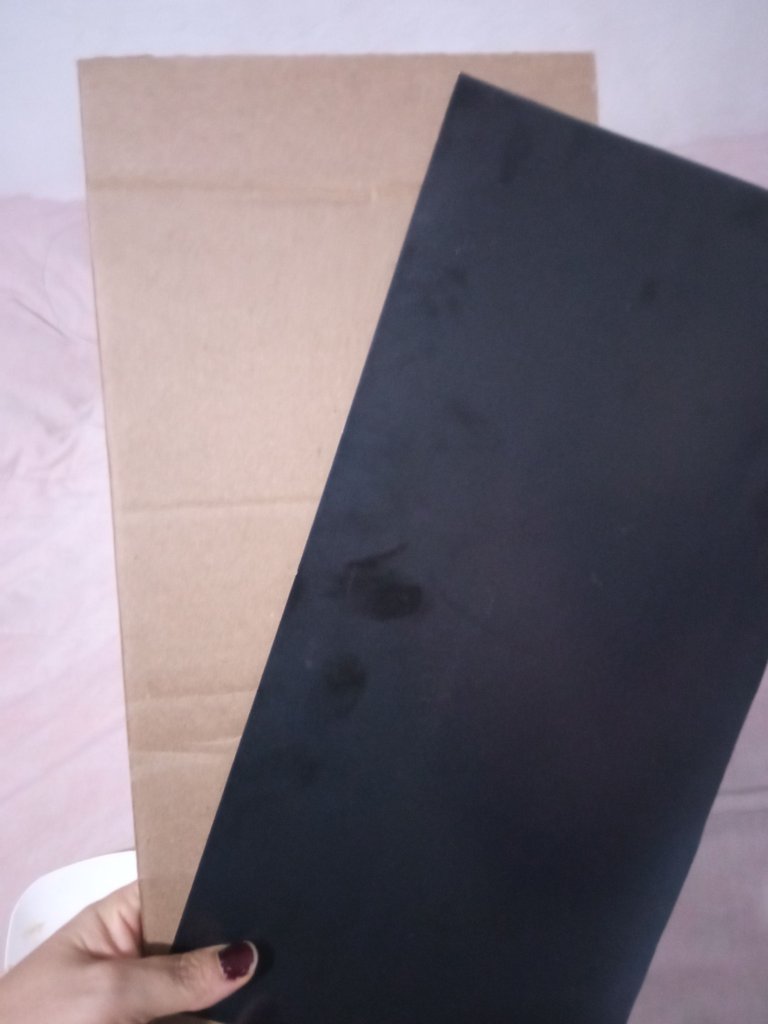
El siguiente paso como ya se lo deben haber imaginado es pegar la cartulina del cartón jeje. y para esto utilicé silicón ya que con la pega siento que iba a tardar más
The next step as you may have guessed is to glue the cardboard to the cardboard hehe. and for this I used silicone because with glue I felt it was going to take longer.
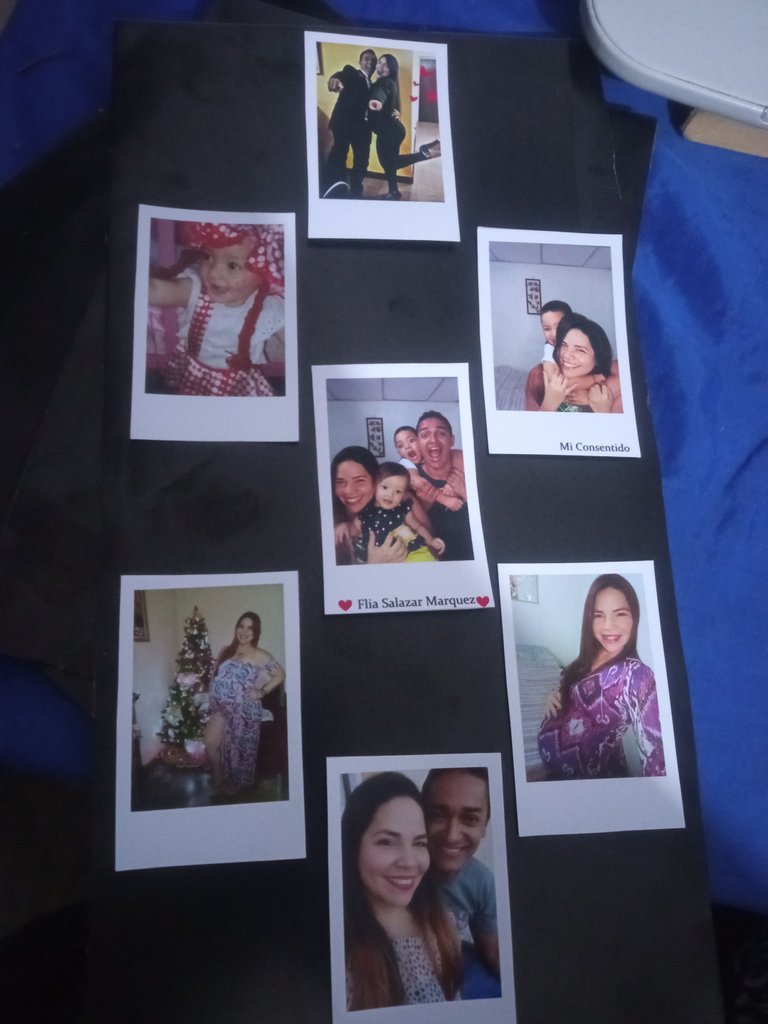
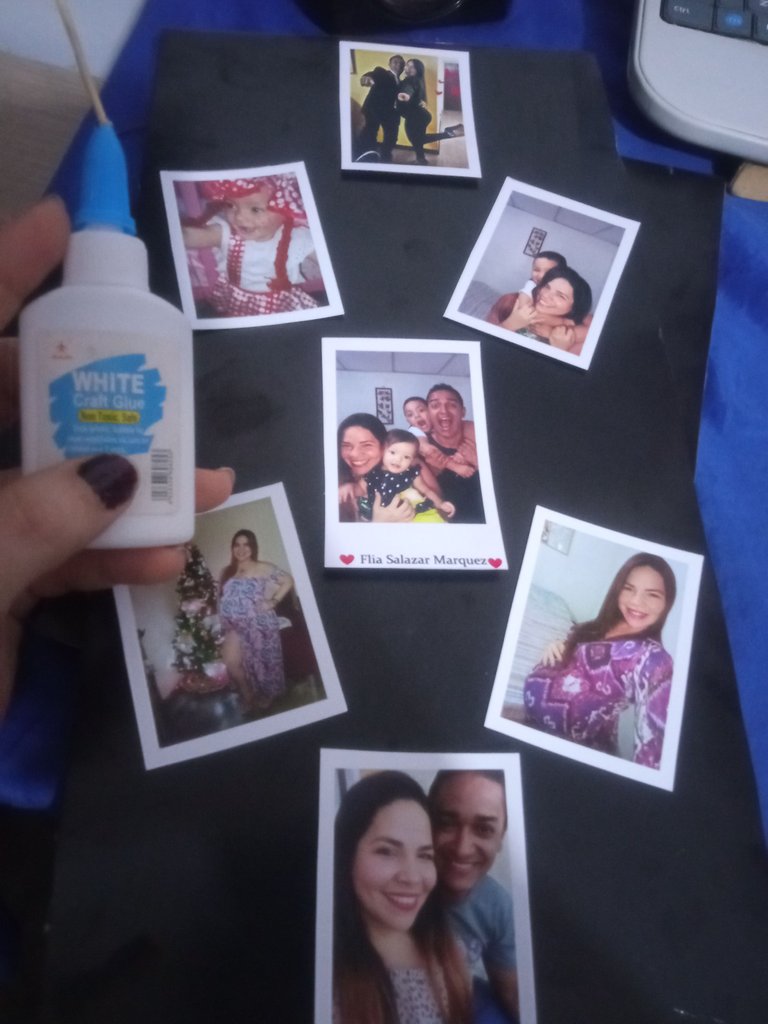
El siguiente y penúltimo paso, fue decidir dónde y coño irían pegadas mis fotos para luego con ayuda de la pega blanca fijarlas en la cartulina
The next and penultimate step was to decide where and how my photos would be glued and then with the help of the white glue to fix them on the cardboard.
 |  |
|---|

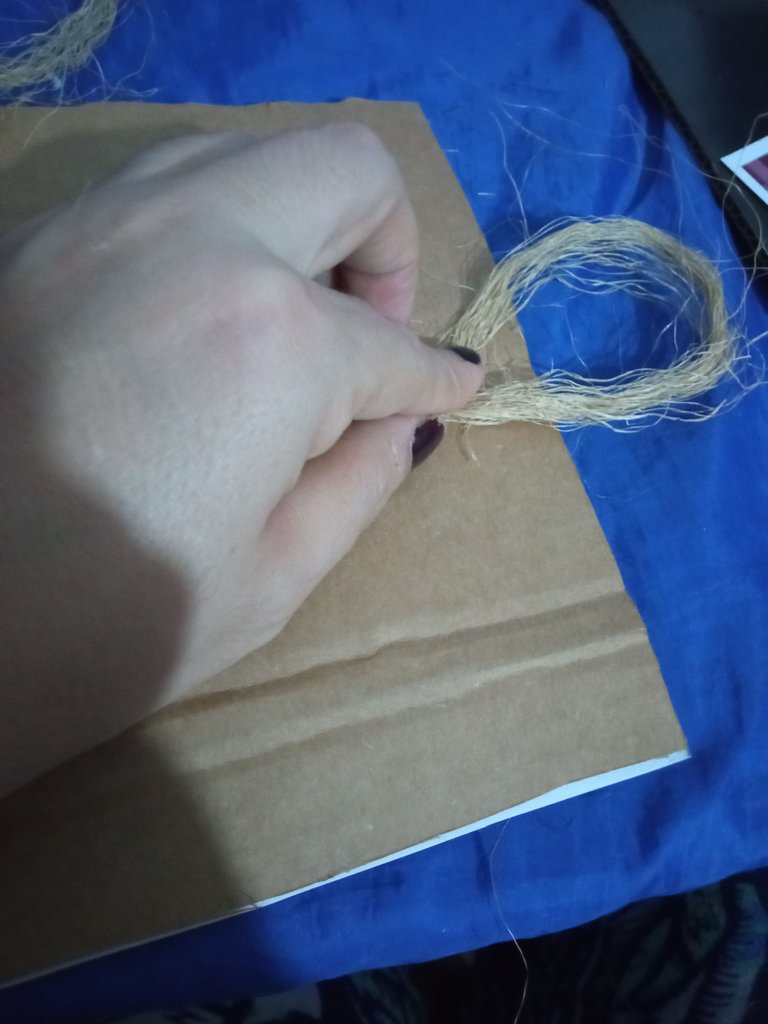
Y ya casi listos nuestros cuadritos el siguiente paso es con el pelo de coco (no se como lo conozcan ustedes) jajaja pero bueno, lo que en en la foto jaja, corté 3 pedazos para pegarlos con solución en la parte trasera de mis cuadros para así Guindalos
And now our squares are almost ready, the next step is with the coconut hair (I don't know how you know it) hahaha but well, what in the picture hahaha, I cut 3 pieces to glue them with solution on the back of my squares so I can glue them to the back of my squares.
y Asi se ven 🥰😘 Ppr supuesto no quedaron perfectos, y de paso mi esposito clavó un clavo más arriba que otro, pero bueno viebdolo rapidito no se nota jajajaja
And that's how they look 🥰😘 Of course they were not perfect, and by the way my little husband drove one nail higher than the other, but well, if you look at it quickly you can't tell hahahahaha
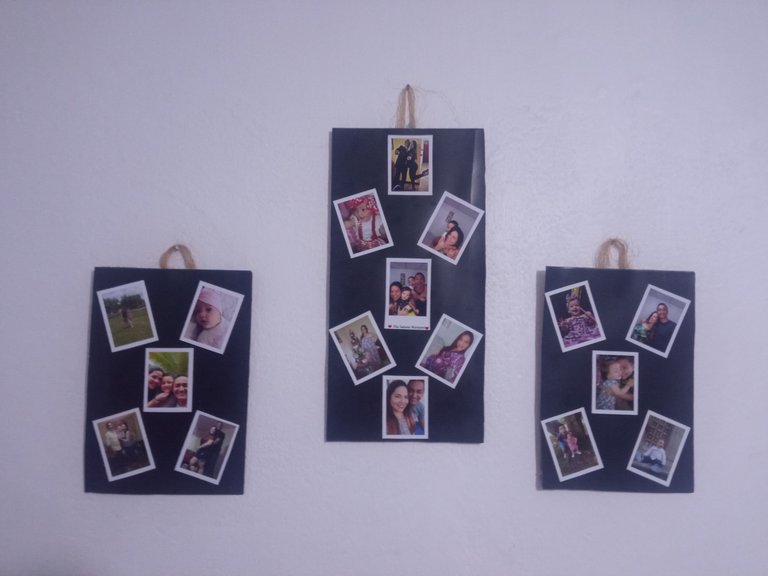
La verdad a mi me encantaron, y siento que le da un toque hermoso a nuestro cuarto💜💜 espero que a ustedes les guste y hasta se animen en hacer uno similar.
The truth to me I loved them, and I feel that it gives a beautiful touch to our room💜💜 I hope you like it and even encourage you to make a similar one.

HASTA EL PROXIMO POST AMIGOS🥰 || UNTIL NEXT POST FRIENDS🥰.
Fotos tomadas con mi Redmi 9
portada editada en PicsArt
Photos taken with my Redmi 9
cover edited in PicsArt