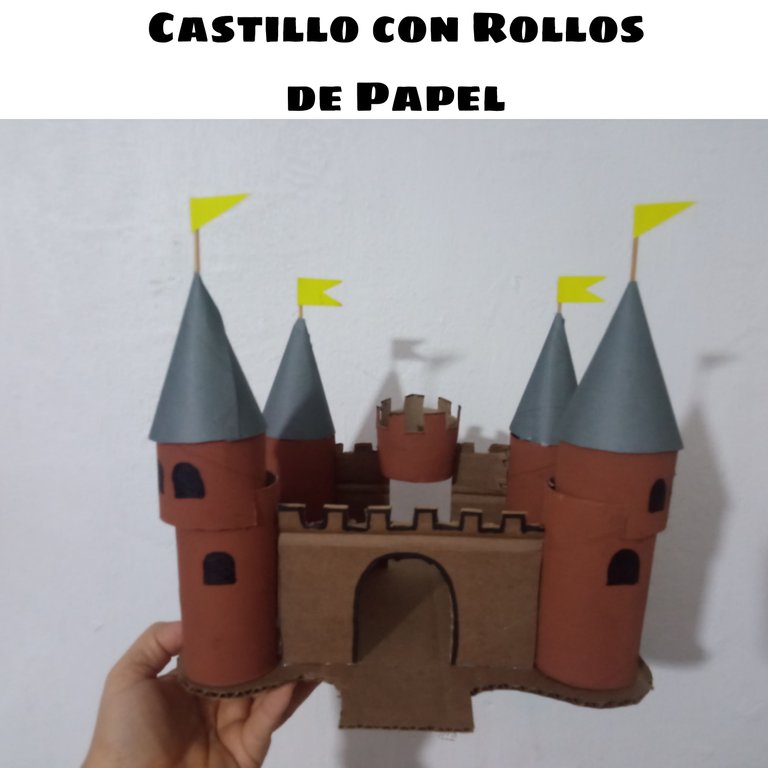

Hola hola amantes de las manualidades, feliz martes, una vez mas por acá y esta vez es para mostrarles un poco del paso a paso haciendole un lindo castillo 🏰 de reciclaje a mi niño para su colegio, debido a que su cierre de proyecto es sobre esto, el reciclaje, la semana pasada tuvo una exposicion y habló sobre los contenedores y los colores, pero adicional a eso debia llevar algo hecho con reciclaje. Y aprovechando que cada vez que se gastaba un papel guardaba el rollito diciendo "para una manualidad" 😂😂 llegó la hora, asi que me puse a buscar opciones de manualidades con rollitos de papel, y consegui esta opción y a los dos nos encantó asi que nos pusimos manos a la obra y aca les cuento👇👇
Hello hello craft lovers, happy Tuesday, once again here and this time is to show you a little step by step making a nice recycling castle 🏰 to my boy for his school, because his closing project is about this, recycling, last week he had an exhibition and talked about the containers and colors, but in addition to that he had to bring something made with recycling. And taking advantage of the fact that every time he wasted a paper he kept the roll saying "for a craft" 😂😂 it was time, so I started to look for options of crafts with paper rolls, and I got this option and we both loved it so we got down to work and here I tell you👇👇
MATERIALES:
✔️ 6 Rollos de papel
✔️ Carton
✔️ Pintura Marron
✔️ Silicon Caliente
✔️ papel Gris y Marillo
✔️ 2 Palillos
✔️ Cutter
MATERIALS:
✔️ 6 Rolls of paper
✔️ Cardboard
✔️ Brown Paint
✔️ Hot Silicon
✔️ Gray and Brown paper
✔️ 2 Chopsticks
✔️ Cutter

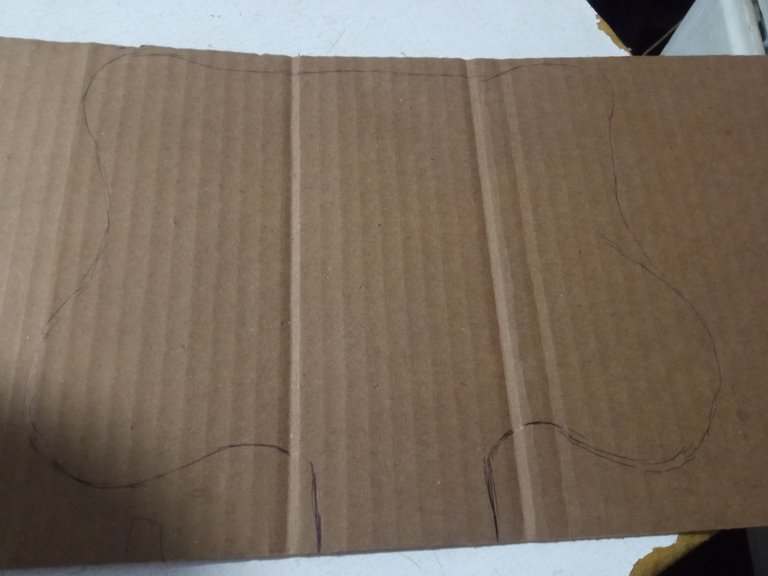
Okey lo primero que hice fue marcar en el carton lo que seria el piso de nuestro castillo, y en la imagen se veia que las torres de atras quedaban mas hacia el centro asi que lo pinté de esta forma
Okay the first thing I did was to mark on the cardboard what would be the floor of our castle, and in the image you could see that the back towers were more towards the center so I painted it this way.
 |  |
|---|
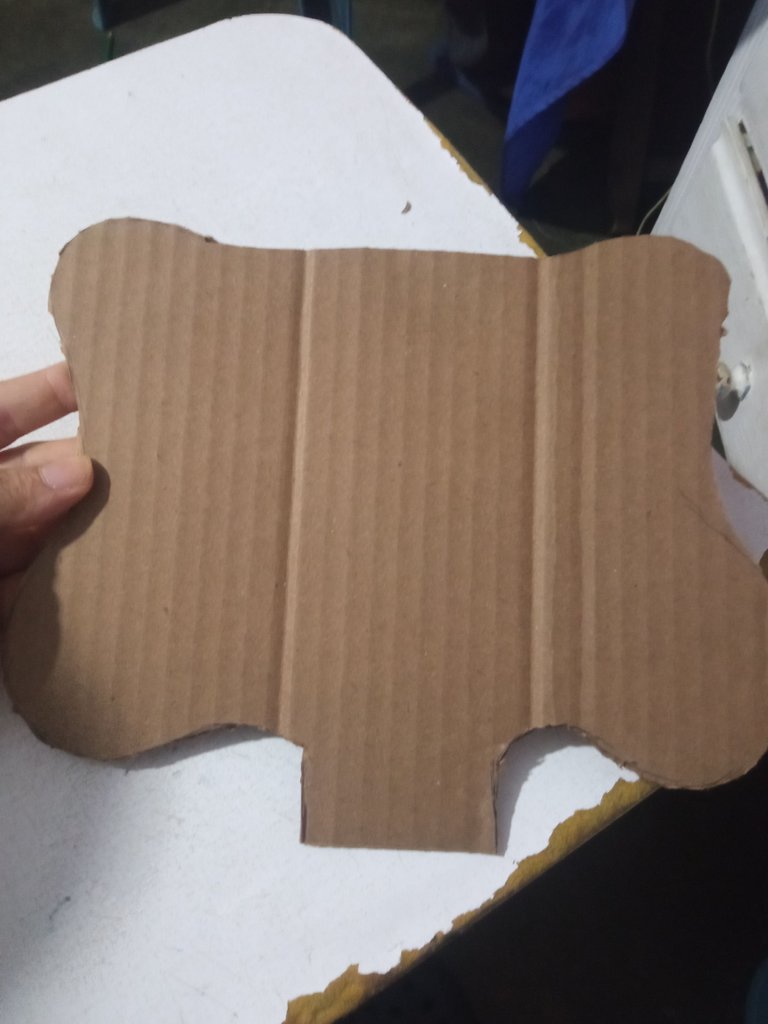
Luego con ayuda del cutter lo recorté, el siguiente paso fue medir con el carton la distancia entre cada rollito del frente para hacer "la pared"
Then with the help of the cutter I cut it out, the next step was to measure with the cardboard the distance between each roll of the front to make "the wall".
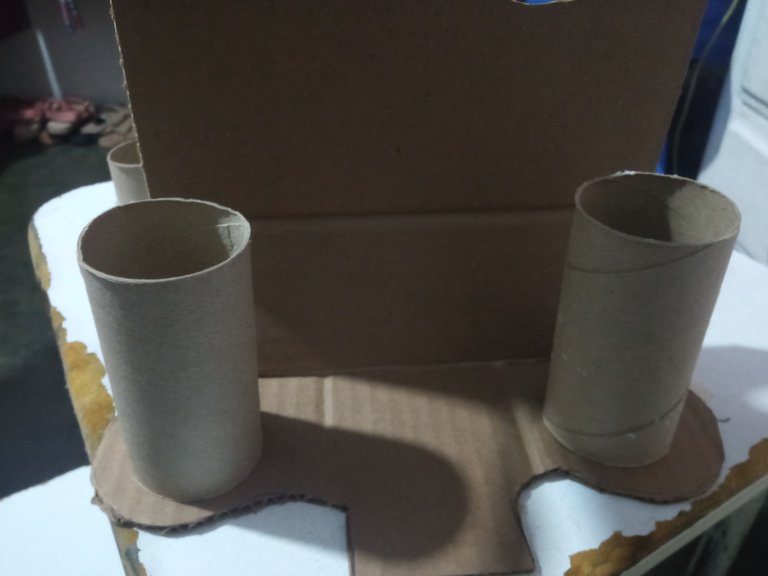
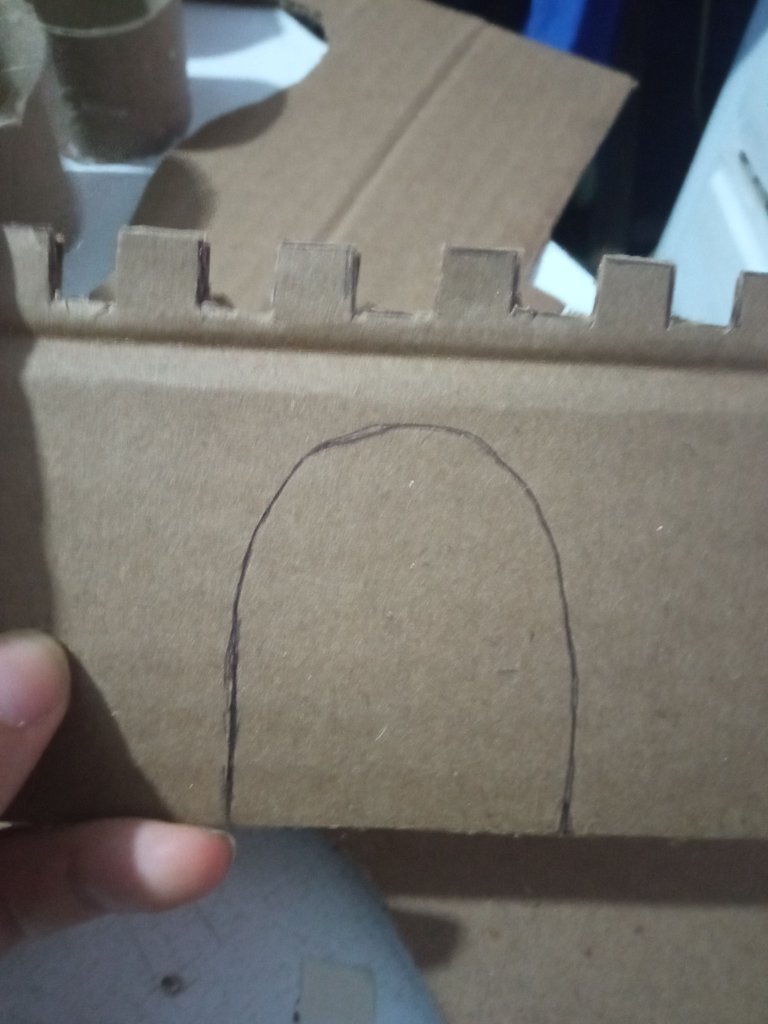
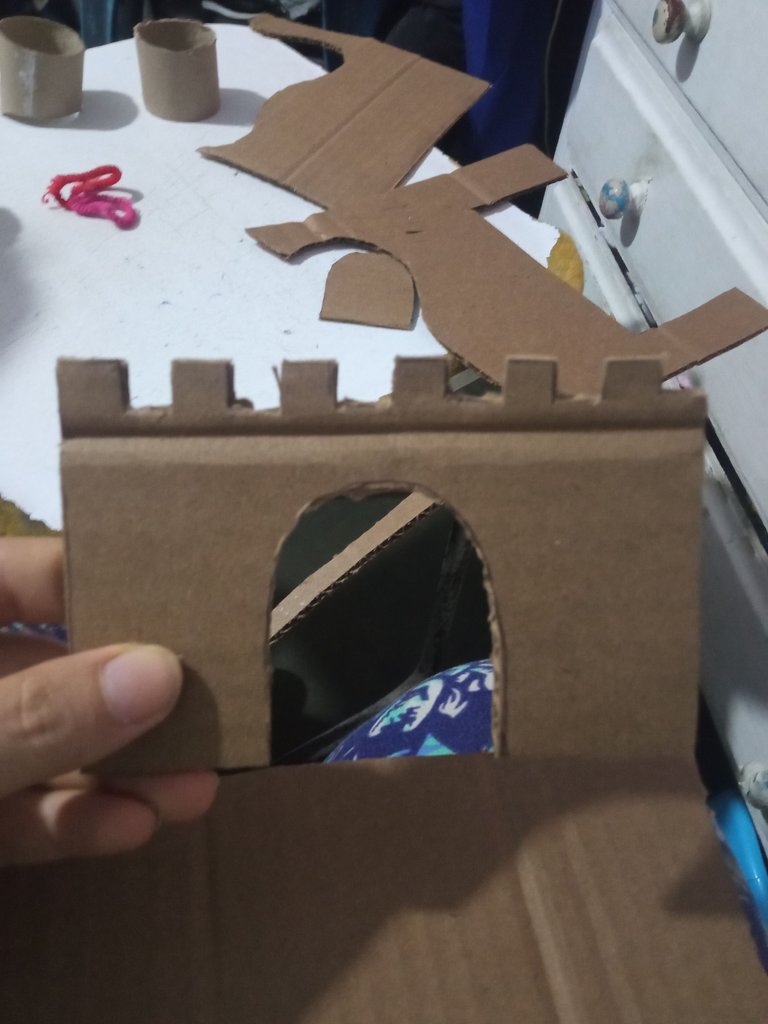
Luego de recortarlo le di la forma de arriba con ayuda del cutter y por supuesto marqué la puerta 🚪 y recorté
After cutting it out I gave it the top shape with the help of the cutter and of course I marked the door 🚪 and cut out.
 |  |
|---|

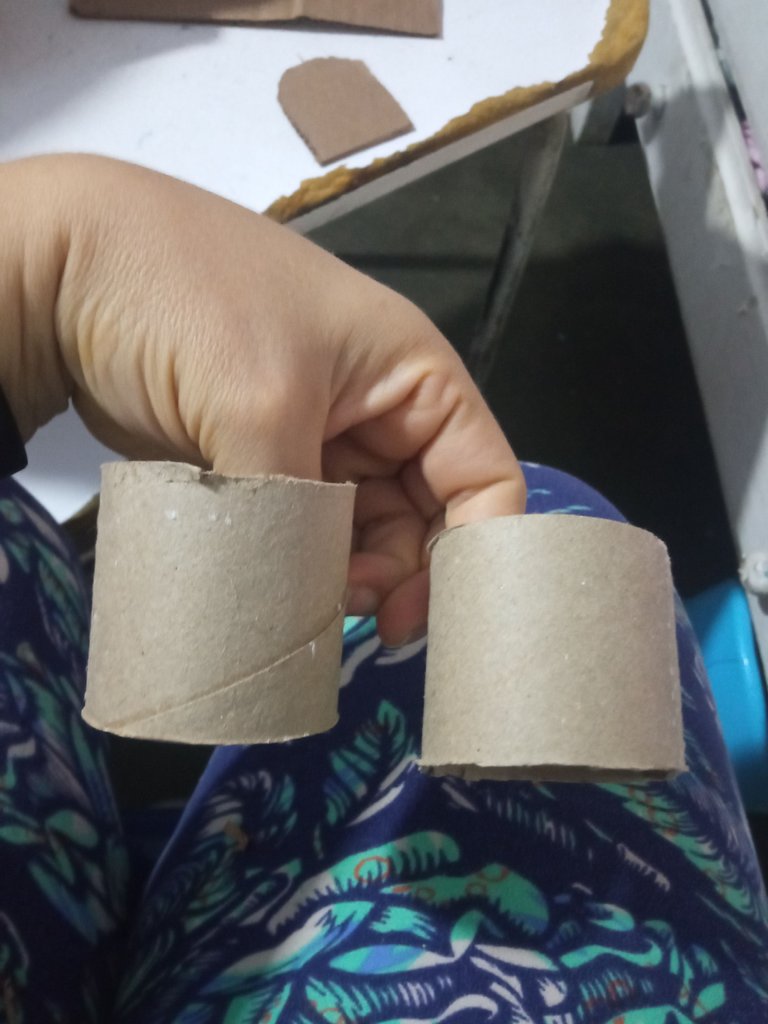
Luego recorté con ayuda de mi hijo jeje un rollito a la mitad, con esas dos mitades haria las torres de adelante mas altas
Then I cut with the help of my son hehe a roll in half, with those two halves I would make the front towers higher.
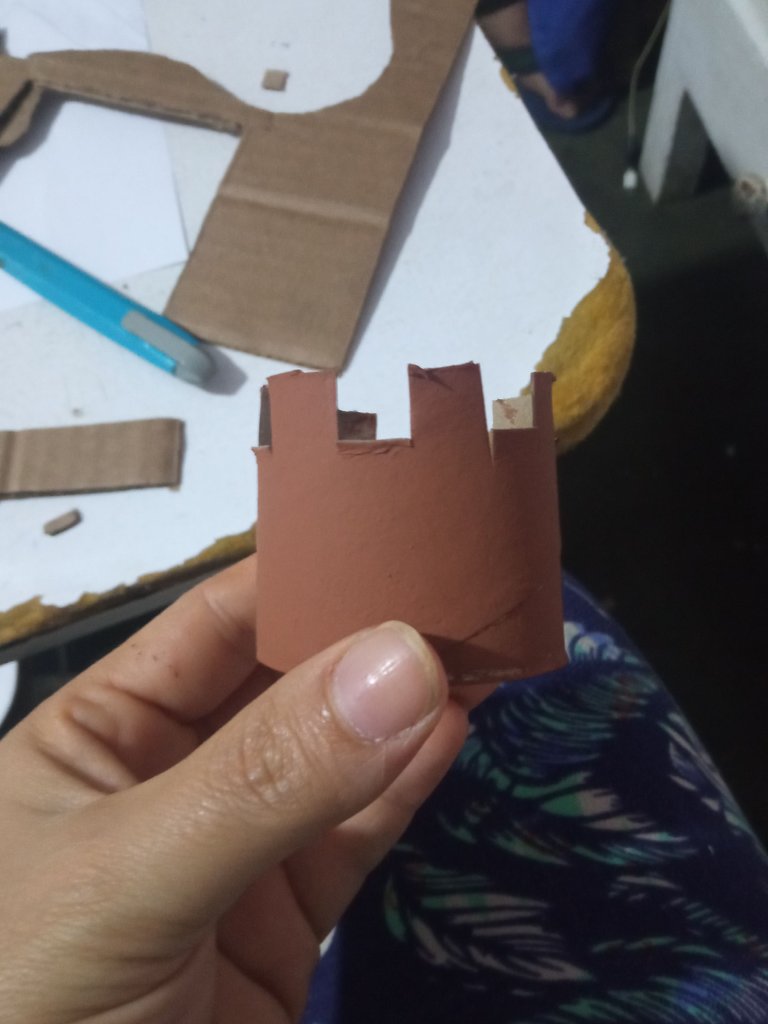
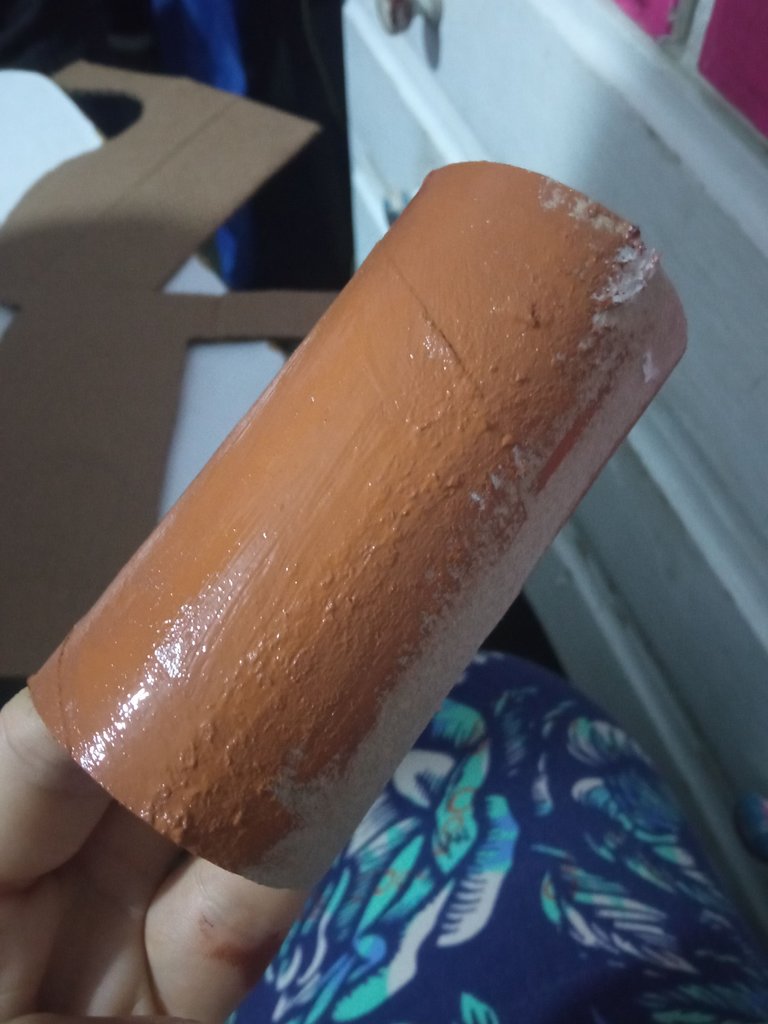
El siguiente paso fue pintar cada rollito, y una de las mitades le di la forma de lo que seria una especie de "Garita"
The next step was to paint each roll, and one of the halves I gave the shape of what would be a kind of "Garita".
 |  |
|---|
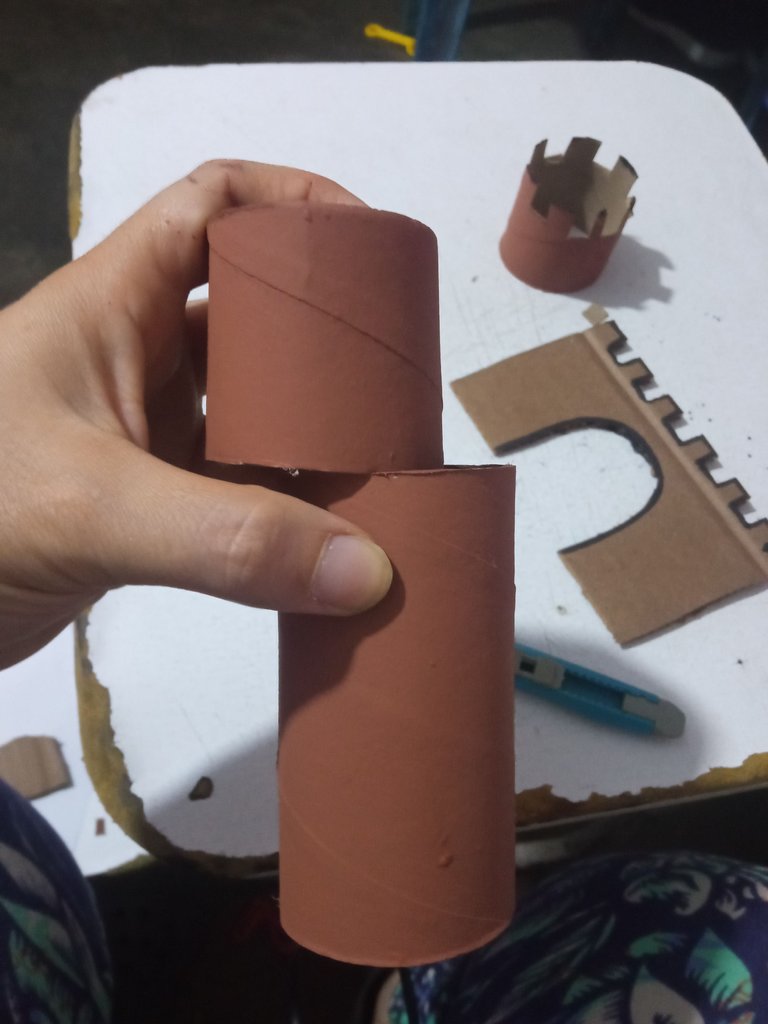
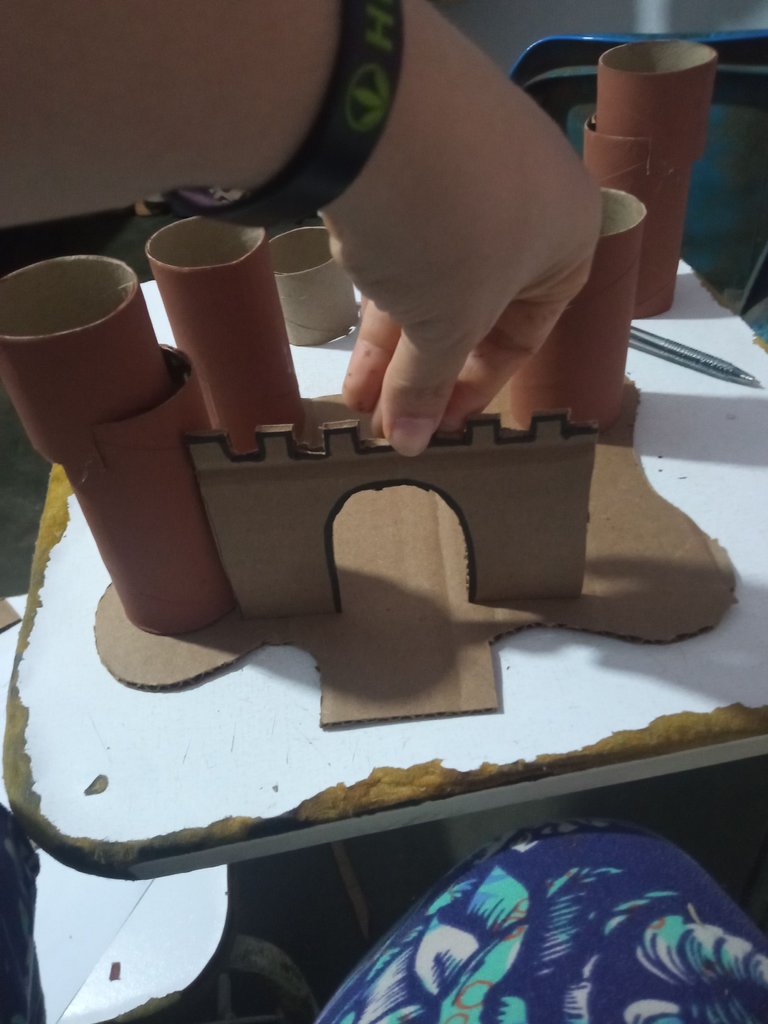
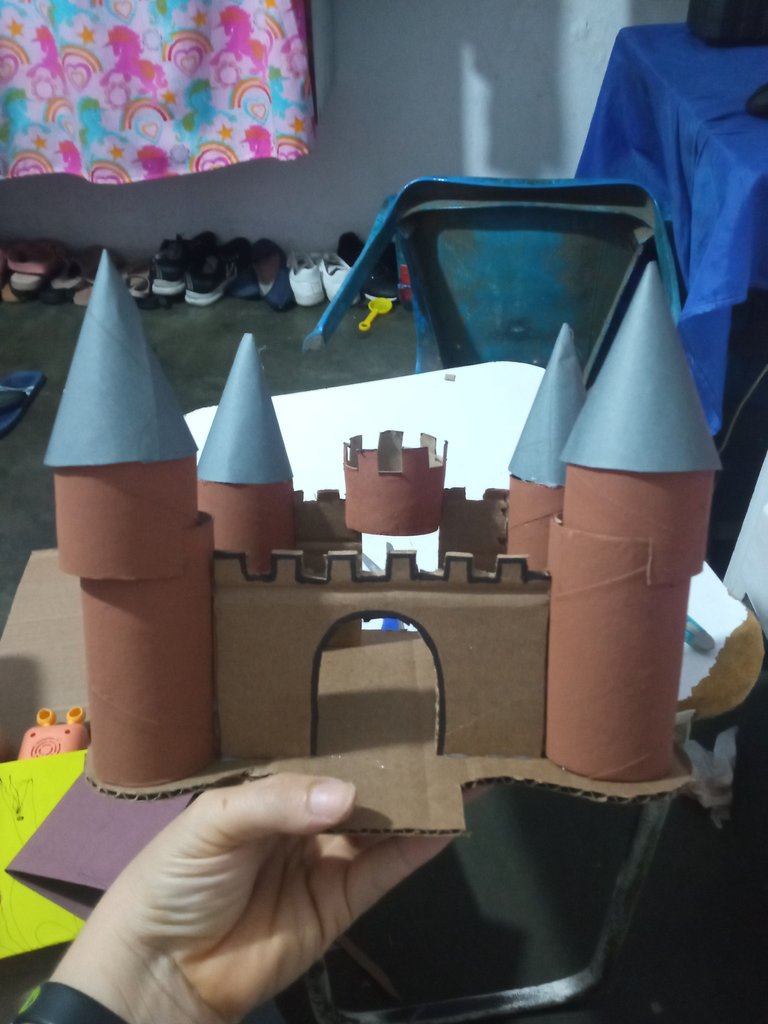
Cuando ya se habian secado los rollitos comencé a armar el castillo 🏰 con ayuda del silicon pequé primero las torres del piso, y el rollito que habia picado a la mitad, les hice una pequeña abertura para colocarla encima del rollito de la base y asi quedar mas alto, ñuego de pegarlos pequé la pared tambien. Tanto del suelo como de los rollitos
When the rolls had dried I started to assemble the castle 🏰 with the help of the silicon I first glued the towers of the floor, and the roll that I had cut in half, I made a small opening to place it on top of the roll of the base and thus be higher, after gluing them I glued the wall as well. So much of the floor as of mos rollitos
 |  |
|---|
El siguiente paso fue recortar dos cartones para las paredes de los lados
The next step was to cut out two pieces of cardboard for the side walls.
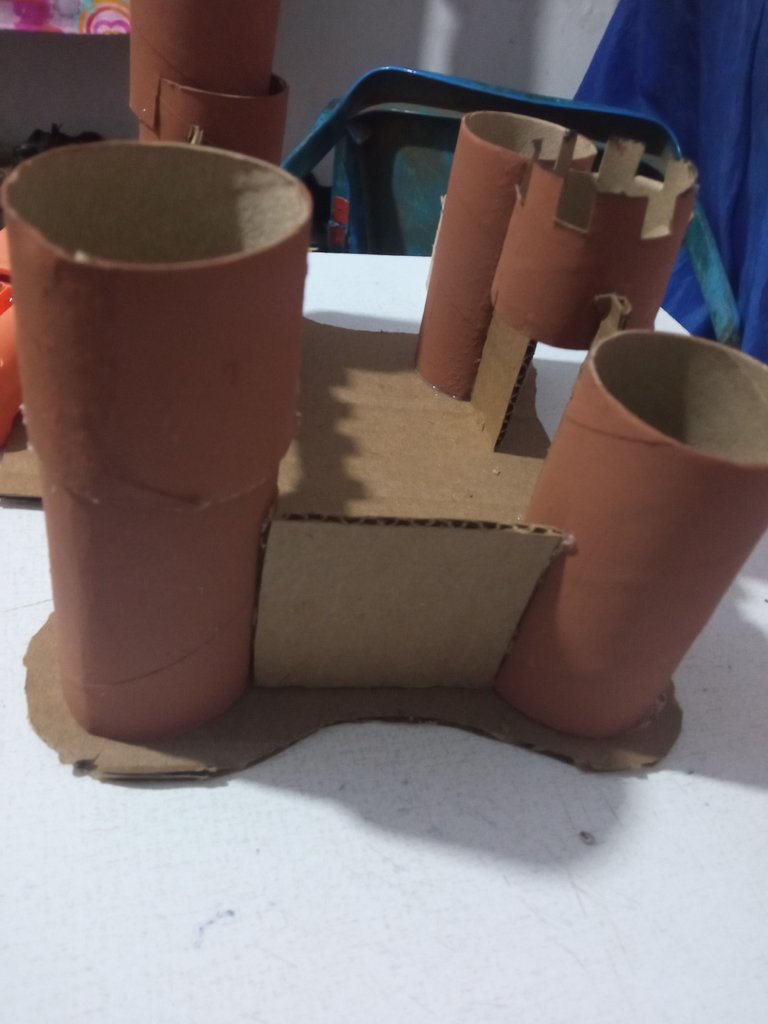
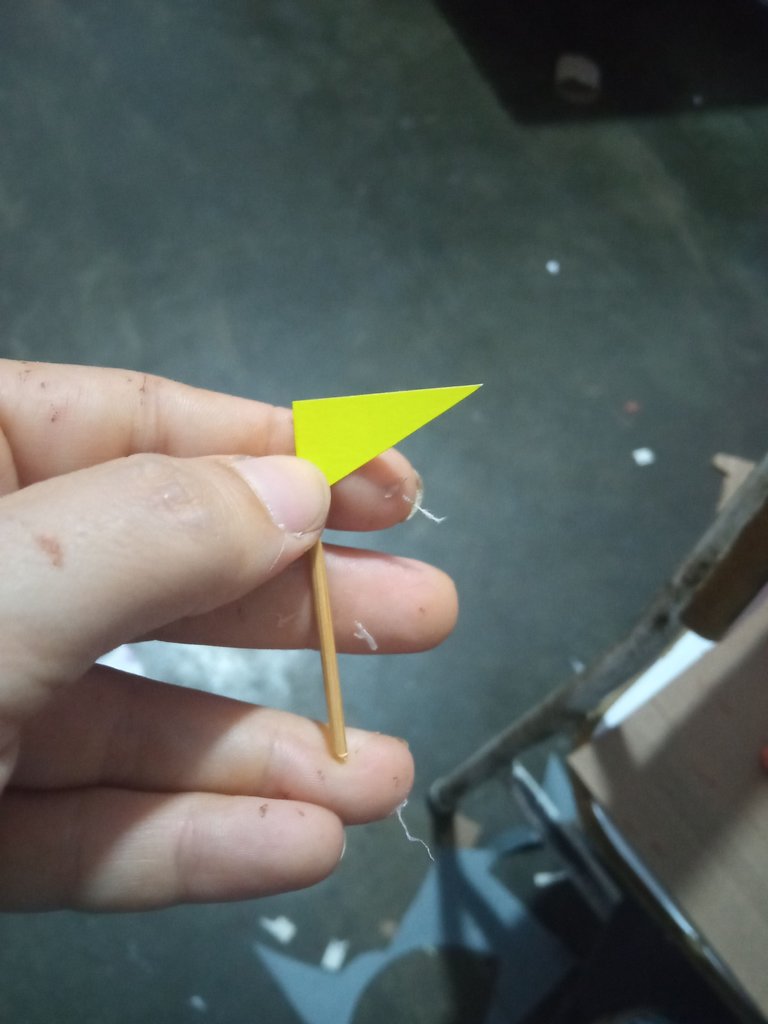
Luego con el papel gris formé los conitos que serian el techo de las torres y por ultimo corté las 4 bnderitas en color amarillo que pequé con la mitad de un palillo
Then with the gray paper I formed the little cones that would be the roof of the towers and lastly I cut the 4 little yellow boulders that I cut with half of a toothpick.
 |  |
|---|
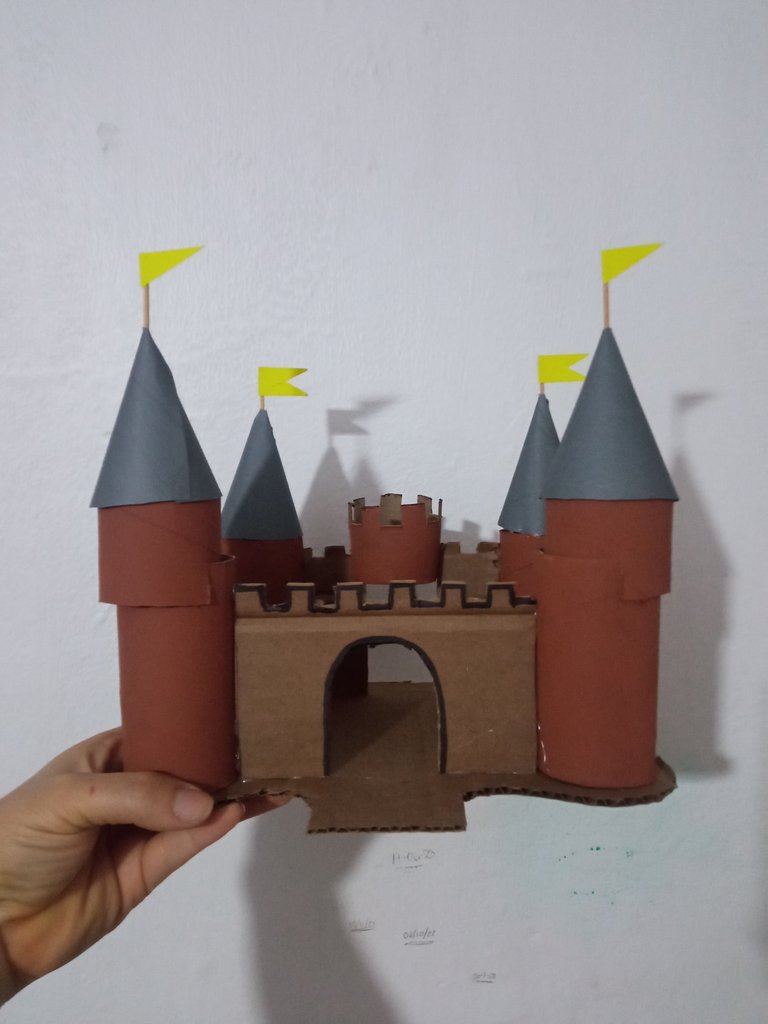
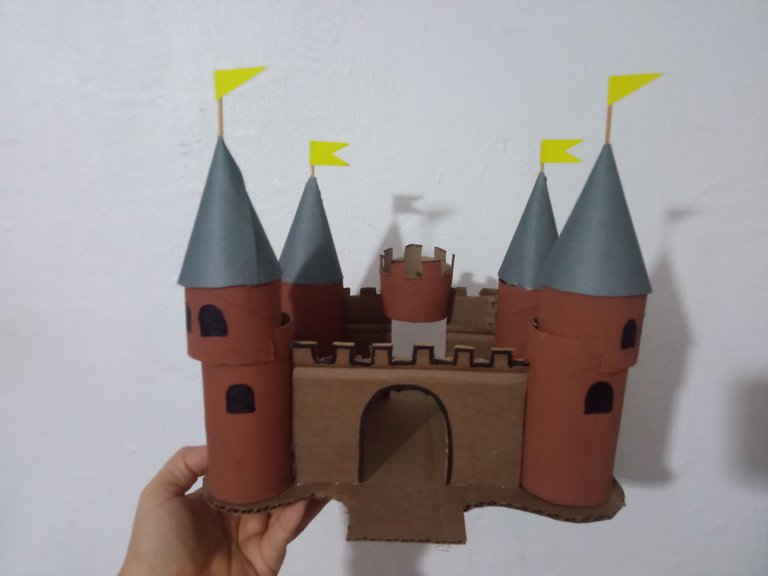
El ultimo paso fue con ayuda del marcador negro pintarle las ventanas y asi quedó🥰🥰
The last step was to paint the windows with a black marker and this is how it looked🥰🥰
 |  |
|---|

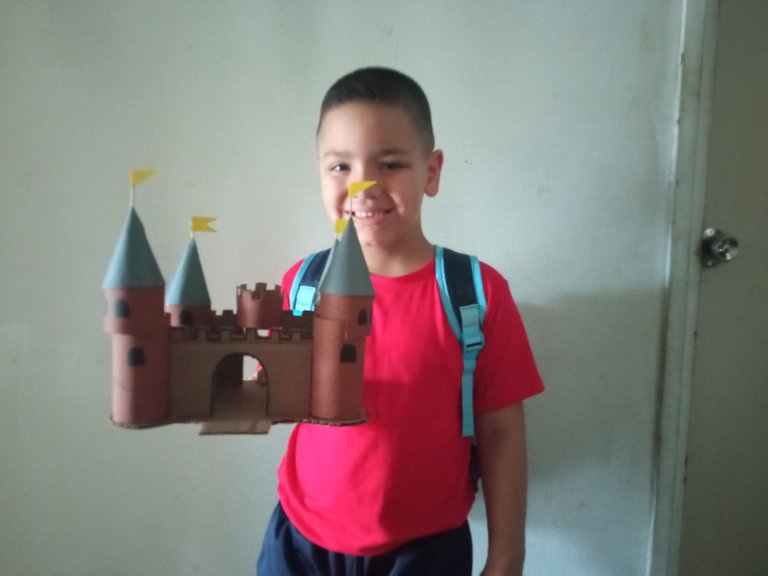
Por supuesto el dueño del castillo 🏰 estaba feliz hoy antes de irse a clases, asi que el objetivo fue logrado 😍😍
Of course the owner of the castle 🏰 was happy today before he went to class, so the goal was achieved 😍😍
Fotos de mi propiedad
Photos of my property


