OTRO BANQUITO PARA MI NIETA
ANOTHER BENCH FOR MY GRANDDAUGHTER
 )
)
Cerca de nuestra casa hay una carpintería, que de tiempo en tiempo saca los restos de maderas que ya no van a usar. Y desde hace unos meses cuando ellos sacan los restos de madera estamos pendientes, antes era para usarlos para cocinar, ya que había problema con la venta del gas doméstico, pero ya gracias a Dios eso se resolvió.
Tengo varias tablas de madera que me quedaron, ya he hecho algunas cosas para la casa, que me han servido de mucha utilidad. Hoy les quiero mostrar otro banquito que le hice a mi nieta con retazos de madera de los que traje de la carpintería.
A continuación, el paso a paso para hacer el banquito para mí nietecita.
MATERIALES:
madera
Clavos de dos y cuatro pulgadas
Martillo
Serrucho
1er paso el corte de todas las piezas:
El ASIENTO.
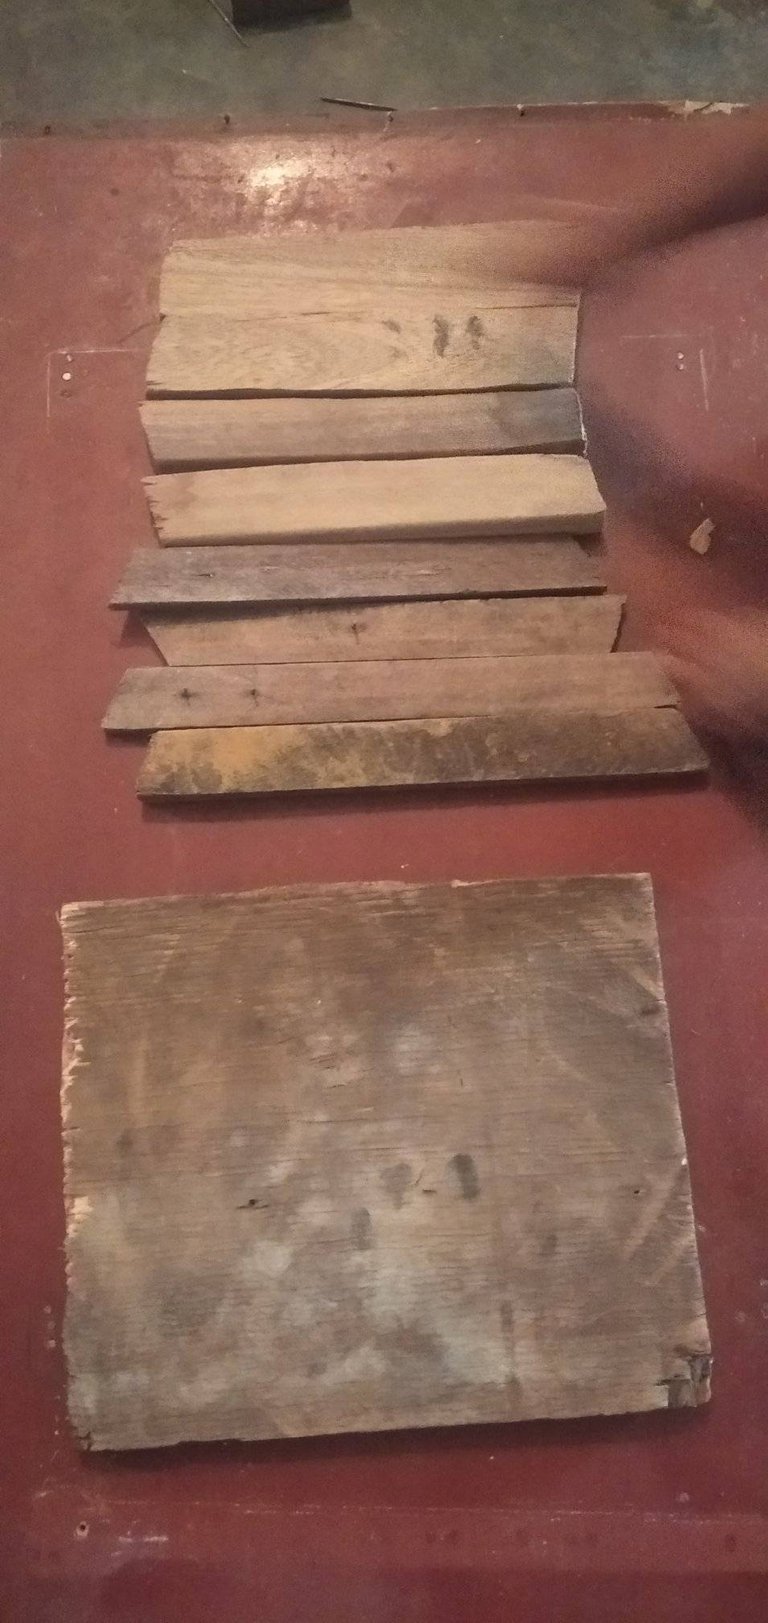
Picar la tabla de madera que usaría como la tapa o asiento, de 25 cm de ancho x 30 cm de largo
LAS 4 PATITAS
Luego cortar las cuatro patitas para la base, con un grosor de (4cm x 4 cm) y de 22 cm de largo. Después de cortar las cuatro patitas, al medirlas colocando el asiento me di cuenta que todavía le faltaba algo, para que tuviera la inclinación que yo deseaba.
Así que les rebaje más o menos un centímetro de un lado en la Parte de arriba y de manera opuesta en la parte de abajo de la patitas para que pudiera tener la caída que yo deseaba.
1st step cutting all the pieces:
The seat.
Cut the wooden board that you would use as the top or seat, 25 cm wide x 30 cm long
THE 4 LEGS
Then cut the four legs for the base, with a thickness of (4cm x 4cm) and 22cm long. After cutting the four legs, when I measured them by placing the seat, I realized that something was still missing, so that it had the inclination that I wanted.
So I lowered them more or less one centimeter on one side at the top and in the opposite way at the bottom of the leg so that I could have the fall that I wanted.
REINFORCEMENT.
Also cut the 8 little boards for reinforcements, with a thickness of (2cm x 4cm) that will be the 8 crossbars that will lead on the sides and sides to reinforce the base.
The first 4 boards are to reinforce the bottom part and there will be 2 boards 30 cm long and 2 boards 25 cm long.
And the other 4 boards will be to reinforce the upper part, which will be 2 boards 22 cm long and 2 boards 18 cm long..
This in order to make it narrower at the top and provide more firmness to the bench.

2do paso.
ARMAR
Luego de picar todas las piezas comencé a armarlo, para esto, pegué de primero cada dos de las tablitas destinadas para las patas, con las dos tablitas de 30 cm de largo que les mencioné que serían para reforzar la parte de abajo.
Luego en la parte de arriba le pegué las tablitas (de 22 cm de largo) que les mencioné que eran para reforzar la parte de arriba.
Después de pegar a las patas, las tablitas de los lados, continué con las otras tablitas que van por los costados, armando así la base de forma rectangular.
2nd step.
TO ASSEMBLE
After chopping all the pieces I began to assemble it, for this, I first glued each two of the boards intended for the legs, with the two 30 cm long boards that I mentioned would be to reinforce the bottom part.
Then on the top I glued the boards (22 cm long) that I mentioned were to reinforce the top.
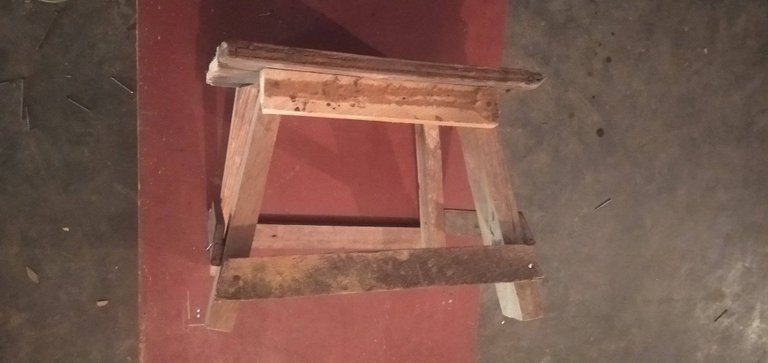
After gluing the side boards to the legs, I continued with the other boards that go along the sides, thus assembling the rectangular base.

Luego que la base estaba lista le coloque la pata o la tabla grande que es el asiento y como mientras la armaba, le puse pocos clavos, después de colocar la base la reforcé con varios clavos por todos los lados, en este último paso me ayudo, mi hermano jeolis que es el menor de mis hermanos, el venía llegando cuando yo estaba por terminar el banquito.
After the base was ready, I placed the leg or the large table that is the seat and since while I was putting it together, I put a few nails in it, after placing the base I reinforced it with several nails on all sides, in this last step it helped me , my brother Jeolis who is the youngest of my brothers, he was arriving when I was about to finish the bench.

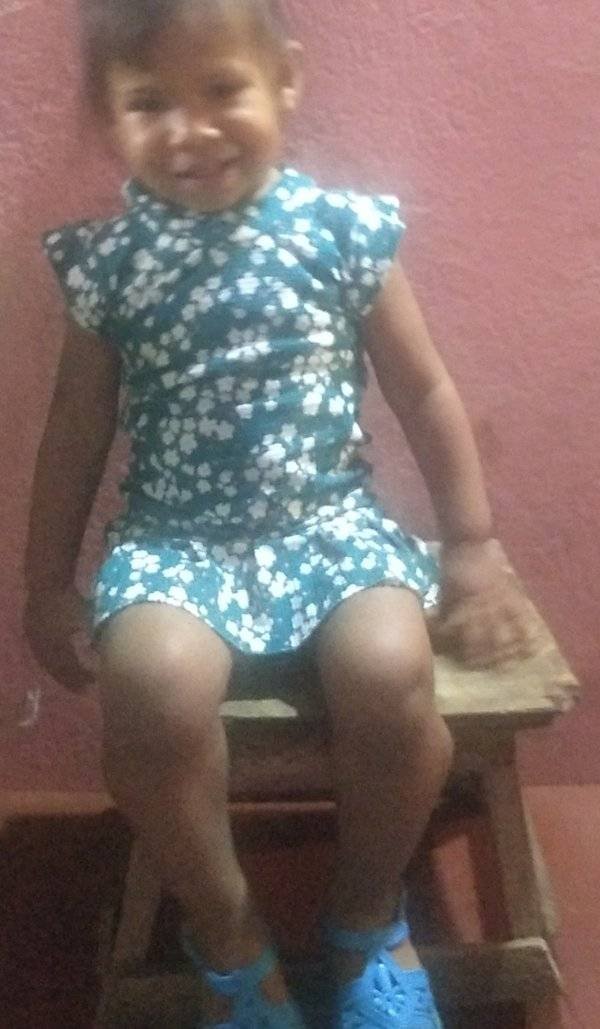
And that's how the final product was


pero al pasar los dias lo decidi mejorar y le hice este forro y asi quedo al final
but as the days went by I decided to improve it and I made this lining and that's how it ended up


